Manage workflow versions
Workflows created with Lifecycle Workflows are able to grow and change with the needs of your organization. Workflows exist as versions from creation. When making changes to other than basic information, you create a new version of the workflow. For more information, see Manage a workflow's properties.
Changing a workflow's tasks or execution conditions requires the creation of a new version of that workflow. Tasks within workflows can be added, reordered, and removed at will. Updating a workflow's tasks or execution conditions within the Microsoft Entra admin center will trigger the creation of a new version of the workflow automatically. Making these updates in Microsoft Graph will require the new workflow version to be created manually.
Edit the tasks of a workflow using the Microsoft Entra admin center
Tasks within workflows can be added, edited, reordered, and removed at will. To edit the tasks of a workflow using the Microsoft Entra admin center, you complete the following steps:
Sign in to the Microsoft Entra admin center as at least a Lifecycle Workflows Administrator.
Browse to Identity governance > Lifecycle workflows > workflows.
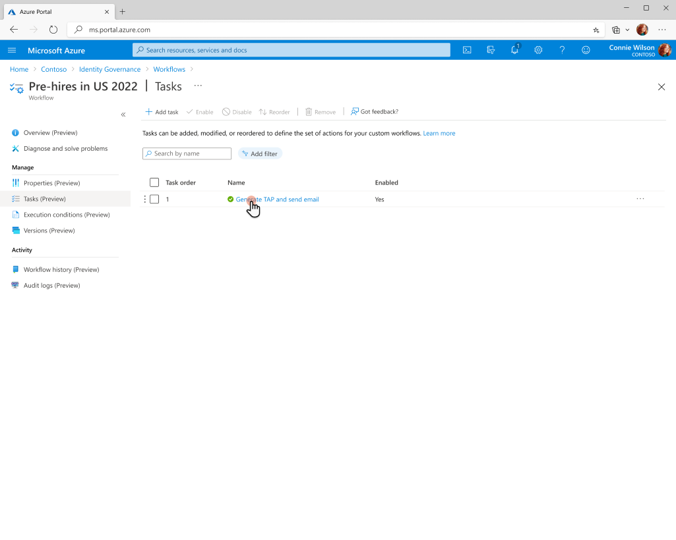
Select the workflow that you want to edit the tasks of and on the left side of the screen, select Tasks.
You can add a task to the workflow by selecting the Add task button.
You can enable and disable tasks as needed by using the Enable and Disable buttons.
You can reorder the order in which tasks are executed in the workflow by selecting the Reorder button. You can also remove a task from a workflow by using the Remove button.
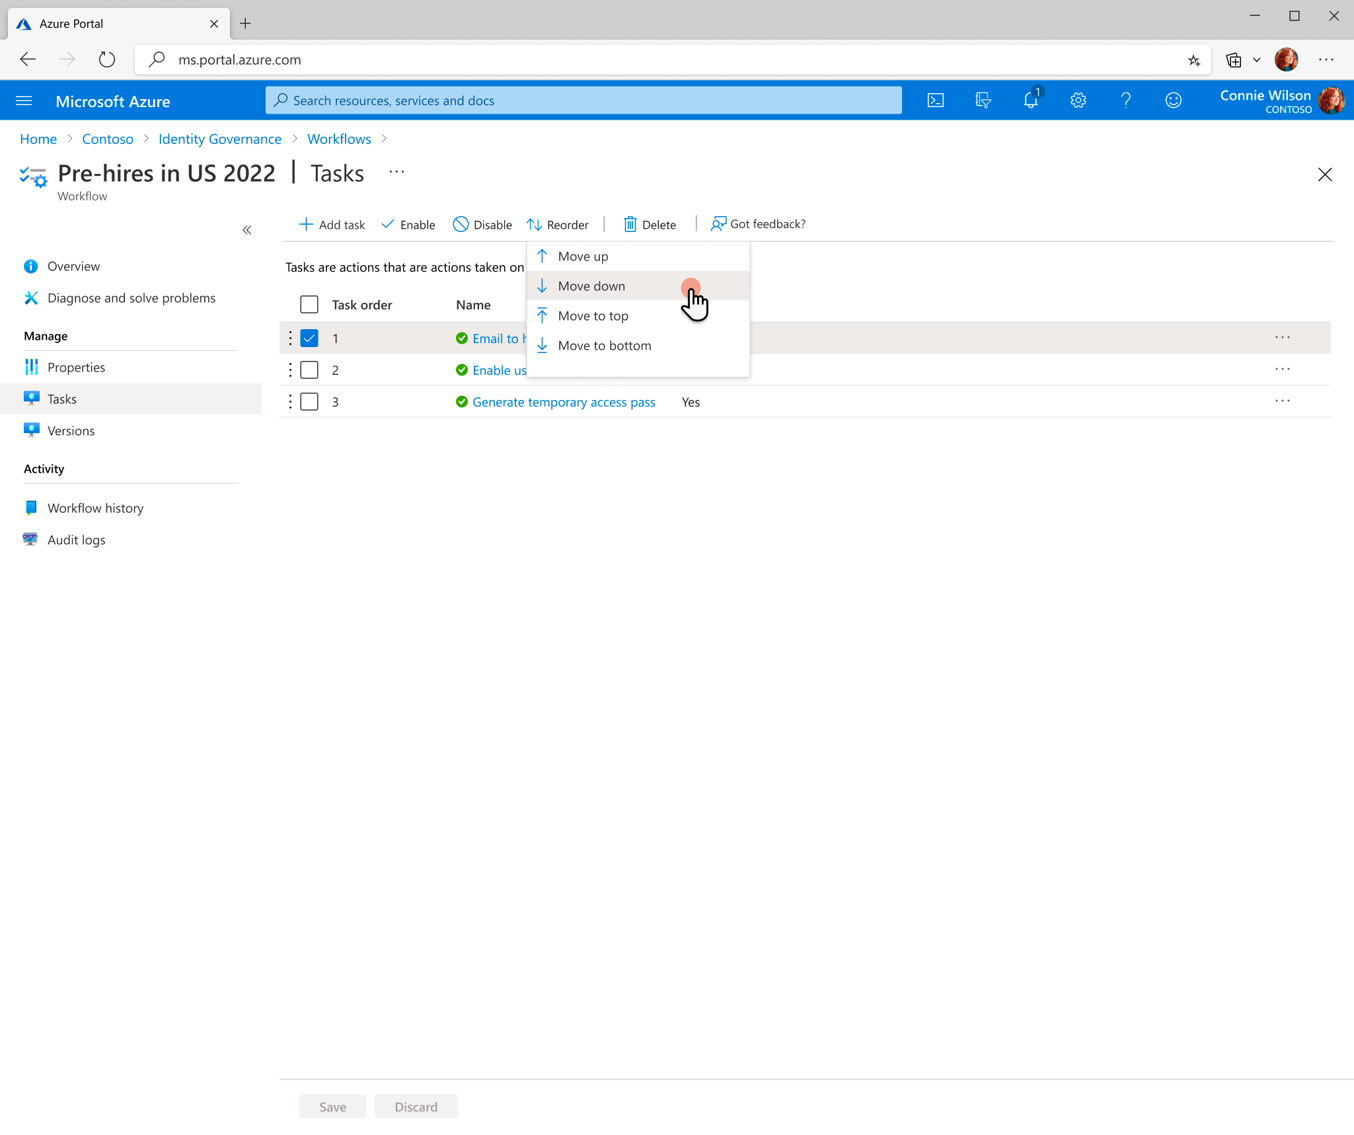
After making changes, select save to capture changes to the tasks.

Edit the execution conditions of a workflow using the Microsoft Entra admin center
To edit the execution conditions of a workflow using the Microsoft Entra admin center, you do the following steps:
On the left menu of Lifecycle Workflows, select Workflows.
On the left side of the screen, select Execution conditions.
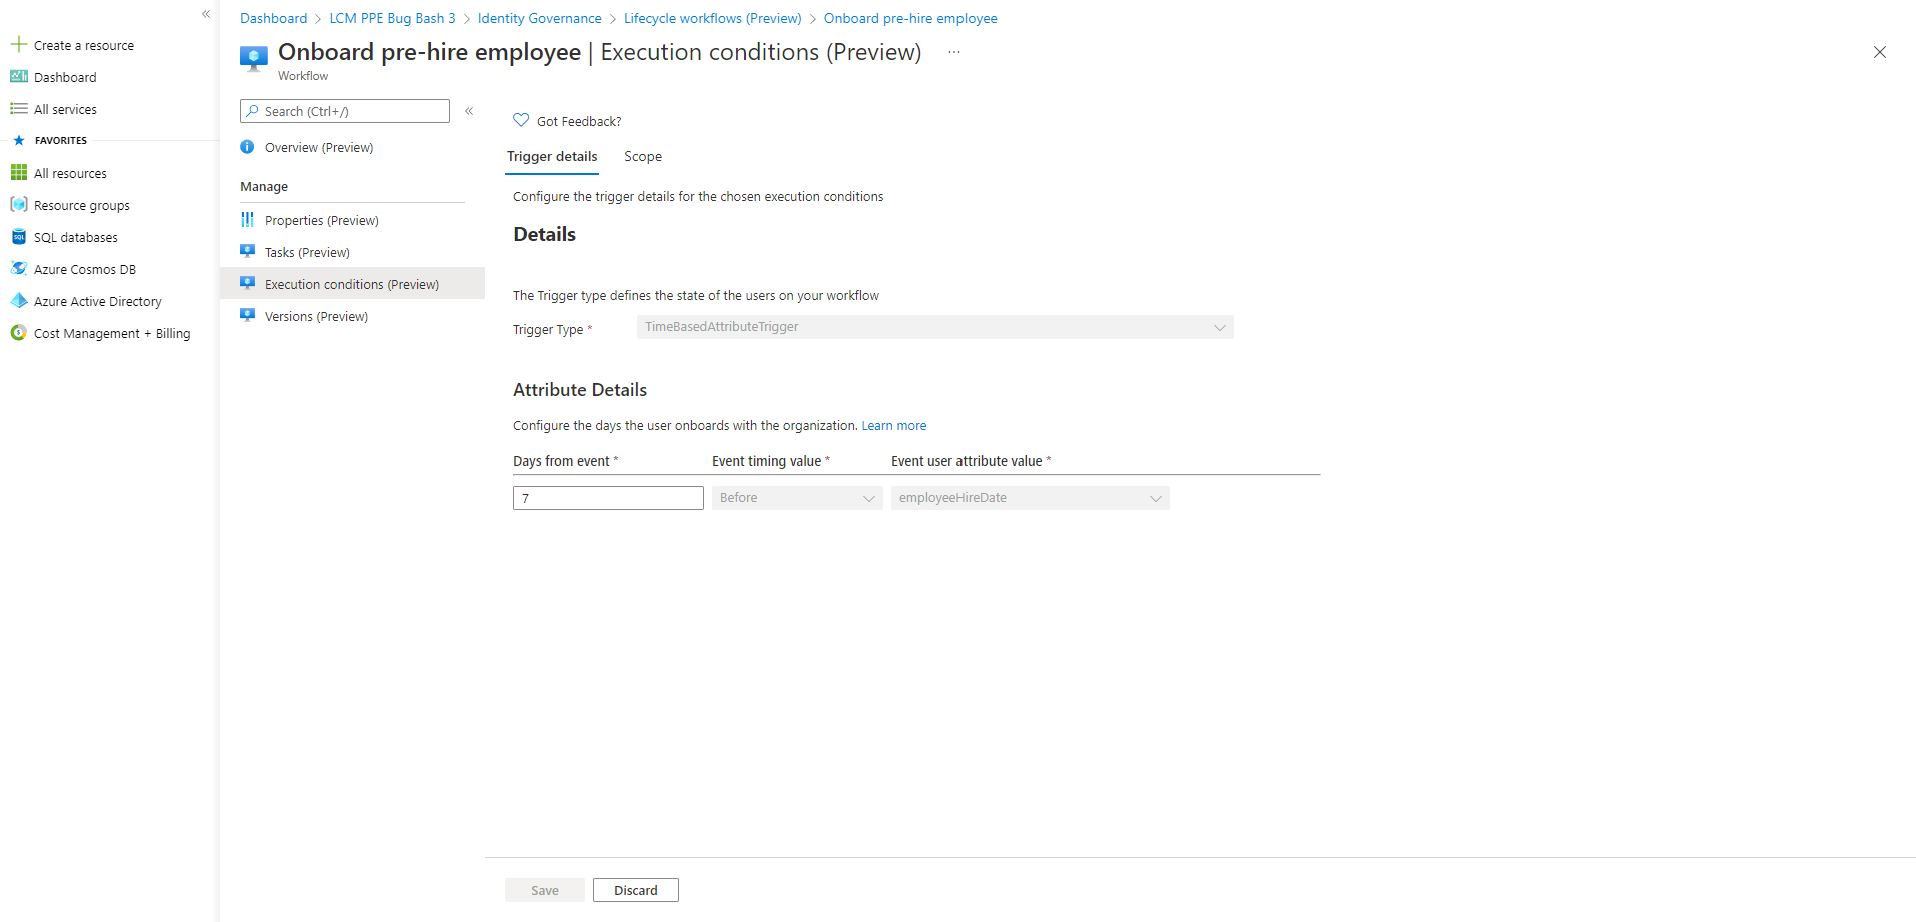
On this screen, you're presented with Trigger details. Here we have a trigger type and attribute details. In the template you can edit the attribute details to define when a workflow is run in relation to the attribute value measured in days. This attribute value can be from 0 to 60 days.
Select the Scope tab.
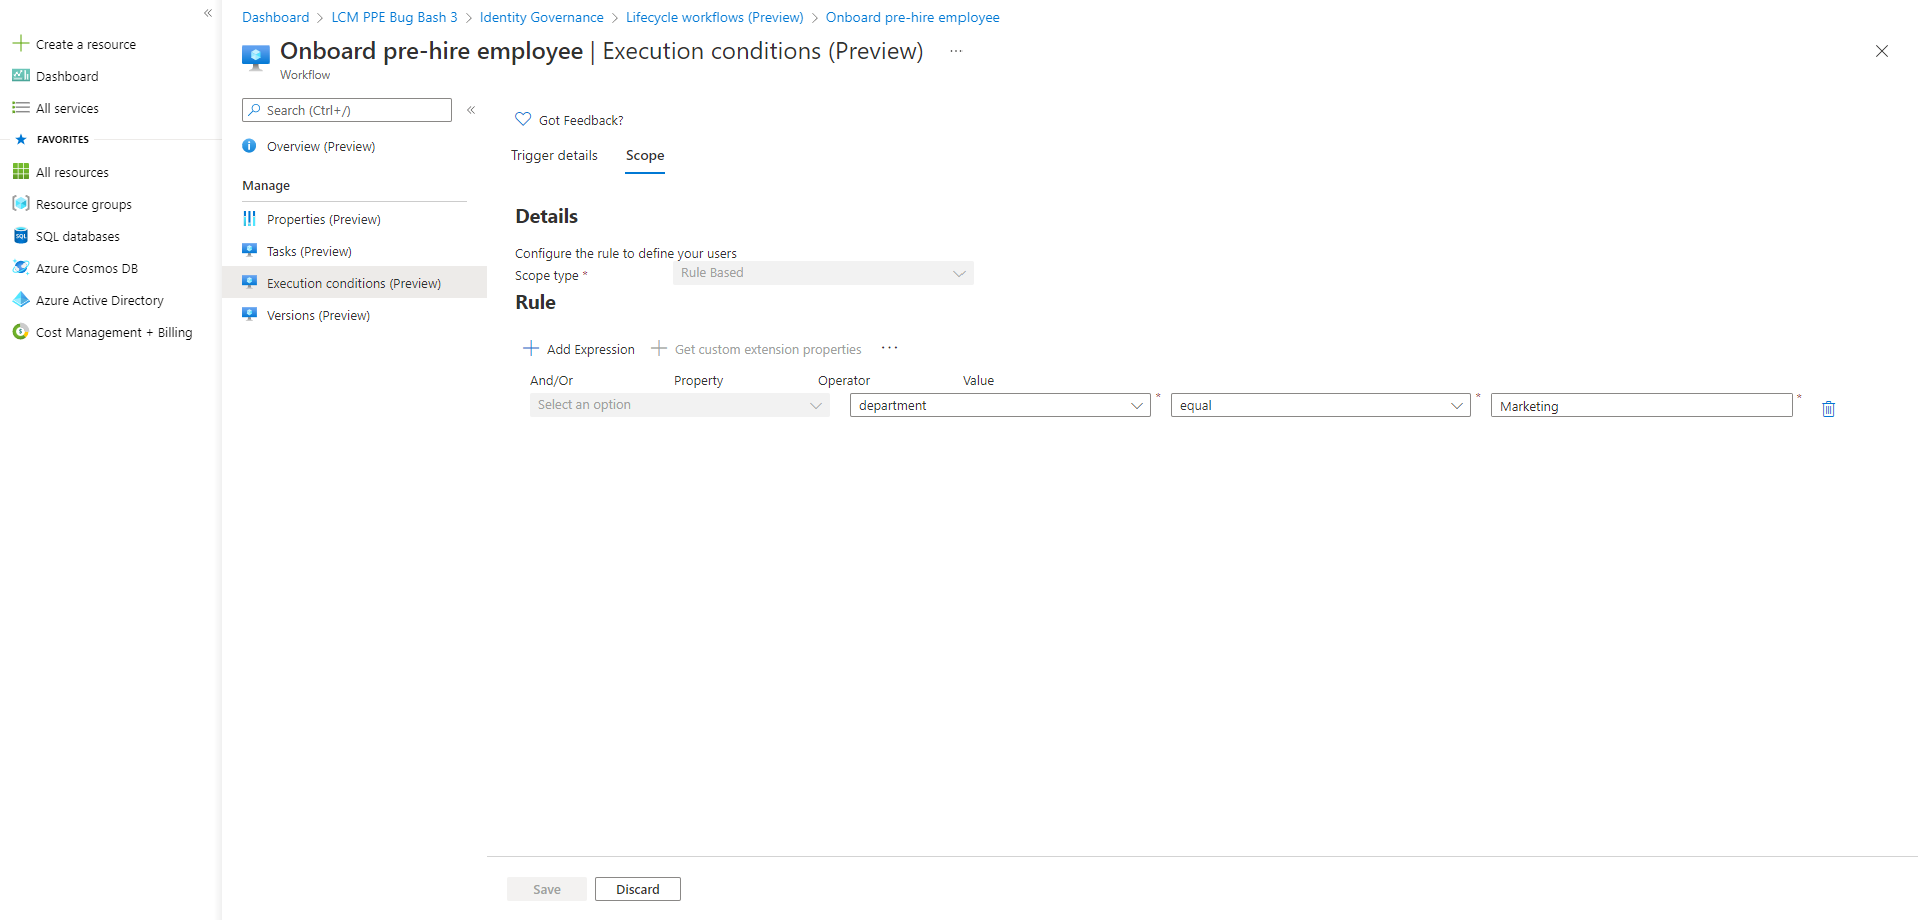
On this screen you can define rules for who the workflow runs. In the template Scope type is set as Rule-Based, and you define the rule using expressions on user properties. For more information on supported user properties. see: supported queries on user properties.
After making changes, select save to capture changes to the execution conditions.


See versions of a workflow using the Microsoft Entra admin center
On the left menu of Lifecycle Workflows, select Workflows.
On this page, you see a list of all of your current workflows. Select the workflow that you want to see versions of.
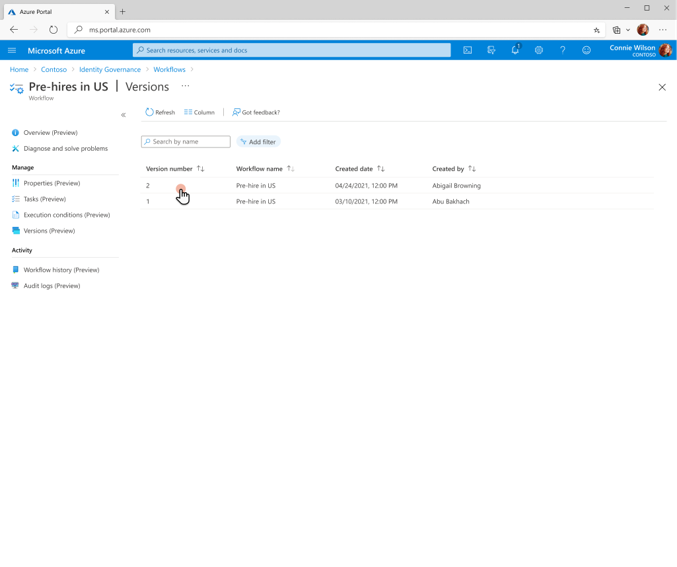
On the left side of the screen, select Versions.
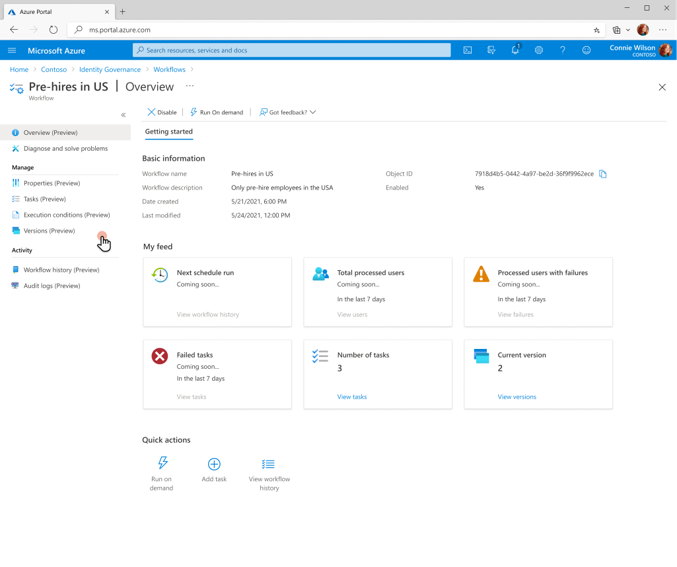
On this page, you see a list of the workflow versions.


Create a new version of an existing workflow using Microsoft Graph
To create a new version of a workflow via API using Microsoft Graph, see: workflow: createNewVersion
List workflow versions using Microsoft Graph
To list workflow versions via API using Microsoft Graph, see: List versions (of a lifecycle workflow)
Next steps
Feedback
Coming soon: Throughout 2024 we will be phasing out GitHub Issues as the feedback mechanism for content and replacing it with a new feedback system. For more information see: https://aka.ms/ContentUserFeedback.
Submit and view feedback for