Integrate an existing forest and a new forest with a single Microsoft Entra tenant
This tutorial walks you through adding cloud sync to an existing hybrid identity environment.
You can use the environment you create in this tutorial for testing or for getting more familiar with how a hybrid identity works.
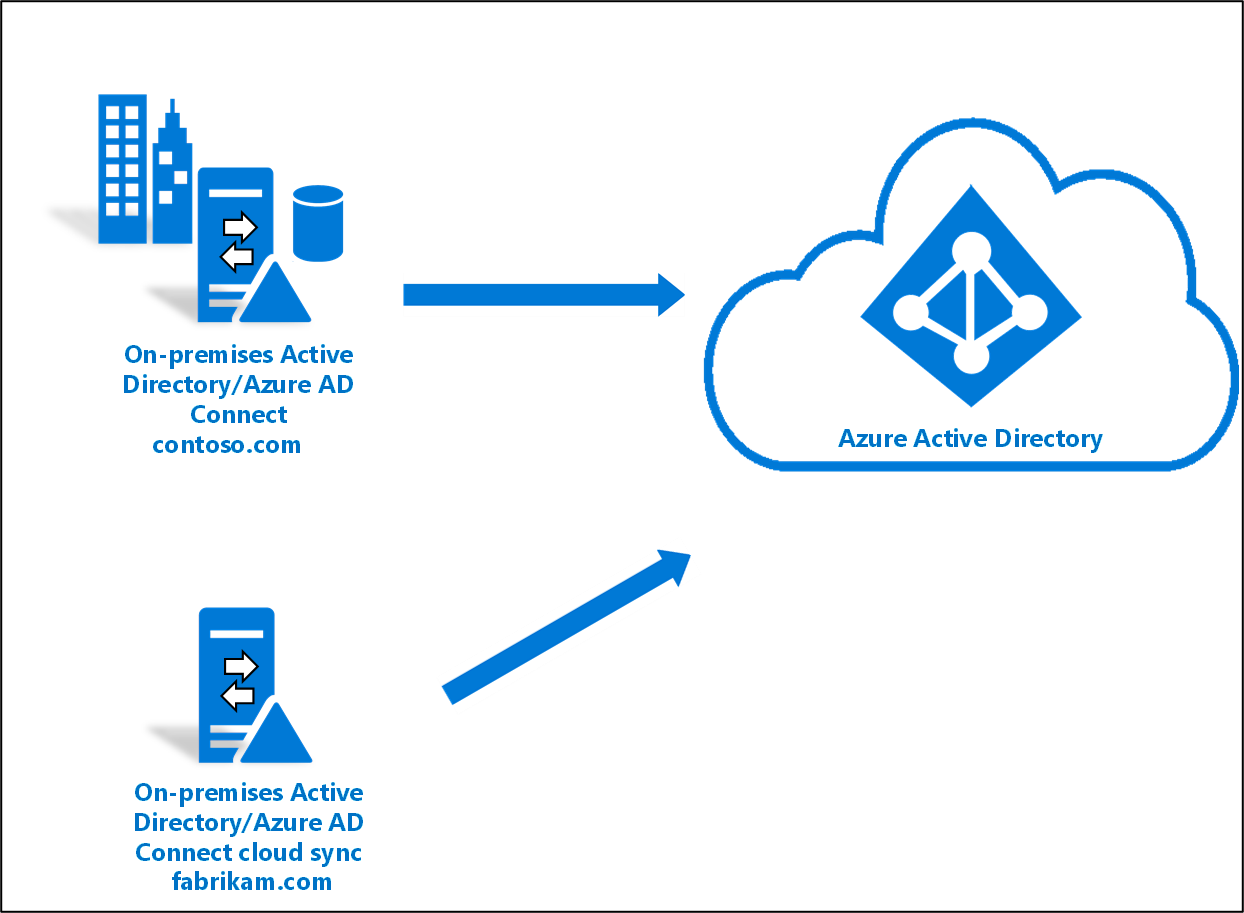
In this scenario, there's an existing forest synced using Microsoft Entra Connect Sync to a Microsoft Entra tenant. And you have a new forest that you want to sync to the same Microsoft Entra tenant. You'll set up cloud sync for the new forest.
Prerequisites
In the Microsoft Entra admin center
- Create a cloud-only Global Administrator account on your Microsoft Entra tenant. This way, you can manage the configuration of your tenant should your on-premises services fail or become unavailable. Learn about adding a cloud-only Global Administrator account. Completing this step is critical to ensure that you don't get locked out of your tenant.
- Add one or more custom domain names to your Microsoft Entra tenant. Your users can sign in with one of these domain names.
In your on-premises environment
Identify a domain-joined host server running Windows Server 2012 R2 or greater with minimum of 4-GB RAM and .NET 4.7.1+ runtime
If there's a firewall between your servers and Microsoft Entra ID, configure the following items:
Ensure that agents can make outbound requests to Microsoft Entra ID over the following ports:
Port number How it's used 80 Downloads the certificate revocation lists (CRLs) while validating the TLS/SSL certificate 443 Handles all outbound communication with the service 8080 (optional) Agents report their status every 10 minutes over port 8080, if port 443 is unavailable. This status is displayed on the portal. If your firewall enforces rules according to the originating users, open these ports for traffic from Windows services that run as a network service.
If your firewall or proxy allows you to specify safe suffixes, then add connections to *.msappproxy.net and *.servicebus.windows.net. If not, allow access to the Azure datacenter IP ranges, which are updated weekly.
Your agents need access to login.windows.net and login.microsoftonline.com for initial registration. Open your firewall for those URLs as well.
For certificate validation, unblock the following URLs: mscrl.microsoft.com:80, crl.microsoft.com:80, ocsp.msocsp.com:80, and www.microsoft.com:80. Since these URLs are used for certificate validation with other Microsoft products, you may already have these URLs unblocked.
Install the Microsoft Entra provisioning agent
If you're using the Basic AD and Azure environment tutorial, it would be DC1. To install the agent, follow these steps:
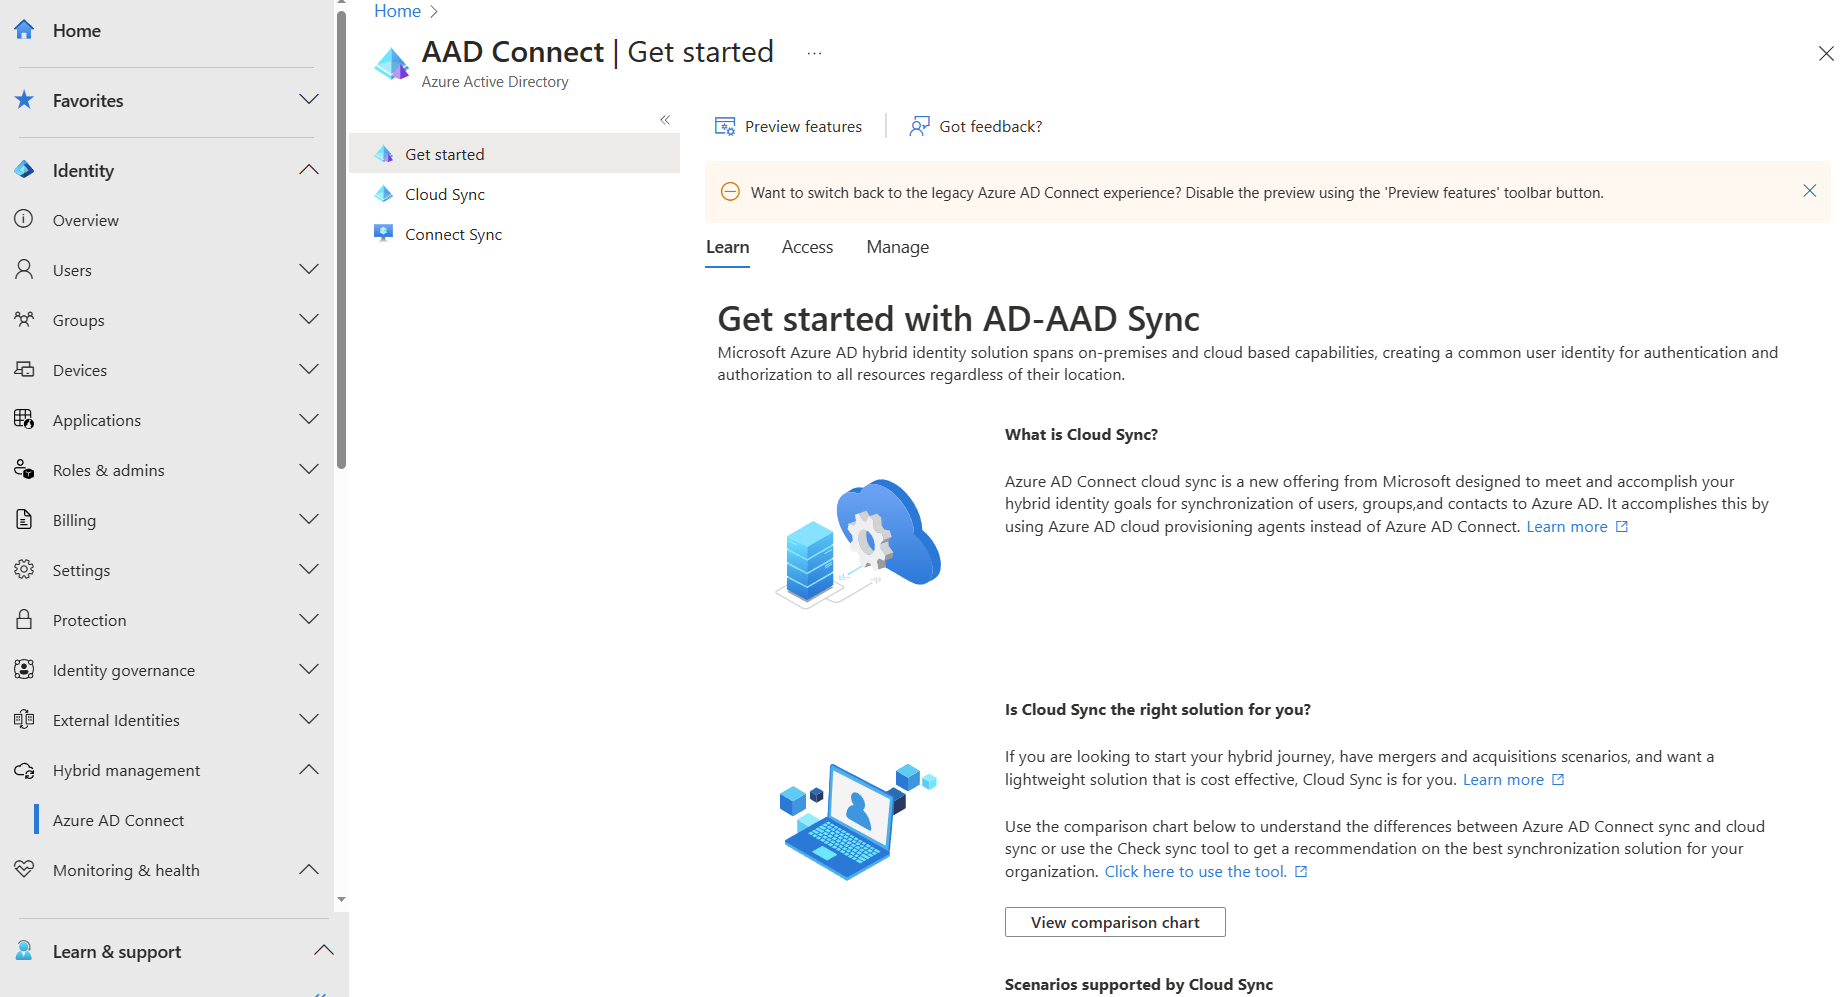
- In the Azure portal, select Microsoft Entra ID.
- On the left, select Microsoft Entra Connect.
- On the left, select Cloud sync.

- On the left, select Agent.
- Select Download on-premises agent, and select Accept terms & download.

- Once the Microsoft Entra Connect Provisioning Agent Package has completed downloading, run the AADConnectProvisioningAgentSetup.exe installation file from your downloads folder.
Note
When installing for the US Government Cloud use:
AADConnectProvisioningAgentSetup.exe ENVIRONMENTNAME=AzureUSGovernment
See "Install an agent in the US government cloud" for more information.
- On the splash screen, select I agree to the license and conditions, and then select Install.
- Once the installation operation completes, the configuration wizard will launch. Select Next to start the configuration.

- On the Select Extension screen, select HR-driven provisioning (Workday and SuccessFactors) / Microsoft Entra Connect cloud sync and click Next.


Note
If you are installing the provisioning agent for use with on-premsise app provisioning then select On-premises application provisioning (Microsoft Entra ID to application).
- Sign in with your Microsoft Entra Global Administrator or Hybrid Identity Administrator account. If you have Internet Explorer enhanced security enabled, it will block the sign-in. If so, close the installation, disable Internet Explorer enhanced security, and restart the Microsoft Entra Connect Provisioning Agent Package installation.

- On the Configure Service Account screen, select a group Managed Service Account (gMSA). This account is used to run the agent service. If a managed service account is already configured in your domain by another agent and you are installing a second agent, select Create gMSA because the system will detect the existing account and add the required permissions for the new agent to use the gMSA account. When prompted, choose either:
- Create gMSA which lets the agent create the provAgentgMSA$ managed service account for you. The group managed service account (for example, CONTOSO\provAgentgMSA$) will be created in the same Active Directory domain where the host server has joined. To use this option, enter the Active Directory domain administrator credentials (recommended).
- Use custom gMSA and provide the name of the managed service account that you have manually created for this task.
To continue, select Next.

On the Connect Active Directory screen, if your domain name appears under Configured domains, skip to the next step. Otherwise, type your Active Directory domain name, and select Add directory.
Sign in with your Active Directory domain administrator account. The domain administrator account shouldn't have an expired password. In case the password is expired or changes during the agent installation, you'll need to reconfigure the agent with the new credentials. This operation will add your on-premises directory. Select OK, then select Next to continue.

- The following screenshot shows an example of contoso.com configured domain. Select Next to continue.

On the Configuration complete screen, select Confirm. This operation will register and restart the agent.
Once this operation completes, you should be notified that Your agent configuration was successfully verified. You can select Exit.

- If you still get the initial splash screen, select Close.
Verify agent installation
Agent verification occurs in the Azure portal and on the local server that's running the agent.
Azure portal agent verification
To verify that the agent is being registered by Microsoft Entra ID, follow these steps:
- Sign in to the Azure portal.
- Select Microsoft Entra ID.
- Select Microsoft Entra Connect, and then select Cloud sync.

- On the cloud sync page, you'll see the agents you've installed. Verify that the agent is displayed and the status is healthy.
On the local server
To verify that the agent is running, follow these steps:
- Sign in to the server with an administrator account.
- Open Services either by navigating to it or by going to Start/Run/Services.msc.
- Under Services, make sure that Microsoft Entra Connect Agent Updater and Microsoft Entra Connect Provisioning Agent are present and the status is Running.


Verify the provisioning agent version
To verify that the version of the agent running, follow these steps:
- Navigate to 'C:\Program Files\Microsoft Azure AD Connect Provisioning Agent'
- Right-click on 'AADConnectProvisioningAgent.exe' and select properties.
- Click the details tab and the version number will be displayed next to Product version.
Configure Microsoft Entra Cloud Sync
Tip
Steps in this article might vary slightly based on the portal you start from.
Use the following steps to configure provisioning:
- Sign in to the Microsoft Entra admin center as at least a Hybrid Administrator.
- Browse to Identity > Hybrid management > Microsoft Entra Connect > Cloud sync.

- Select New Configuration
- On the configuration screen, enter a Notification email, move the selector to Enable and select Save.
- The configuration status should now be Healthy.
Verify users are created and synchronization is occurring
You'll now verify that the users that you had in our on-premises directory have been synchronized and now exist in our Microsoft Entra tenant. This process may take a few hours to complete. To verify users are synchronized, do the following:
- Sign in to the Microsoft Entra admin center as at least a Hybrid Identity Administrator.
- Browse to Identity > Users.
- Verify that you see the new users in our tenant
Test signing in with one of our users
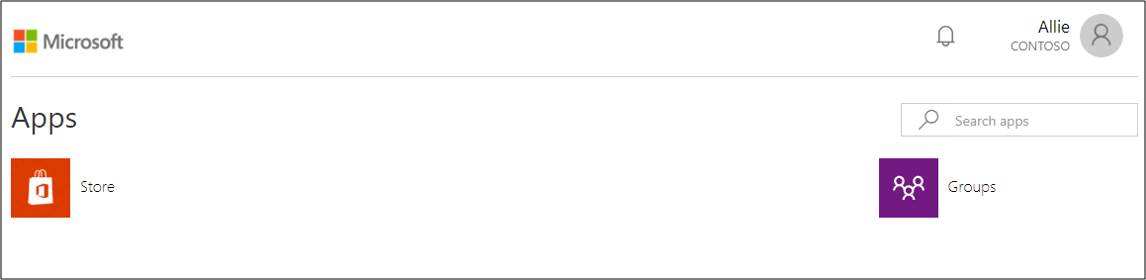
Browse to https://myapps.microsoft.com
Sign in with a user account that was created in our new tenant. You'll need to sign in using the following format: (user@domain.onmicrosoft.com). Use the same password that the user uses to sign in on-premises.
You have now successfully set up a hybrid identity environment that you can use to test and familiarize yourself with what Azure has to offer.
Next steps
Feedback
Coming soon: Throughout 2024 we will be phasing out GitHub Issues as the feedback mechanism for content and replacing it with a new feedback system. For more information see: https://aka.ms/ContentUserFeedback.
Submit and view feedback for