Quickstart: Set up AKS enabled by Azure Arc using Windows Admin Center
Applies to: AKS on Azure Stack HCI 22H2, AKS on Windows Server
In this quickstart, you set up AKS enabled by Arc using Windows Admin Center. To use PowerShell instead, see Set up with PowerShell.
Setup involves the following tasks:
- Set up Windows Admin Center.
- Set up an Azure Kubernetes Service host on the system to which you want to deploy the Kubernetes cluster.
Before getting started, make sure you satisfy all the prerequisites on the system requirements page.
Set up Windows Admin Center
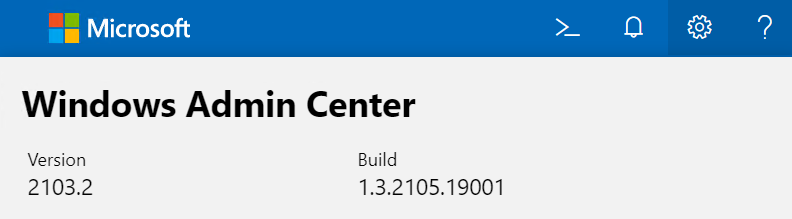
The AKS extension for Windows Admin Center is natively available as part of the Windows Admin Center MSI. You can install Windows Admin Center either on a Windows 10 machine or on a server. If you already installed Windows Admin Center, make sure your version is 2103.2 or later. You can check your Windows Admin Center version by clicking on the question mark in the top right-hand corner.
Set up an Azure Kubernetes Service (AKS) host
You must set up an AKS host on your Kubernetes cluster before deploying AKS workload clusters. Setting up an AKS host is also referred to as setting up the platform services or management cluster.

Note
Setting up Azure Kubernetes Service hosts on two independent systems with the intention of merging them during Kubernetes cluster creation is not a supported scenario.
This setup can be done using the new Azure Kubernetes Service tool. This tool installs and downloads the necessary packages, as well as create an AKS host cluster that provides core Kubernetes services and orchestrates application workloads.
Now that you verified the system settings, follow these steps:
Select Set up to launch the Setup wizard.
Review the prerequisites for the machine on which you're running Windows Admin Center, on the cluster to which you're connected, and the network. Additionally, make sure you're signed into an Azure account on Windows Admin Center and that the Azure subscription you're planning on using isn't expired. You must have the Owner role on the subscription you are planning on using. When you're finished, select Next.
Warning
Make sure you configure at least one external virtual switch before proceeding past this step, or you won't be able to successfully set up your AKS host.
On the System checks page of the wizard, take any required actions, such as connecting your Windows Admin Center gateway to Azure. When connecting your Windows Admin Center gateway to Azure, be sure to create a new Microsoft Entra application. This step checks that Windows Admin Center and the system that hosts AKS have the proper configuration to continue. When you're finished taking action, select Next.
Ensure system connectivity through CredSSP in the Connectivity step. CredSSP lets Windows Admin Center delegate the user's credentials from the gateway to a target server for remote authentication. CredSSP must be enabled to set up AKS. After you enable CredSSP, select Next.
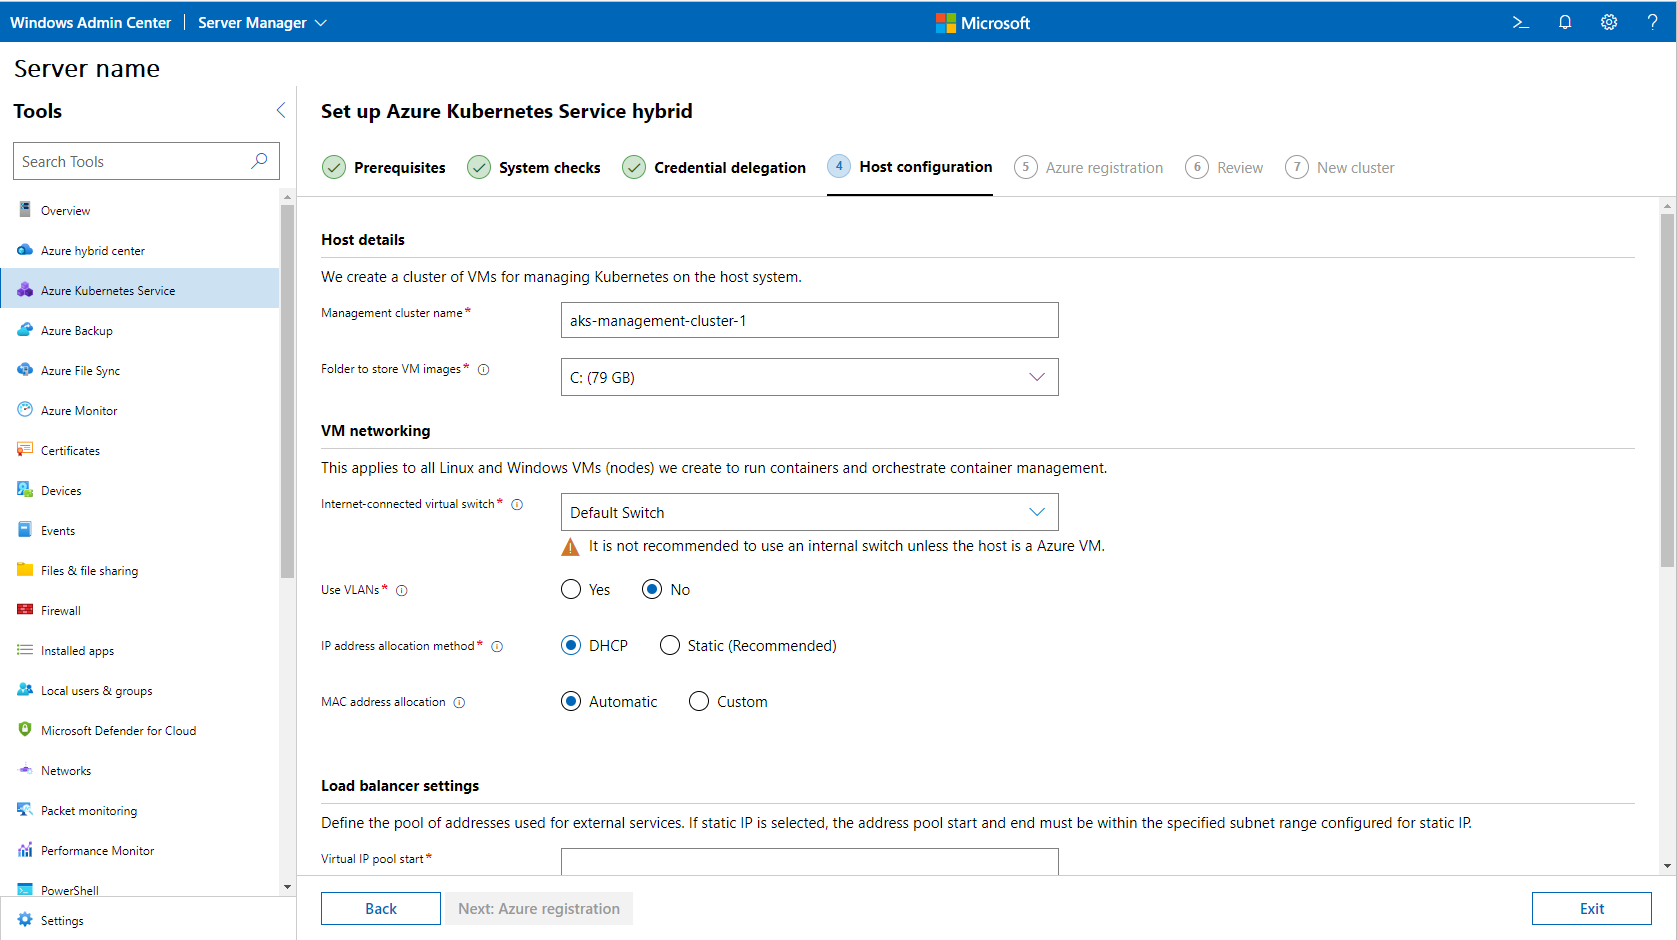
Configure the machine that hosts AKS in the Host configuration step. We recommend that you select automatically download updates in this section. This step of the wizard asks you to configure the following details:
Host details, such as a name for the AKS host cluster and an image directory where VM images are stored. The image directory must point to a shared storage path or an SMB share that is accessible by the host machine.
Kubernetes node networking, which serves as the default for the AKS host and all Linux and Windows Kubernetes nodes VMs that are created to run containers and orchestrate container management.
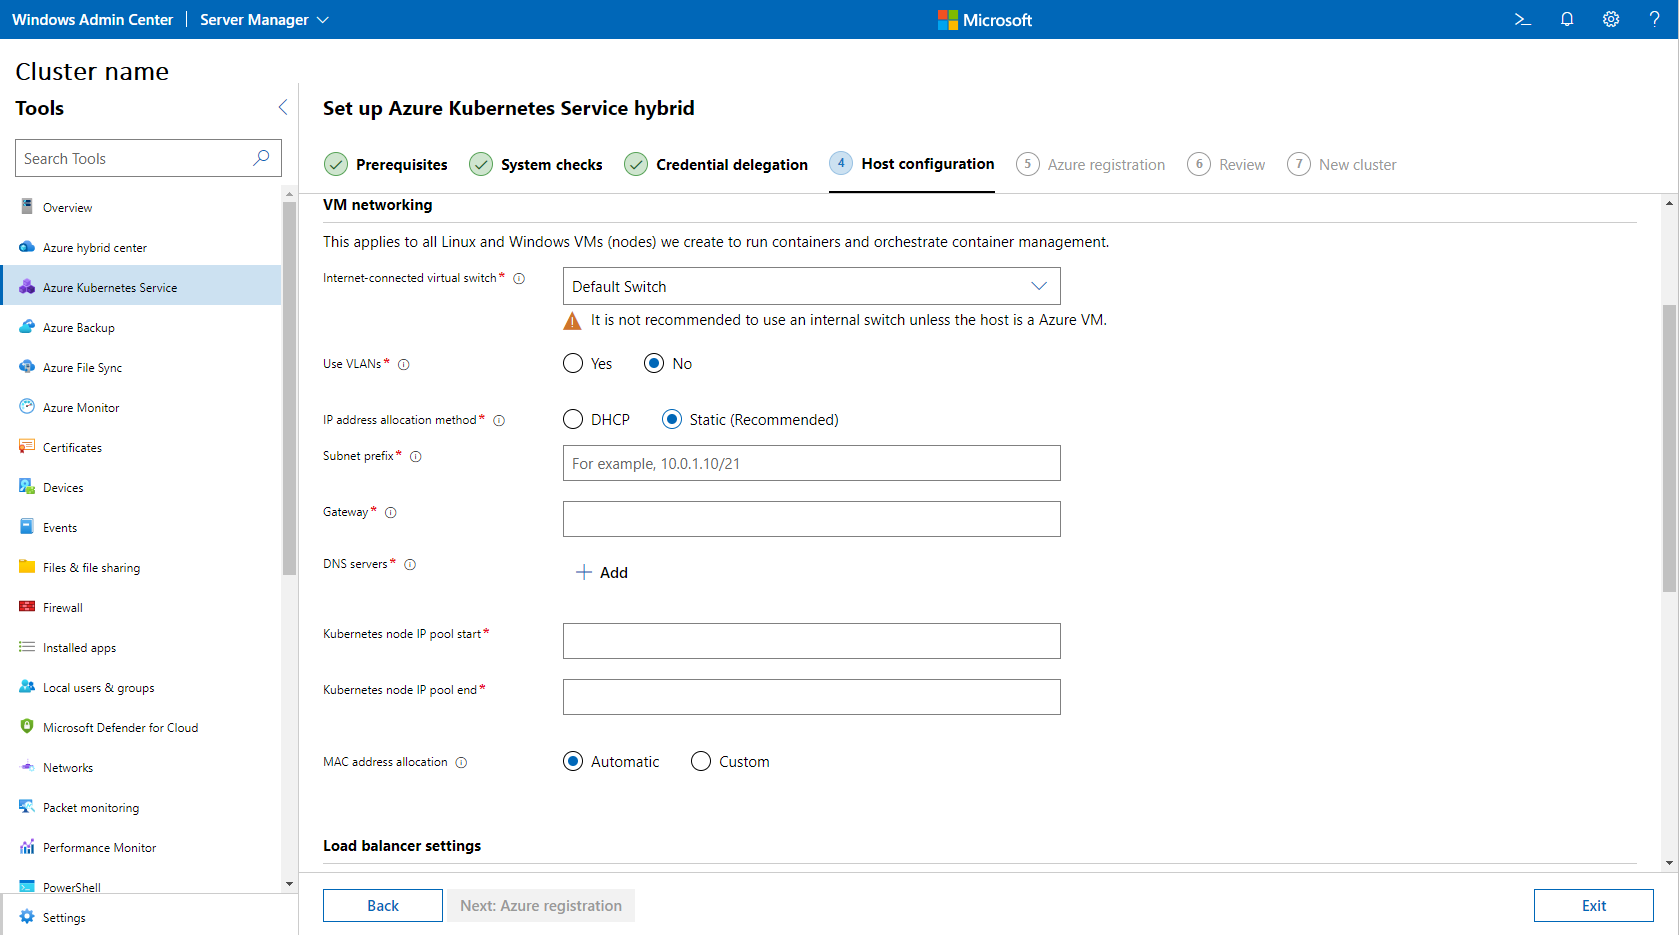
You can also specify separate network configurations for a workload cluster. These settings include the fields for the internet-connected virtual switch, virtual LAN identification enablement, IP address allocation method, and CloudAgent IP. You can use the CloudAgent IP to provide a static IP address to the CloudAgent service. This address is applicable regardless of your IP address allocation selection. For more information, see Kubernetes node networking. If you select the static IP address allocation method, there are a few extra fields that must be specified:
- Subnet prefix, an IP address range that does not conflict with other addresses.
- Gateway, the gateway through which packets are routed outside the machine.
- DNS servers, the comma-separated list of IP addresses for the DNS servers. Use a minimum of one and a maximum of three addresses.
- Kubernetes node IP pool start, the pool start range for IP addresses used by Kubernetes clusters.
- Kubernetes node IP pool end, the pool end range for IP addresses used by Kubernetes clusters.
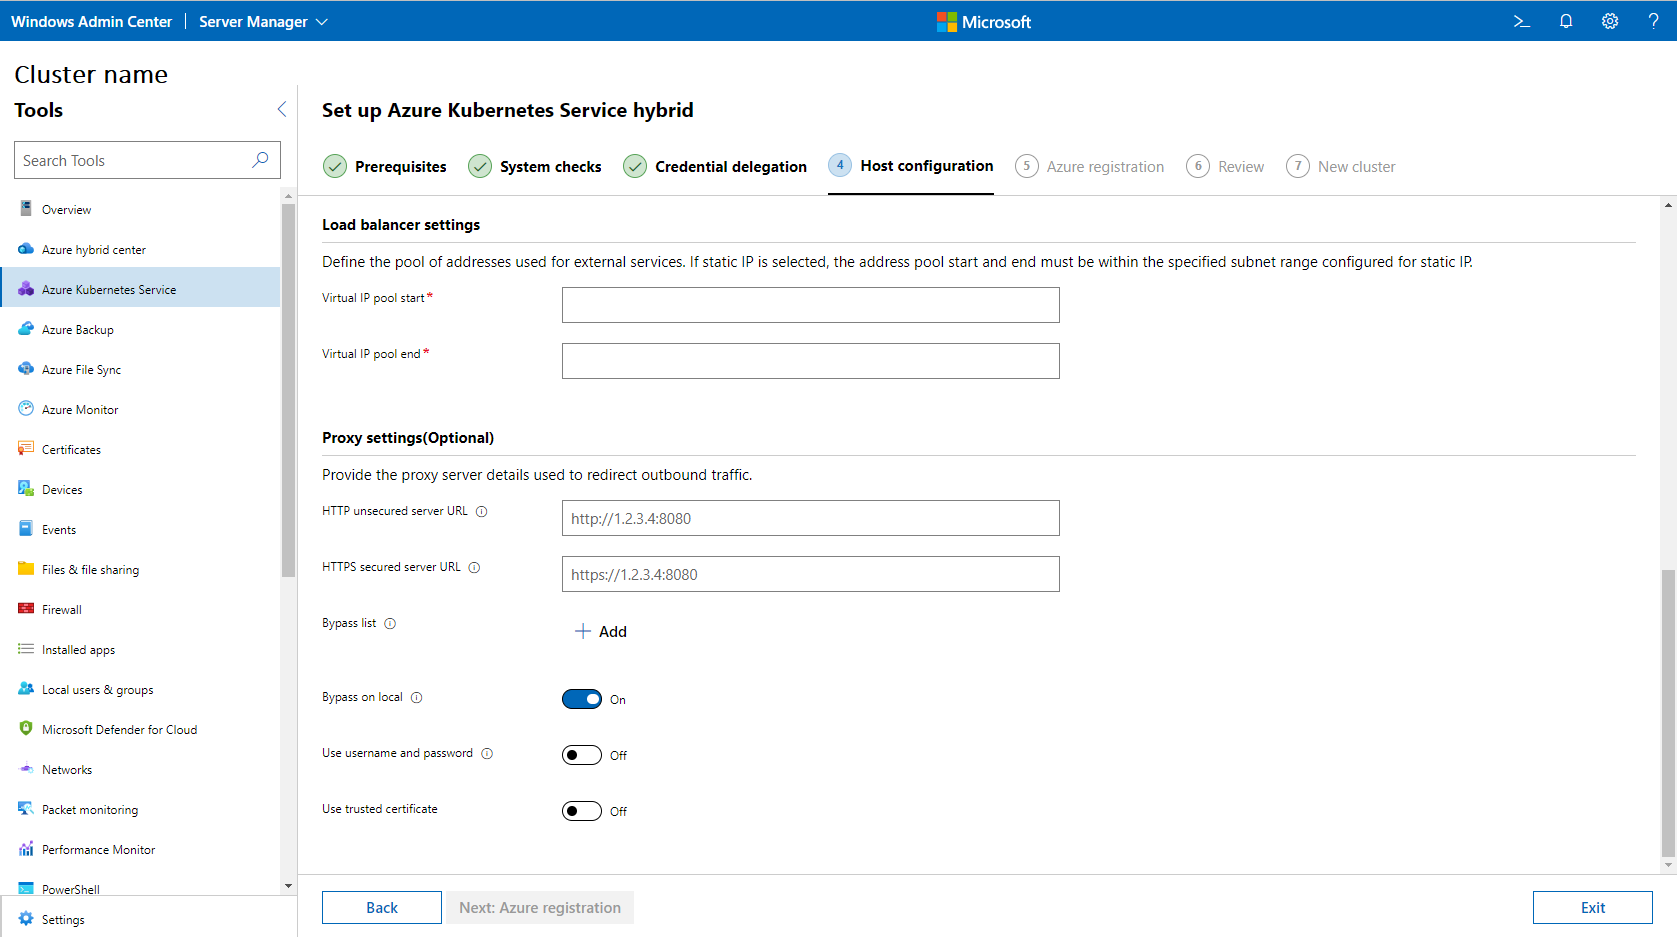
- Load balancer settings, which define the pool of addresses used for external services. If you select the static IP configuration in the VM networking section, the address pool start and end must be within the subnet range specified in that section.
The following image shows an example of a DHCP host configuration:
The following image shows an example of a static IP host configuration:
(Optional) Configure proxy settings as required for the AKS host. These settings are dependent on the proxy settings that are provisioned on the Azure Stack HCI host machine. Make sure you also provision the list of IP addresses that needs to bypass the proxy. When complete, select Next: Review + Create.
Select Next after you're finished.
On the Azure Registration page of the wizard, provide details about the subscription, resource group, and region you want to use for this service. Your resource group must be in the Australia East, East US, Southeast Asia, or West Europe region.
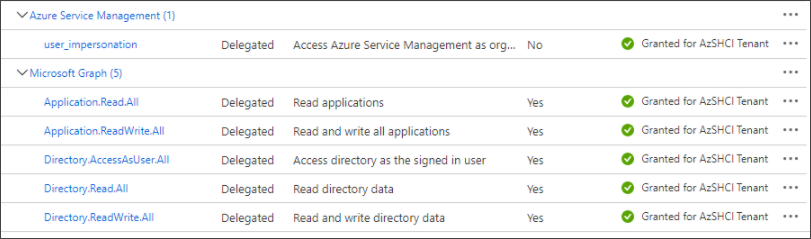
Windows Admin Center requires permissions to access resources in your organization that only an admin can grant. Select View in Azure to view your Windows Admin Center gateway in Azure and confirm you were granted admin consent for the following services:
- Azure Service Management: user_impersonation
- Microsoft Graph: Application.ReadWrite.All
- Microsoft Graph: Directory.AccessAsUser.All
If you have these permissions, the permissions appear in green under Status, as shown here:
If you don't have permissions, you might need the Azure subscription owner to manually grant admin consent.
To add permissions:
- Select Add a permission in the top left corner.
- Select Microsoft Graph, and then select Delegated permissions.
- Search for Application.ReadWrite.All, and if necessary, expand the Application dropdown box.
- Search for Directory.AccessAsUser.All, and if necessary, expand the Directory dropdown box.
- Select the checkbox and then select Add permissions.
You can also remove permissions that aren't required for AKS hybrid. To remove permissions before granting admin consent:
- Select the ... to the right of the permission that shouldn't be granted.
- Select Remove permission.
Once permissions are correct, select Grant admin consent for <user>, and then select Yes to confirm them. You can revoke permissions at any time as needed.
When you're done, your permissions look something like this:

When you're finished, select Next.
Review all of your selections in the Review + create step. If you're satisfied with your selections, select Next: new cluster to begin host setup.
On the Setup progress page, you can watch the progress of your host setup. At this point, you can open Windows Admin Center in a new tab and continue your management tasks.
Warning
During installation of your Azure Kuberenetes Service host, a Kubernetes - Azure Arc resource type is created in the resource group that's set during registration. Do not delete this resource; it represents your Azure Kuberenetes Service host. You can identify the resource by checking its distribution field for a value of
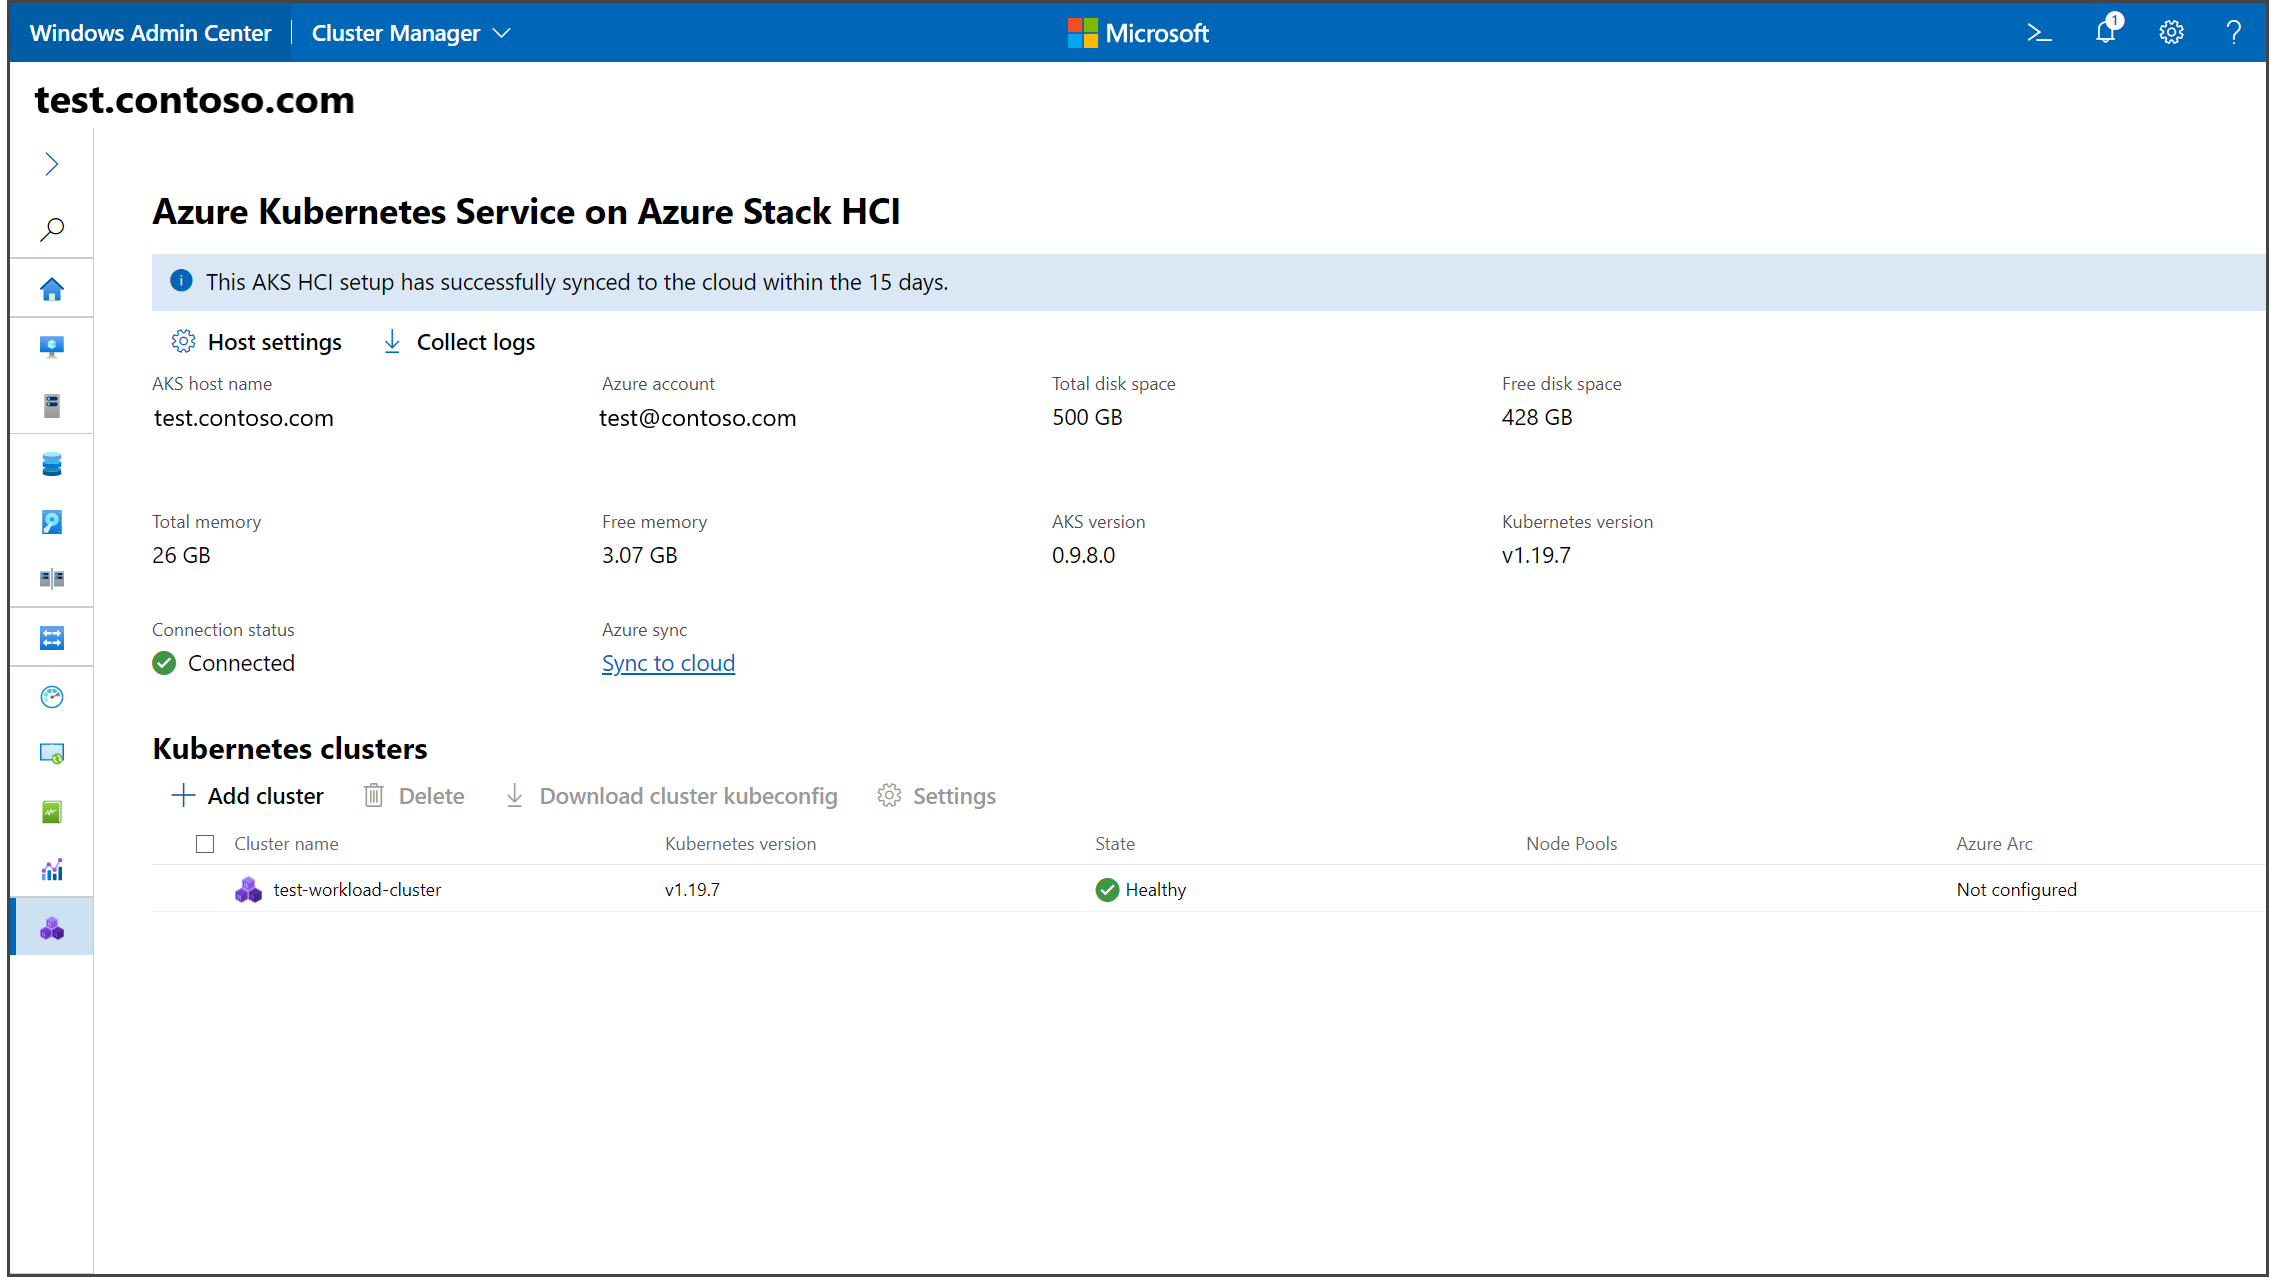
aks_management. Deleting this resource results in an out-of-policy deployment.If the deployment succeeds, select Finish, and you are presented with a management dashboard in which you can create and manage your Kubernetes clusters.


Next steps
In this quickstart, you installed Windows Admin Center and configured an AKS host on the system to which you deploy your Kubernetes clusters. You're now ready to create a Kubernetes cluster in Windows Admin Center.
Feedback
Coming soon: Throughout 2024 we will be phasing out GitHub Issues as the feedback mechanism for content and replacing it with a new feedback system. For more information see: https://aka.ms/ContentUserFeedback.
Submit and view feedback for