Export a trusted client CA certificate chain to use with client authentication
In order to configure mutual authentication with the client, or client authentication, Application Gateway requires a trusted client CA certificate chain to be uploaded to the gateway. If you have multiple certificate chains, you need to create the chains separately and upload them as different files on the Application Gateway. In this article, you learn how to export a trusted client CA certificate chain that you can use in your client authentication configuration on your gateway.
Prerequisites
An existing client certificate is required to generate the trusted client CA certificate chain.
Export trusted client CA certificate
Trusted client CA certificate is required to allow client authentication on Application Gateway. In this example, we use a TLS/SSL certificate for the client certificate, export its public key and then export the CA certificates from the public key to get the trusted client CA certificates. We then concatenate all the client CA certificates into one trusted client CA certificate chain.
The following steps help you export the .pem or .cer file for your certificate:
Export public certificate
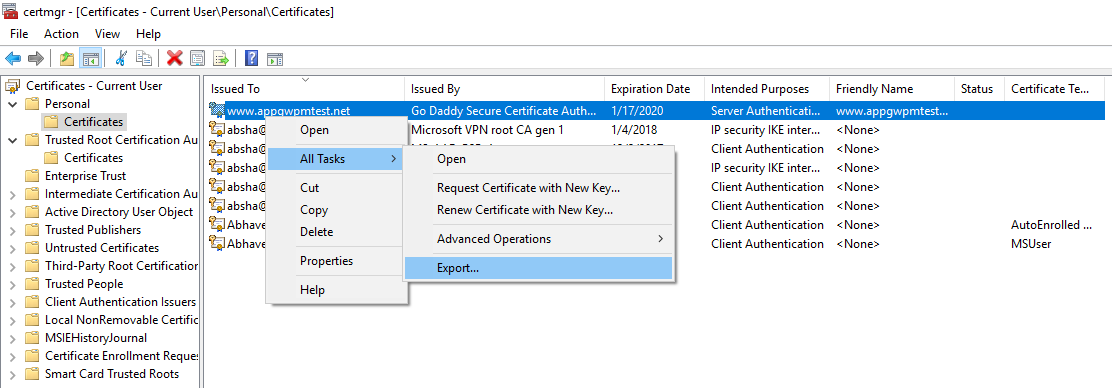
To obtain a .cer file from the certificate, open Manage user certificates. Locate the certificate, typically in 'Certificates - Current User\Personal\Certificates', and right-click. Click All Tasks, and then click Export. This opens the Certificate Export Wizard. If you can't find the certificate under Current User\Personal\Certificates, you may have accidentally opened "Certificates - Local Computer", rather than "Certificates - Current User"). If you want to open Certificate Manager in current user scope using PowerShell, you type certmgr in the console window.
In the Wizard, click Next.

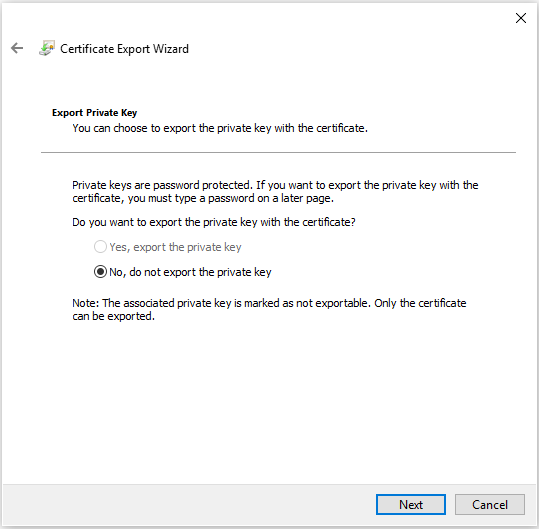
Select No, do not export the private key, and then click Next.
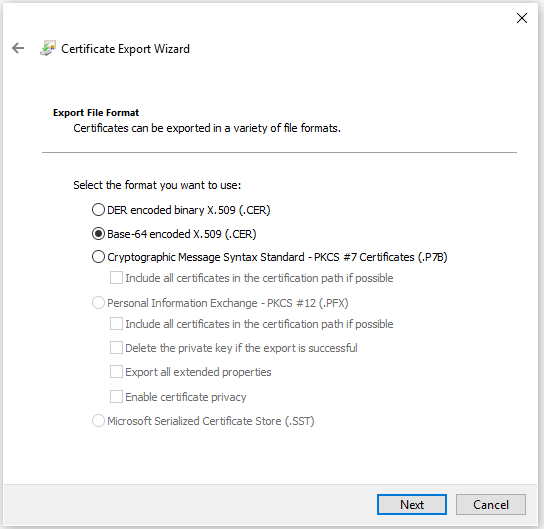
On the Export File Format page, select Base-64 encoded X.509 (.CER)., and then click Next.
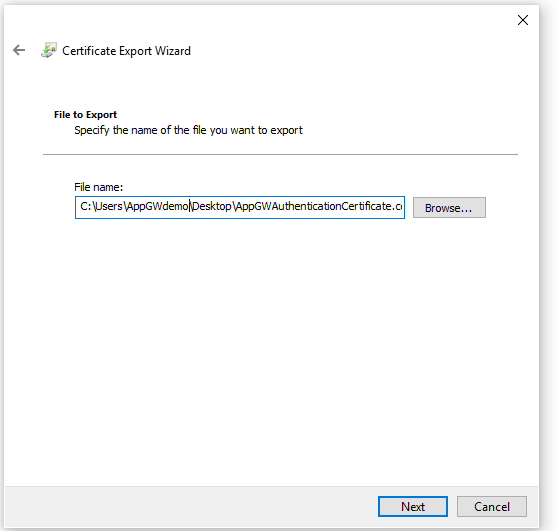
For File to Export, Browse to the location to which you want to export the certificate. For File name, name the certificate file. Then, click Next.
Click Finish to export the certificate.
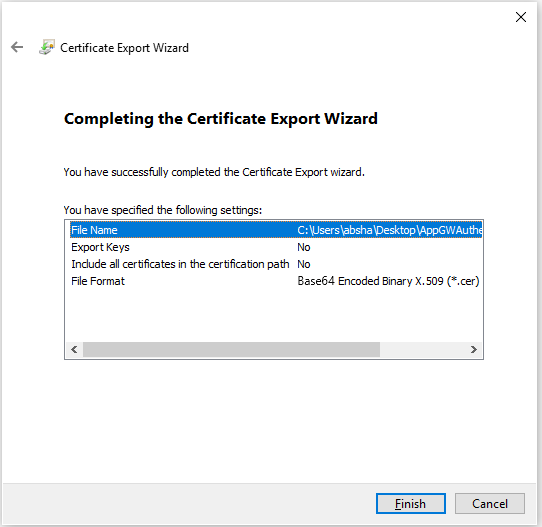
Your certificate is successfully exported.

The exported certificate looks similar to this:

Export CA certificate(s) from the public certificate
Now that you've exported your public certificate, you'll now export the CA certificate(s) from your public certificate. If you only have a root CA, you'll only need to export that certificate. However, if you have 1+ intermediate CAs, you need to export each of those as well.
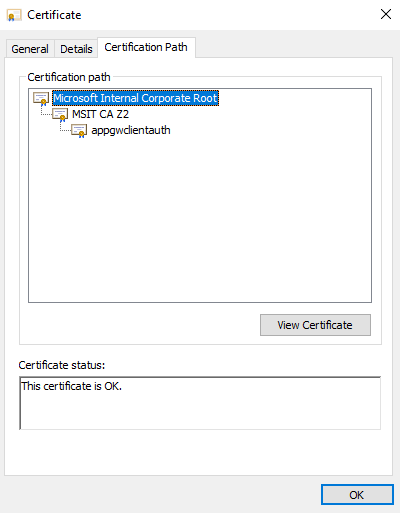
Once the public key has been exported, open the file.
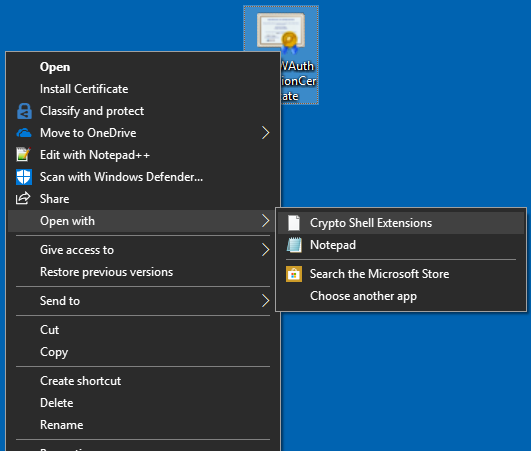
Select the Certification Path tab to view the certification authority.
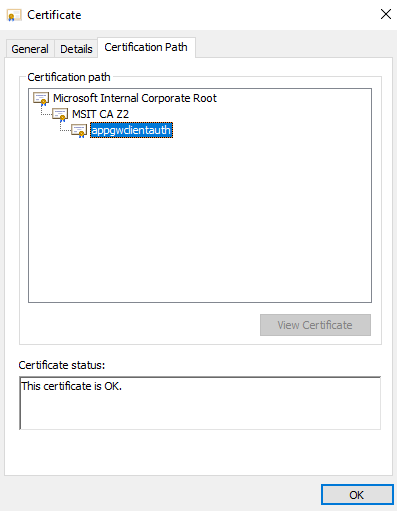
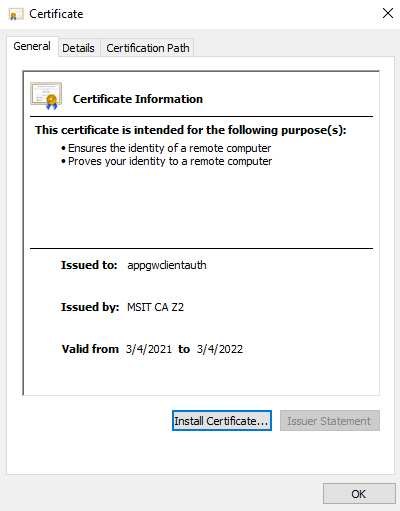
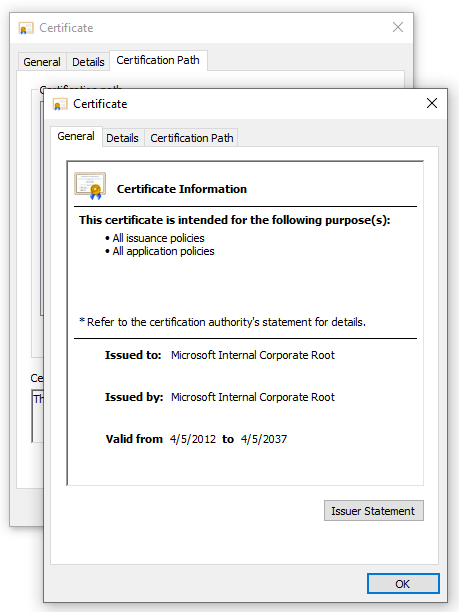
Select the root certificate and click on View Certificate.
You should see the root certificate details.
Select the Details tab and click Copy to File...

At this point, you've extracted the details of the root CA certificate from the public certificate. You see the Certificate Export Wizard. Follow steps 2-7 from the previous section (Export public certificate) to complete the Certificate Export Wizard.
Now repeat steps 2-6 from this current section (Export CA certificate(s) from the public certificate) for all intermediate CAs to export all intermediate CA certificates in the Base-64 encoded X.509(.CER) format.
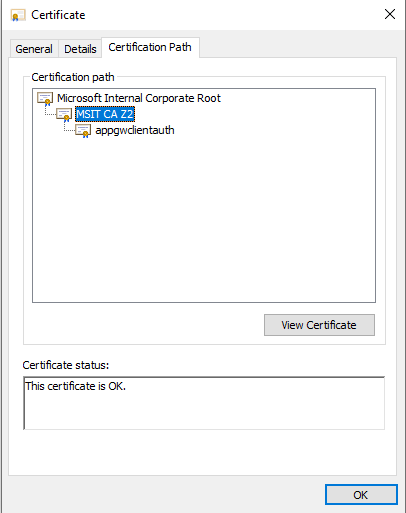
For example, you would repeat steps 2-6 from this section on the MSIT CAZ2 intermediate CA to extract it as its own certificate.
Concatenate all your CA certificates into one file
Run the following command with all the CA certificates you extracted earlier.
Windows:
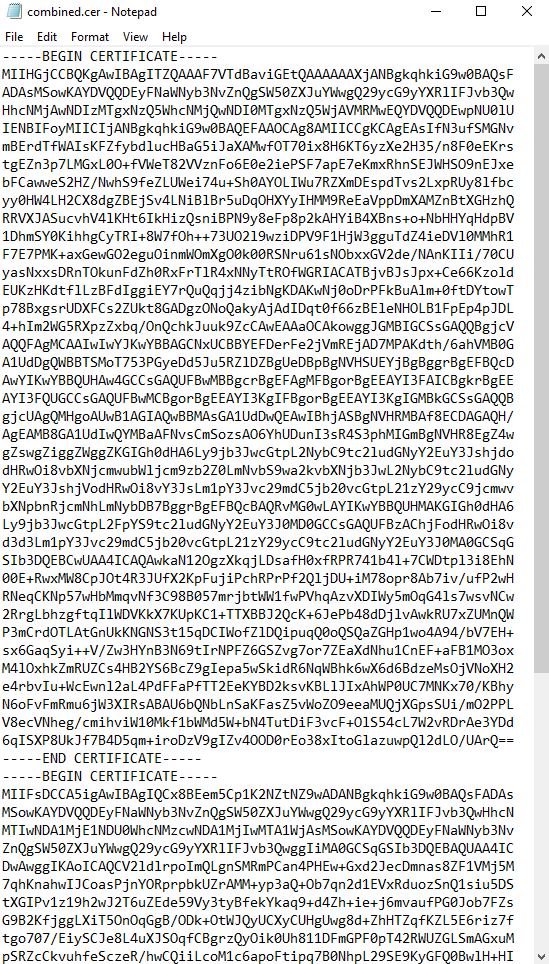
type intermediateCA.cer rootCA.cer > combined.cerLinux:
cat intermediateCA.cer rootCA.cer >> combined.cerYour resulting combined certificate should look something like the following:
Next steps
Now you have the trusted client CA certificate chain. You can add this to your client authentication configuration on the Application Gateway to allow mutual authentication with your gateway. See configure mutual authentication using Application Gateway with Portal or configure mutual authentication using Application Gateway with PowerShell.
Feedback
Coming soon: Throughout 2024 we will be phasing out GitHub Issues as the feedback mechanism for content and replacing it with a new feedback system. For more information see: https://aka.ms/ContentUserFeedback.
Submit and view feedback for