Deploy the Sample Labeling tool
This content applies to: ![]() v2.1.
v2.1.
Tip
- For an enhanced experience and advanced model quality, try the Document Intelligence v3.0 Studio.
- The v3.0 Studio supports any model trained with v2.1 labeled data.
- You can refer to the API migration guide for detailed information about migrating from v2.1 to v3.0.
- See our REST API or C#, Java, JavaScript, or Python SDK quickstarts to get started with the v3.0 version.
Note
The cloud hosted labeling tool is available at https://fott-2-1.azurewebsites.net/. Follow the steps in this document only if you want to deploy the Sample Labeling tool for yourself.
The Document Intelligence Sample Labeling tool is an application that provides a simple user interface (UI), which you can use to manually label forms (documents) for supervised learning. In this article, we provide links and instructions that teach you how to:
- Run the Sample Labeling tool locally
- Deploy the Sample Labeling tool to an Azure Container Instance (ACI)
- Use and contribute to the open-source OCR Form Labeling Tool
Run the Sample Labeling tool locally
The fastest way to start labeling data is to run the Sample Labeling tool locally. The following quickstart uses the Document Intelligence REST API and the Sample Labeling tool to train a custom model with manually labeled data.
Deploy with Azure Container Instances (ACI)
Before we get started, it's important to note that there are two ways to deploy the Sample Labeling tool to an Azure Container Instance (ACI). Both options are used to run the Sample Labeling tool with ACI:
Azure portal
Follow these steps to create a new resource using the Azure portal:
Sign in to the Azure portal.
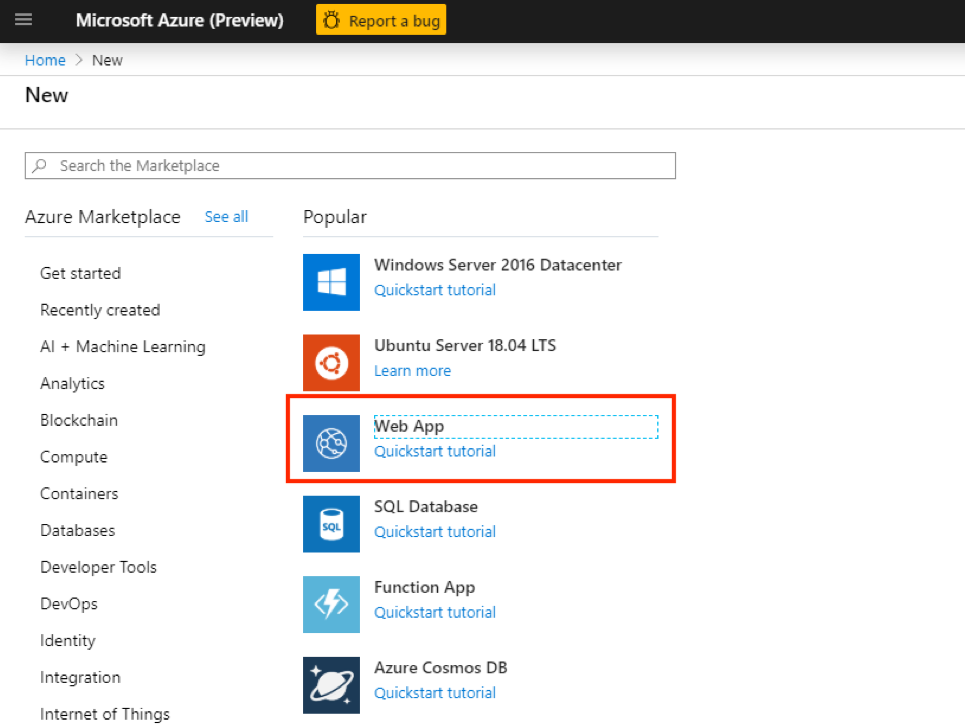
Select Create a resource.
Next, select Web App.
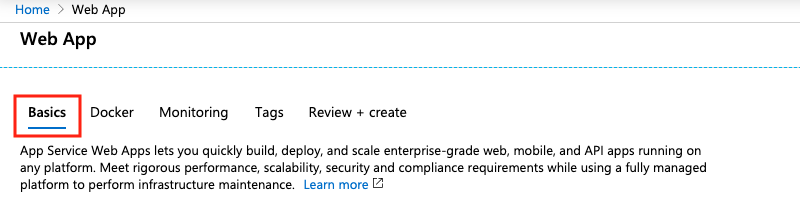
First, make sure that the Basics tab is selected. Now, you're going to need to provide some information:
- Subscription - Select an existing Azure subscription
- Resource Group - You can reuse an existing resource group or create a new one for this project. Creating a new resource group is recommended.
- Name - Give your web app a name.
- Publish - Select Docker Container
- Operating System - Select Linux
- Region - Choose a region that makes sense for you.
- Linux Plan - Select a pricing tier/plan for your app service.
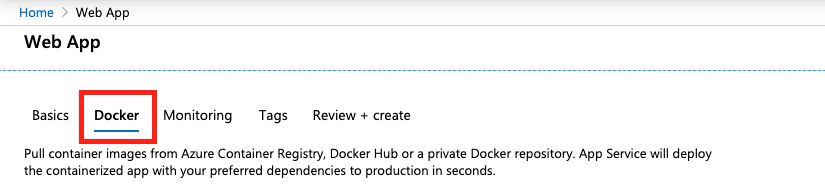
Next, select the Docker tab.
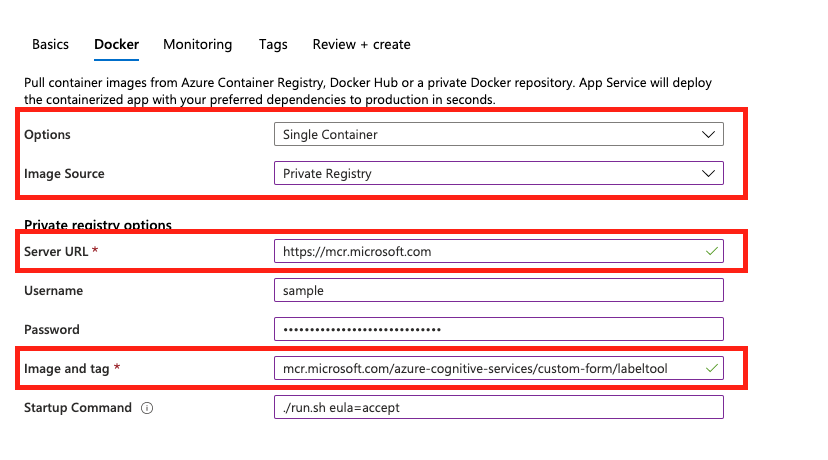
Now let's configure your Docker container. All fields are required unless otherwise noted:
- Options - Select Single Container
- Image Source - Select Private Registry
- Server URL - Set to
https://mcr.microsoft.com - Username (Optional) - Create a username.
- Password (Optional) - Create a secure password that you can remember.
- Image and tag - Set to
mcr.microsoft.com/azure-cognitive-services/custom-form/labeltool:latest-2.1 - Continuous Deployment - Set to On if you want to receive automatic updates when the development team makes changes to the Sample Labeling tool.
- Startup command - Set to
./run.sh eula=accept
- Next, select Review + Create, then Create to deploy your web app. When complete, you can access your web app at the URL provided in the Overview for your resource.
Continuous deployment
After you've created your web app, you can enable the continuous deployment option:
- From the left pane, choose Container settings.
- In the main window, navigate to Continuous deployment and toggle between the On and Off buttons to set your preference:

Note
When creating your web app, you can also configure authorization/authentication. This is not necessary to get started.
Important
You may need to enable TLS for your web app in order to view it at its https address. Follow the instructions in Enable a TLS endpoint to set up a sidecar container than enables TLS/SSL for your web app.
Azure CLI
As an alternative to using the Azure portal, you can create a resource using the Azure CLI. Before you continue, you need to install the Azure CLI. You can skip this step if you're already working with the Azure CLI.
There's a few things you need know about this command:
DNS_NAME_LABEL=aci-demo-$RANDOMgenerates a random DNS name.- This sample assumes that you have a resource group that you can use to create a resource. Replace
<resource_group_name>with a valid resource group associated with your subscription. - You need to specify where you want to create the resource. Replace
<region name>with your desired region for the web app. - This command automatically accepts EULA.
From the Azure CLI, run this command to create a web app resource for the Sample Labeling tool:
DNS_NAME_LABEL=aci-demo-$RANDOM

az container create \
  --resource-group <resource_group_name> \
  --name <name> \
  --image mcr.microsoft.com/azure-cognitive-services/custom-form/labeltool:latest-2.1 \
  --ports 3000 \
  --dns-name-label $DNS_NAME_LABEL \
  --location <region name> \
  --cpu 2 \
  --memory 8 \
  --command-line "./run.sh eula=accept"
Connect to Microsoft Entra ID for authorization
It's recommended that you connect your web app to Microsoft Entra ID. This connection ensures that only users with valid credentials can sign in and use your web app. Follow the instructions in Configure your App Service app to connect to Microsoft Entra ID.
Open source on GitHub
The OCR Form Labeling Tool is also available as an open-source project on GitHub. The tool is a web application built using React + Redux, and is written in TypeScript. To learn more or contribute, see OCR Form Labeling Tool.
Next steps
Use the Train with labels quickstart to learn how to use the tool to manually label training data and perform supervised learning.
Feedback
Coming soon: Throughout 2024 we will be phasing out GitHub Issues as the feedback mechanism for content and replacing it with a new feedback system. For more information see: https://aka.ms/ContentUserFeedback.
Submit and view feedback for