Managed identities for Document Intelligence
This content applies to: ![]() v4.0 (preview)
v4.0 (preview) ![]() v3.1 (GA)
v3.1 (GA) ![]() v3.0 (GA)
v3.0 (GA) ![]() v2.1 (GA)
v2.1 (GA)
Managed identities for Azure resources are service principals that create a Microsoft Entra identity and specific permissions for Azure managed resources:

You can use managed identities to grant access to any resource that supports Microsoft Entra authentication, including your own applications. Unlike security keys and authentication tokens, managed identities eliminate the need for developers to manage credentials.
To grant access to an Azure resource, assign an Azure role to a managed identity using Azure role-based access control (Azure RBAC).
There's no added cost to use managed identities in Azure.
Important
Managed identities eliminate the need for you to manage credentials, including Shared Access Signature (SAS) tokens.
Managed identities are a safer way to grant access to data without having credentials in your code.
Private storage account access
Private Azure storage account access and authentication support managed identities for Azure resources. If you have an Azure storage account, protected by a Virtual Network (VNet) or firewall, Document Intelligence can't directly access your storage account data. However, once a managed identity is enabled, Document Intelligence can access your storage account using an assigned managed identity credential.
Note
If you intend to analyze your storage data with the Document Intelligence Sample Labeling tool (FOTT), you must deploy the tool behind your VNet or firewall.
The Analyze Receipt, Business Card, Invoice, ID document, and Custom Form APIs can extract data from a single document by posting requests as raw binary content. In these scenarios, there is no requirement for a managed identity credential.
Prerequisites
To get started, you need:
An active Azure account—if you don't have one, you can create a free account.
A Document Intelligence or Azure AI services resource in the Azure portal. For detailed steps, see Create a multi-service resource.
An Azure blob storage account in the same region as your Document Intelligence resource. You also need to create containers to store and organize your blob data within your storage account.
If your storage account is behind a firewall, you must enable the following configuration:
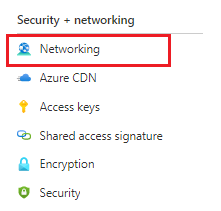
On your storage account page, select Security + networking → Networking from the left menu.
In the main window, select Allow access from selected networks.
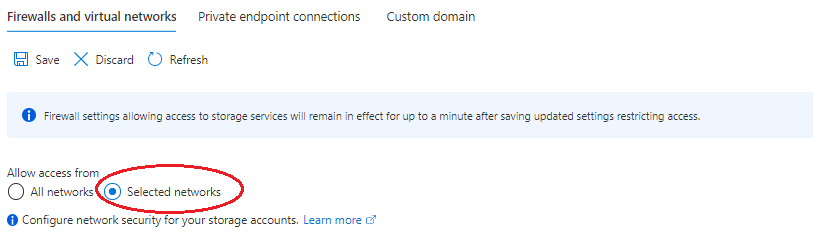
On the selected networks page, navigate to the Exceptions category and make certain that the Allow Azure services on the trusted services list to access this storage account checkbox is enabled.

A brief understanding of Azure role-based access control (Azure RBAC) using the Azure portal.
Managed identity assignments
There are two types of managed identity: system-assigned and user-assigned. Currently, Document Intelligence only supports system-assigned managed identity:
A system-assigned managed identity is enabled directly on a service instance. It isn't enabled by default; you must go to your resource and update the identity setting.
The system-assigned managed identity is tied to your resource throughout its lifecycle. If you delete your resource, the managed identity is deleted as well.
In the following steps, we enable a system-assigned managed identity and grant Document Intelligence limited access to your Azure blob storage account.
Enable a system-assigned managed identity
Important
To enable a system-assigned managed identity, you need Microsoft.Authorization/roleAssignments/write permissions, such as Owner or User Access Administrator. You can specify a scope at four levels: management group, subscription, resource group, or resource.
Sign in to the Azure portal using an account associated with your Azure subscription.
Navigate to your Document Intelligence resource page in the Azure portal.
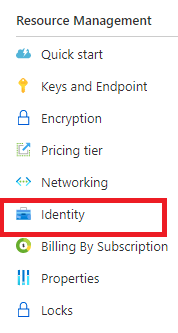
In the left rail, Select Identity from the Resource Management list:
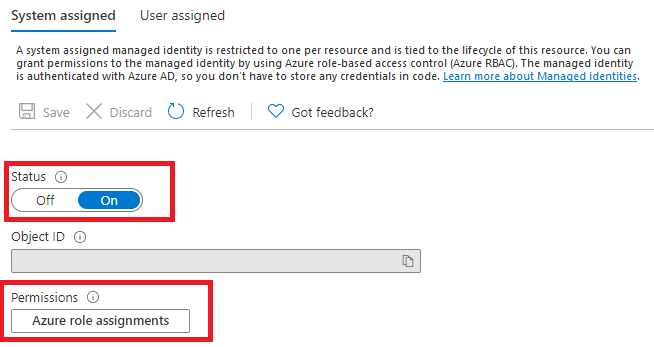
In the main window, toggle the System assigned Status tab to On.
Grant access to your storage account
You need to grant Document Intelligence access to your storage account before it can read blobs. Now that you've enabled Document Intelligence with a system-assigned managed identity, you can use Azure role-based access control (Azure RBAC), to give Document Intelligence access to Azure storage. The Storage Blob Data Reader role gives Document Intelligence (represented by the system-assigned managed identity) read and list access to the blob container and data.
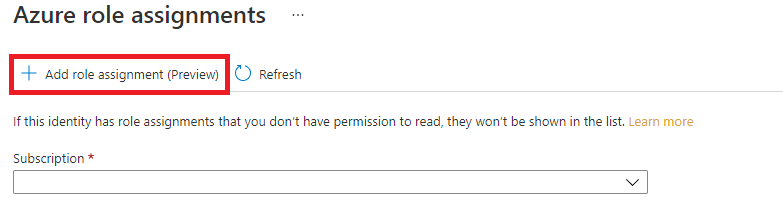
Under Permissions select Azure role assignments:
On the Azure role assignments page that opens, choose your subscription from the drop-down menu then select + Add role assignment.
Note
If you're unable to assign a role in the Azure portal because the Add > Add role assignment option is disabled or you get the permissions error, "you do not have permissions to add role assignment at this scope", check that you're currently signed in as a user with an assigned a role that has Microsoft.Authorization/roleAssignments/write permissions such as Owner or User Access Administrator at the Storage scope for the storage resource.
Next, you're going to assign a Storage Blob Data Reader role to your Document Intelligence service resource. In the Add role assignment pop-up window, complete the fields as follows and select Save:
Field Value Scope Storage Subscription The subscription associated with your storage resource. Resource The name of your storage resource Role Storage Blob Data Reader—allows for read access to Azure Storage blob containers and data. 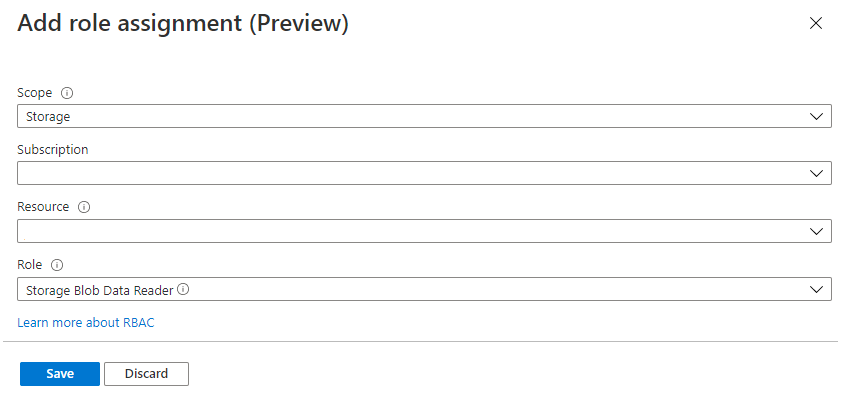
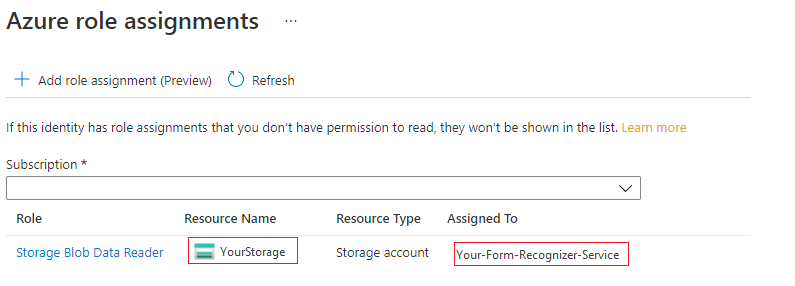
After you've received the Added Role assignment confirmation message, refresh the page to see the added role assignment.

If you don't see the change right away, wait and try refreshing the page once more. When you assign or remove role assignments, it can take up to 30 minutes for changes to take effect.
That's it! You've completed the steps to enable a system-assigned managed identity. With managed identity and Azure RBAC, you granted Document Intelligence specific access rights to your storage resource without having to manage credentials such as SAS tokens.
Additional role assignment for Document Intelligence Studio
If you are going to use Document Intelligence Studio and your storage account is configured with network restriction such as firewall or virtual network, an additional role, Storage Blob Data Contributor, needs to be assigned to your Document Intelligence service. Document Intelligence Studio requires this role to write blobs to your storage account when you perform Auto label, OCR upgrade, Human in the loop, or Project sharing operations.
Next steps
Feedback
Coming soon: Throughout 2024 we will be phasing out GitHub Issues as the feedback mechanism for content and replacing it with a new feedback system. For more information see: https://aka.ms/ContentUserFeedback.
Submit and view feedback for