Quickstart: Deploy Azure Arc-enabled data services - directly connected mode - Azure portal
This article demonstrates how to deploy Azure Arc-enabled data services in directly connected mode from the Azure portal.
To deploy in indirectly connected mode, see Quickstart: Deploy Azure Arc-enabled data services - indirectly connected mode - Azure CLI.
When you complete the steps in this article, you will have:
- An Arc-enabled Azure Kubernetes cluster.
- A data controller in directly connected mode.
- An instance of SQL Managed Instance enabled by Azure Arc.
- A connection to the instance with Azure Data Studio.
Azure Arc allows you to run Azure data services on-premises, at the edge, and in public clouds via Kubernetes. Deploy SQL Managed Instance and PostgreSQL server (preview) data services with Azure Arc. The benefits of using Azure Arc include staying current with constant service patches, elastic scale, self-service provisioning, unified management, and support for disconnected mode.
Install client tools
First, install the client tools needed on your machine. To complete the steps in this article, you will use the following tools:
- Azure Data Studio
- The Azure Arc extension for Azure Data Studio
- Kubernetes CLI
- Azure CLI
arcdataextension for Azure CLI.
In addition, you need the following additional extensions to connect the cluster to Azure:
- connectedk8s
- k8s-extension
Access your Kubernetes cluster
After installing the client tools, you need access to a Kubernetes cluster. You can create a Kubernetes cluster with az aks create, or you can follow the steps below to create the cluster in the Azure portal.
Create a cluster
To quickly create a Kubernetes cluster, use Azure Kubernetes Services (AKS).
- Log in to Azure portal.
- In the search resources field at the top of the portal, type Kubernetes, and select Kubernetes services. Azure takes you to Kubernetes services.
- Select Create > Create Kubernetes cluster.
- Under Basics,
- Specify your Subscription.
- Create a resource group, or specify an existing resource group.
- For Cluster preset configuration, review the available options and select for your workload. For a development/test proof of concept, use Dev/Test. Select a configuration with at least 4 vCPUs.
- Specify a cluster name.
- Specify a region.
- Under Availability zones, remove all selected zones. You should not specify any zones.
- Verify the Kubernetes version. For minimum supported version, see Plan an Azure Arc-enabled data services deployment.
- Under Node size, select a node size for your cluster based on the Sizing guidance.
- For Scale method, select Manual.
- Click Review + create.
- Click Create.
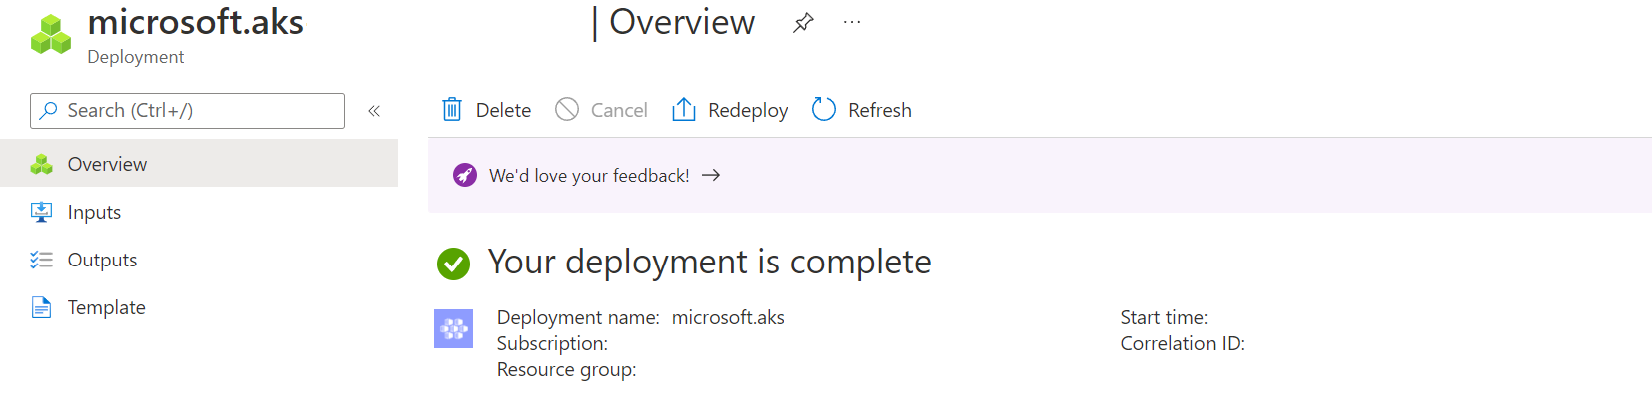
Azure creates your Kubernetes cluster.
When the cluster is completed, the Azure updates the portal to show the completed status:
Connect to the cluster
After creating the cluster, connect to the cluster through the Azure CLI.
Log in to Azure - if not already.
az loginFollow the steps to connect.
Get the credentials to connect to the cluster.
The scripts in this article use angle brackets
< ... >to identify values you will need to replace before you run the scripts. Do not include the angle brackets.az aks get-credentials --resource-group <resource_group_name> --name <cluster_name>Use the resource group and cluster name that you defined when you created the cluster in the portal.
Azure CLI returns the following output.
Merged "<cluster name>" as current context in C:<current path>\.kube\configConfirm that your cluster is running. Use the following command:
kubectl get nodesThe command returns a list of the running nodes.
NAME                                STATUS   ROLES   AGE     VERSION
aks-agentpool-37241625-vmss000000   Ready    agent   3h10m   v1.20.9
aks-agentpool-37241625-vmss000001   Ready    agent   3h10m   v1.20.9
aks-agentpool-37241625-vmss000002   Ready    agent   3h9m    v1.20.9
Arc enable the Kubernetes cluster
Now that the cluster is running, connect the cluster to Azure. When you connect a cluster to Azure, you enable it for Azure Arc. Connecting the cluster to Azure allows you to view and manage the cluster. In addition, you can deploy and manage additional services such as Arc-enabled data services on the cluster directly from Azure portal.
Use az connectedk8s connect to connect the cluster to Azure:
az connectedk8s connect --resource-group <resource group> --name <cluster name>
After the connect command completes successfully, you can view the shadow object in the Azure portal. The shadow object is the representation of the Azure Arc-enabled cluster.
In the Azure portal, locate the resource group. One way to find the resource group is to type the resource group name in search on the portal. The portal displays a link to the resource group below the search box. Click the resource group link.
In the resource group, under Overview you can see the Kubernetes cluster, and the shadow object. See the following image:
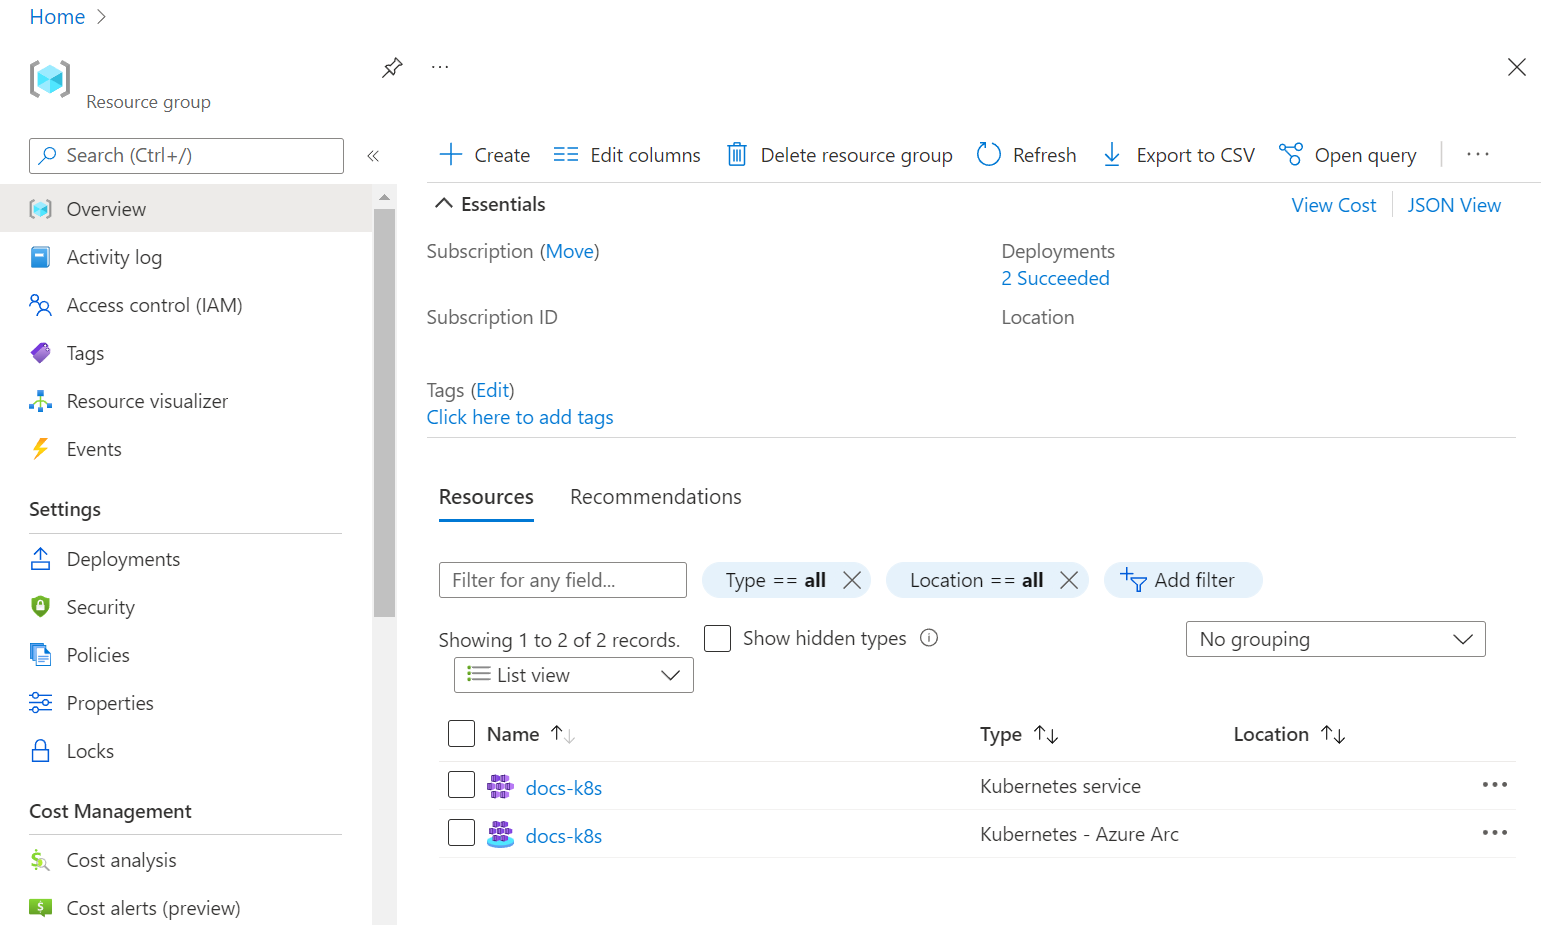
The shadow resource is the resource type Kubernetes - Azure Arc in the image above. The other resource is the Kubernetes service cluster. Both resources have the same name.

Create the data controller
The next step is to create the data controller in directly connected mode via the Azure portal. Use the same subscription and resource group that you used to create a cluster.
In the portal, locate the resource group from the previous step.
From the search bar in Azure portal, search for Azure Arc data controllers, and select + Create.
Select Azure Arc-enabled Kubernetes cluster (Direct connectivity mode). Select Next: Data controller details.
Specify a name for the data controller.
Specify a custom location (namespace).
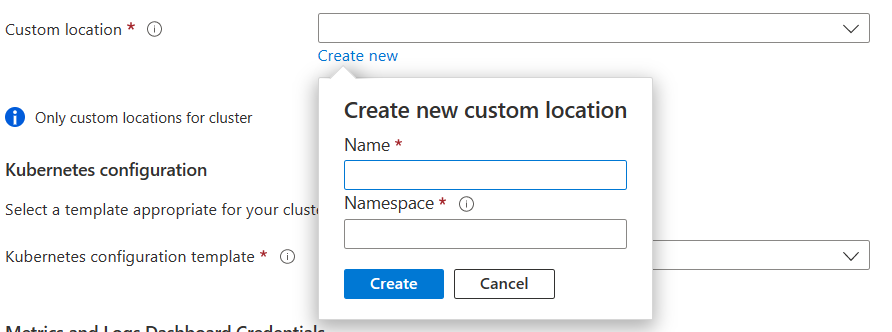
For Kubernetes configuration template, specify azure-arc-aks-premium-storage because this example uses an AKS cluster.
For Service type, select Load balancer.
Set a user name and password for the metrics and log services.
The passwords must be at least eight characters long and contain characters from three of the following four categories: Latin uppercase letters, Latin lowercase letters, numbers, and non-alphanumeric characters.
Follow the instructions in the portal to complete the specification and deploy the data controller.
To view data controllers, run following command:
kubectl get datacontrollers -A
Monitor deployment
You can also monitor the creation of the data controller with the following command:
kubectl get datacontroller --namespace <namespace>
The command returns the state of the data controller. For example, the following results indicate that the deployment is in progress:
NAME          STATE
<namespace>   DeployingMonitoring
Once the state of the data controller is ‘READY’, then this step is completed. For example:
NAME          STATE
<namespace>   Ready
Deploy SQL Managed Instance enabled by Azure Arc
- In the portal, locate the resource group.
- In the resource group, select Create.
- Enter managed instance. The Azure portal returns resource types with a matching name.
- Select Azure SQL Managed Instance - Azure Arc.
- Click Create.
- Specify your resource group, and custom location. Use the same value that you set in the previous step.
- Set the LoadBalancer service type.
- Provide credentials (login and password) for the managed instance administrator account.
- Click Review and Create.
- Click Create.
Azure creates the managed instance on the Azure Arc-enabled Kubernetes cluster.
To know when the instance has been created, run:
kubectl get sqlmi -n <namespace>
Once the state of the managed instance namespace is ‘READY’, then this step is completed. For example:
NAME          STATE
<namespace>   Ready
Connect with Azure Data Studio
To connect with Azure Data Studio, see Connect to SQL Managed Instance enabled by Azure Arc.
Feedback
Coming soon: Throughout 2024 we will be phasing out GitHub Issues as the feedback mechanism for content and replacing it with a new feedback system. For more information see: https://aka.ms/ContentUserFeedback.
Submit and view feedback for