Events
Mar 17, 11 PM - Mar 21, 11 PM
Join the meetup series to build scalable AI solutions based on real-world use cases with fellow developers and experts.
Register nowThis browser is no longer supported.
Upgrade to Microsoft Edge to take advantage of the latest features, security updates, and technical support.
Azure Functions lets you run your code in a serverless environment without having to first create a virtual machine (VM) or publish a web application. In this article, you learn how to use Azure Functions to create a "hello world" HTTP trigger function in the Azure portal.
Choose your preferred programming language at the top of the article.
Note
Editing your C# function code in the Azure portal is currently only supported for C# script (.csx) functions. To learn more about the limitations on editing function code in the Azure portal, see Development limitations in the Azure portal.
You should instead develop your functions locally and publish to a function app in Azure. Use one of the following links to get started with your chosen local development environment:
Note
Editing your Java function code in the Azure portal isn't currently supported. For more information, see Development limitations in the Azure portal.
You should instead develop your functions locally and publish to a function app in Azure. Use one of the following links to get started with your chosen local development environment:
Note
Because of development limitations in the Azure portal, you should instead develop your functions locally and publish to a function app in Azure. Use one of the following links to get started with your chosen local development environment:
Note
Because of development limitations in the Azure portal, you should instead develop your functions locally and publish to a function app in Azure. Use one of the following links to get started with your chosen local development environment:
Note
Editing your TypeScript function code in the Azure portal isn't currently supported. For more information, see Development limitations in the Azure portal.
You should instead develop your functions locally and publish to a function app in Azure. Use one of the following links to get started with your chosen local development environment:
Note
Because of development limitations in the Azure portal, you should instead develop your functions locally and publish to a function app in Azure. Use one of the following links to get started with your chosen local development environment:
Please review the known issues for development of Azure Functions using Python in the Azure portal.
If you don't have an Azure subscription, create an Azure free account before you begin.
Sign in to the Azure portal with your Azure account.
You must have a function app to host the execution of your functions. A function app lets you group functions as a logical unit for easier management, deployment, scaling, and sharing of resources.
Use these steps to create your function app and related Azure resources, whether or not you're able to edit your code in the Azure portal.
To be able to create a C# script app that you can edit in the portal, choose 8 (LTS), in-process model for .NET Version.
From the Azure portal menu or the Home page, select Create a resource.
In the New page, select Compute > Function App.
Under Select a hosting option, select Consumption > Select to create your app in the default Consumption plan. In this serverless hosting option, you pay only for the time your functions run. Premium plan also offers dynamic scaling. When you run in an App Service plan, you must manage the scaling of your function app.
On the Basics page, use the function app settings as specified in the following table:
| Setting | Suggested value | Description |
|---|---|---|
| Subscription | Your subscription | The subscription under which you create your new function app. |
| Resource Group | myResourceGroup | Name for the new resource group in which you create your function app. You should create a new resource group because there are known limitations when creating new function apps in an existing resource group. |
| Function App name | Globally unique name | Name that identifies your new function app. Valid characters are a-z (case insensitive), 0-9, and -. |
| Runtime stack | Preferred language | Choose a runtime that supports your favorite function programming language. In-portal editing is only available for JavaScript, PowerShell, Python, TypeScript, and C# script. To create a C# Script app that supports in-portal editing, you must choose a runtime Version that supports the in-process model. C# class library and Java functions must be developed locally. |
| Version | Version number | Choose the version of your installed runtime. |
| Region | Preferred region | Select a region that's near you or near other services that your functions can access. |
| Operating system | Windows | An operating system is preselected for you based on your runtime stack selection, but you can change the setting if necessary. In-portal editing is only supported on Windows. |
Accept the default options in the remaining tabs, including the default behavior of creating a new storage account on the Storage tab and a new Application Insight instance on the Monitoring tab. You can also choose to use an existing storage account or Application Insights instance.
Select Review + create to review the app configuration you chose, and then select Create to provision and deploy the function app.
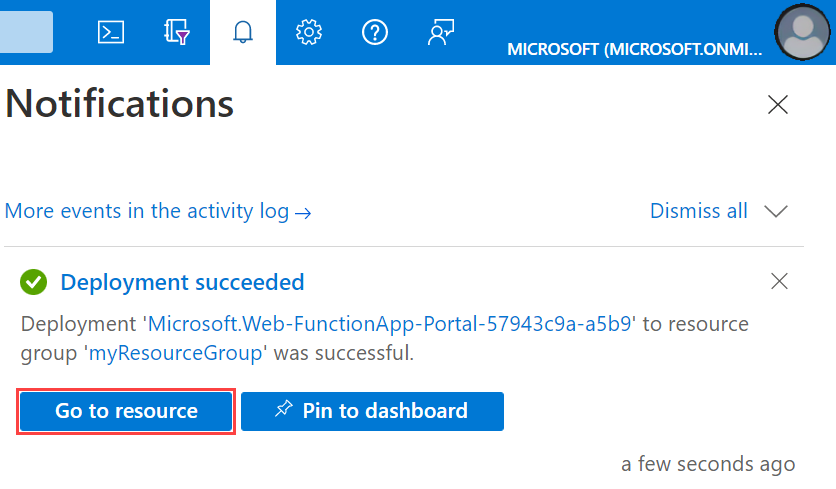
Select the Notifications icon in the upper-right corner of the portal and watch for the Deployment succeeded message.
Select Go to resource to view your new function app. You can also select Pin to dashboard. Pinning makes it easier to return to this function app resource from your dashboard.
Next, create a function in the new function app.
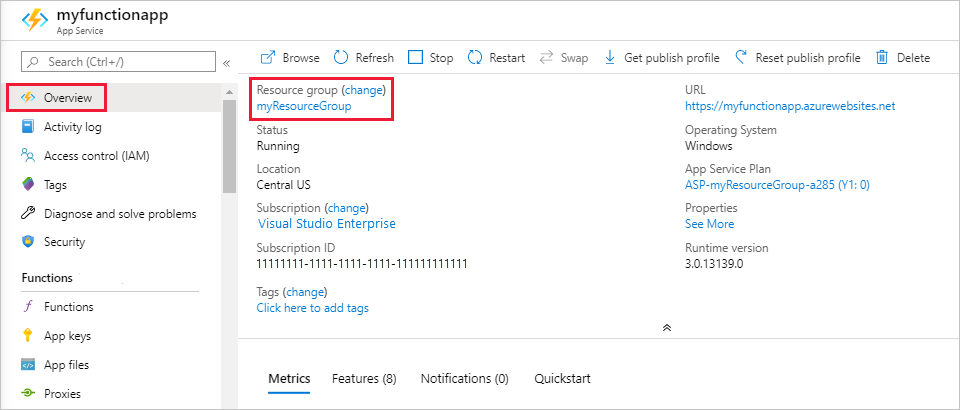
In your function app, select Overview, and then select + Create under Functions. If you don't see the + Create button, you can instead create your functions locally.
Under Select a template, scroll down and choose the HTTP trigger template.
In Template details, use HttpExample for New Function, select Anonymous from the Authorization level drop-down list, and then select Create.
Azure creates the HTTP trigger function. Now, you can run the new function by sending an HTTP request.
If you aren't able to create your function code in the portal, you can instead create a local project and publish the function code to your new function app.
In your function app, select Overview, and then in Create functions in your preferred environment under Functions.
Choose your preferred local development environment and follow the steps in the linked article to create and publish your first Azure Functions project.
Tip
When publishing your new project, make sure to use the function app and related resources you just created.
Tip
The Code + Test functionality in the portal works even for functions that are read-only and can't be edited in the portal.
On the Overview page for your new function app, select your new HTTP triggered function in the Functions tab.
In the left menu, expand Developer, select Code + Test, and then select Test/Run.
In the Test/Run dialog, select Run.
An HTTP POST request is sent to your new function with a payload that contains the name value of Azure. You can also test the function by selecting GET for HTTP method and adding a name parameter with a value of YOUR_NAME.
Tip
To test in an external browser, instead select Get function URL, copy the default (Function key) value, add the query string value &name=<YOUR_NAME> to the end of this URL, and then submit the URL in the address bar of your web browser.
When your function runs, trace information is written to the logs. To see the trace output, return to the Code + Test page in the portal and expand the Logs arrow at the bottom of the page. Call your function again to see the trace output written to the logs.
Other quickstarts in this collection build upon this quickstart. If you plan to work with subsequent quickstarts, tutorials, or with any of the services you've created in this quickstart, don't clean up the resources.
Resources in Azure refer to function apps, functions, storage accounts, and so forth. They're grouped into resource groups, and you can delete everything in a group by deleting the group.
You've created resources to complete these quickstarts. You might be billed for these resources, depending on your account status and service pricing. If you don't need the resources anymore, here's how to delete them:
In the Azure portal, go to the Resource group page.
To get to that page from the function app page, select the Overview tab, and then select the link under Resource group.
To get to that page from the dashboard, select Resource groups, and then select the resource group that you used for this article.
In the Resource group page, review the list of included resources, and verify that they're the ones you want to delete.
Select Delete resource group and follow the instructions.
Deletion might take a couple of minutes. When it's done, a notification appears for a few seconds. You can also select the bell icon at the top of the page to view the notification.
Now that you've created your first function, let's add an output binding to the function that writes a message to a Storage queue.
Events
Mar 17, 11 PM - Mar 21, 11 PM
Join the meetup series to build scalable AI solutions based on real-world use cases with fellow developers and experts.
Register nowTraining
Module
Create serverless logic with Azure Functions - Training
Azure Functions allows you to host business logic that can be executed without managing or provisioning server infrastructure
Certification
Microsoft Certified: Azure Developer Associate - Certifications
Build end-to-end solutions in Microsoft Azure to create Azure Functions, implement and manage web apps, develop solutions utilizing Azure storage, and more.
Documentation
Develop Azure Functions by using Visual Studio Code
Learn how to develop and test Azure Functions by using the Azure Functions extension for Visual Studio Code.
Develop and run Azure Functions locally
Learn how to code and test Azure Functions on your local computer before you run them on Azure Functions.
Develop Azure Functions using Visual Studio
Learn how to develop and test Azure Functions by using Azure Functions Tools for Visual Studio 2022.