Quickstart: Create and run a chaos experiment by using Azure Chaos Studio
Get started with Azure Chaos Studio by using a virtual machine (VM) shutdown service-direct experiment to make your service more resilient to that failure in real-world scenarios.
Prerequisites
- An Azure subscription. If you don't have an Azure subscription, create an Azure free account before you begin.
- A Linux VM running an operating system in the Azure Chaos Studio version compatibility list. If you don't have a VM, follow these steps to create one.
Register the Chaos Studio resource provider
If it's your first time using Chaos Studio, you must first register the Chaos Studio resource provider before you onboard the resources and create an experiment. You must do these steps for each subscription where you use Chaos Studio:
- Open the Azure portal.
- Search for Subscriptions and open the subscription management page.
- Select the subscription where you want to use Chaos Studio.
- In the pane on the left, select Resource providers.
- In the list of resource providers that appears, search for Microsoft.Chaos.
- Select the Microsoft.Chaos provider and select the Register button.
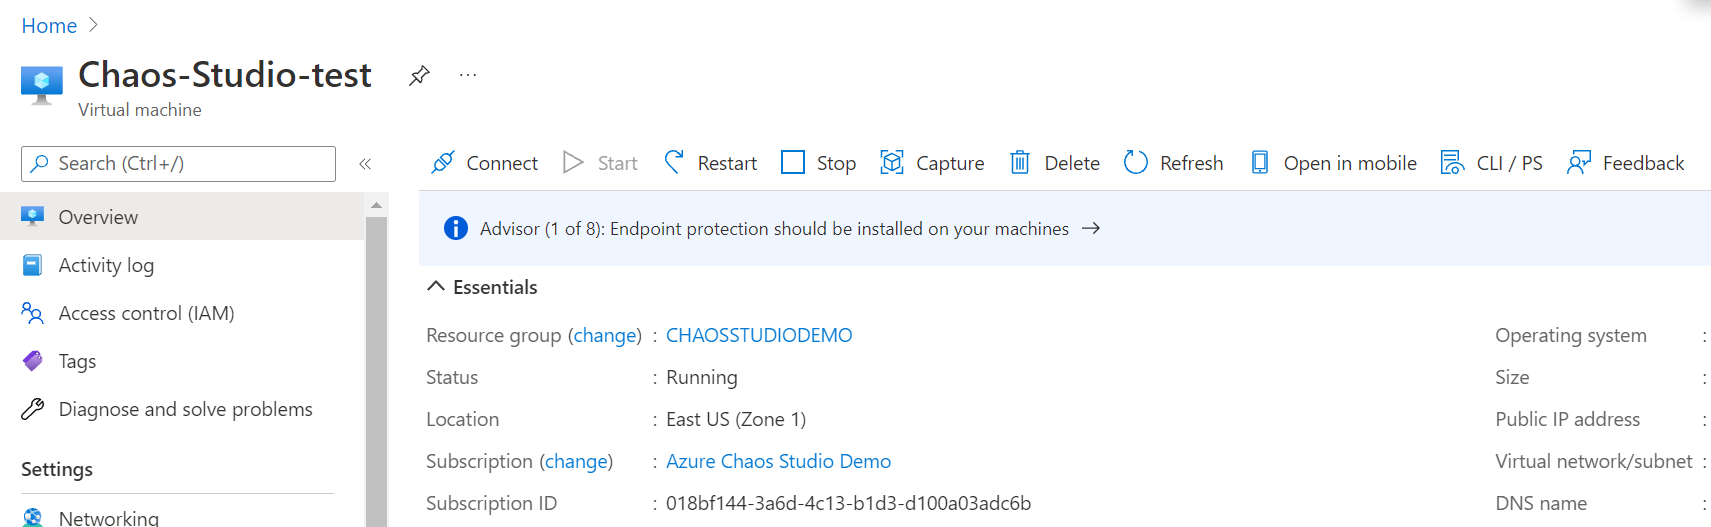
Create an Azure resource supported by Chaos Studio
Create an Azure resource and ensure that it's one of the supported fault providers. Also validate if this resource is being created in the region where Chaos Studio is available. In this experiment, we choose an Azure VM, which is one of the supported fault providers for Chaos Studio.
Enable Chaos Studio on the VM you created
Open the Azure portal.
Search for Chaos Studio in the search bar.
Select Targets and go to the VM you created.
Select the checkbox next to your VM. Select Enable targets > Enable service-direct targets from the dropdown menu.
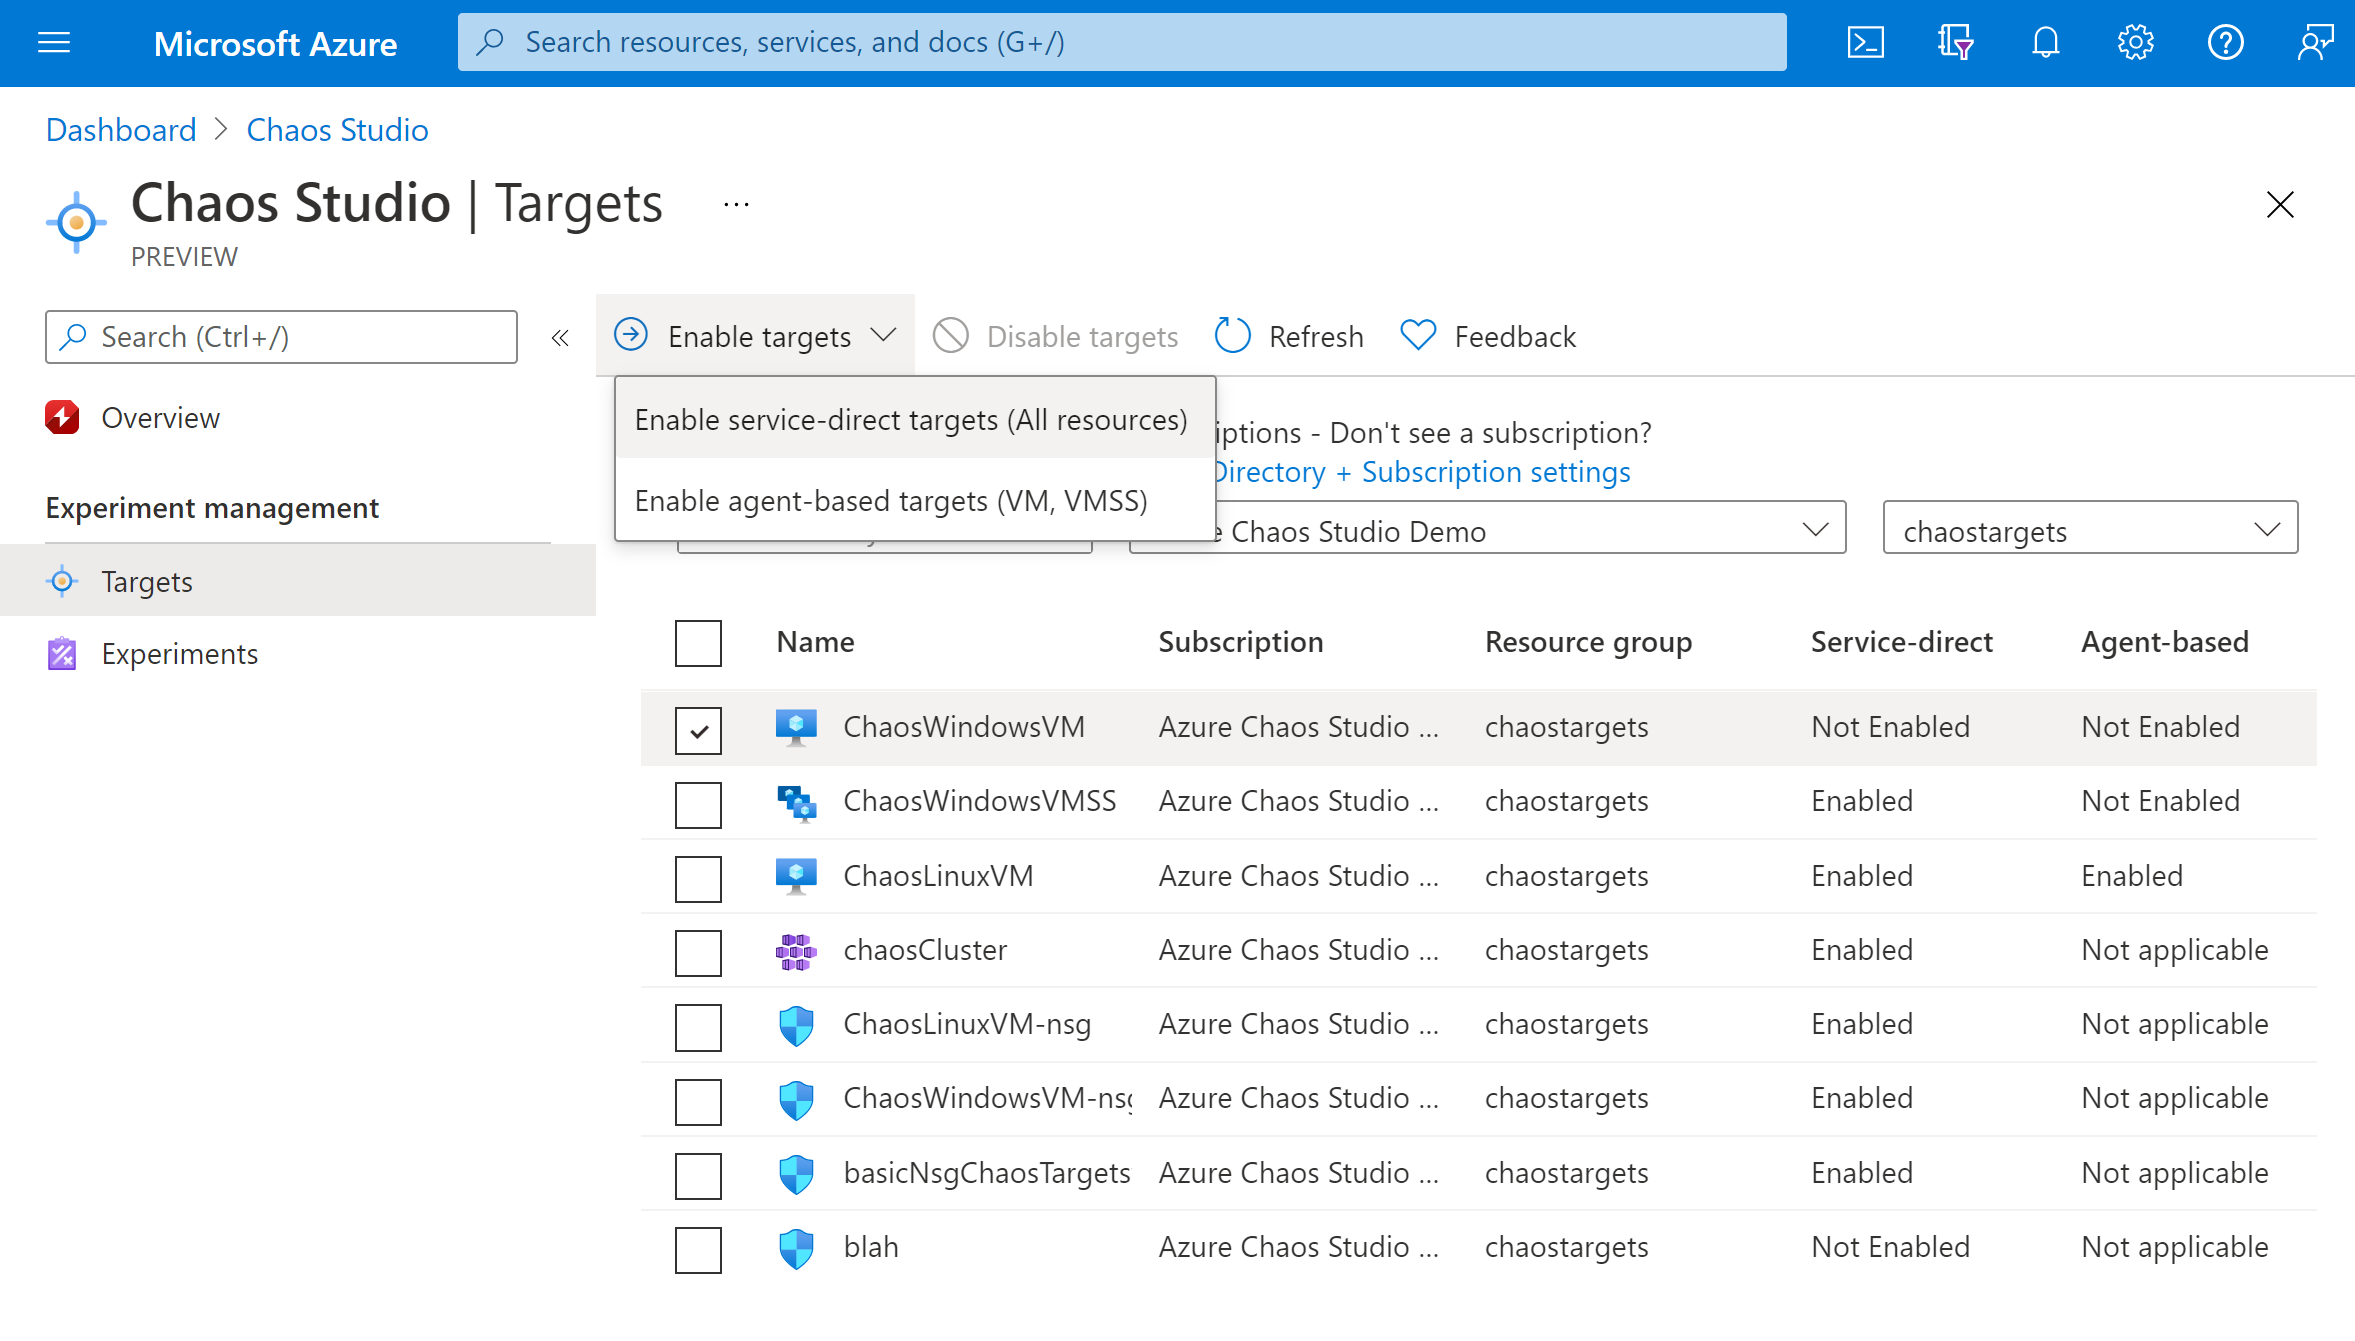
Confirm that the desired resource is listed. Select Review + Enable, then Enable.
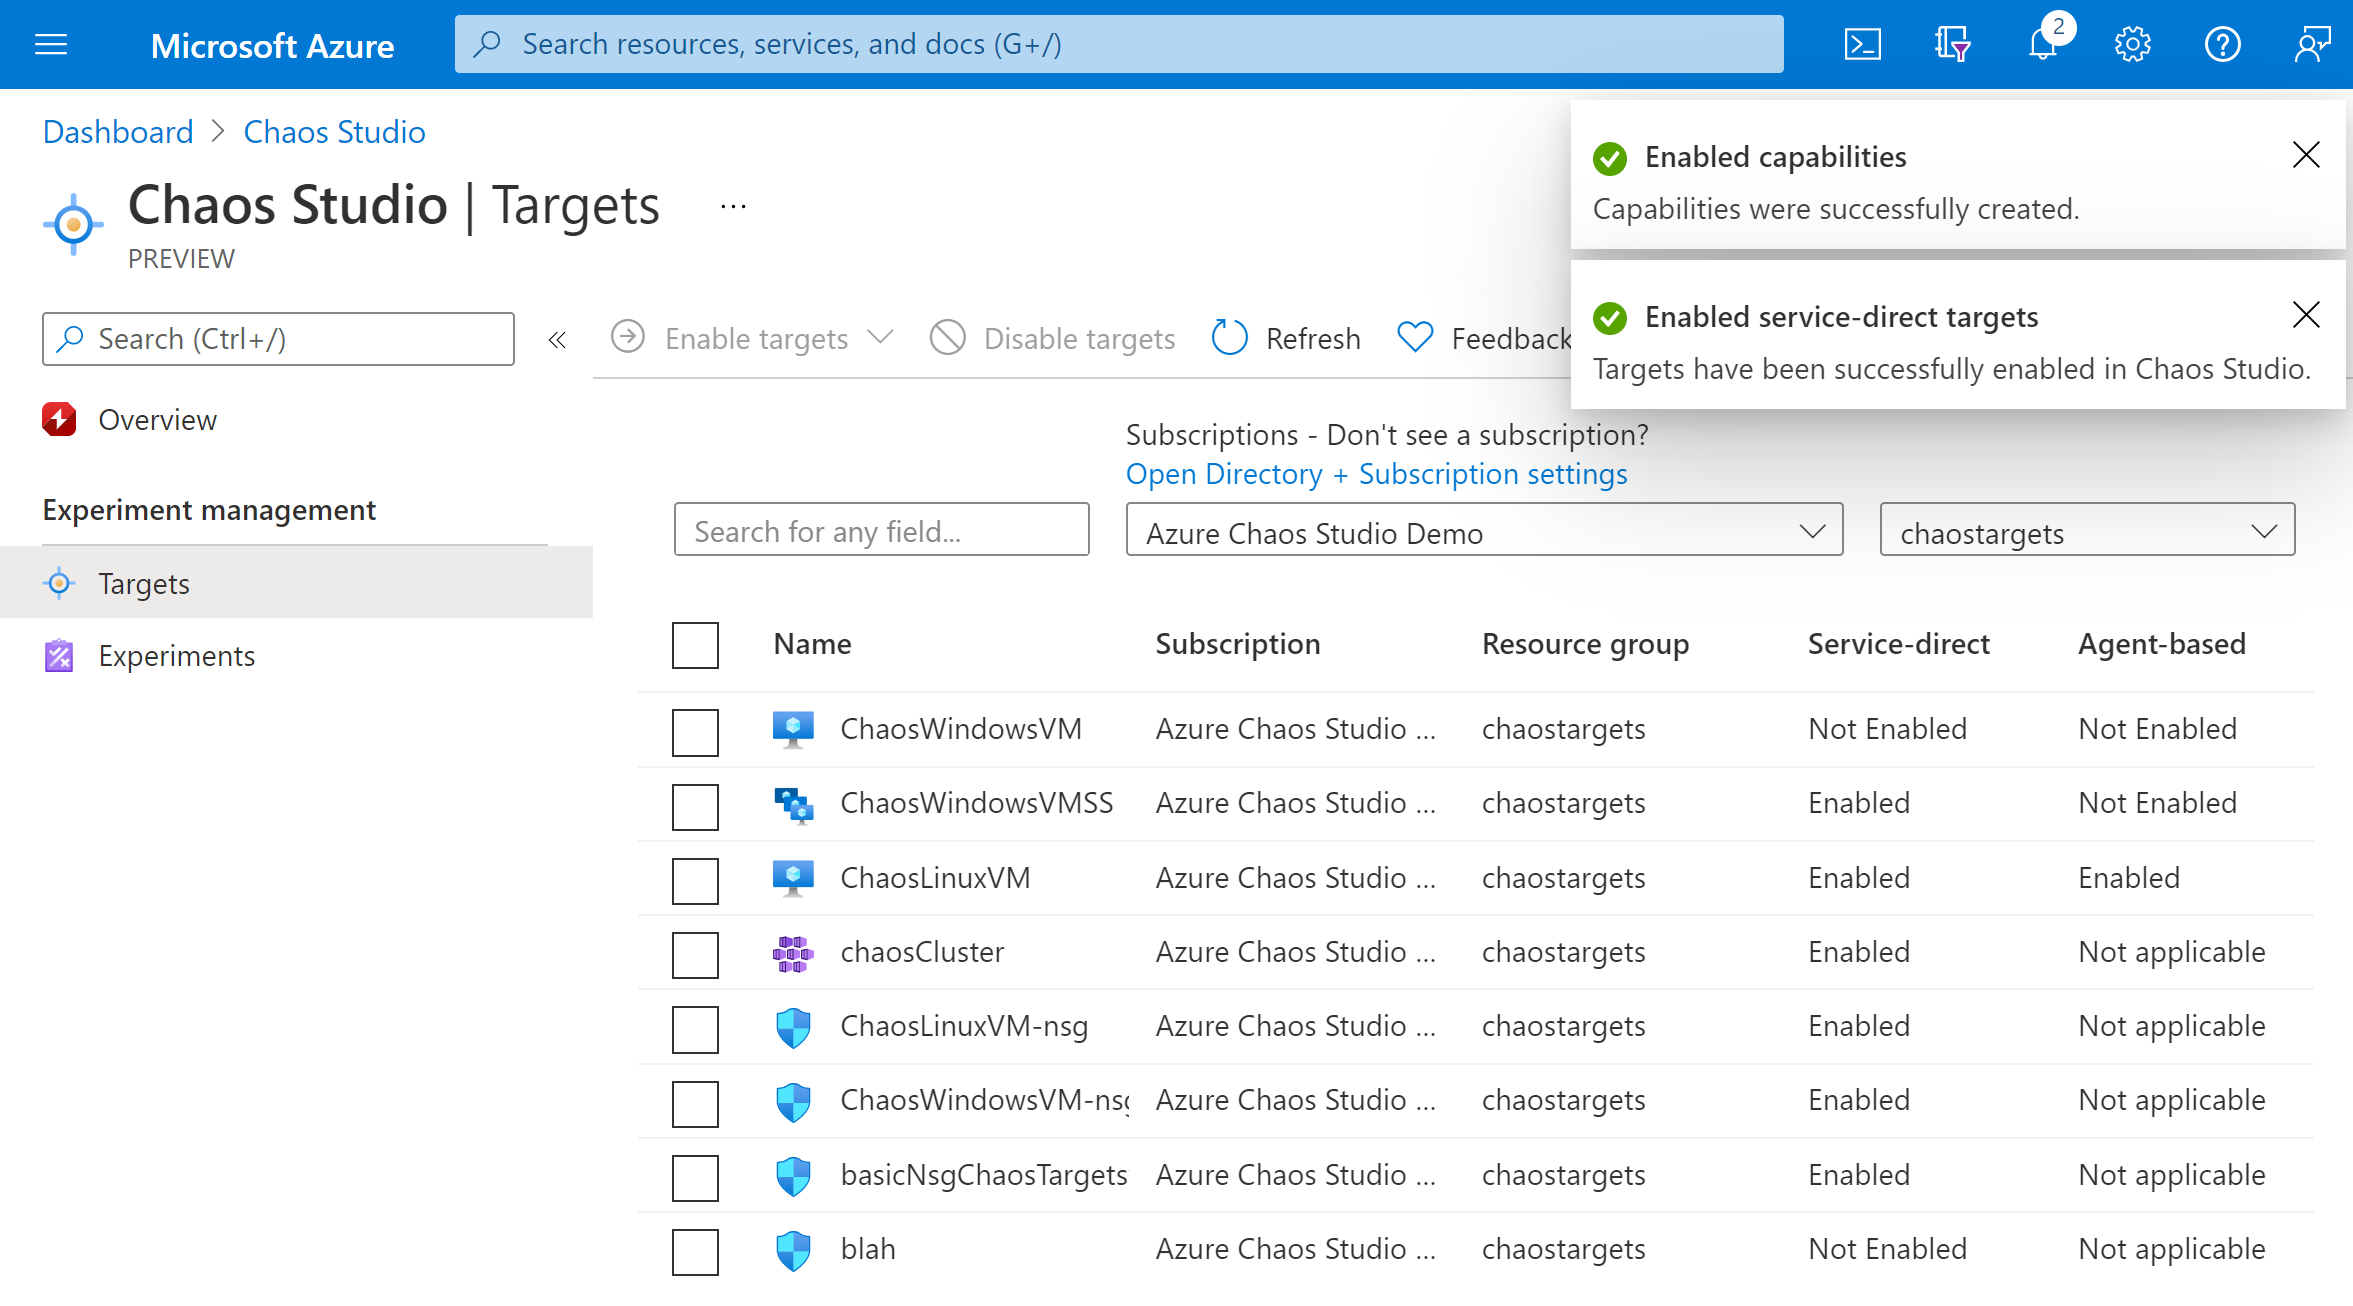
A notification appears and indicates that the resource selected was successfully enabled.
Create an experiment
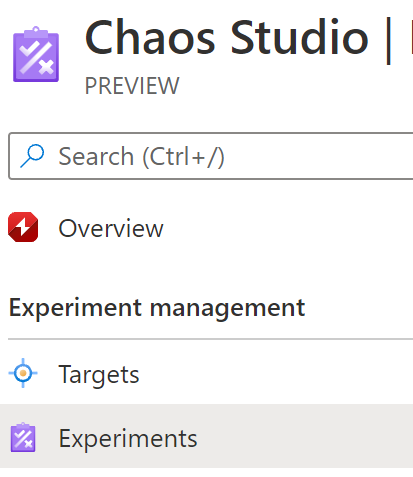
Select Experiments.
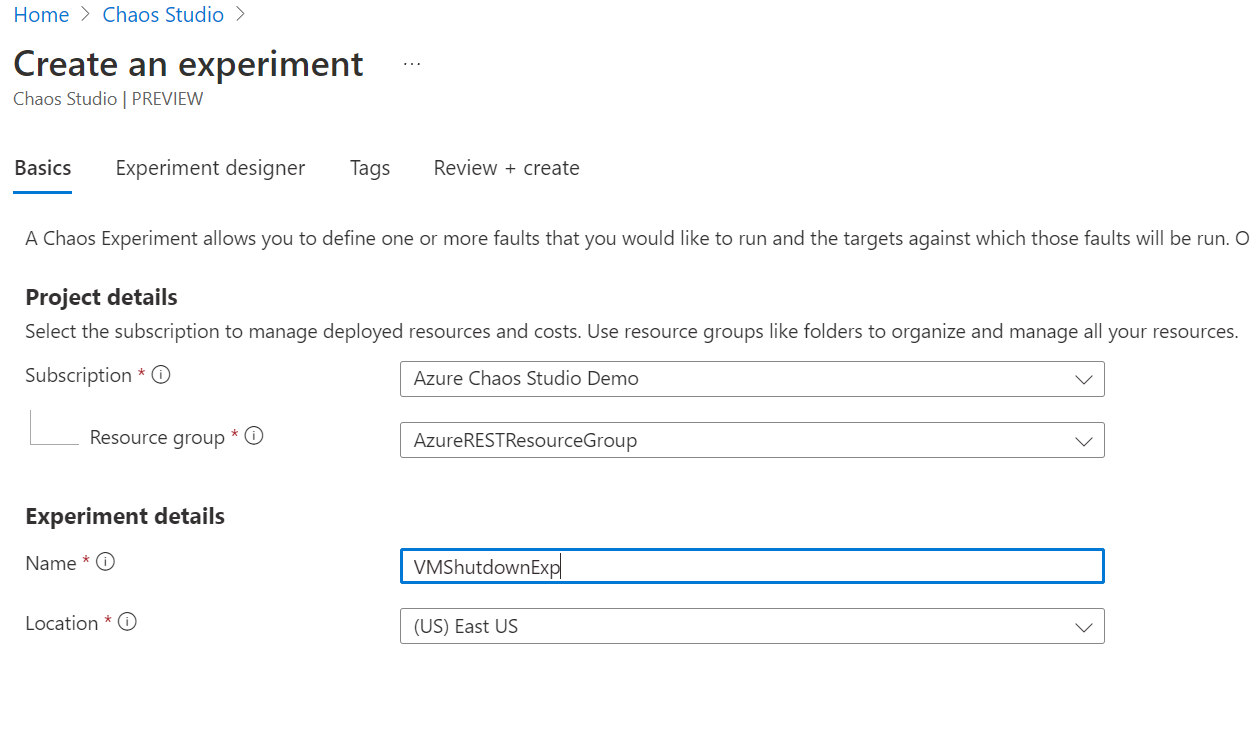
Select Create > New experiment.
Fill in the Subscription, Resource Group, and Location boxes where you want to deploy the chaos experiment. Give your experiment a name. Select Next: Experiment designer.
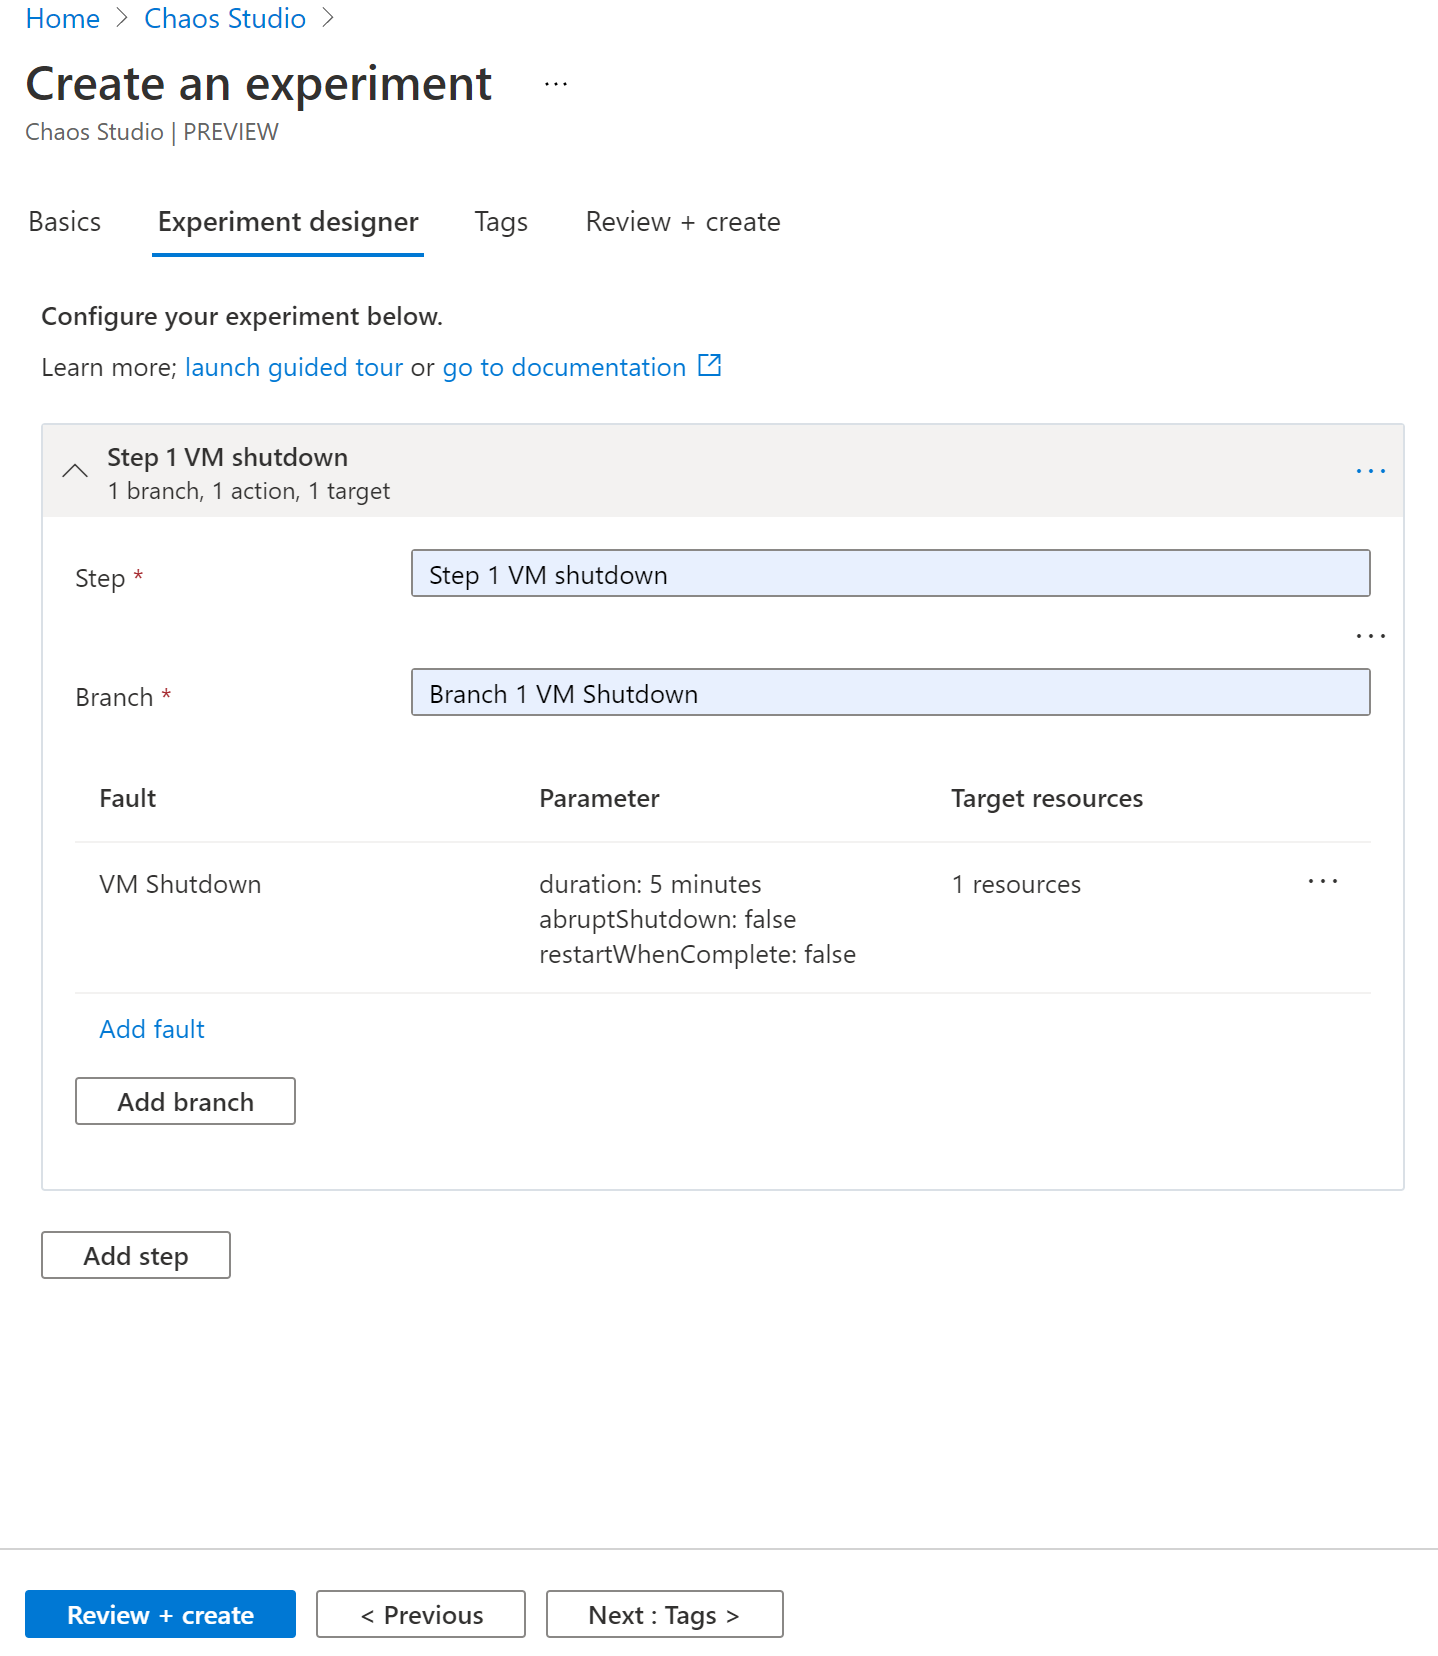
In the Chaos Studio experiment designer, give a friendly name to your Step and Branch. Select Add action > Add fault.

Select VM Shutdown from the dropdown list. Then fill in the Duration box with the number of minutes you want the failure to last.

Select Next: Target resources.

Select Add.

Verify that your experiment looks correct and then select Review + create > Create.
Give experiment permission to your VM
Go to your VM and select Access control (IAM).
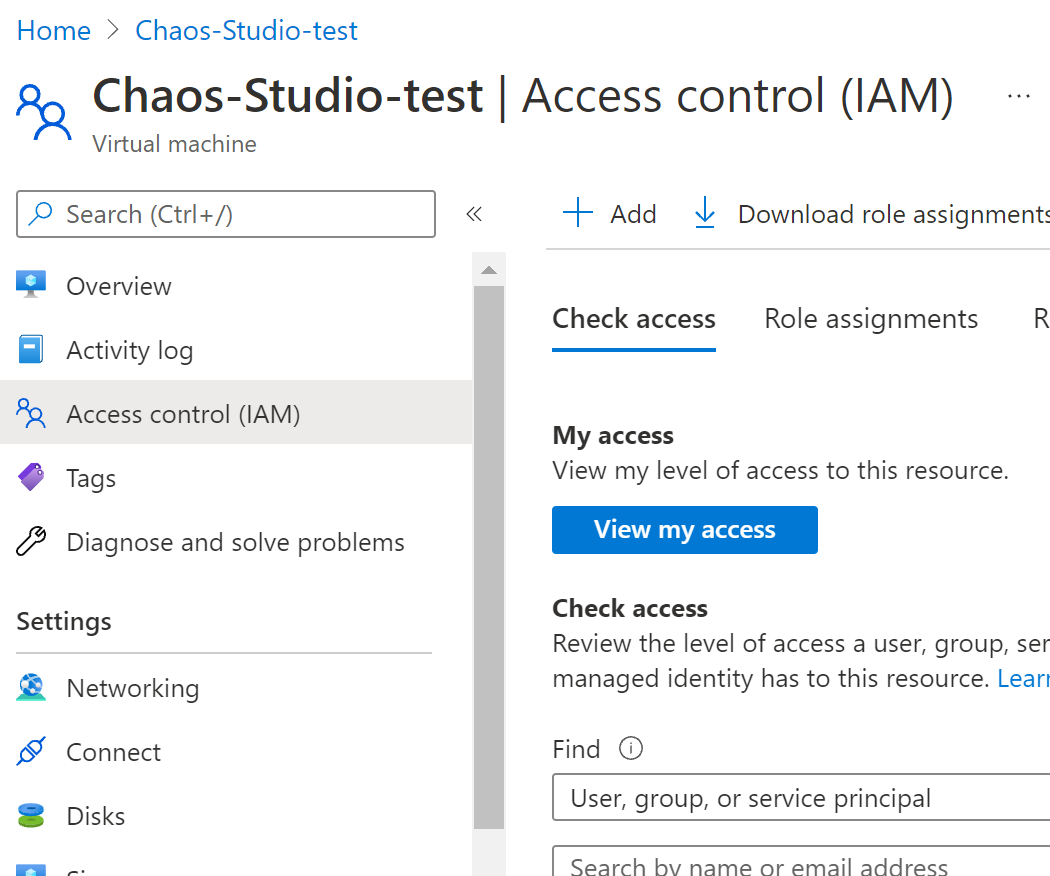
Select Add.

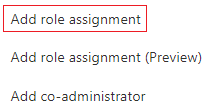
Select Add role assignment.
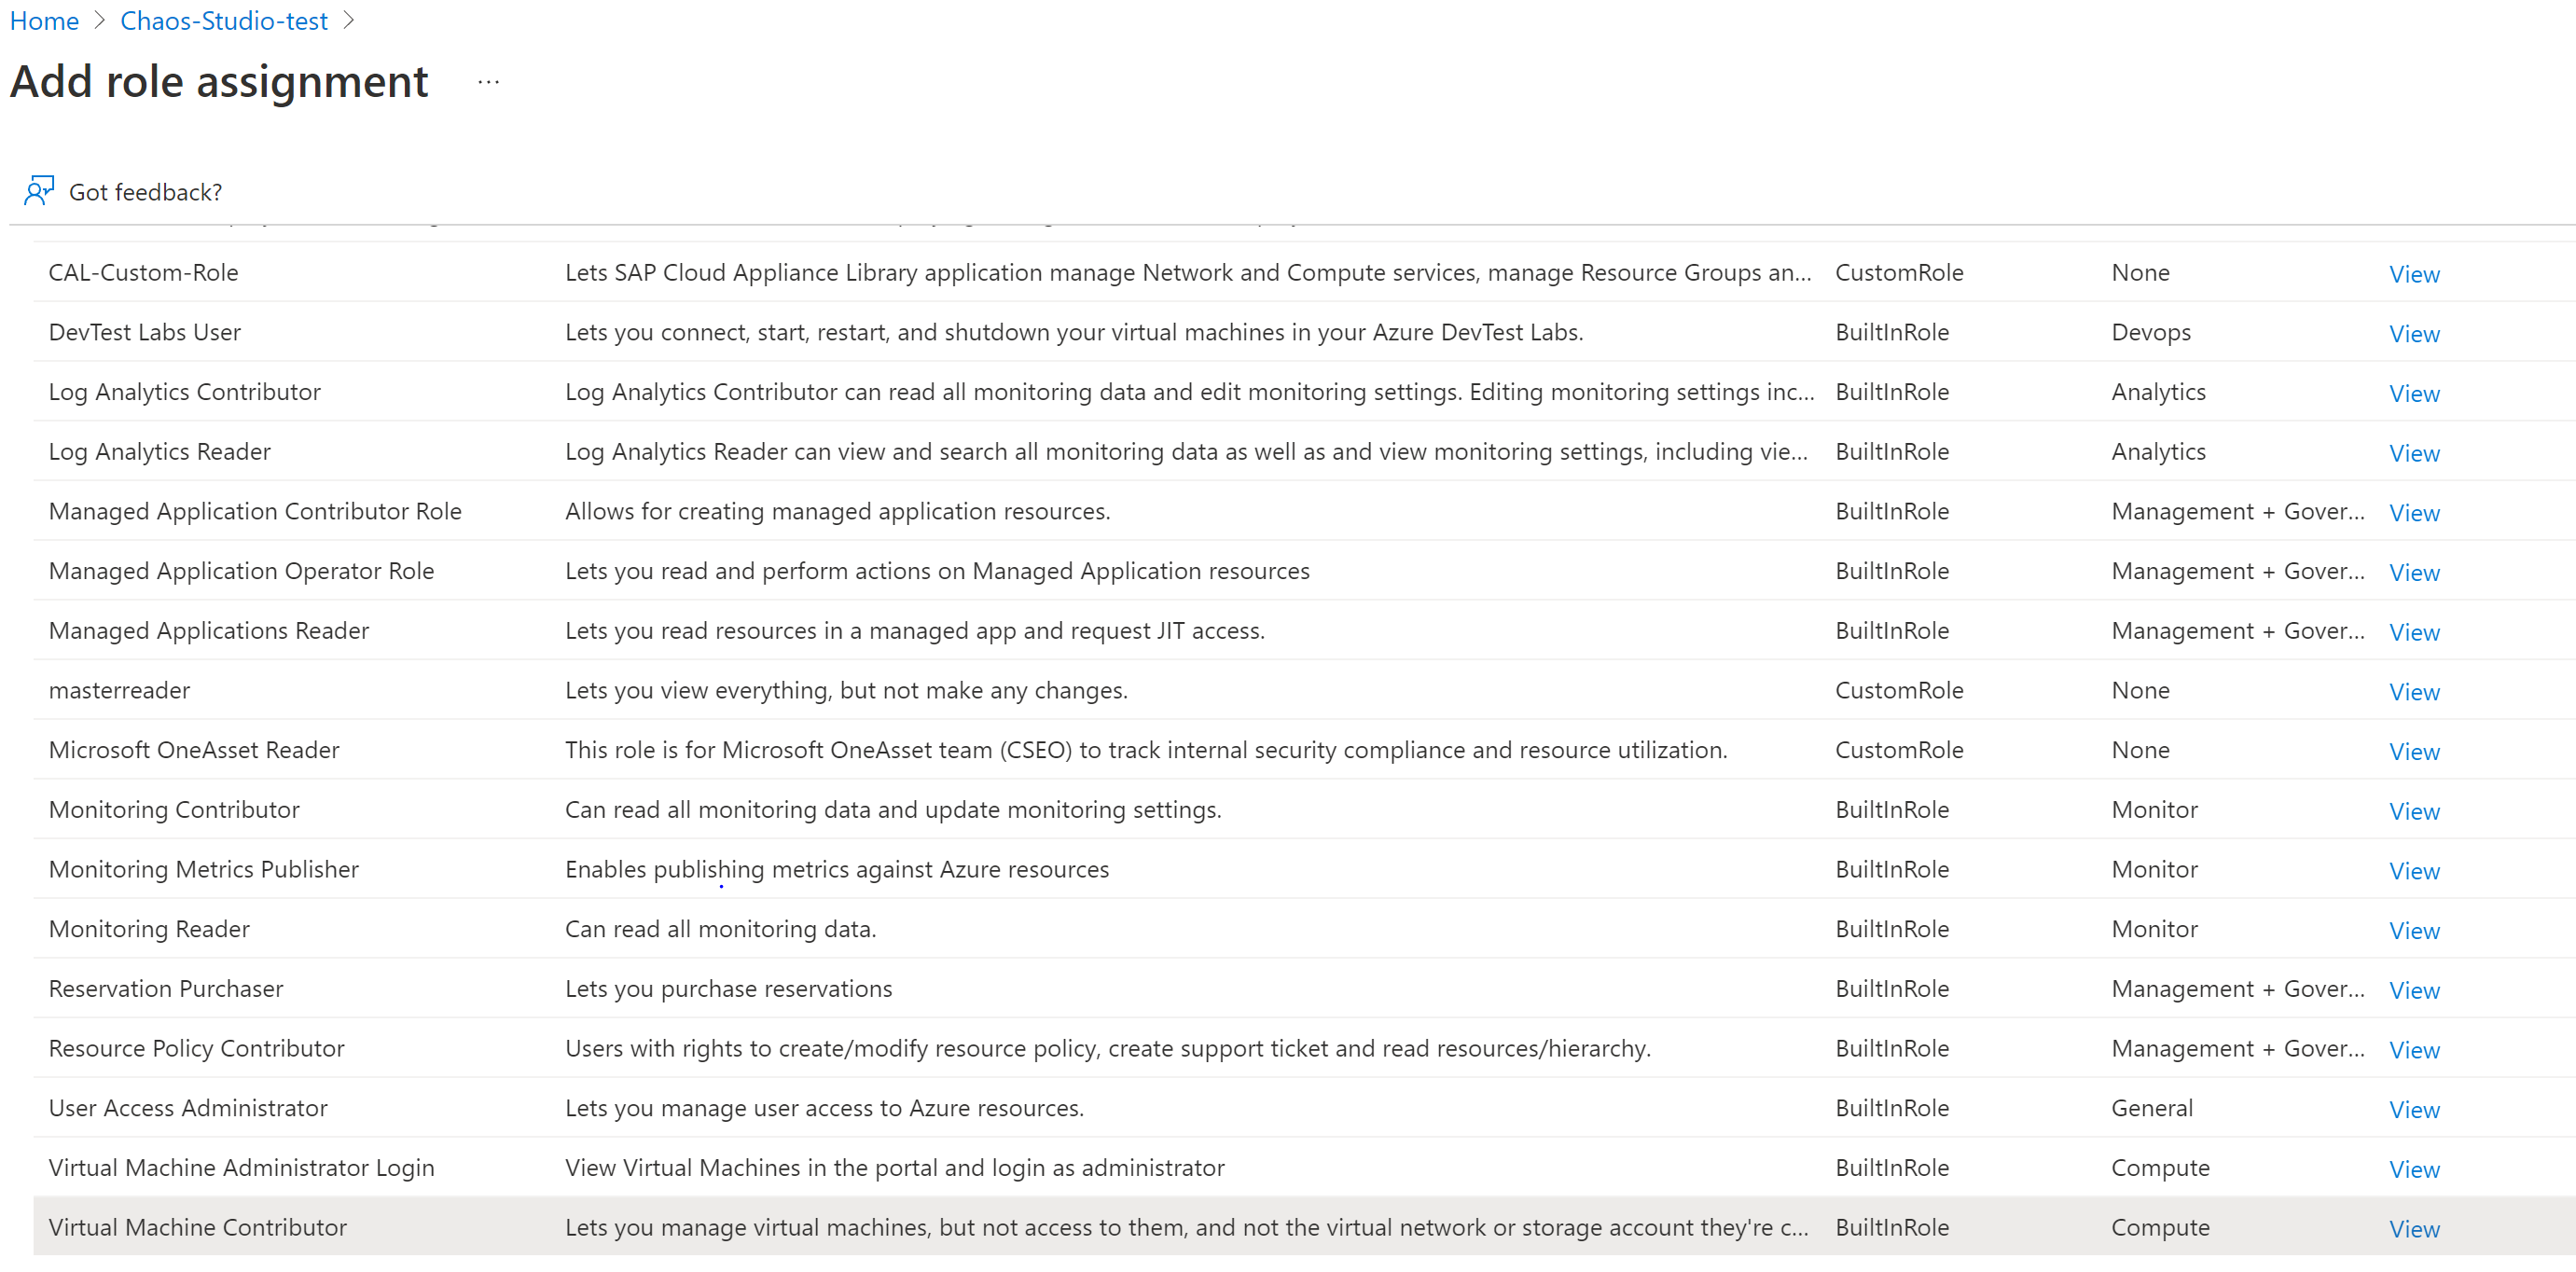
Search for Virtual Machine Contributor and select the role. Select Next.
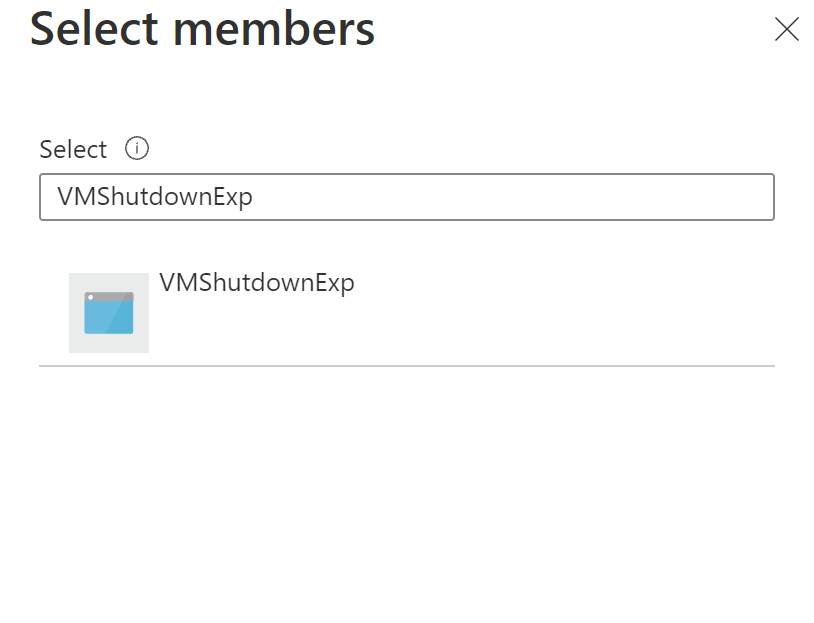
Select Managed identity option
Choose Select members and search for your experiment name. Select your experiment and choose Select.
Select Review + assign.
Run the chaos experiment
Open the Azure portal:
- If you're using an @microsoft.com account, go to this website.
- If you're using an external account, go to this website.
Select the checkbox next to the experiment name and select Start Experiment.
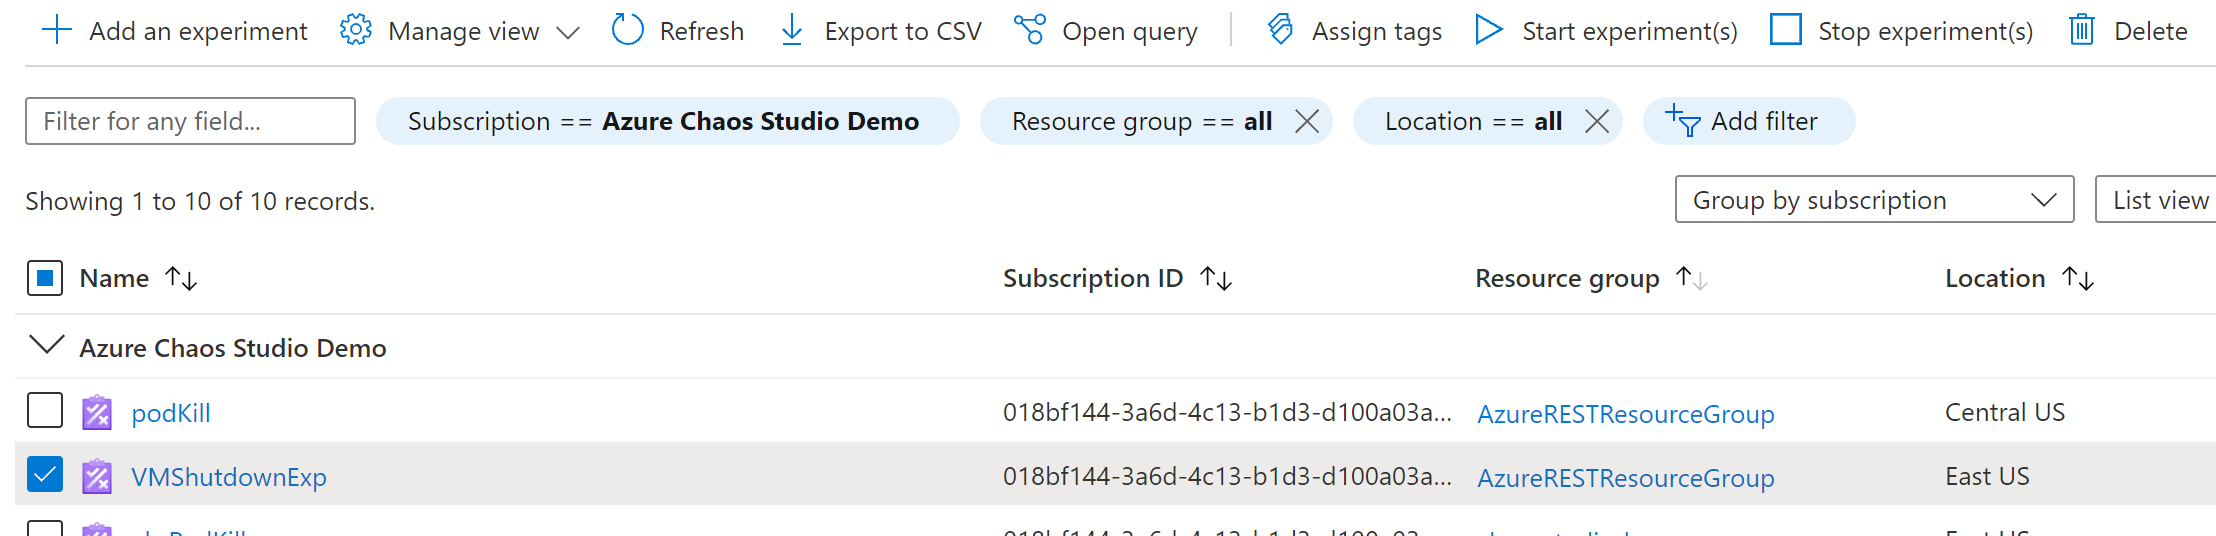
Select Yes to confirm you want to start the chaos experiment.

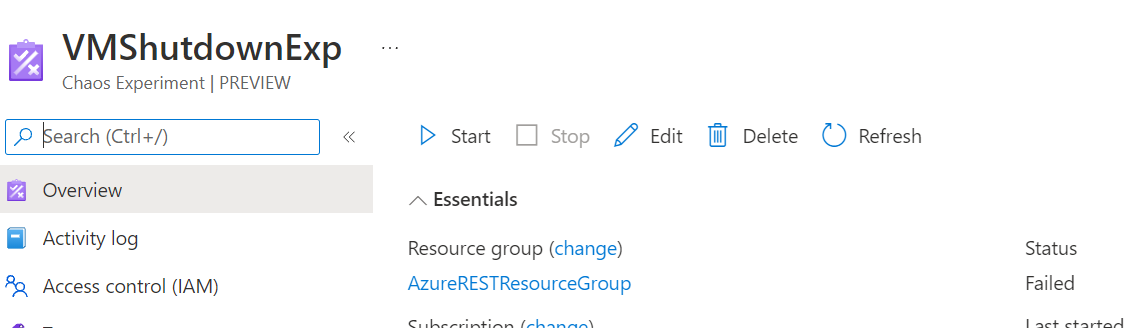
(Optional) Select the experiment name to see a detailed view of the execution status of the experiment.
Clean up resources
Select the checkbox next to the experiment name and select Delete.
Select Yes to confirm that you want to delete the experiment.
Search the VM that you created on the Azure portal search bar.
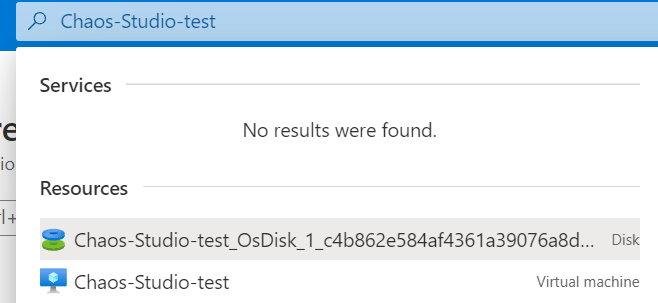
Select Delete to avoid being charged for the resource.
Next steps
Now that you've run a VM shutdown service-direct experiment, you're ready to:
Feedback
Coming soon: Throughout 2024 we will be phasing out GitHub Issues as the feedback mechanism for content and replacing it with a new feedback system. For more information see: https://aka.ms/ContentUserFeedback.
Submit and view feedback for