Use an Azure Resource Manager template to deploy and connect an Ubuntu virtual machine to Azure Arc
This article provides guidance for using an Azure Resource Manager template ARM template to automatically onboard an Ubuntu virtual machine to Azure Arc. The provided ARM template is responsible for creating the Azure resources and executing the Azure Arc onboard script on the VM.
Azure VMs are using the Azure Instance Metadata Service (IMDS) by default. By projecting an Azure VM as an Azure Arc-enabled server, a conflict is created which will not allow for the Azure Arc server resources to be represented as one when the IMDS is being used. Instead, the Azure Arc server will still "act" as a native Azure VM.
This guide will allow you to use and onboard Azure VMs to Azure Arc for demo purposes only. You will have the ability to simulate a server that is deployed outside of Azure, for example, on-premises or in other cloud platforms.
Note
An Azure VM is not expected to be projected as an Azure Arc-enabled server. The following scenario is unsupported and should only be used for demo and testing purposes.
Prerequisites
Clone the Azure Arc Jumpstart repository.
git clone https://github.com/microsoft/azure_arc.gitInstall or update Azure CLI to version 2.7 and above. Use the following command to check your current installed version.
az --versionAzure subscription: If you don't have an Azure subscription, you can create a free Azure account.
Create an Azure service principal.
In order for you to deploy the Azure resources using the ARM template, an Azure service principal assigned with the Contributor role is required. To create it, sign in to your Azure account and run the following command. You can also run this command in Azure Cloud Shell.
az login
az account set -s <Your Subscription ID>
az ad sp create-for-rbac -n "<Unique SP Name>" --role contributor --scopes "/subscriptions/<Your Subscription ID>"
For example:
az ad sp create-for-rbac -n "http://AzureArcServers" --role contributor --scopes "/subscriptions/00000000-0000-0000-0000-000000000000"The output should look like this:
{
  "appId": "XXXXXXXXXXXXXXXXXXXXXXXXXXXX",
  "displayName": "http://AzureArcServers",
  "password": "XXXXXXXXXXXXXXXXXXXXXXXXXXXX",
  "tenant": "XXXXXXXXXXXXXXXXXXXXXXXXXXXX"
}
Note
We highly recommend that you scope the service principal to a specific Azure subscription and resource group.
Automation flow
For you to get familiar with the automation and deployment flow, below is an explanation.
A user edits the ARM template parameters file (one-time edit). These parameter values are being used throughout the deployment.
The ARM template includes an Azure VM custom script extension, which will deploy the
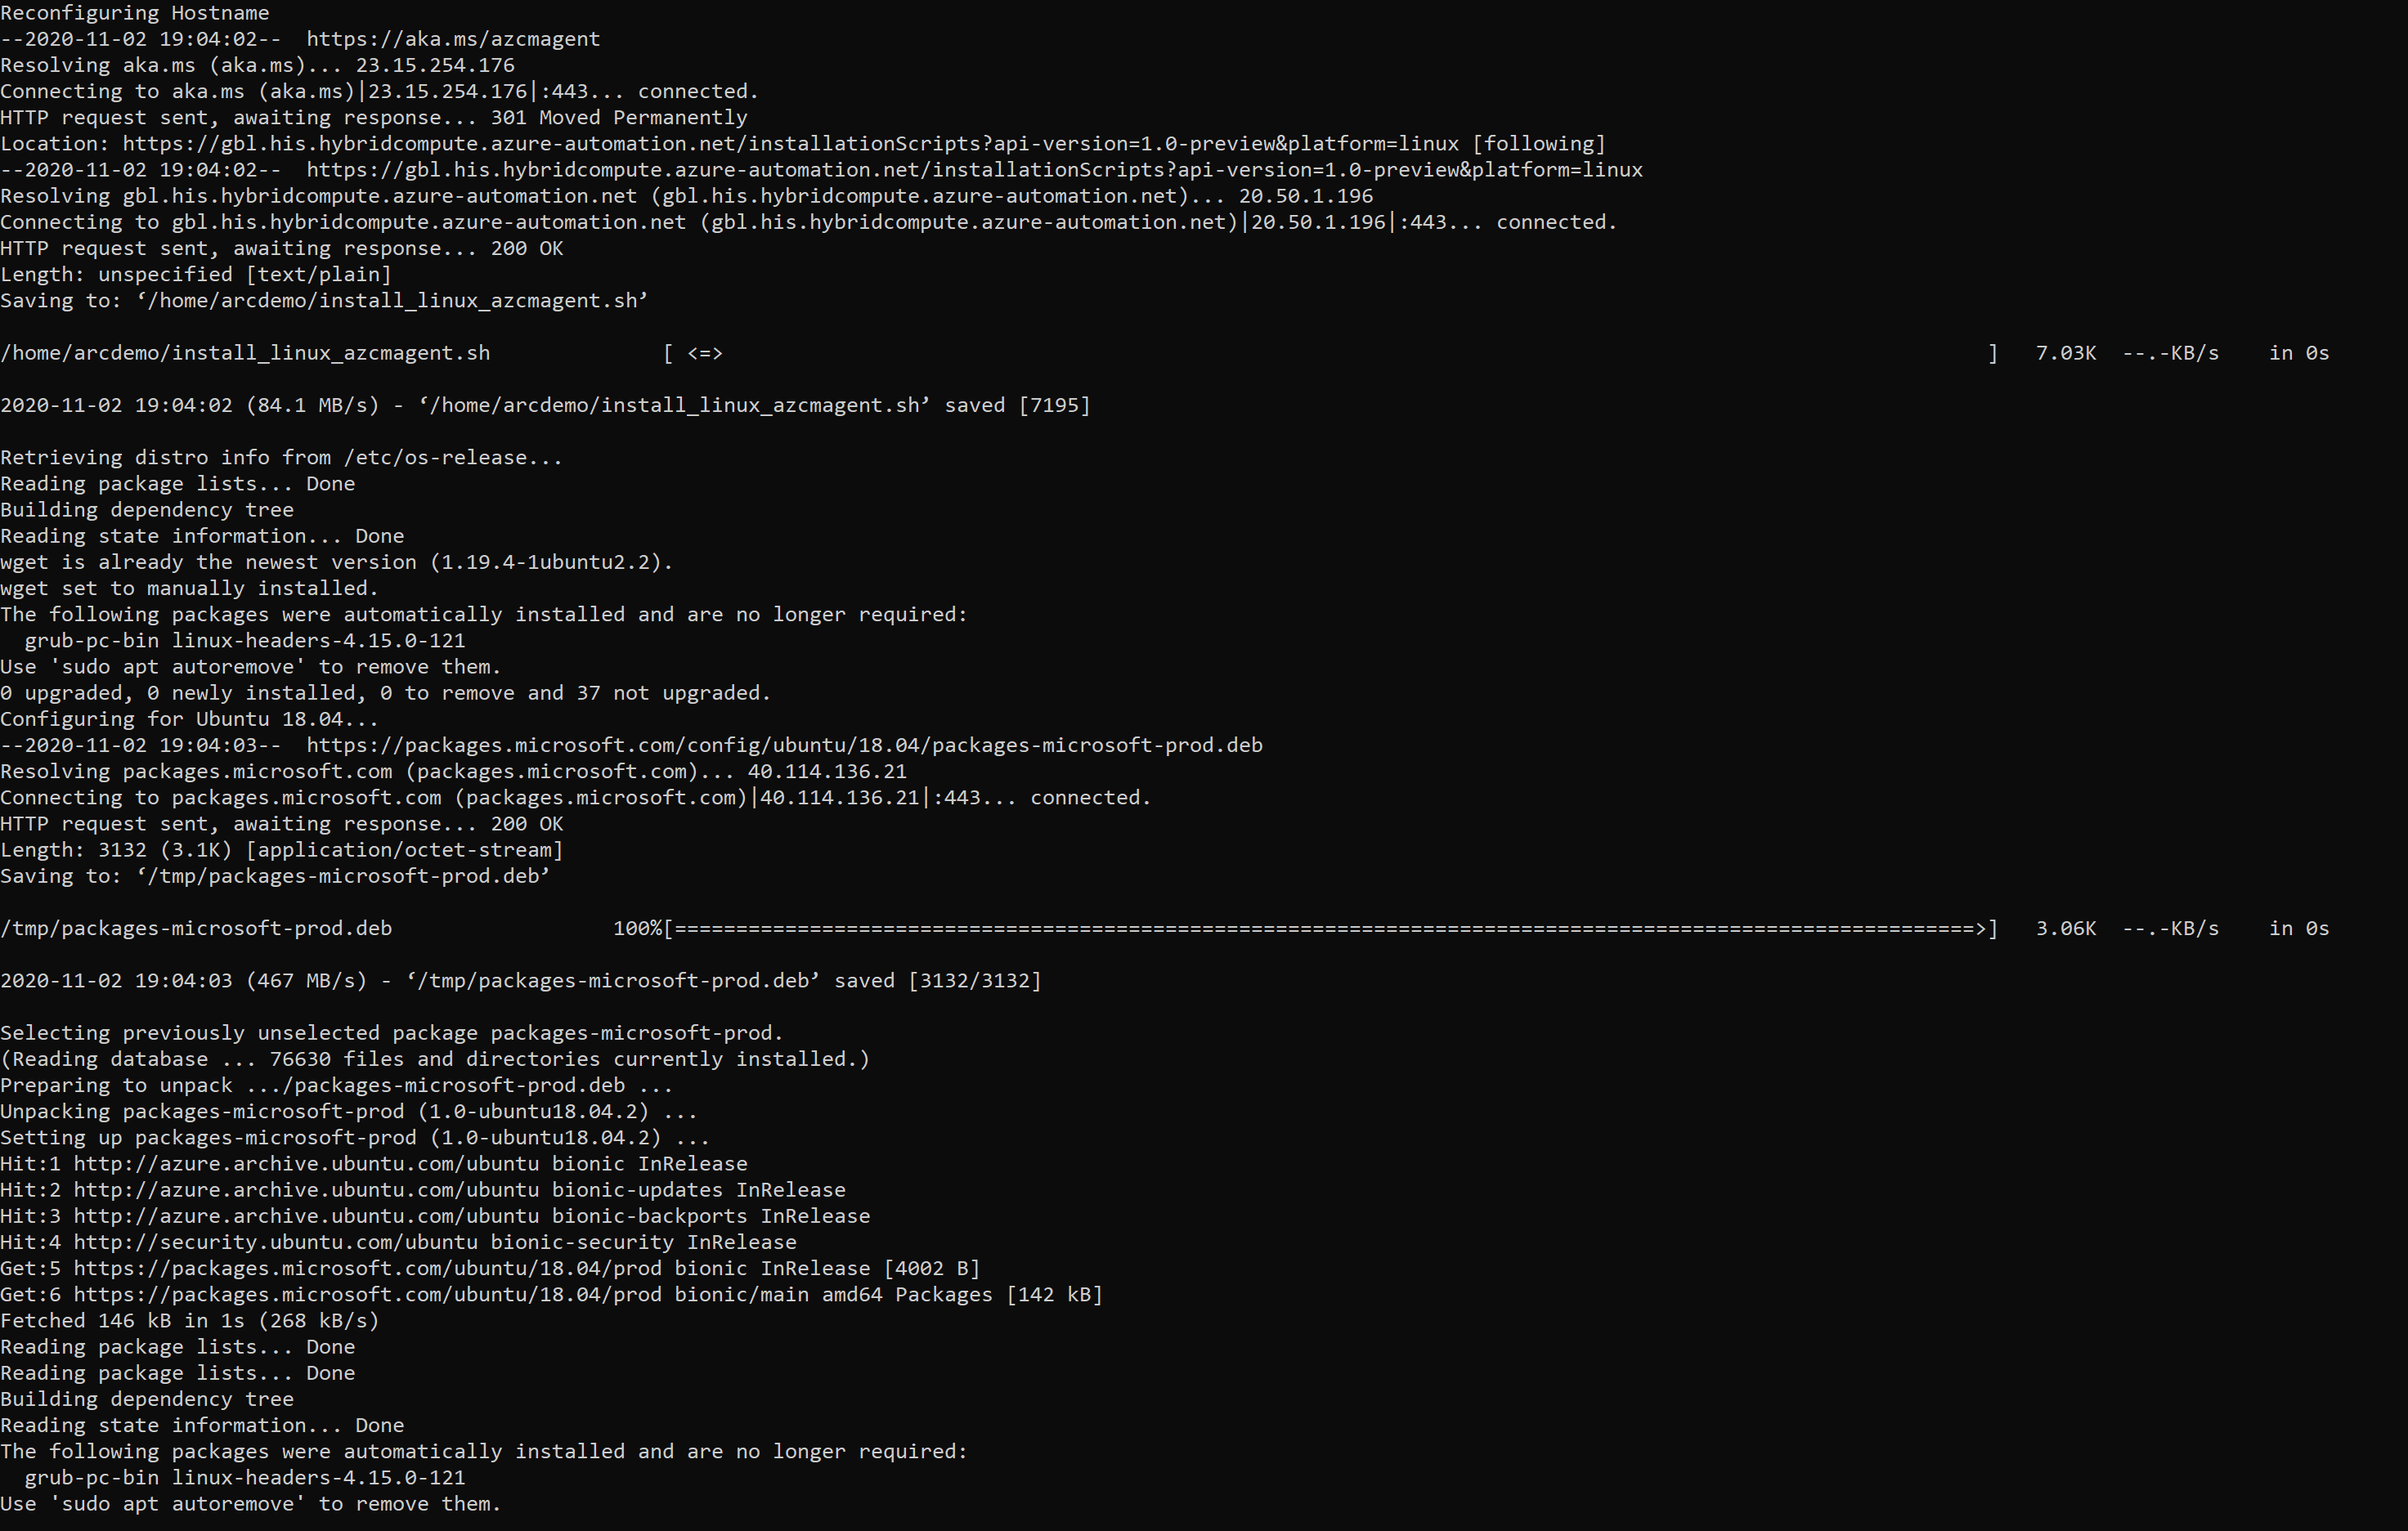
install_arc_agent.shshell script.In order to allow the Azure VM to successfully be projected as an Azure Arc-enabled server, the script will:
Set local OS environment variables.
Generate a
~/.bash_profilefile that will be initialized at user's first sign-in to configure the environment. This script will:Stop and disable the Linux Azure guest agent service.
Create a new OS firewall rule to block Azure IMDS outbound traffic to the
169.254.169.254remote address.Install the Azure Arc-connected machine agent.
Remove the
~/.bash_profilefile so it will not run after first sign-in.
A user will SSH to the Linux VM, which will start the
~/.bash_profilescript execution and will onboard the VM to Azure Arc.Note
The
install_arc_agent.shshell script enables the OS firewall and sets up new rules for incoming and outgoing connections. By default, all incoming and outgoing traffic will be allowed, except blocking Azure IMDS outbound traffic to the169.254.169.254remote address.
Deployment
As mentioned, this deployment will use ARM templates. You will deploy a single template, responsible for creating all the Azure resources in a single resource group and onboarding the created VM to Azure Arc.
Before deploying the ARM template, sign-in using Azure CLI with the
az logincommand.The deployment is using the ARM template parameters file. Before initiating the deployment, edit the
azuredeploy.parameters.jsonfile located in your local cloned repository folder. An example parameters file is located here.To deploy the ARM template, navigate to the local cloned deployment folder and run the following command:
az group create --name <Name of the Azure resource group> --location <Azure region> --tags "Project=jumpstart_azure_arc_servers"
az deployment group create \
--resource-group <Name of the Azure resource group> \
--name <The name of this deployment> \
--template-uri https://raw.githubusercontent.com/microsoft/azure_arc/main/azure_arc_servers_jumpstart/azure/linux/arm_template/azuredeploy.json \
--parameters <The `azuredeploy.parameters.json` parameters file location>
Note
Be sure to use the same Azure resource group name as the one you used in the
azuredeploy.parameters.jsonfile.For example:
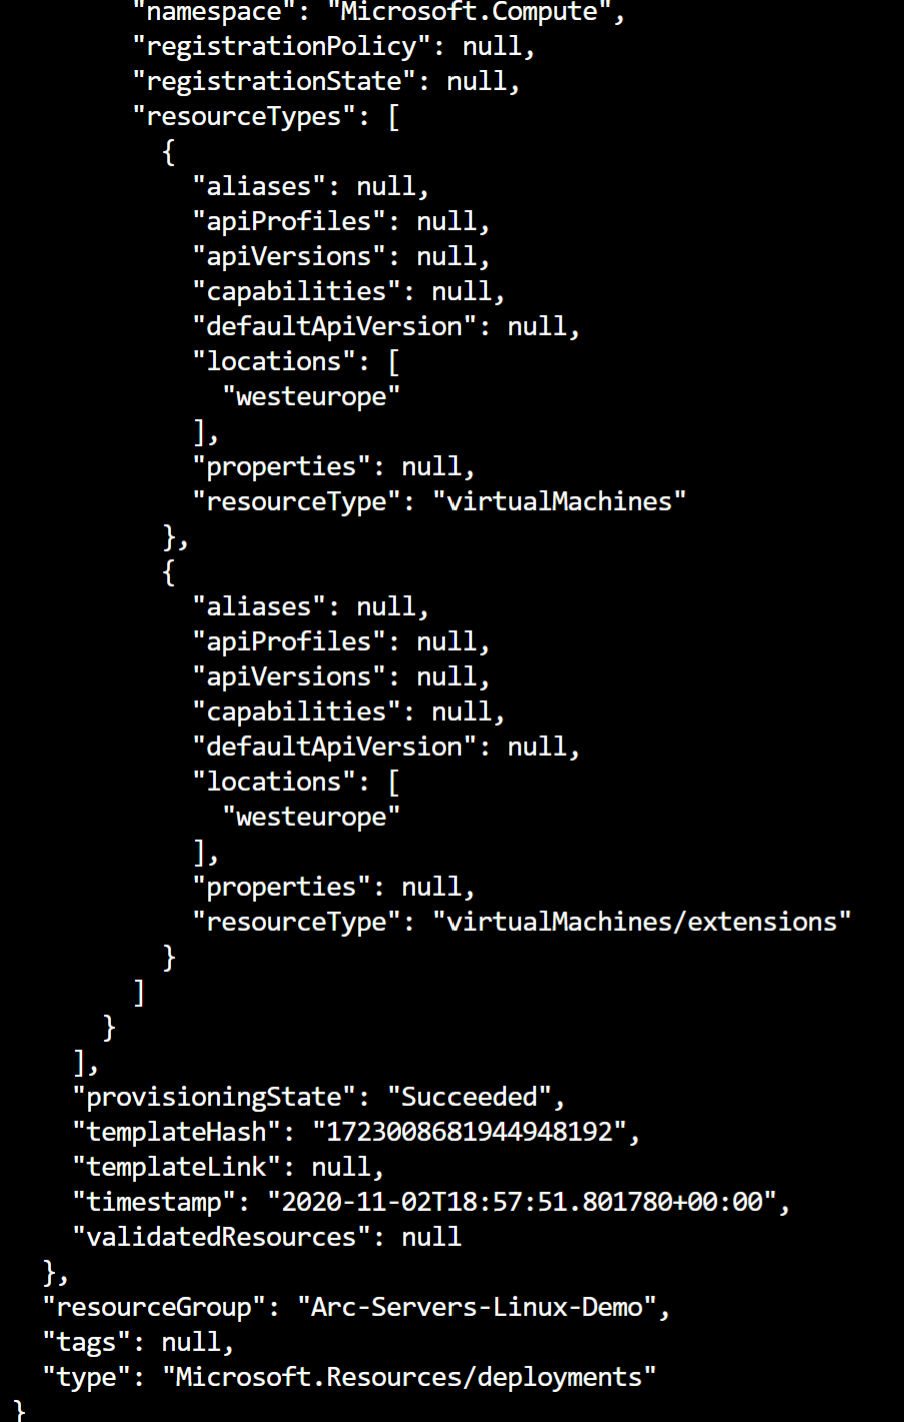
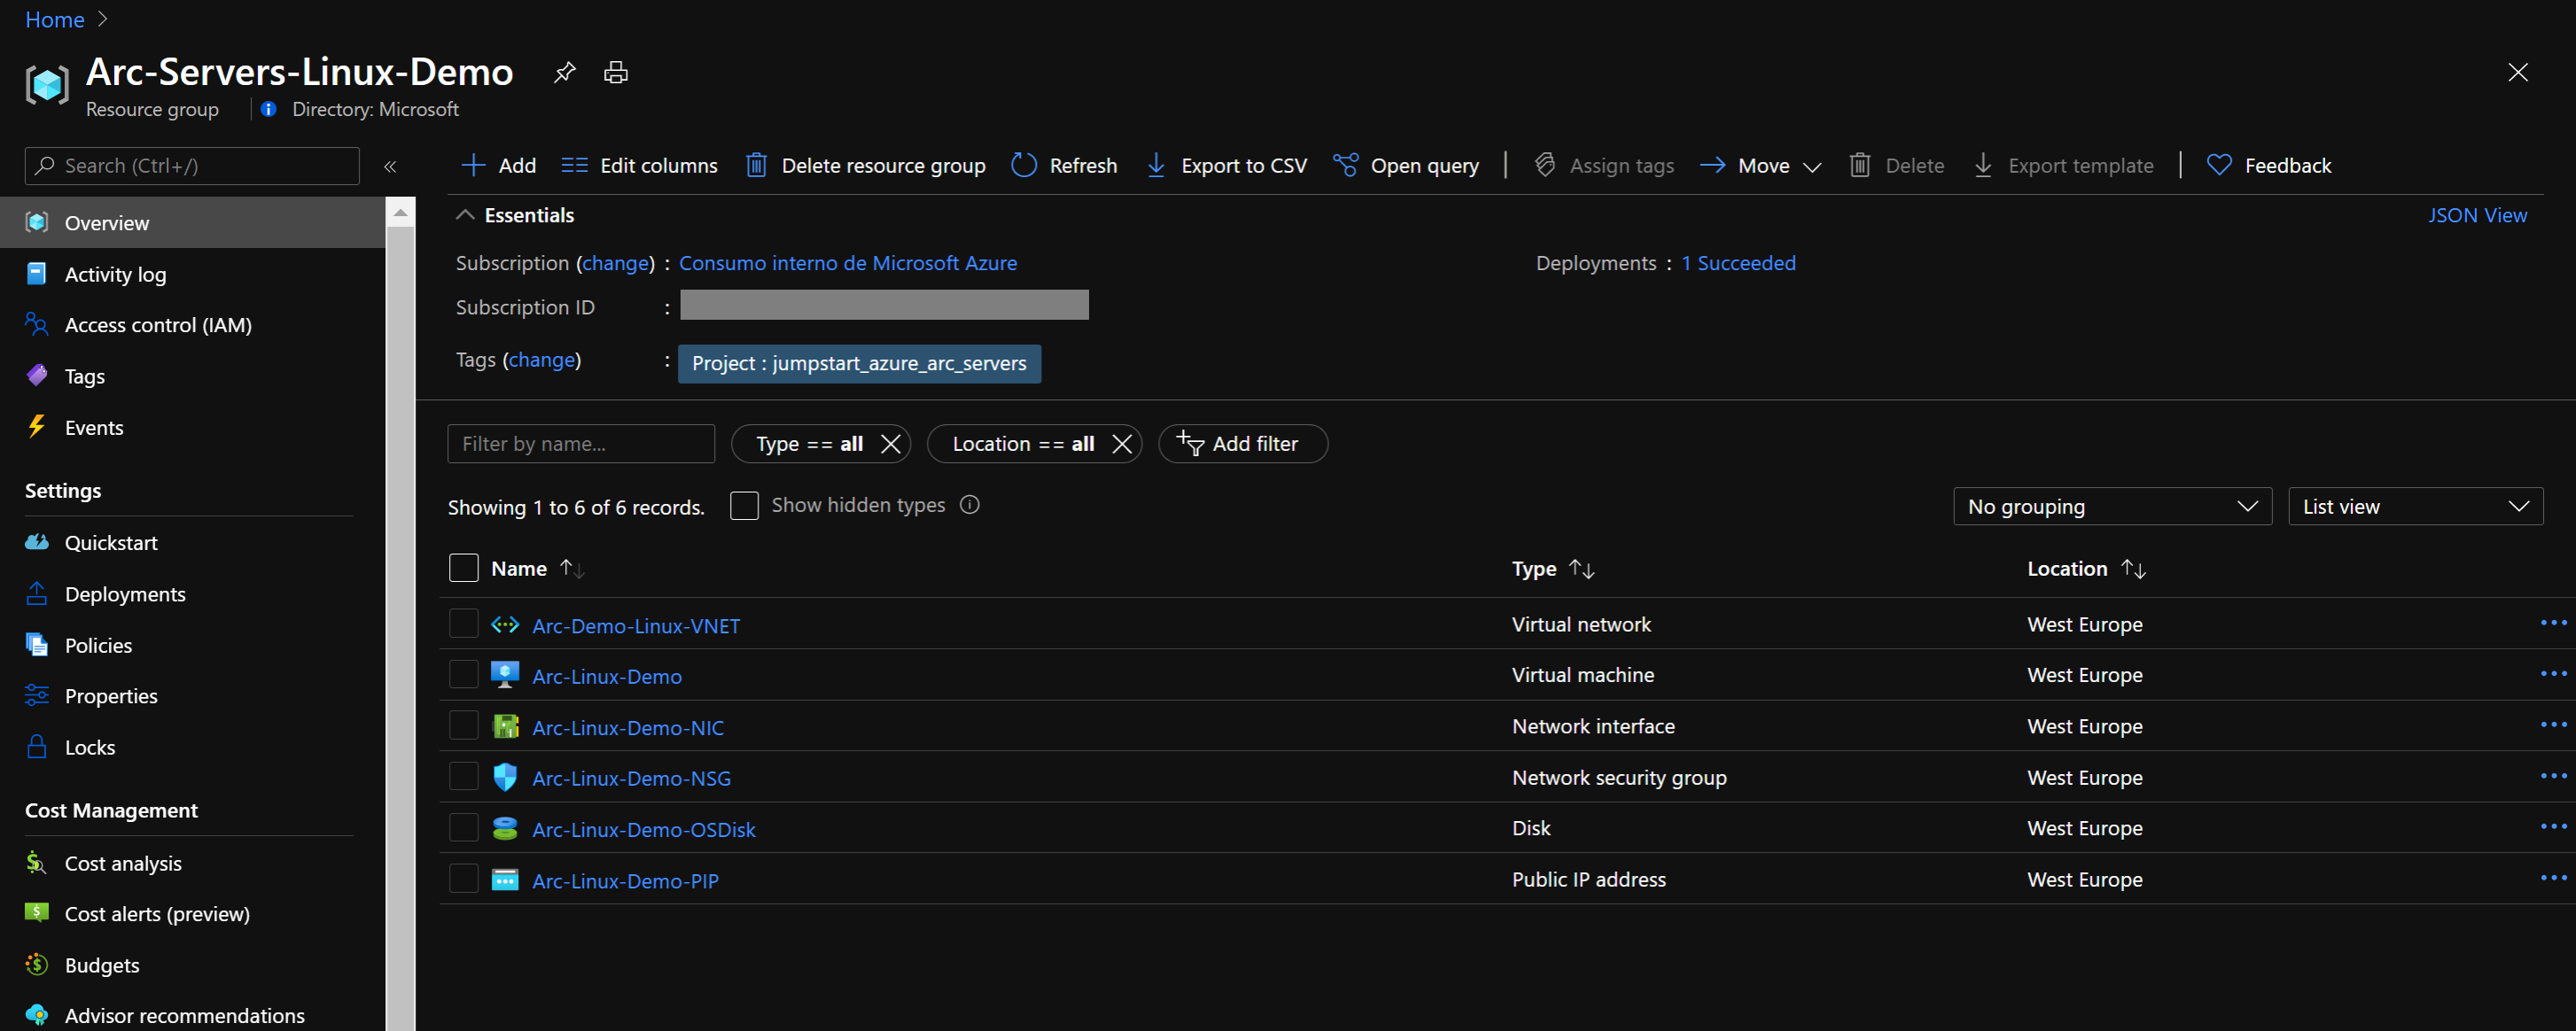
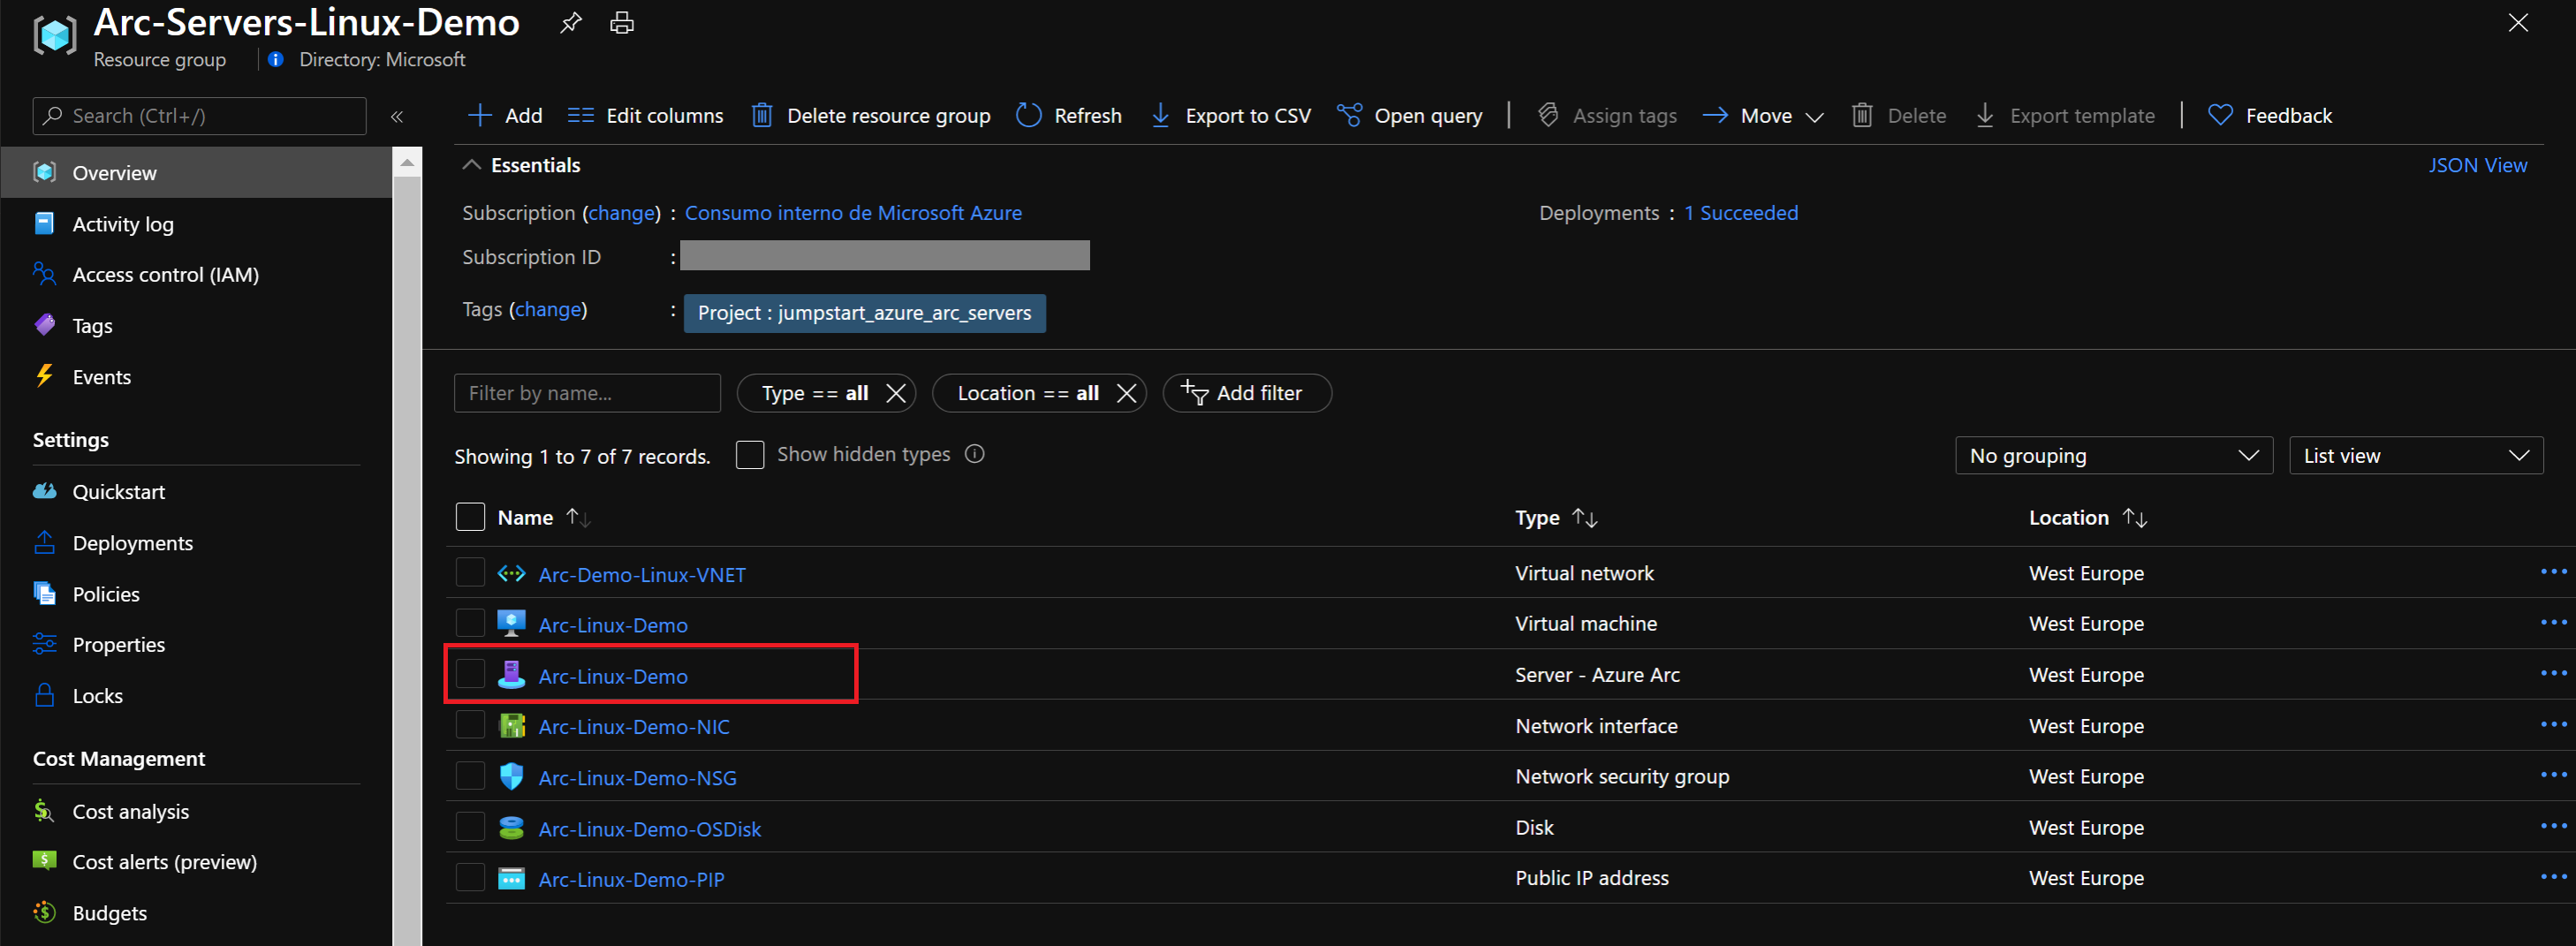
az group create --name Arc-Servers-Linux-Demo --location "westeurope" --tags "Project=jumpstart_azure_arc_servers"
az deployment group create \
--resource-group Arc-Servers-Linux-Demo \
--name arclinuxdemo \
--template-uri https://raw.githubusercontent.com/microsoft/azure_arc/main/azure_arc_servers_jumpstart/azure/linux/arm_template/azuredeploy.json \
--parameters azuredeploy.parameters.json
Once Azure resources have been provisioned, you will see them in the Azure portal.
Linux sign-in and post-deployment
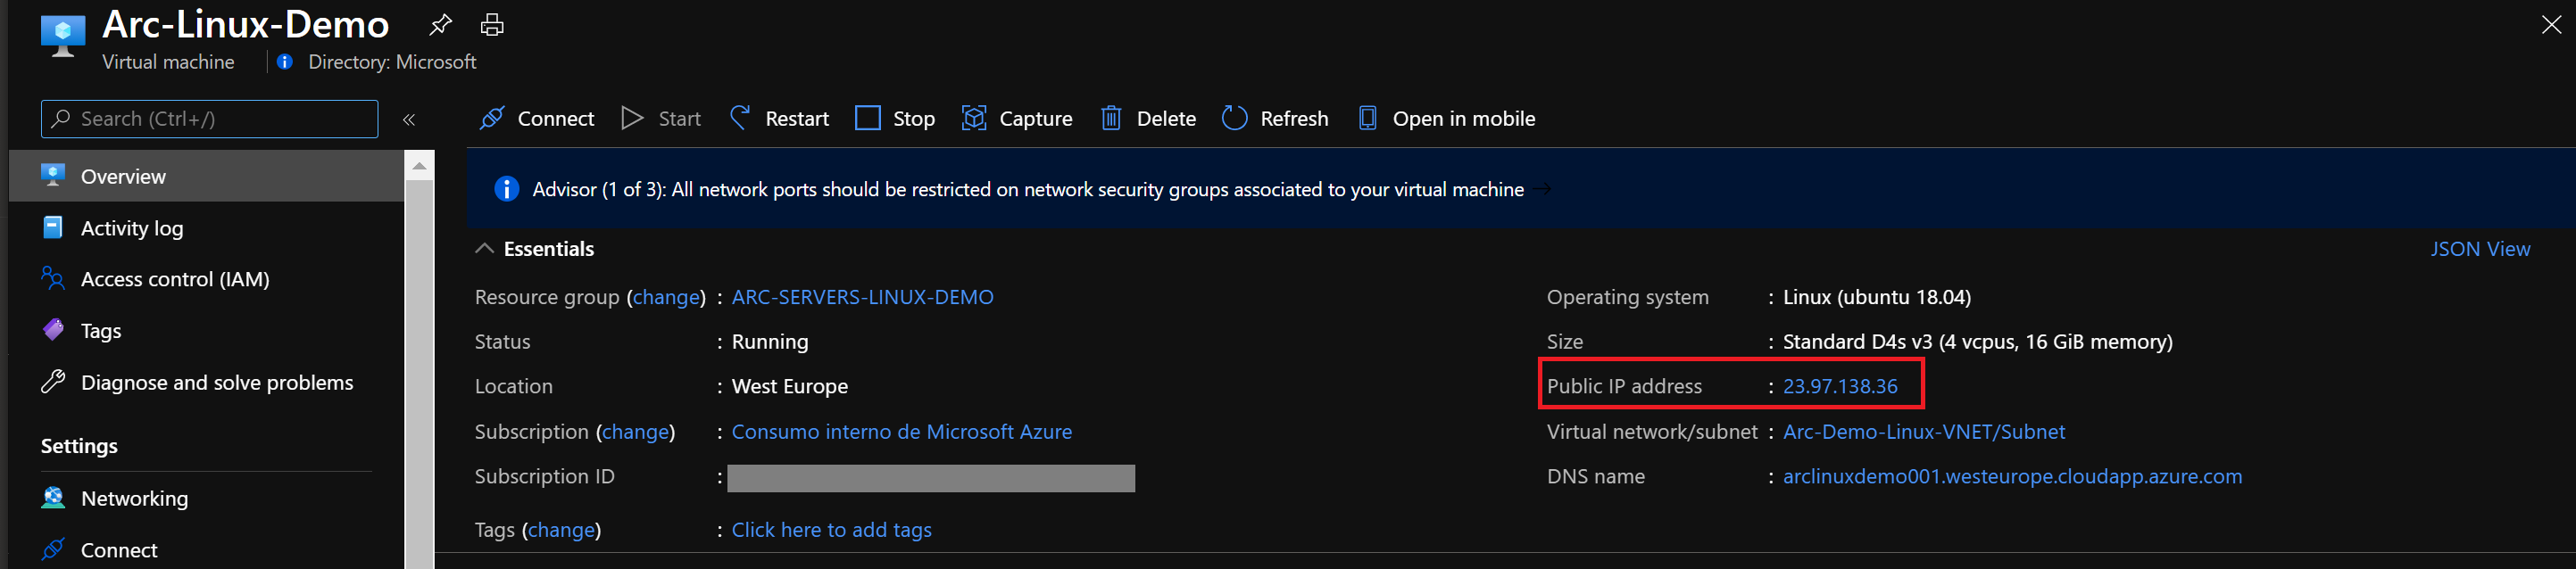
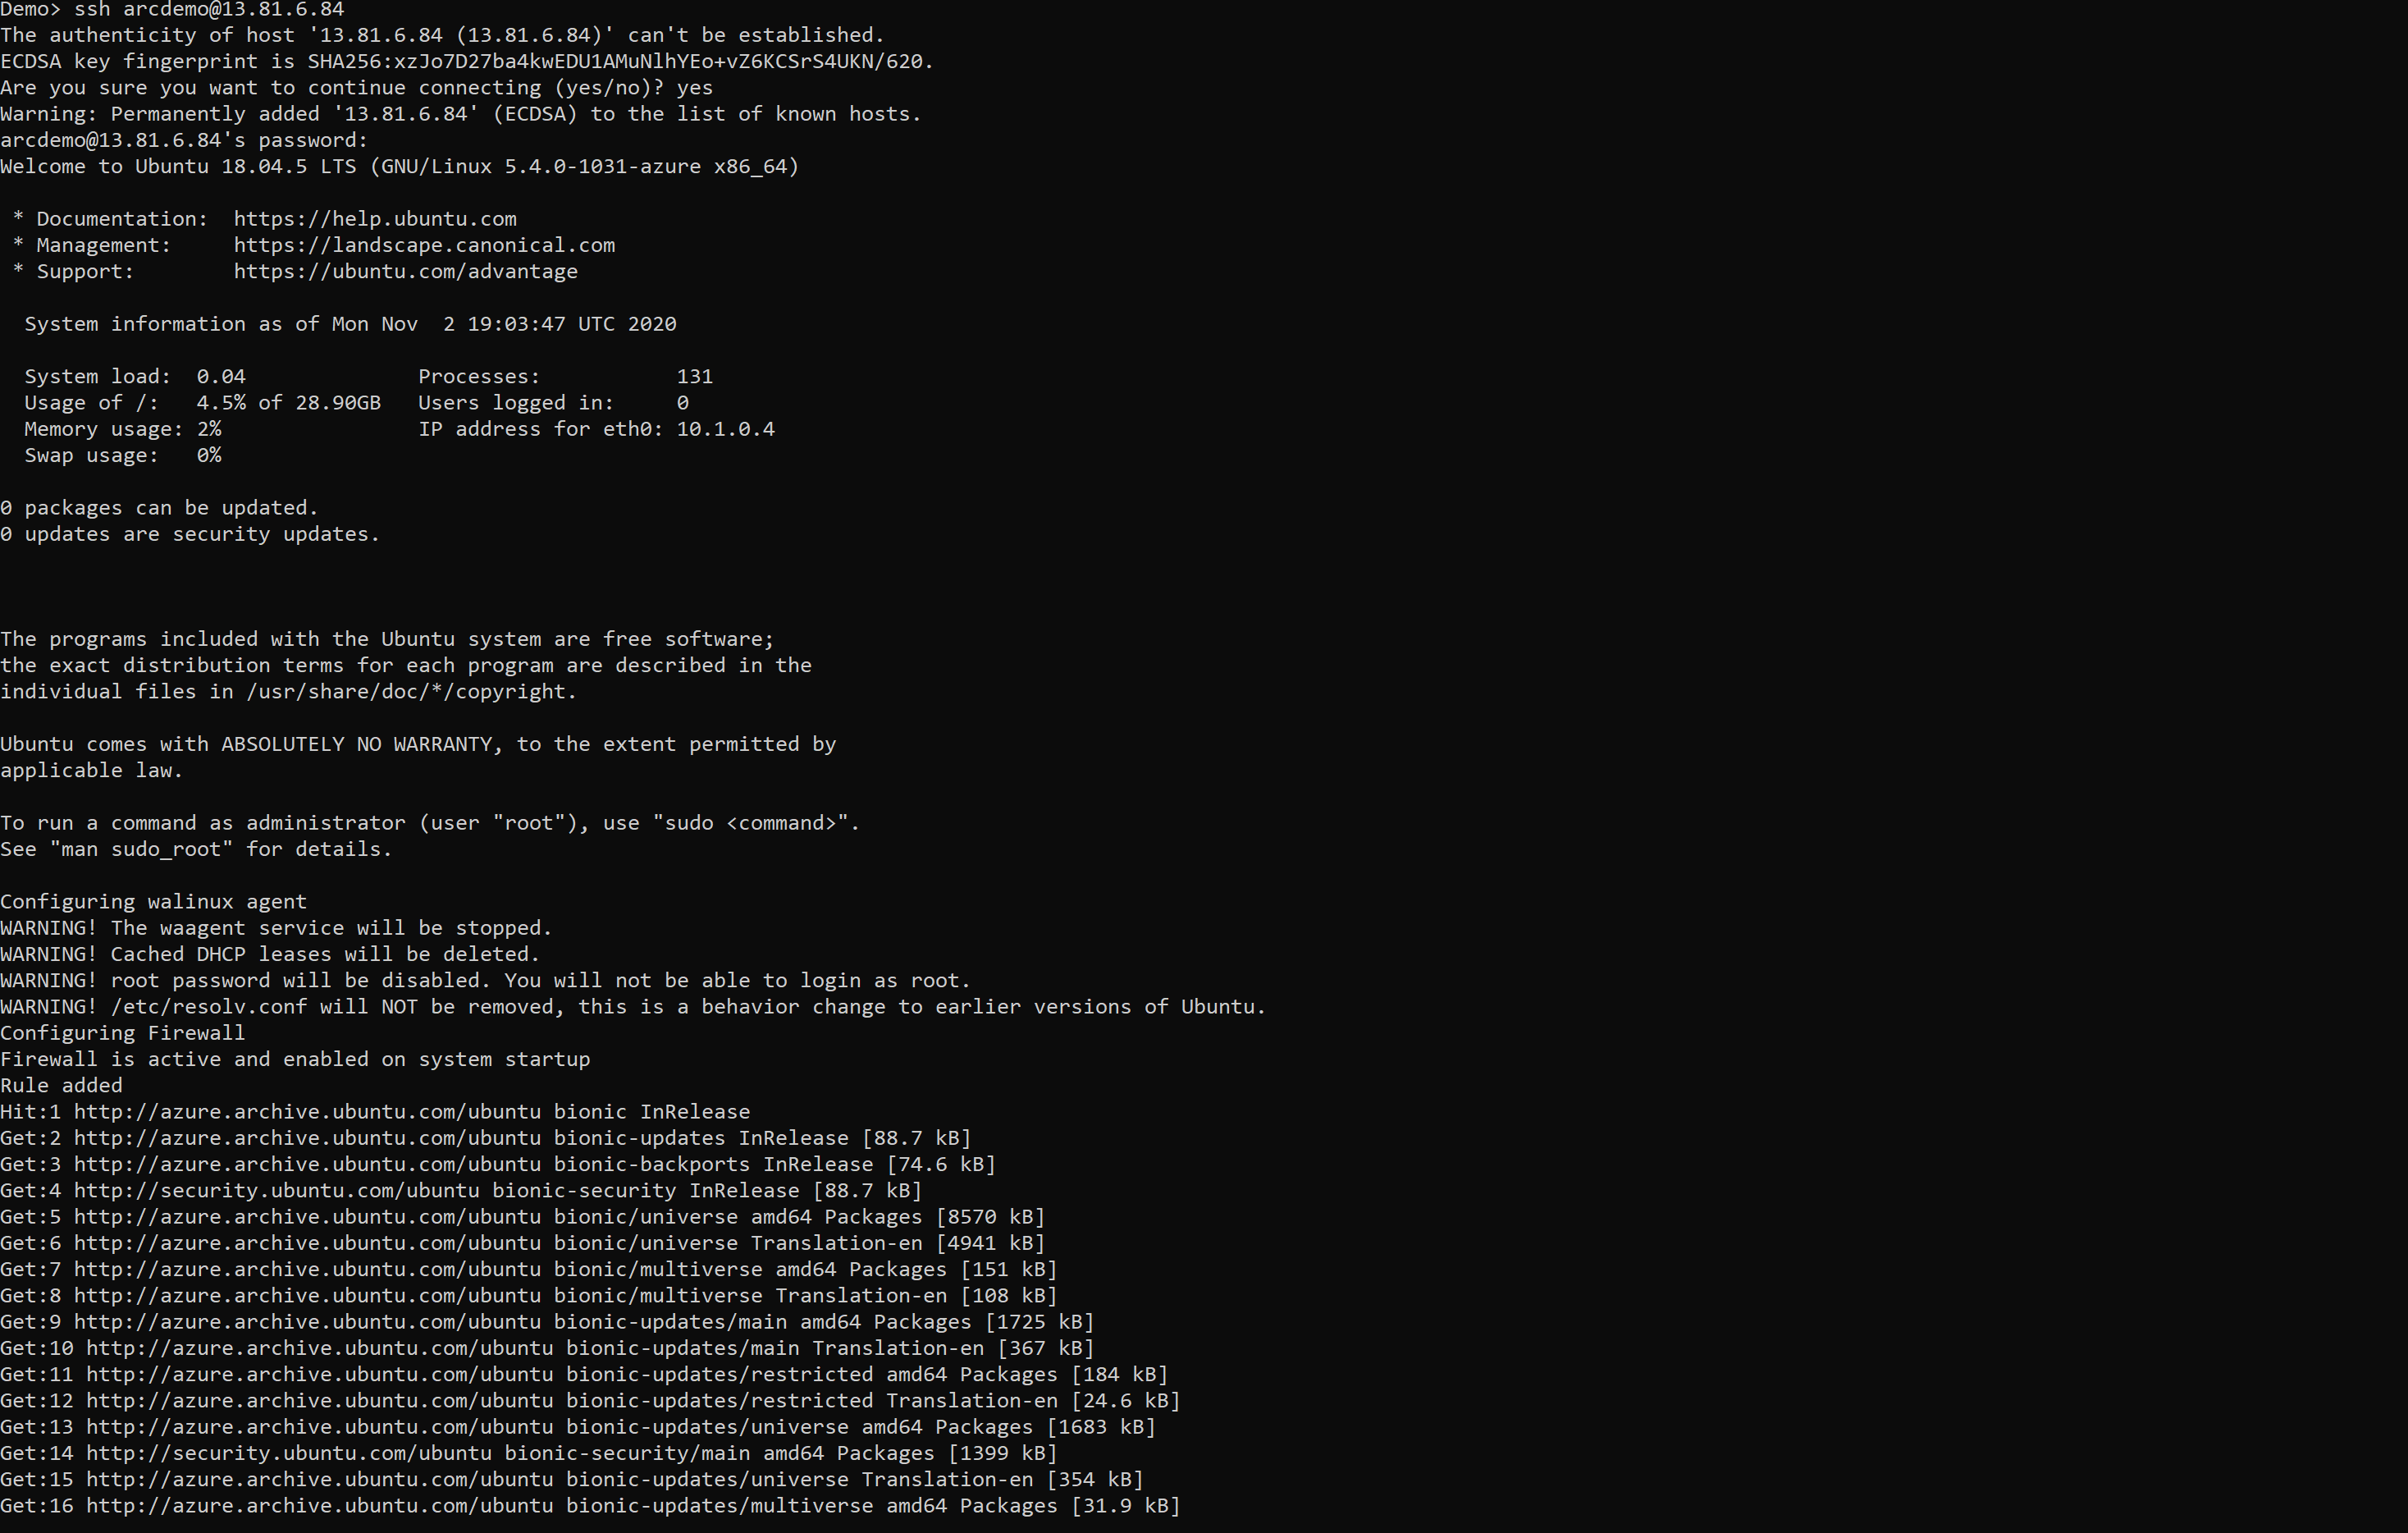
Now that the Linux VM is created, the next step is connecting to it. Using its public IP address, SSH to the VM.
Upon first sign-in, as mentioned in the Automation flow section, a logon script will get executed. This script was created as part of the automated deployment process.
Let the script run and do not close the SSH session. The session will close for you automatically once completed.
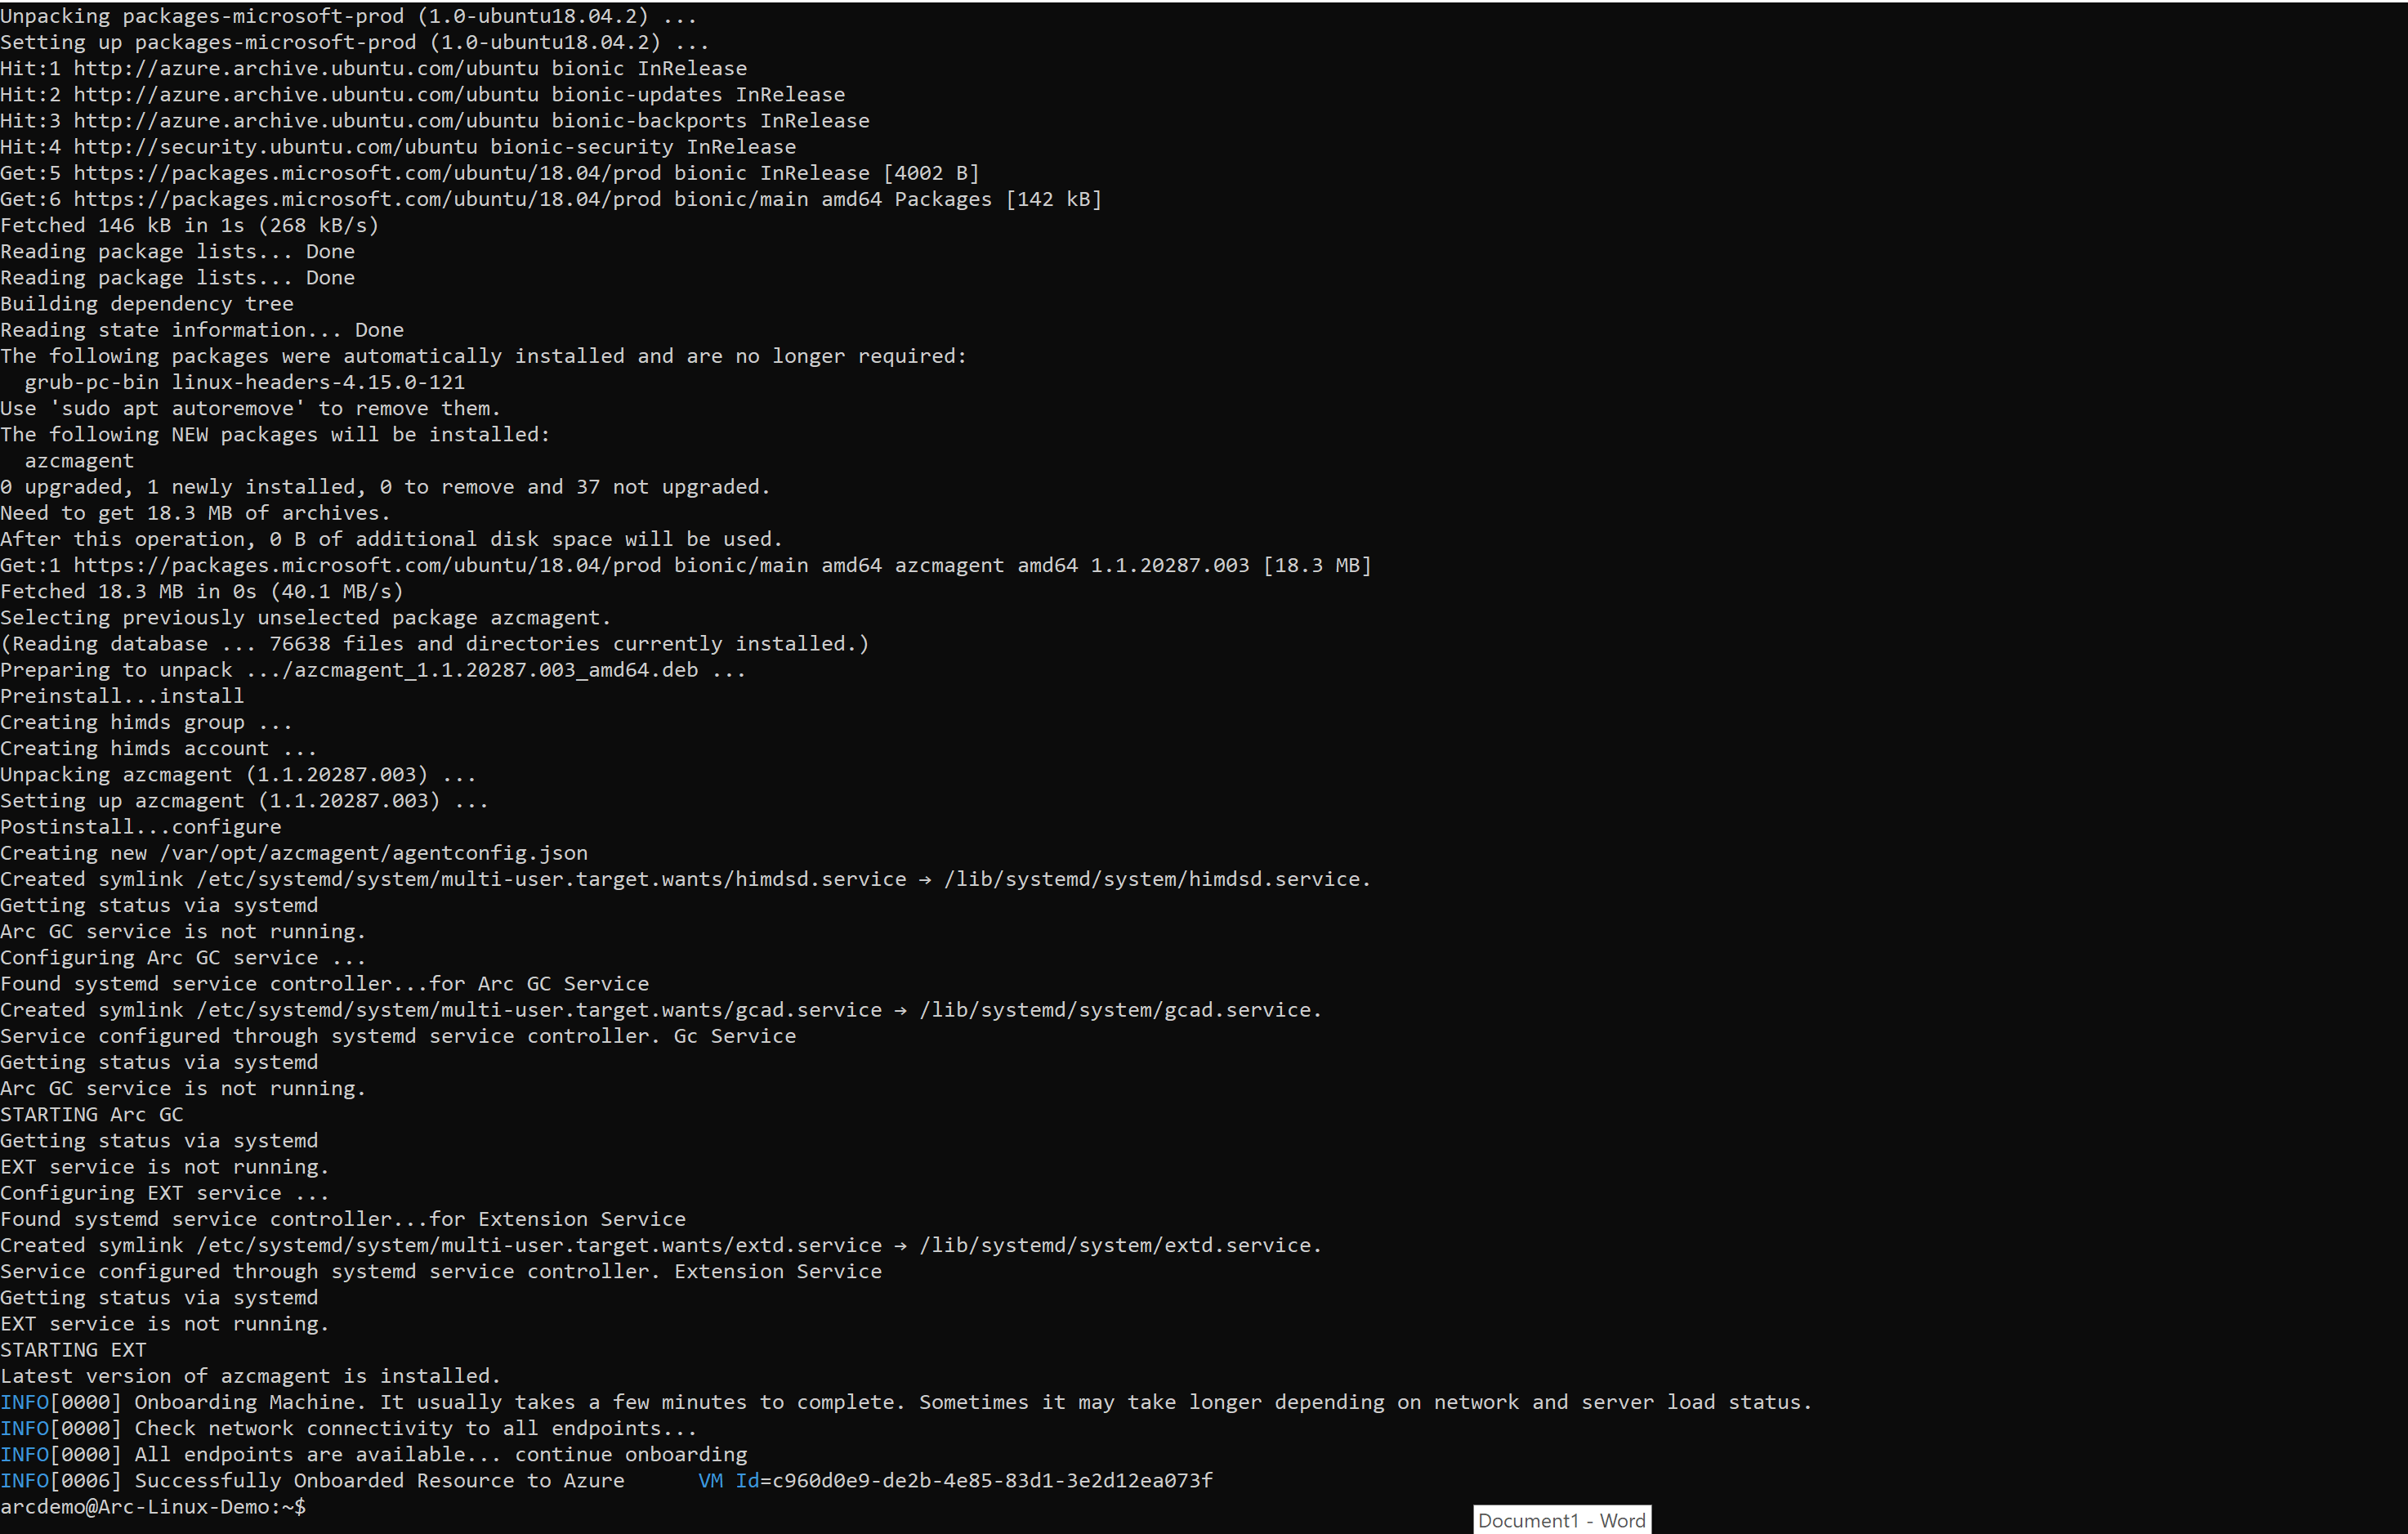
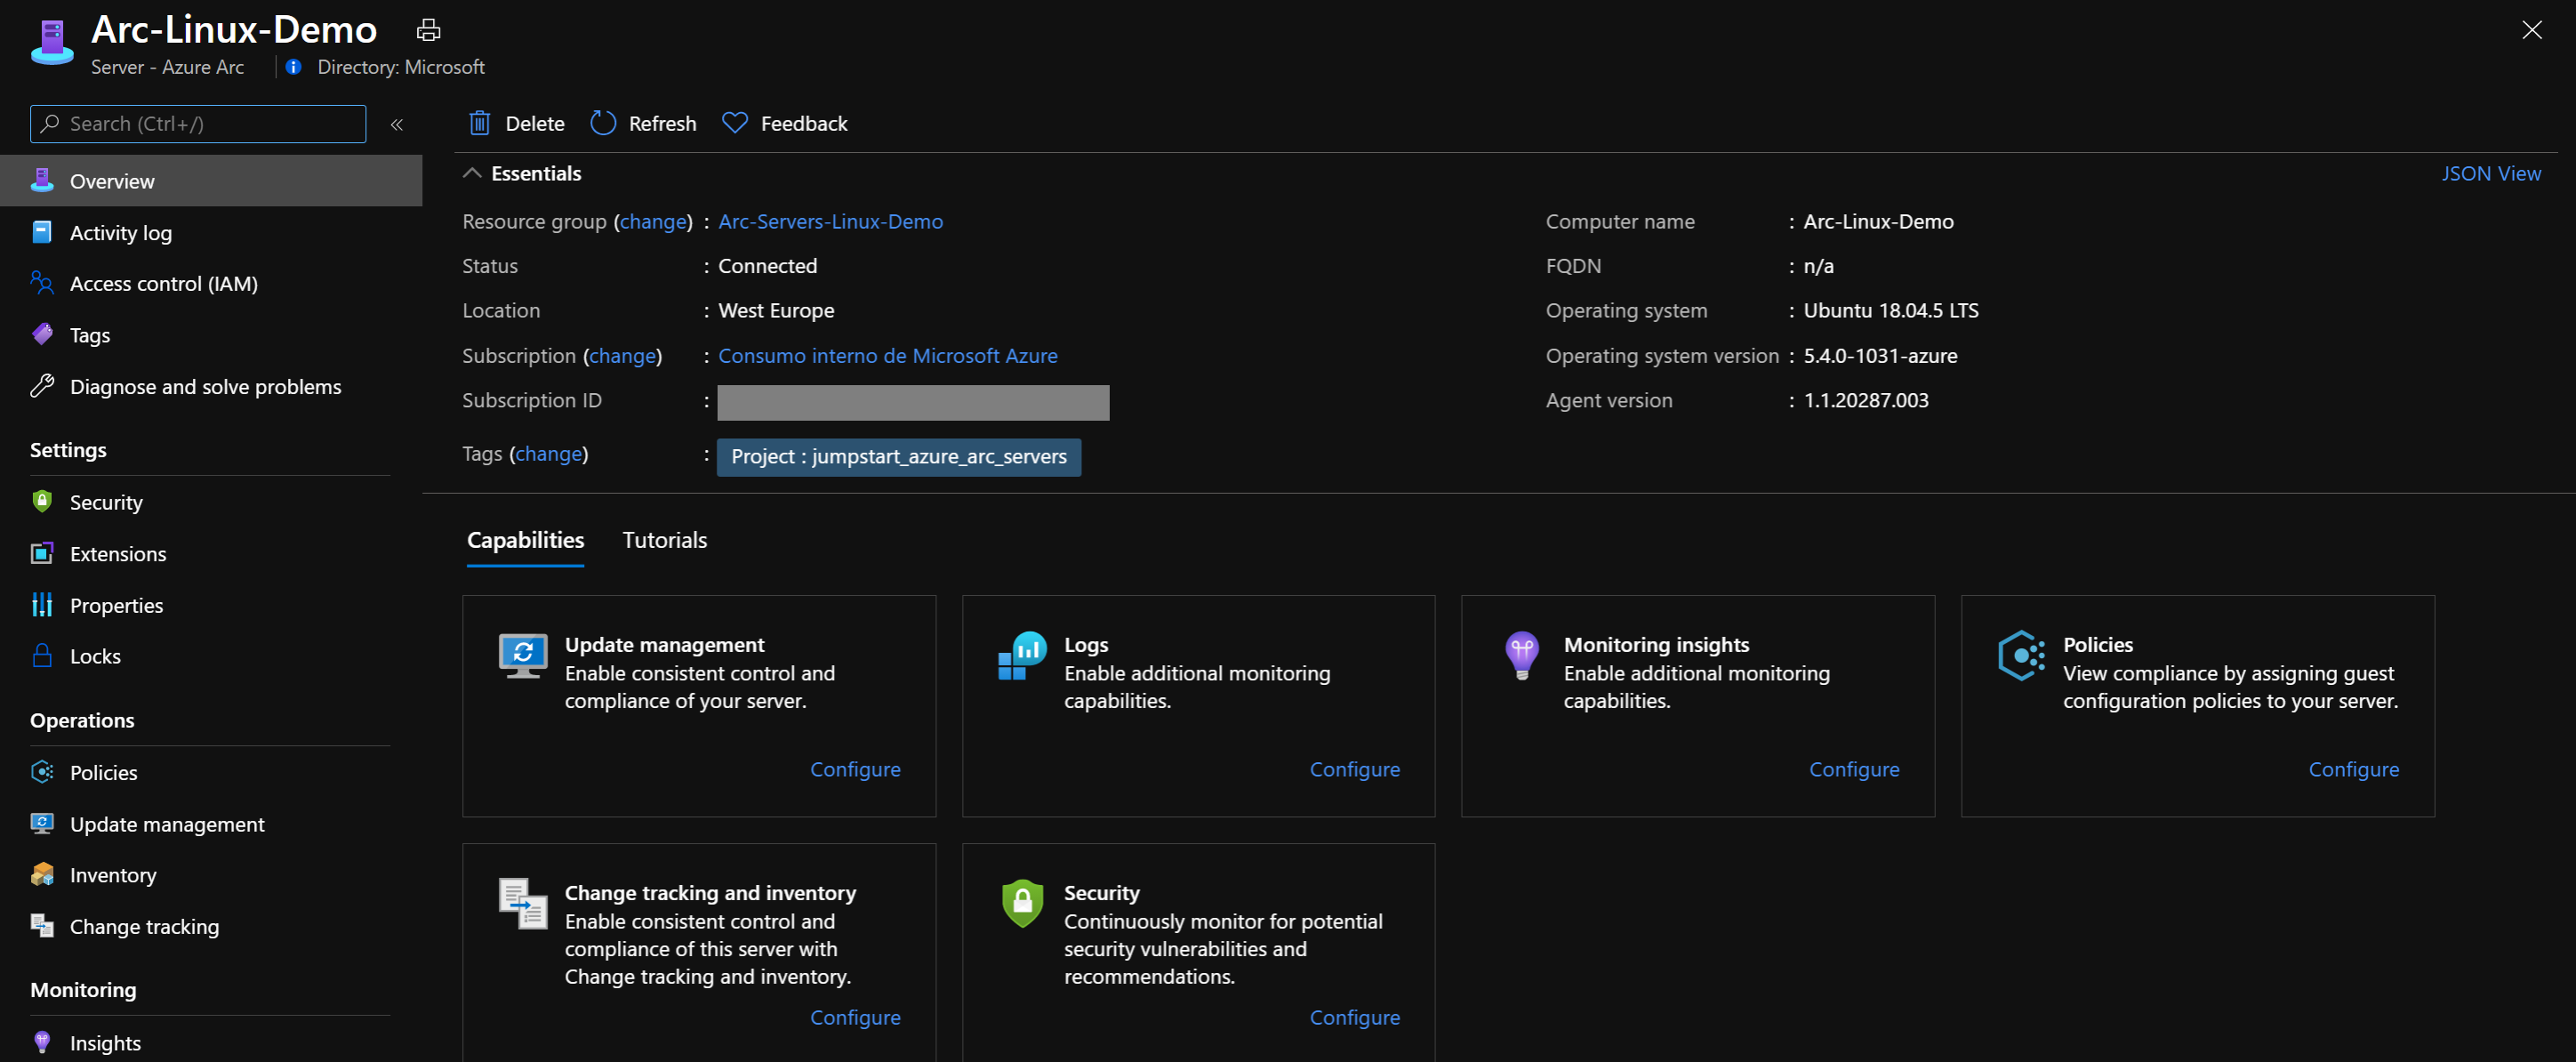
Upon successful completion, a new Azure Arc-enabled server will be added to the resource group.
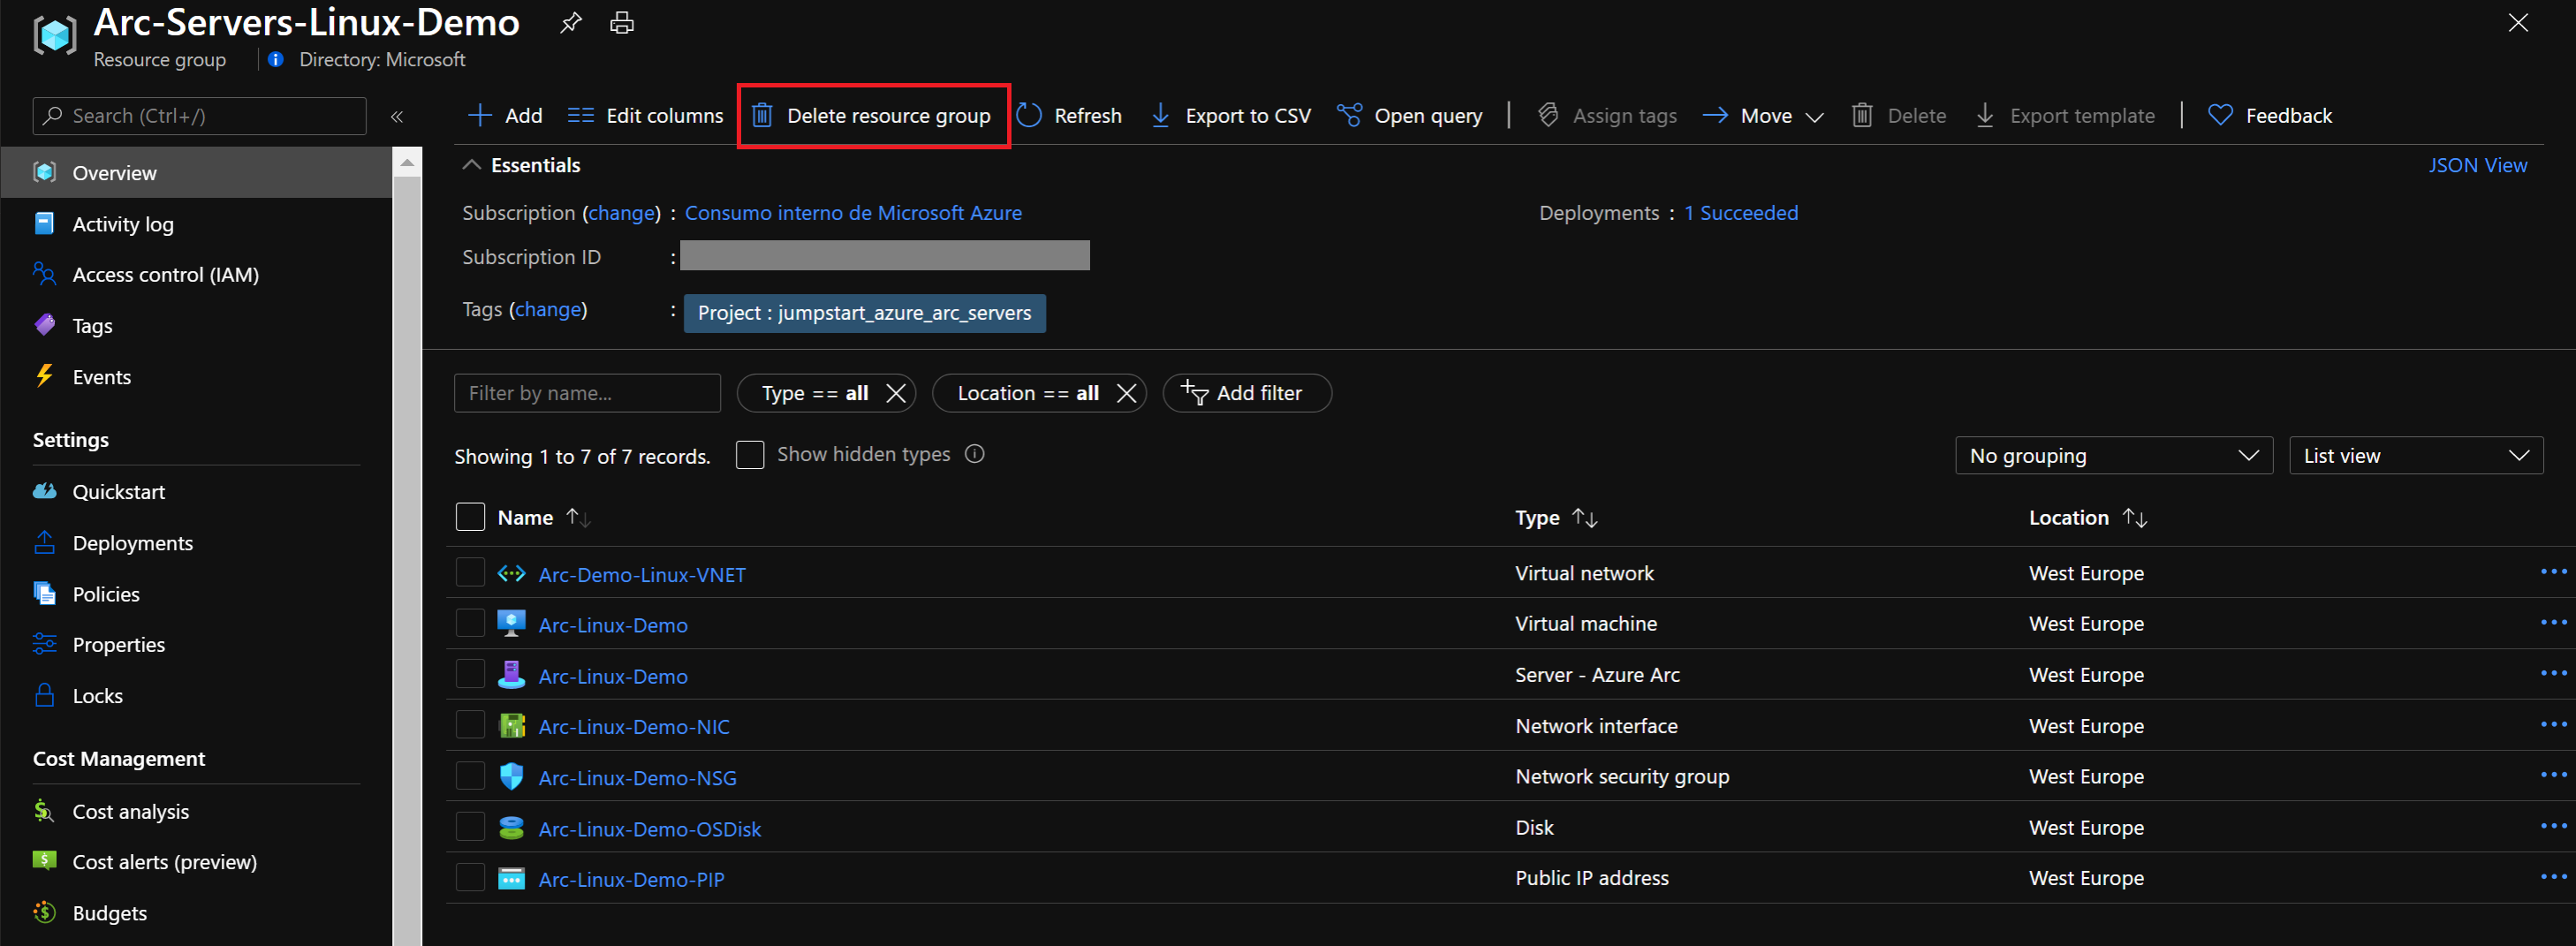
Cleanup
To delete the entire deployment, delete the resource group from the Azure portal.
Feedback
Coming soon: Throughout 2024 we will be phasing out GitHub Issues as the feedback mechanism for content and replacing it with a new feedback system. For more information see: https://aka.ms/ContentUserFeedback.
Submit and view feedback for