Use a Terraform plan to deploy a Google Cloud Platform Ubuntu instance and connect it to Azure Arc
This article provides guidance for using the provided Terraform plan to deploy Google Cloud Platform (GCP) instance and connect it as an Azure Arc-enabled server resource.
Prerequisites
Clone the Azure Arc Jumpstart repository.
git clone https://github.com/microsoft/azure_arc.gitInstall or update Azure CLI to version 2.7 and above. Use the following command to check your current installed version.
az --versionGenerate SSH key (or use existing SSH key)
Create an Azure service principal.
To connect the GCP virtual machine to Azure Arc, an Azure service principal assigned with the Contributor role is required. To create it, sign in to your Azure account and run the following command. You can also run this command in Azure Cloud Shell.
az login
az account set -s <Your Subscription ID>
az ad sp create-for-rbac -n "<Unique SP Name>" --role contributor --scopes "/subscriptions/<Your Subscription ID>"
For example:
az ad sp create-for-rbac -n "http://AzureArcGCP" --role contributor --scopes "/subscriptions/00000000-0000-0000-0000-000000000000"The output should look like this:
{
  "appId": "XXXXXXXXXXXXXXXXXXXXXXXXXXXX",
  "displayName": "http://AzureArcGCP",
  "password": "XXXXXXXXXXXXXXXXXXXXXXXXXXXX",
  "tenant": "XXXXXXXXXXXXXXXXXXXXXXXXXXXX"
}
Note
We highly recommend that you scope the service principal to a specific Azure subscription and resource group.
Create a new GCP project
Browse to the Google API console and sign-in with your Google account. Once logged in, create a new project named
Azure Arc demo. After creating it, be sure to copy down the project ID since it's usually different then the project name.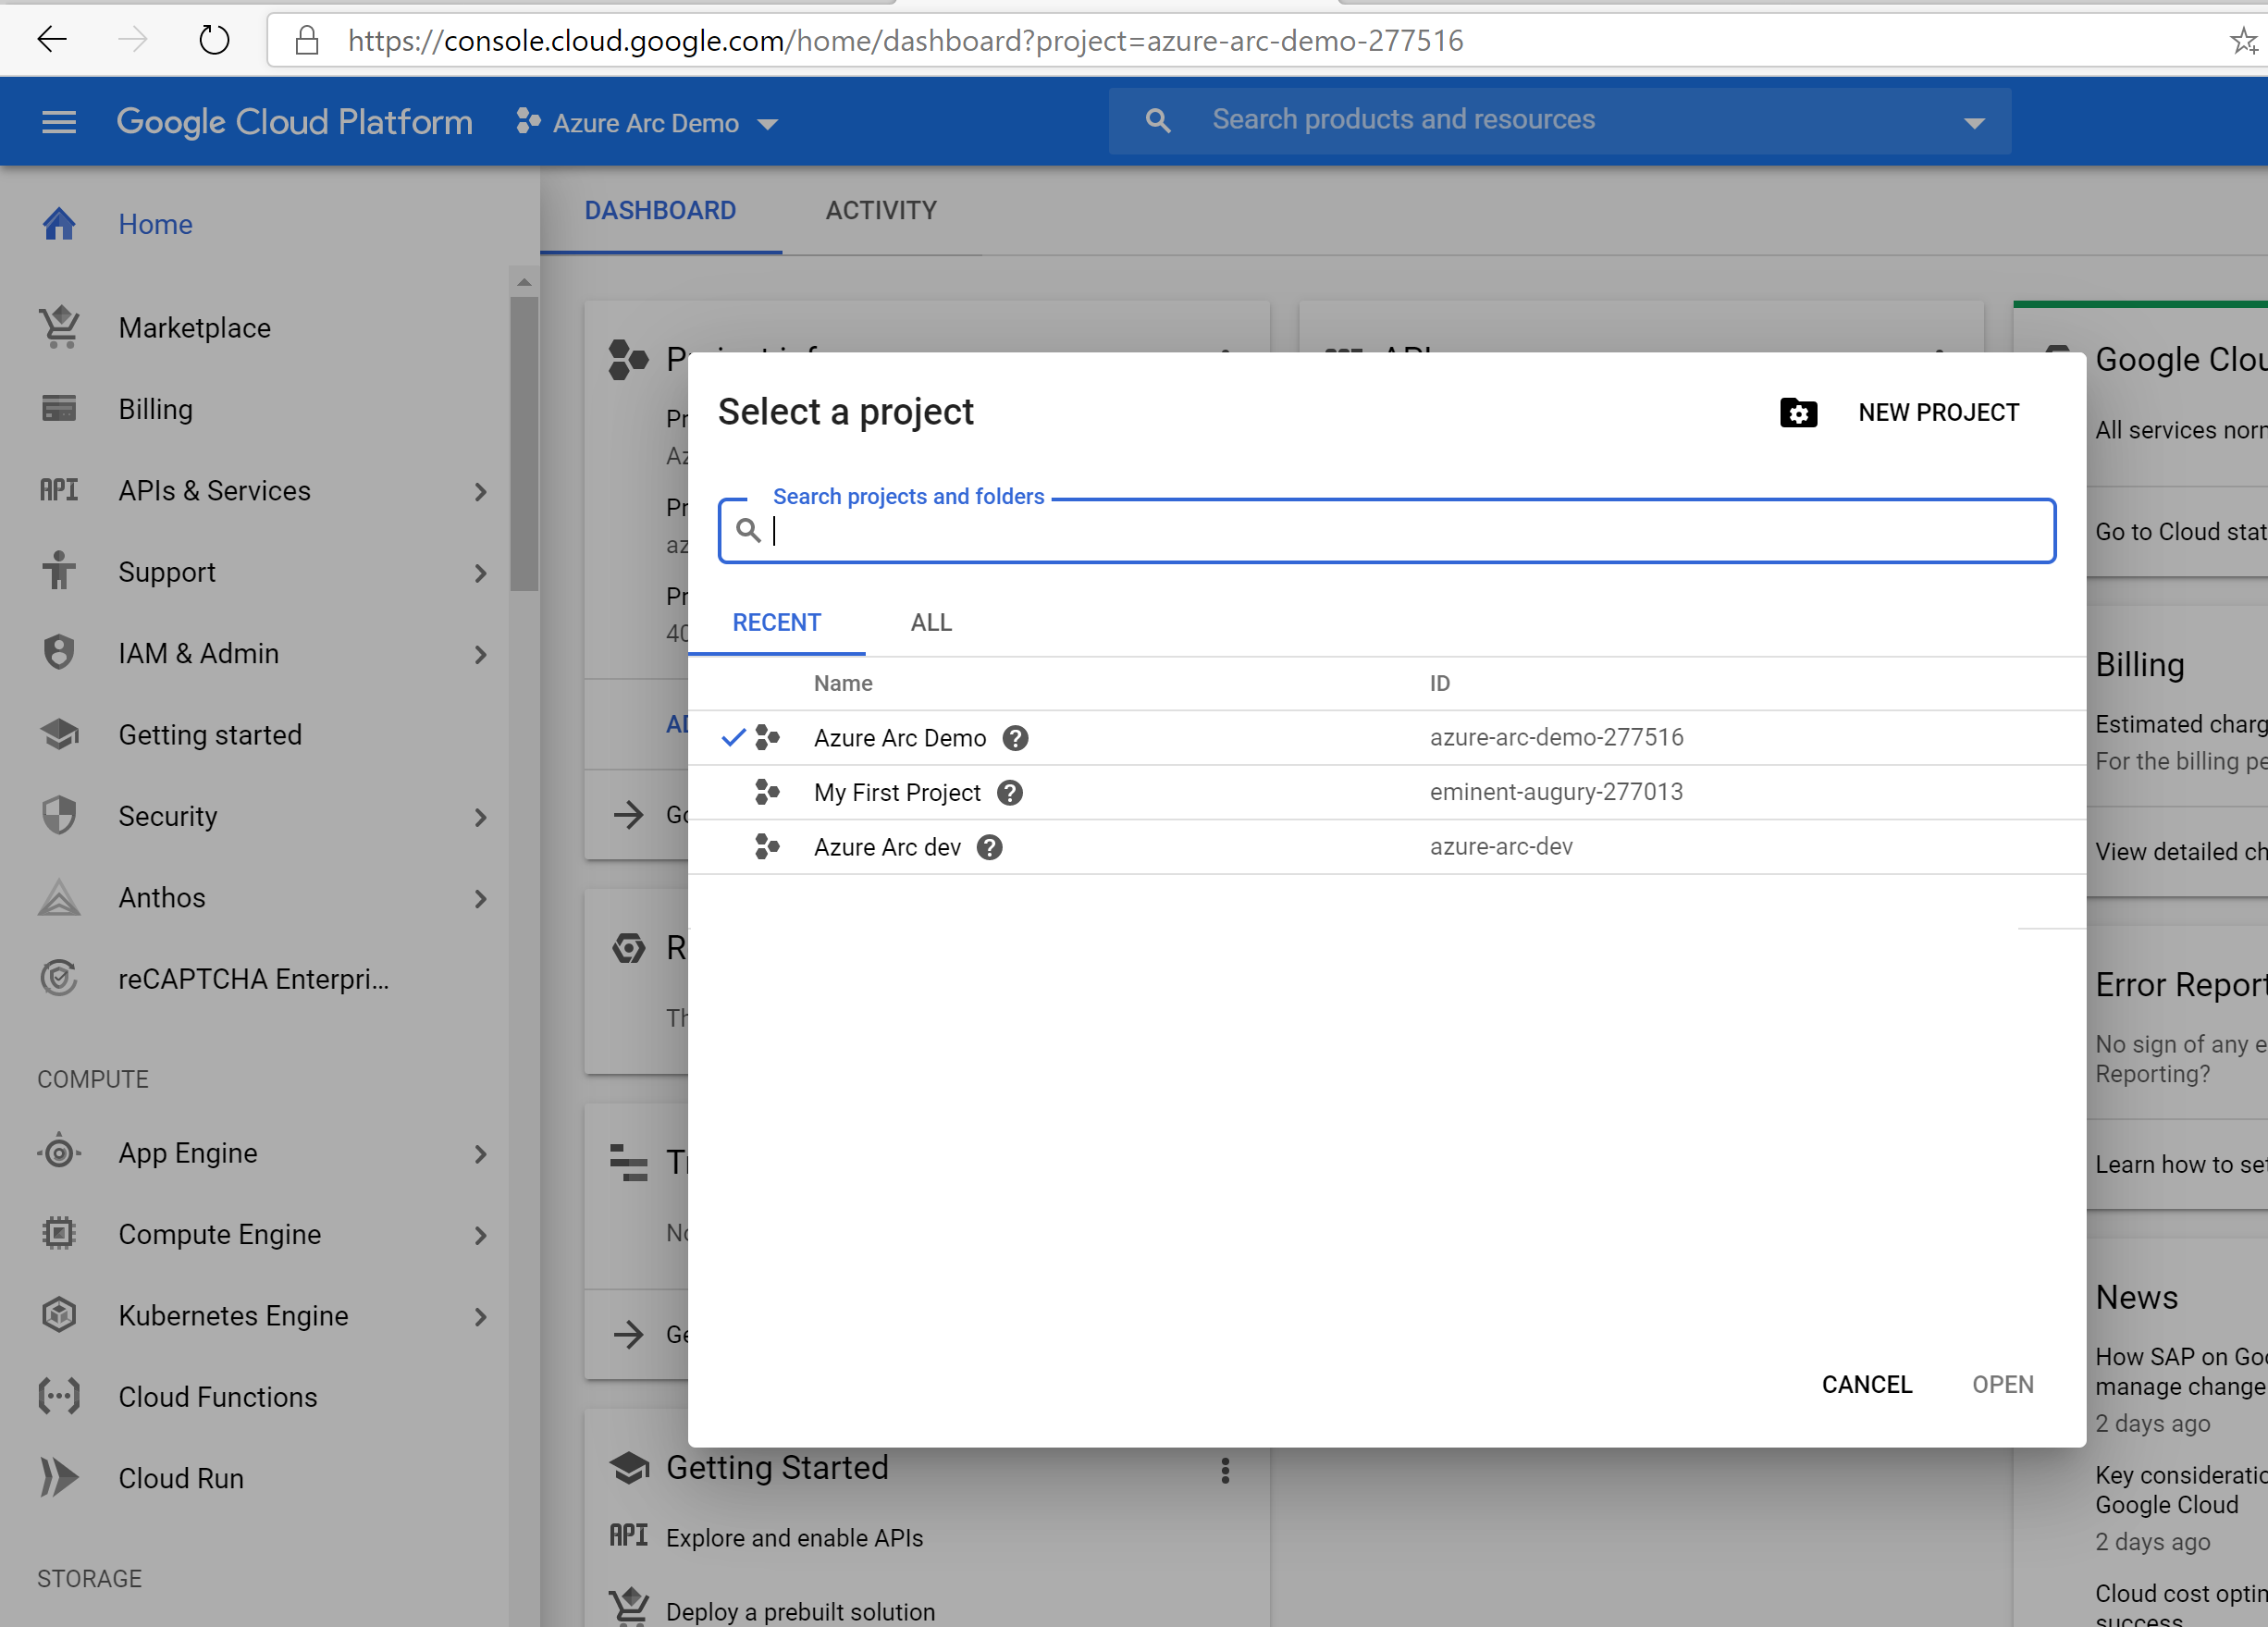

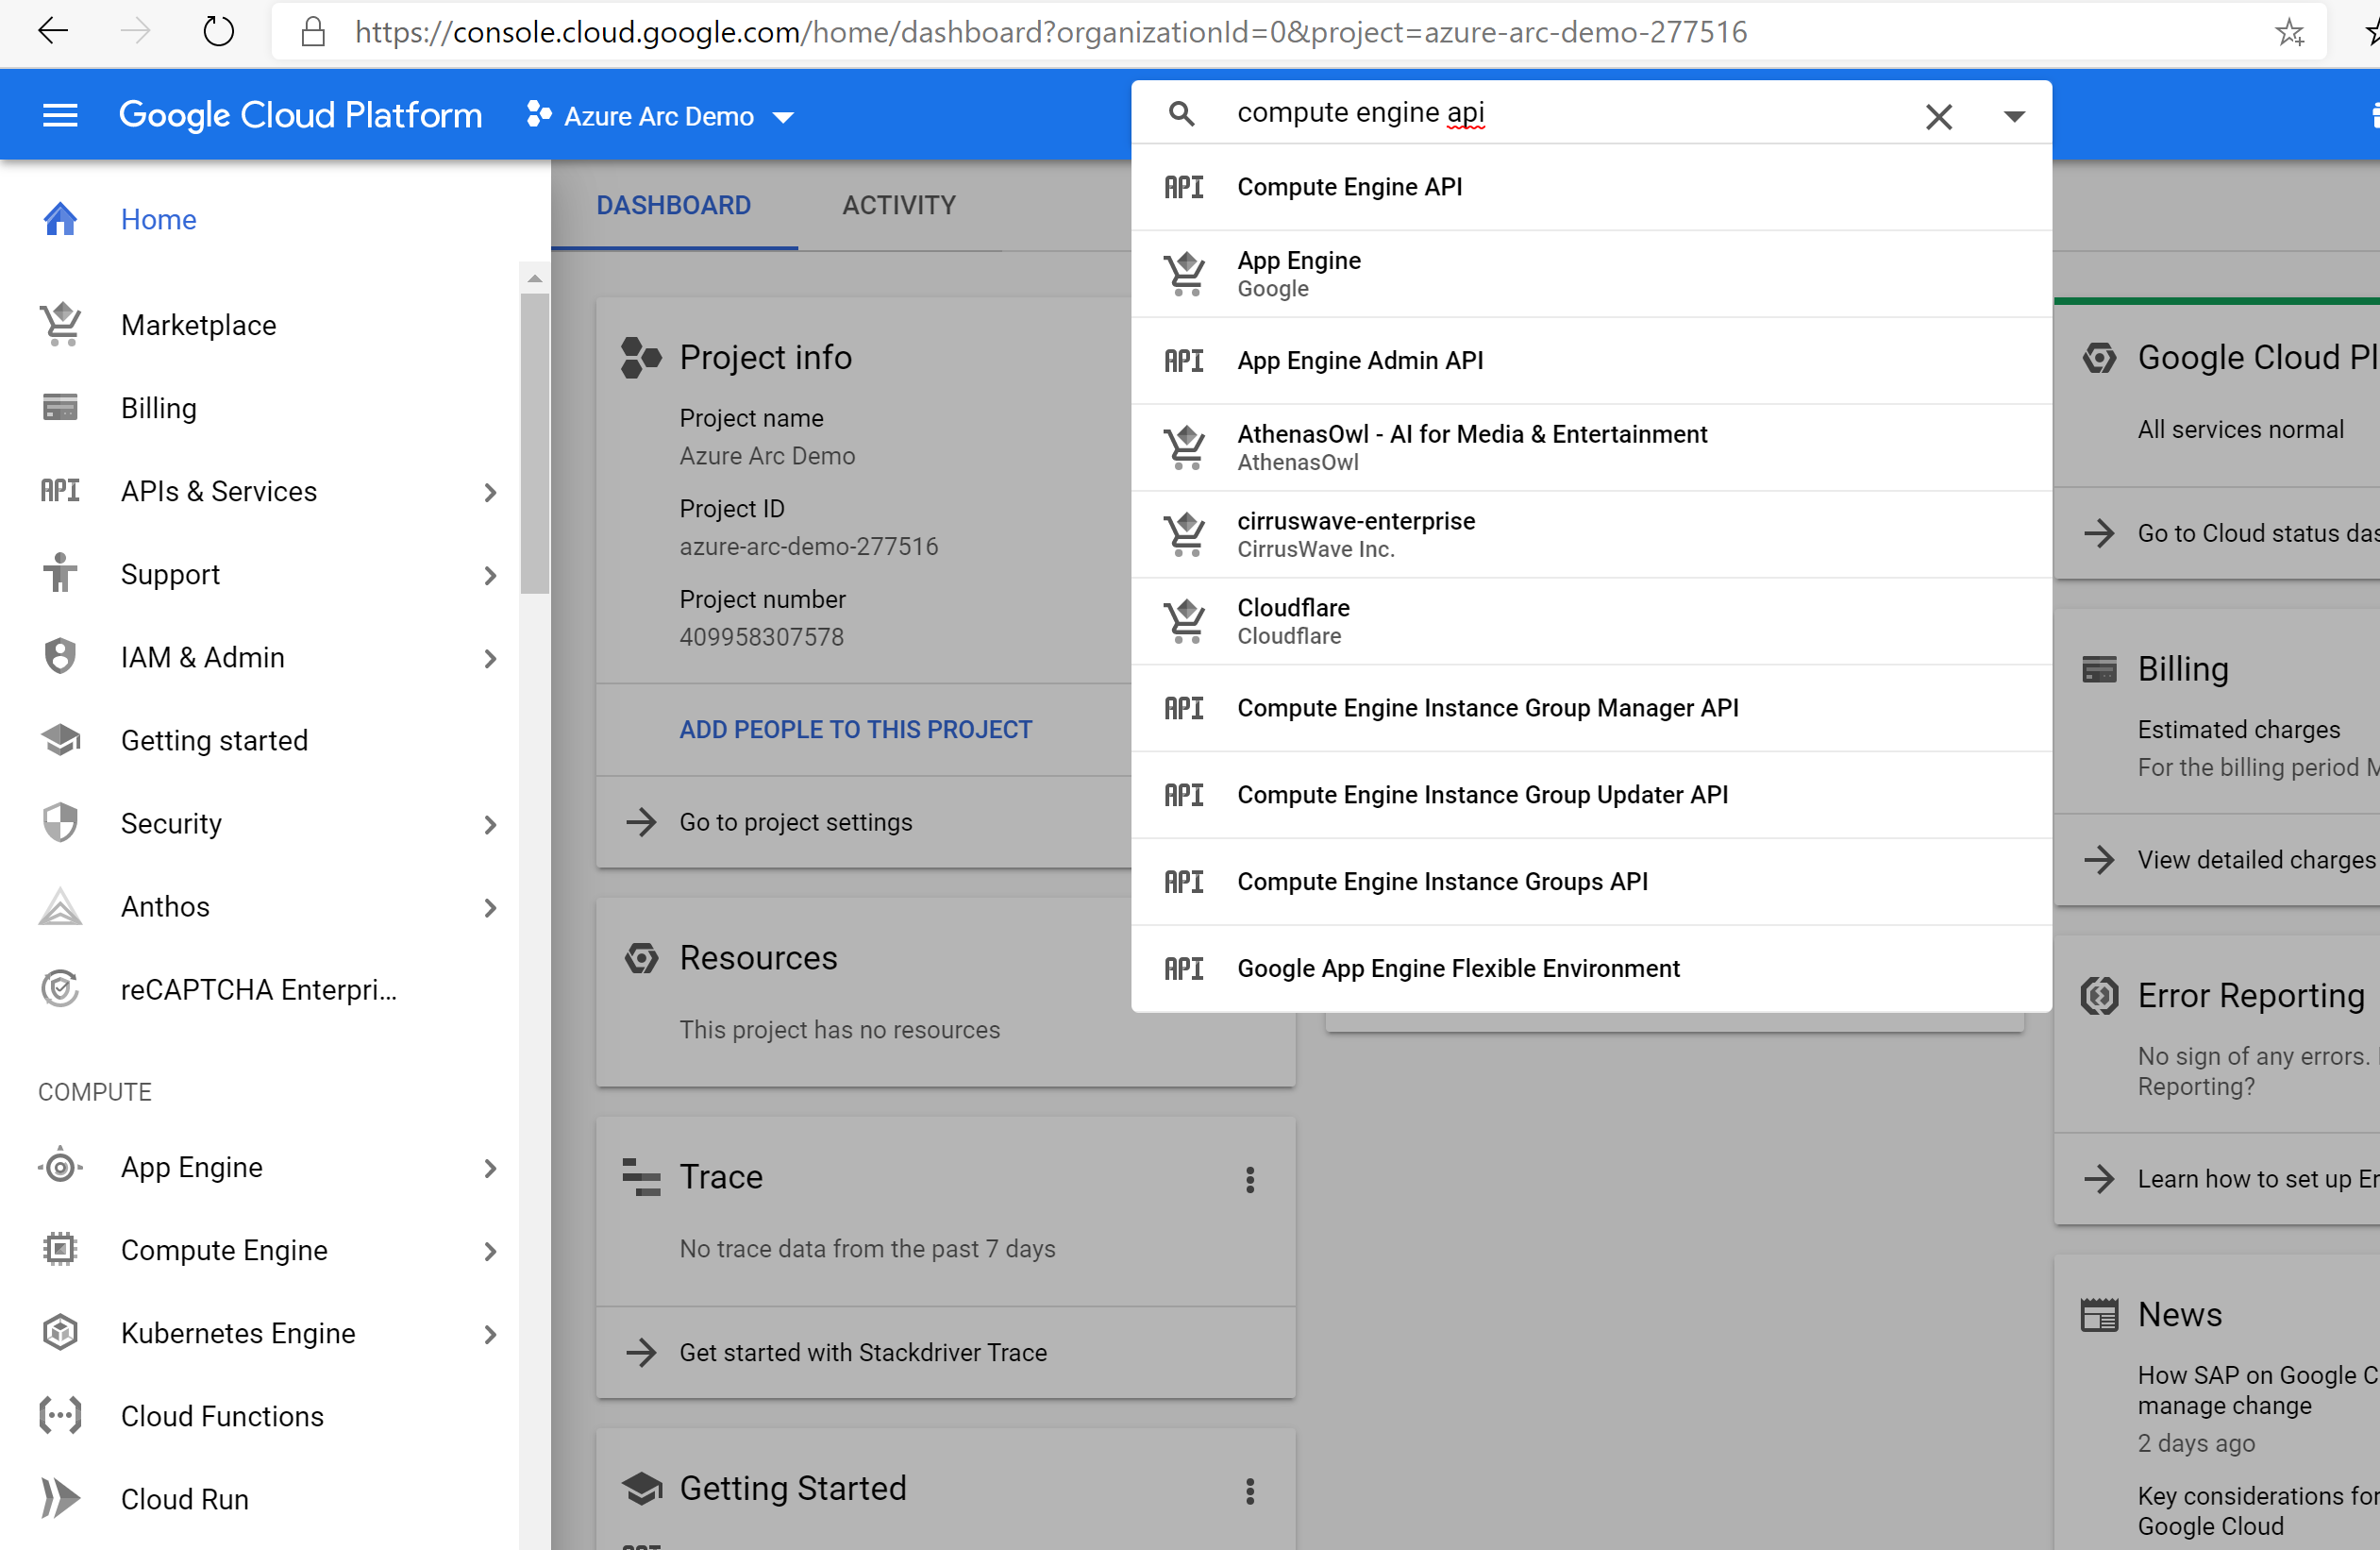
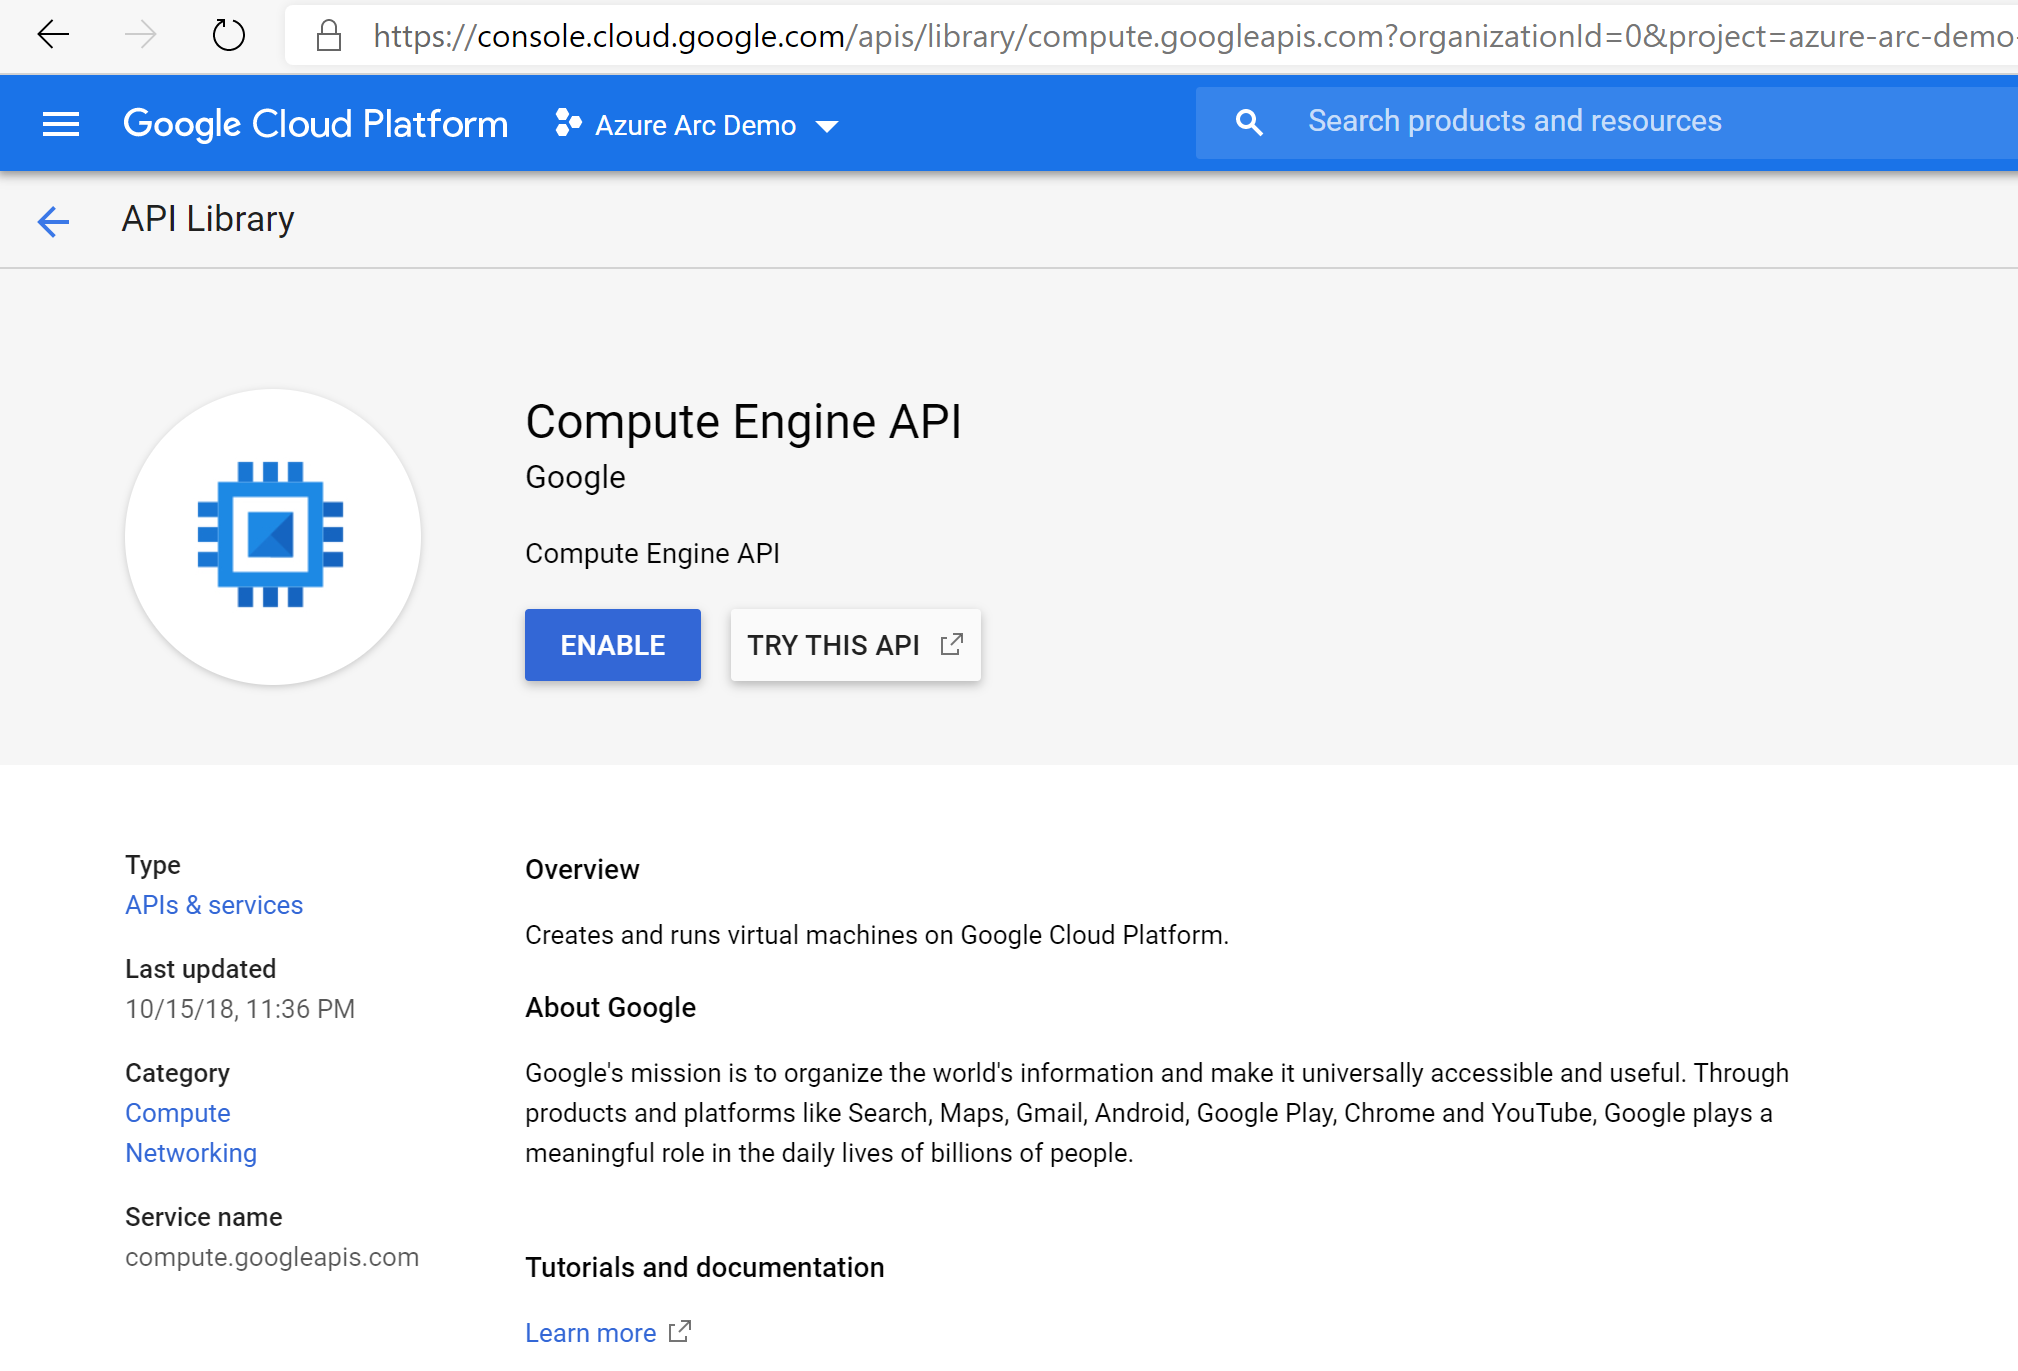
Once the new project is created and selected in the dropdown list at the top of the page, you must enable Compute Engine API access for the project. Click on + Enable APIs and Services and search for compute engine. Then select Enable to enable API access.
Next, set up a service account key, which Terraform will use to create and manage resources in your GCP project. Go to the create service account key page. Select New Service Account from the dropdown list, give it a name, select project then owner as the role, JSON as the key type, and select Create. This downloads a JSON file with all the credentials that will be needed for Terraform to manage the resources. Copy the downloaded JSON file to the
azure_arc_servers_jumpstart/gcp/ubuntu/terraformdirectory.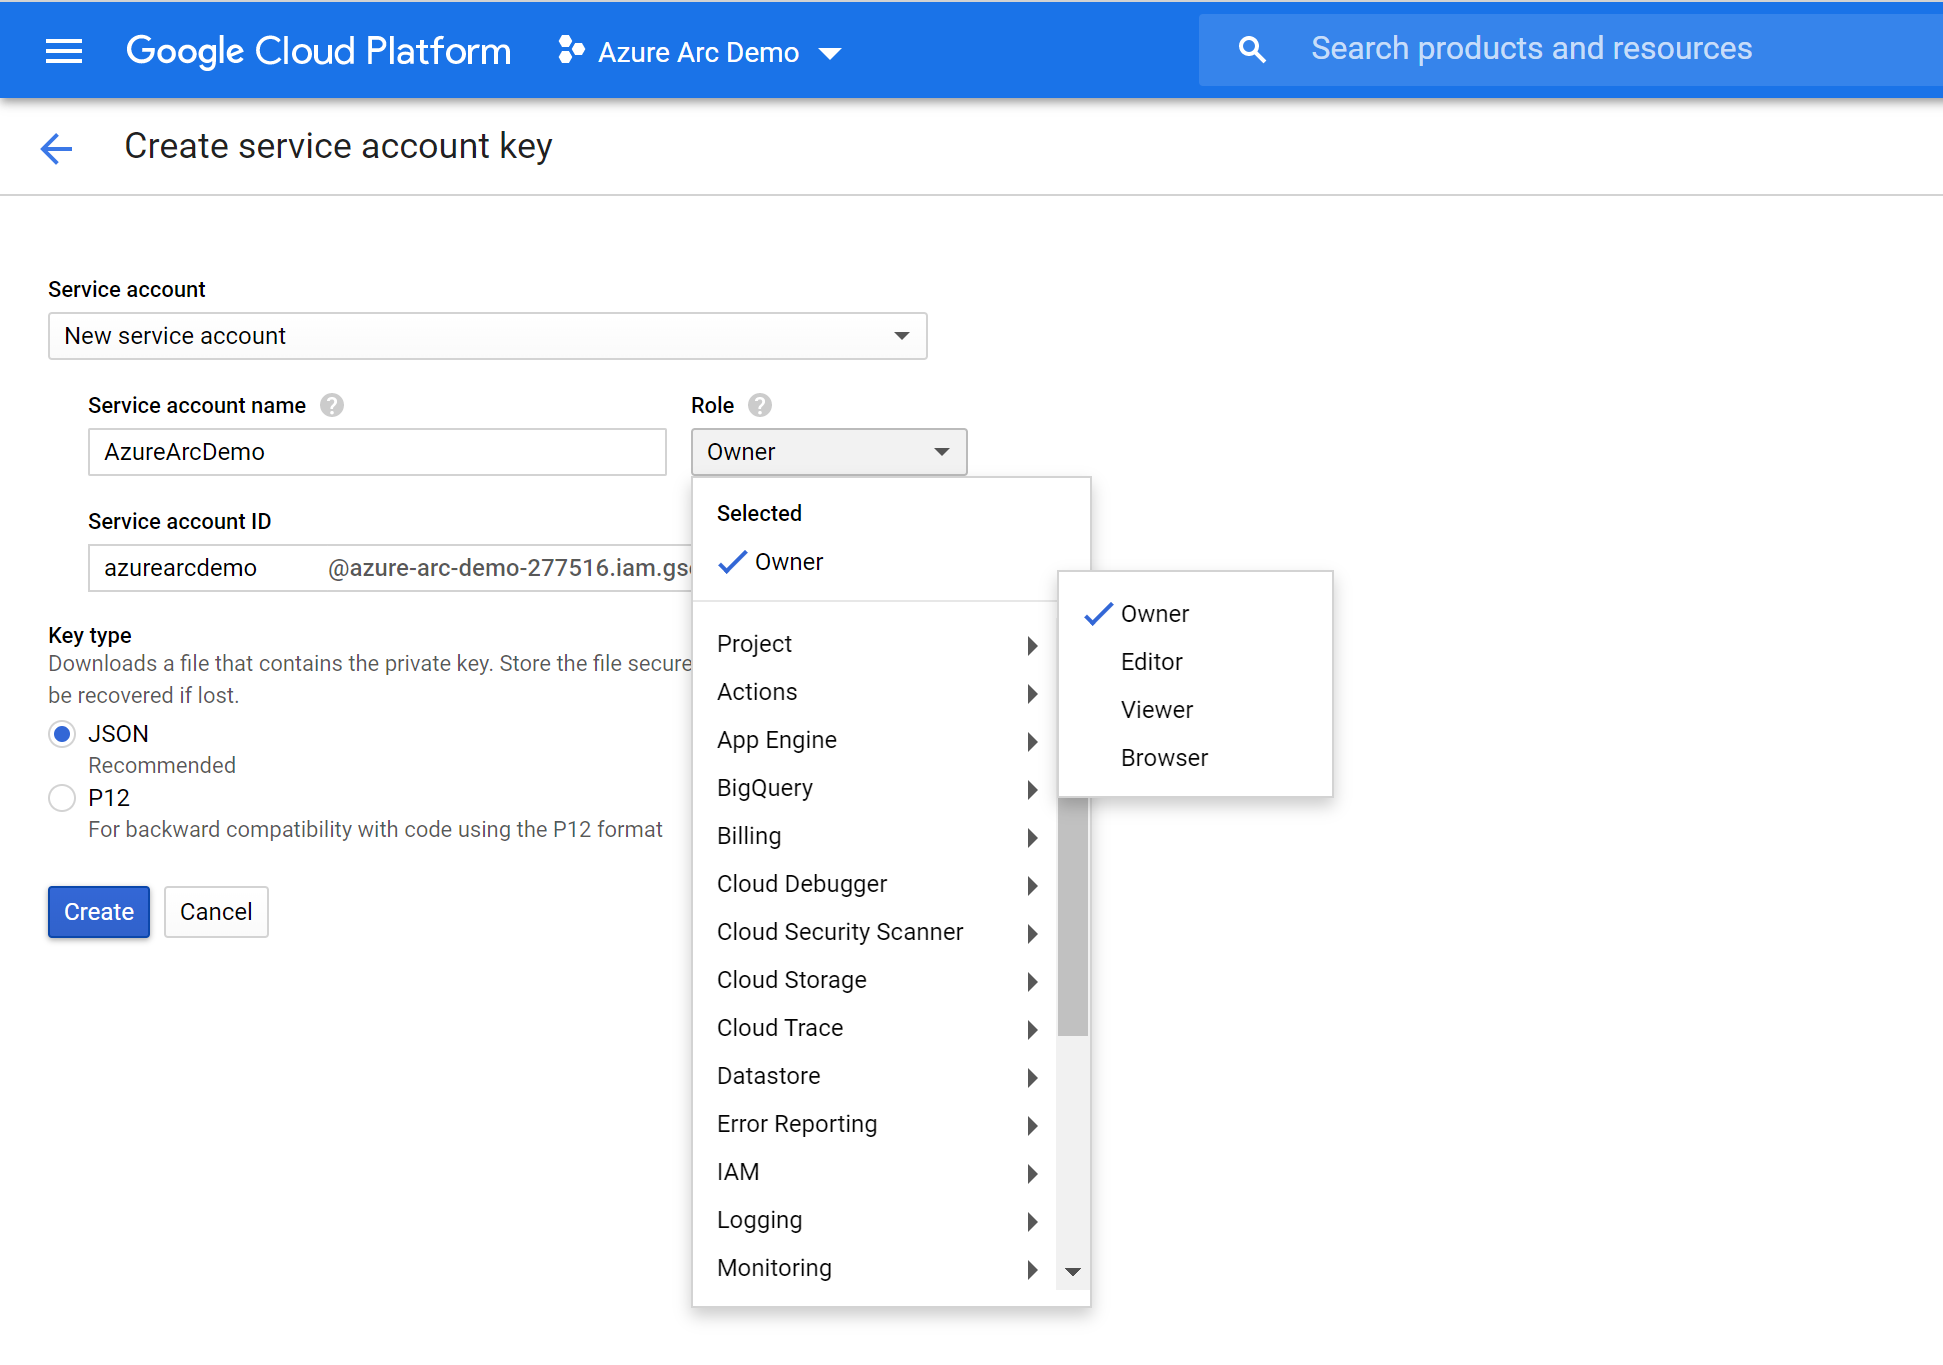
Finally, make sure your SSH keys are available in
~/.sshand namedid_rsa.pubandid_rsa. If you followed thessh-keygenguide above to create your key then this should already be set up correctly. If not, you may need to modifymain.tfto use a key with a different path.
Deployment
Before executing the Terraform plan, you must export the environment variables which will be used by the plan. These variables are based on the Azure service principal you've just created, your Azure subscription and tenant, and the GCP project name.
Retrieve your Azure subscription ID and tenant ID using the
az account listcommand.The Terraform plan creates resources in both Microsoft Azure and Google Cloud Platform. It then executes a script on a GCP virtual machine to install the Azure Arc agent and all necessary artifacts. This script requires certain information about your GCP and Azure environments. Edit
scripts/vars.shand update each of the variables with the appropriate values.TF_VAR_subscription_id= your Azure subscription IDTF_VAR_client_id= your Azure service principal application IDTF_VAR_client_secret= your Azure service principal passwordTF_VAR_tenant_id= your Azure tenant IDTF_VAR_gcp_project_id= GCP project IDTF_VAR_gcp_credentials_filename= GCP credentials JSON filename
From CLI, navigate to the
azure_arc_servers_jumpstart/gcp/ubuntu/terraformdirectory of the cloned repo.Export the environment variables you edited by running
scripts/vars.shwith the source command as shown below. Terraform requires these to be set for the plan to execute properly. Note that this script will also be automatically executed remotely on the GCP virtual machine as part of the Terraform deployment.source ./scripts/vars.shRun the
terraform initcommand which will download the Terraform AzureRM provider.
Next, run the
terraform apply --auto-approvecommand and wait for the plan to finish. Upon completion, you will have a GCP Ubuntu VM deployed and connected as a new Azure Arc-enabled server inside a new resource group.Open the Azure portal and navigate to the
arc-gcp-demoresource group. The virtual machine created in GCP will be visible as a resource.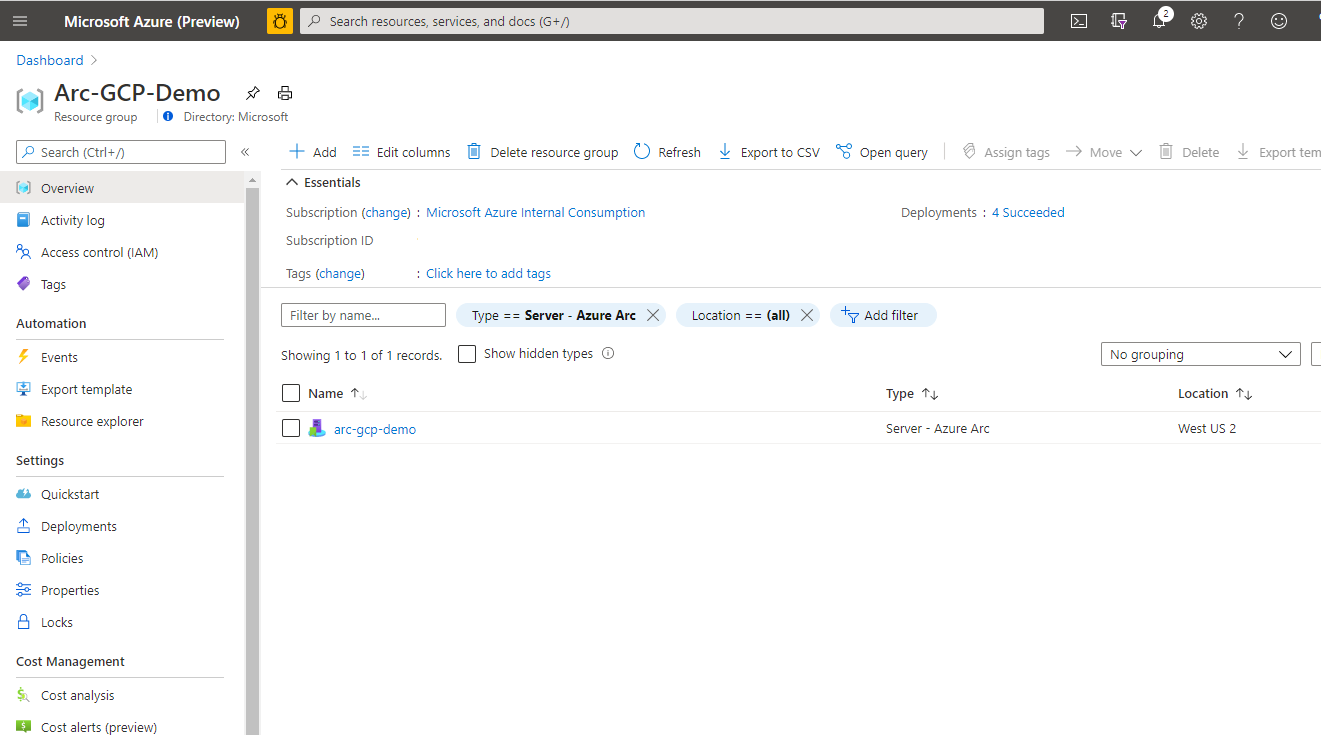
Semi-automated deployment (optional)
As you may have noticed, the last step of the run is to register the VM as a new Azure Arc-enabled server resource.
If you want to demo/control the actual registration process, do the following:
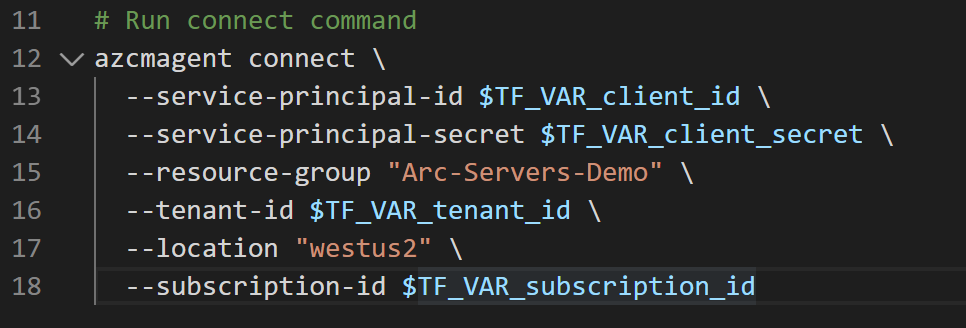
In the
install_arc_agent.sh.tmplscript template, comment out therun connect commandsection and save the file.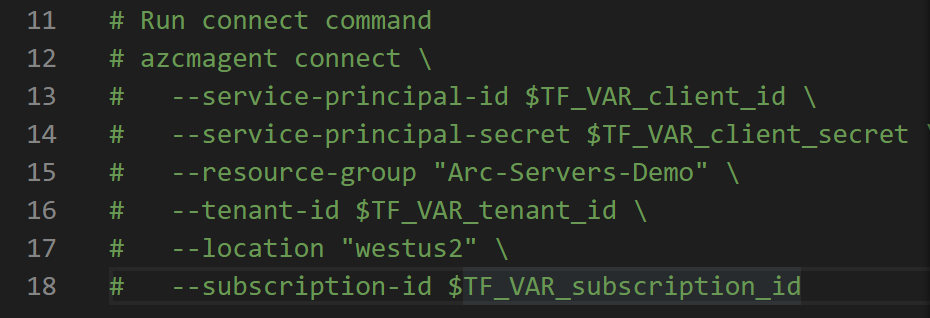
Get the public IP of the GCP VM by running
terraform output.
SSH the VM using the
ssh arcadmin@xx.xx.xx.xxwherexx.xx.xx.xxis the host IP.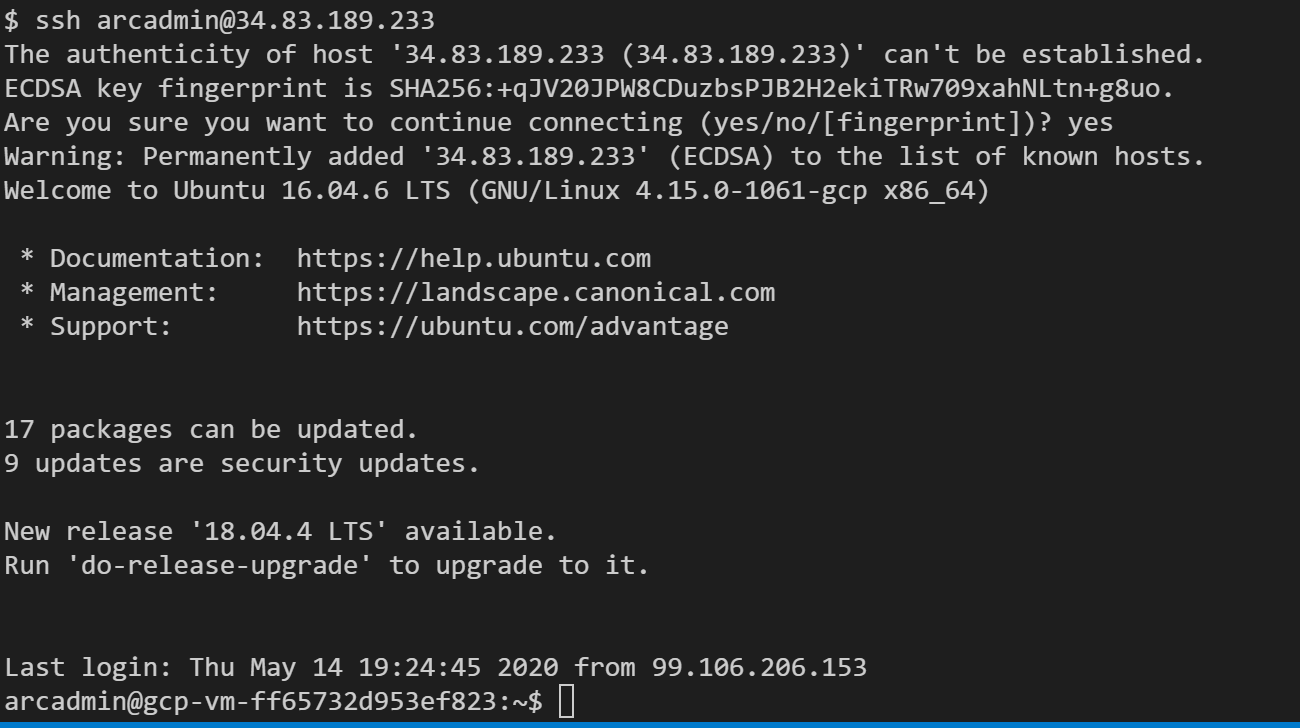
Export all the environment variables in
vars.sh
Run the following command:
azcmagent connect --service-principal-id $TF_VAR_client_id --service-principal-secret $TF_VAR_client_secret --resource-group "Azure Arc gcp-demo" --tenant-id $TF_VAR_tenant_id --location "westus2" --subscription-id $TF_VAR_subscription_id
When complete, your VM will be registered with Azure Arc and visible in the resource group via the Azure portal.
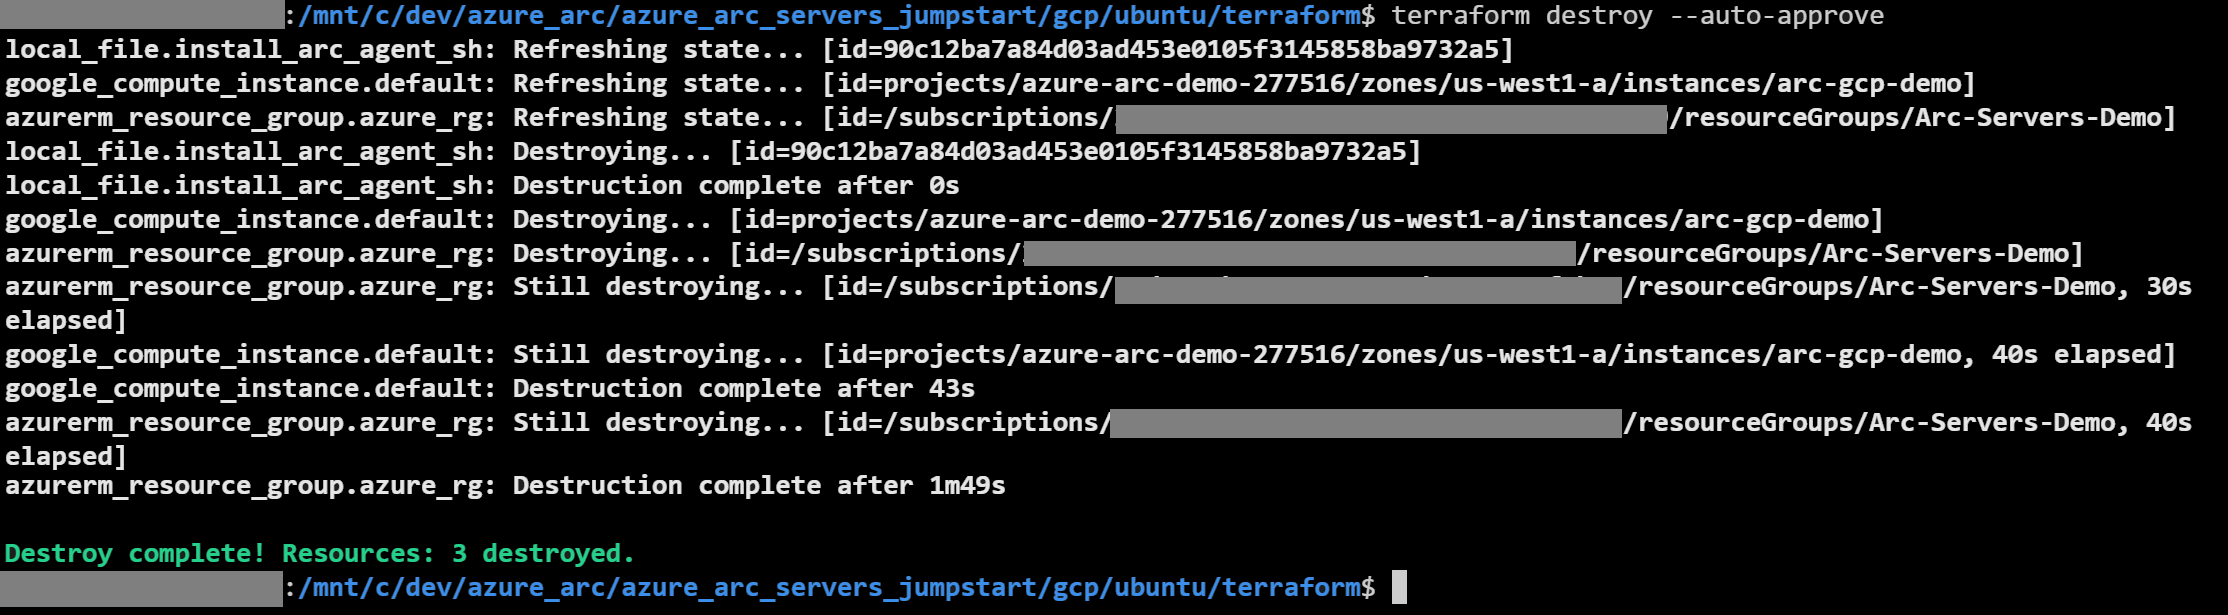
Delete the deployment
To delete all the resources you created as part of this demo use the terraform destroy --auto-approve command as shown below.
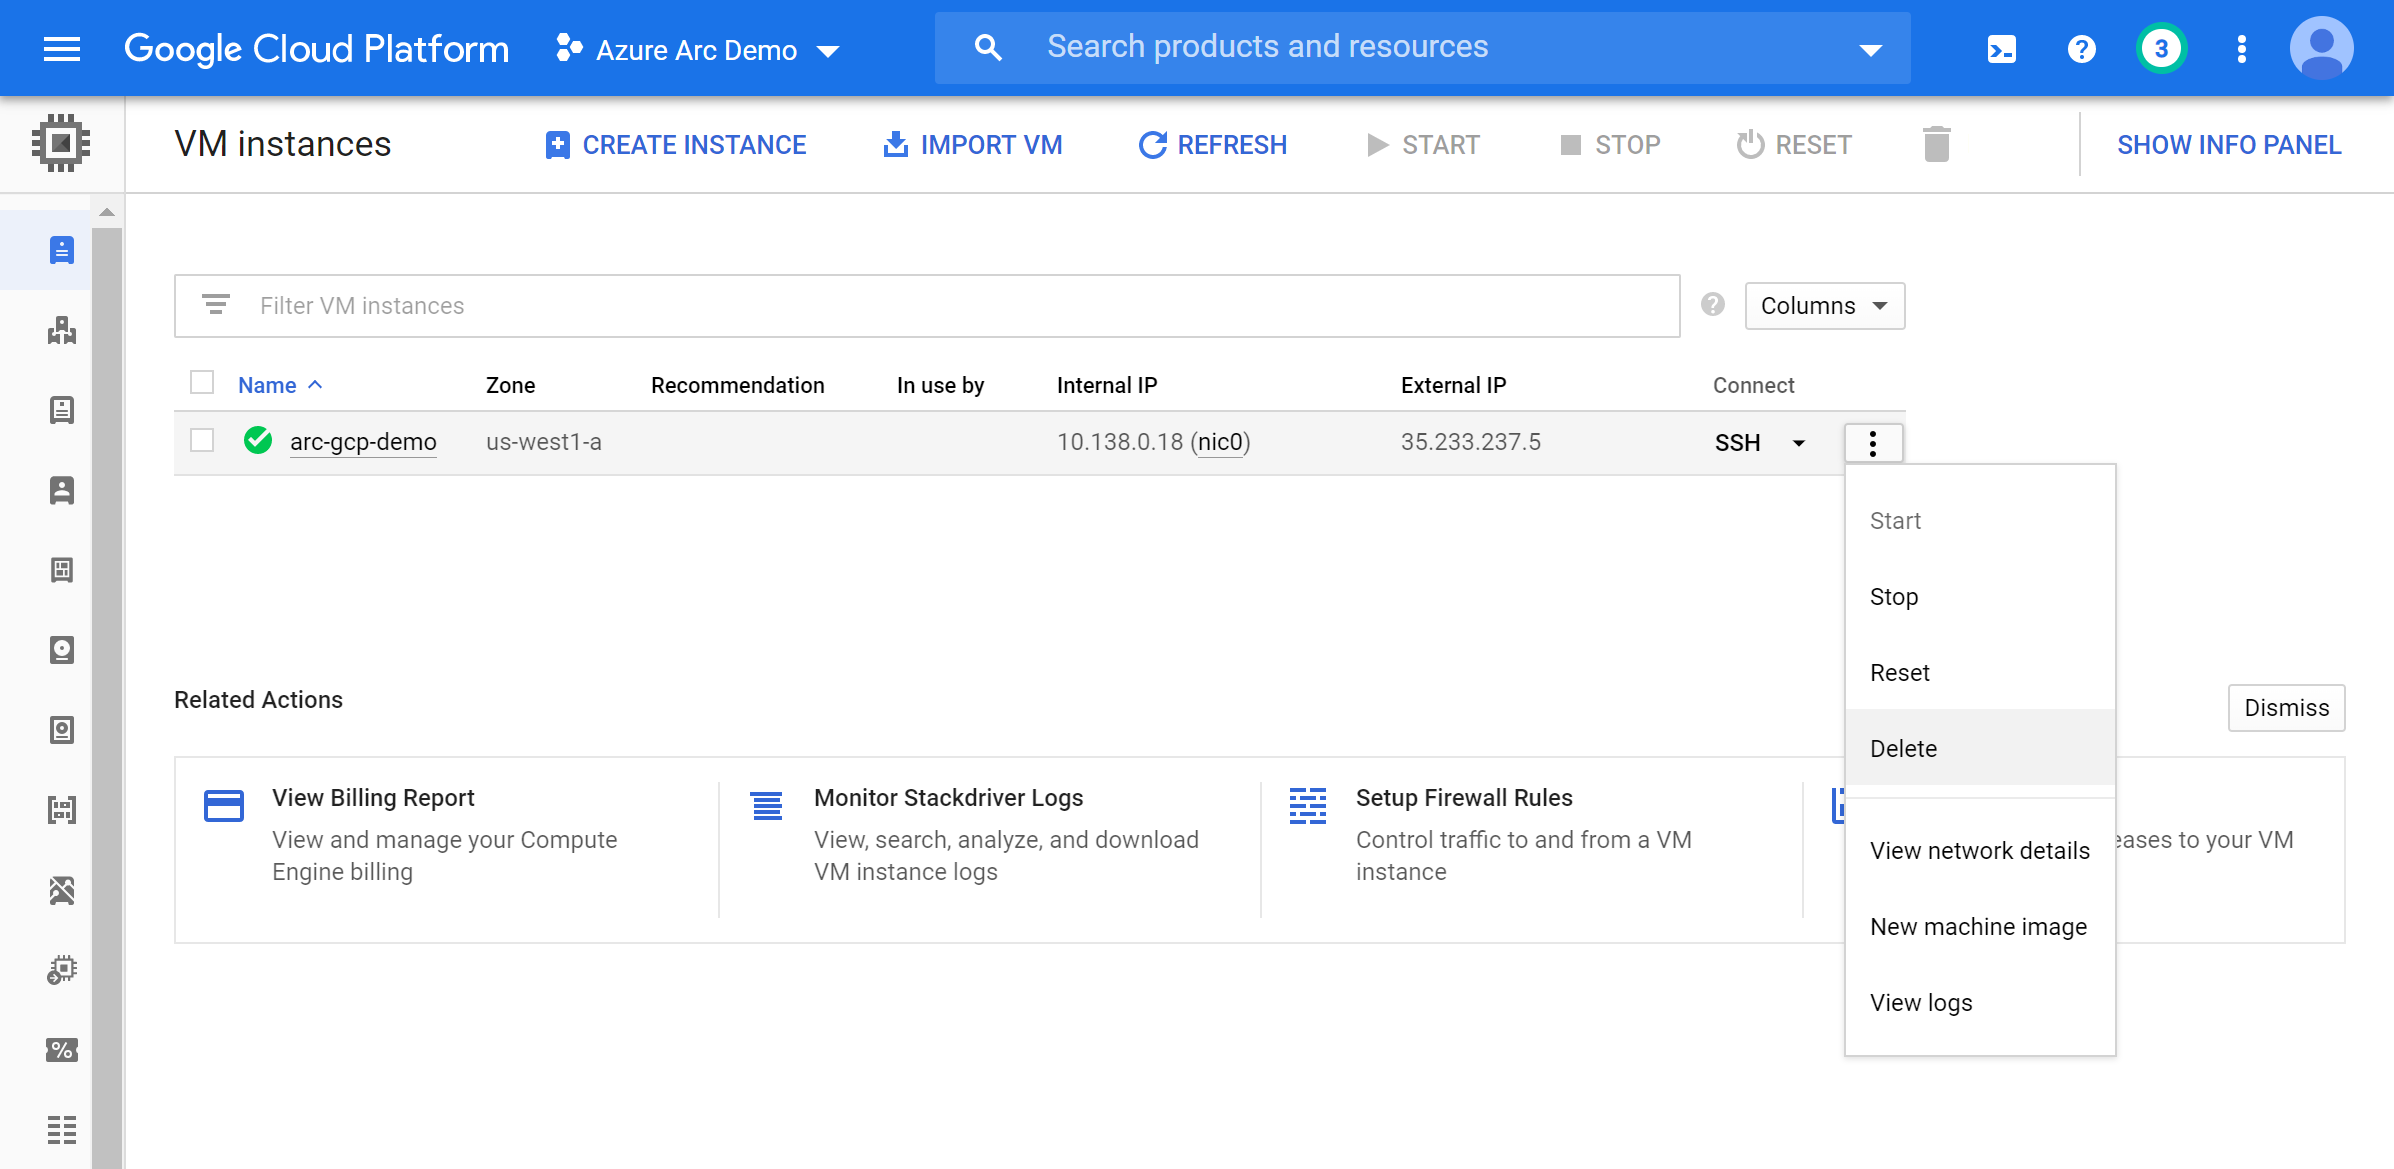
Alternatively, you can delete the GCP VM directly from GCP console.
Feedback
Coming soon: Throughout 2024 we will be phasing out GitHub Issues as the feedback mechanism for content and replacing it with a new feedback system. For more information see: https://aka.ms/ContentUserFeedback.
Submit and view feedback for