Set up web endpoints
Important
Custom Commands will be retired on April 30th 2026. As of October 30th 2023 you can't create new Custom Commands applications in Speech Studio. Related to this change, LUIS will be retired on October 1st 2025. As of April 1st 2023 you can't create new LUIS resources.
In this article, you learn how to set up web endpoints in a Custom Commands application that allow you to make HTTP requests from a client application. You complete the following tasks:
- Set up web endpoints in Custom Commands application
- Call web endpoints in Custom Commands application
- Receive the web endpoints response
- Integrate the web endpoints response into a custom JSON payload, send, and visualize it from a C# UWP Speech SDK client application
Prerequisites
- Visual Studio 2019
- An Azure AI Speech resource key and region: Create a Speech resource on the Azure portal. For more information, see Create a multi-service resource.
- A Custom Commands app (see Create a voice assistant using Custom Commands)
- A Speech SDK enabled client app (see Integrate with a client application using Speech SDK)
Deploy an external web endpoint using Azure Function app
For this tutorial, you need an HTTP endpoint that maintains states for all the devices you set up in the TurnOnOff command of your Custom Commands application.
If you already have a web endpoint you want to call, skip to the next section. Alternatively, the next section provides details about a default hosted web endpoint you can use if you want to skip this section.
Input format of Azure function
Next, you deploy an endpoint using Azure Functions. The following is the format of a Custom Commands event that is passed to your Azure function. Use this information when you're writing your Azure Function app.
{
  "conversationId": "string",
  "currentCommand": {
    "name": "string",
    "parameters": {
      "SomeParameterName": "string",
      "SomeOtherParameterName": "string"
    }
  },
  "currentGlobalParameters": {
      "SomeGlobalParameterName": "string",
      "SomeOtherGlobalParameterName": "string"
  }
}
The following table describes the key attributes of this input:
| Attribute | Explanation |
|---|---|
| conversationId | The unique identifier of the conversation. Note this ID can be generated by the client app. |
| currentCommand | The command that's currently active in the conversation. |
| name | The name of the command. The parameters attribute is a map with the current values of the parameters. |
| currentGlobalParameters | A map like parameters, but used for global parameters. |
For the DeviceState Azure Function, an example Custom Commands event looks like following. This acts as an input to the function app.
{
  "conversationId": "someConversationId",
  "currentCommand": {
    "name": "TurnOnOff",
    "parameters": {
      "item": "tv",
      "value": "on"
    }
  }
}
Azure Function output for a Custom Command app
If output from your Azure Function is consumed by a Custom Commands app, it should appear in the following format. See Update a command from a web endpoint for details.
{
  "updatedCommand": {
    "name": "SomeCommandName",
    "updatedParameters": {
      "SomeParameterName": "SomeParameterValue"
    },
    "cancel": false
  },
  "updatedGlobalParameters": {
    "SomeGlobalParameterName": "SomeGlobalParameterValue"
  }
}
Azure Function output for a client application
If output from your Azure Function is consumed by a client application, the output can take whatever form the client application requires.
For our DeviceState endpoint, output of your Azure function is consumed by a client application instead of the Custom Commands application. Example output of the Azure function should look like the following:
{
  "TV": "on",
  "Fan": "off"
}
This output should be written to an external storage, so that you can maintain the state of devices. The external storage state is used in the Integrate with client application section below.
Deploy Azure function
We provide a sample you can configure and deploy as an Azure Functions app. To create a storage account for our sample, follow these steps.
- Create table storage to save device state. In the Azure portal, create a new resource of type Storage account by name devicestate.
- Copy the Connection string value from devicestate -> Access keys. You need to add this string secret to the downloaded sample Function App code.
- Download sample Function App code.
- Open the downloaded solution in Visual Studio 2019. In Connections.json, replace STORAGE_ACCOUNT_SECRET_CONNECTION_STRING with the secret from Step 2.
- Download the DeviceStateAzureFunction code.
To deploy the sample app to Azure Functions, follow these steps.
- Deploy the Azure Functions app.
- Wait for deployment to succeed and go the deployed resource on the Azure portal.
- Select Functions in the left pane, and then select DeviceState.
- In the new window, select Code + Test and then select Get function URL.
Set up web endpoints in Custom Commands
Let's hook up the Azure function with the existing Custom Commands application.
In this section, you use an existing default DeviceState endpoint. If you created your own web endpoint using Azure Function or otherwise, use that instead of the default https://webendpointexample.azurewebsites.net/api/DeviceState.
Open the Custom Commands application you previously created.
Go to Web endpoints, select New web endpoint.
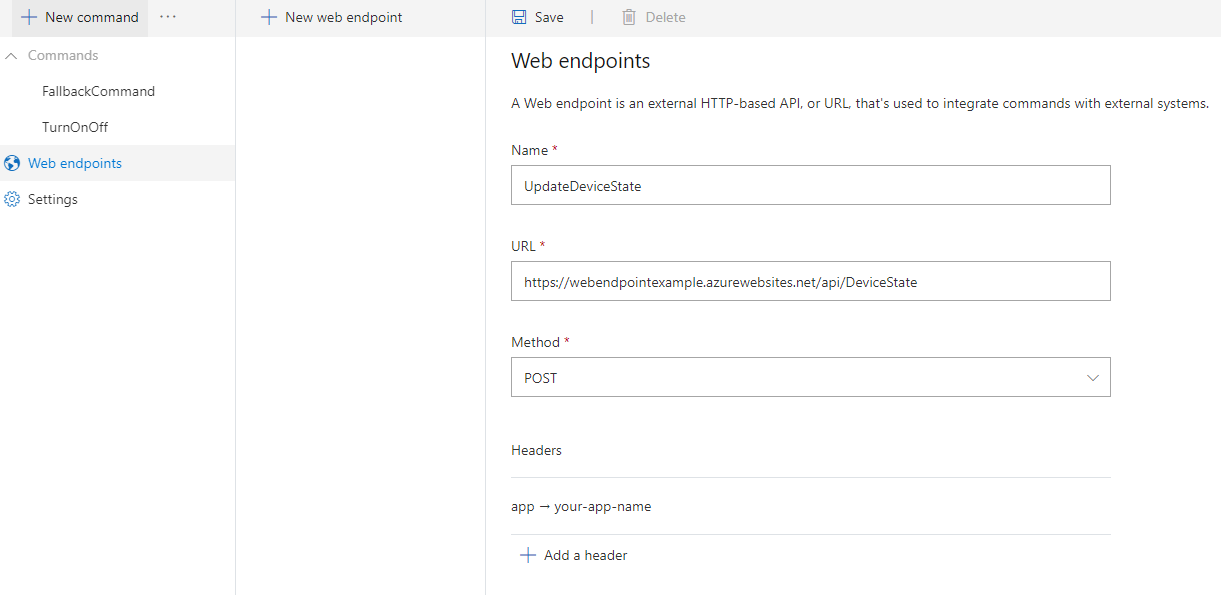
Setting Suggested value Description Name UpdateDeviceState Name for the web endpoint. URL https://webendpointexample.azurewebsites.net/api/DeviceStateThe URL of the endpoint you wish your custom command app to talk to. Method POST The allowed interactions (such as GET, POST) with your endpoint. Headers Key: app, Value: take the first eight digits of your applicationId The header parameters to include in the request header. Note
- The example web endpoint created using Azure Functions, which hooks up with the database that saves the device state of the tv and fan.
- The suggested header is only needed for the example endpoint.
- To make sure the value of the header is unique in our example endpoint, take the first 8 digits of your applicationId.
- In real world, the web endpoint can be the endpoint to the IOT hub that manages your devices.
Select Save.
Call web endpoints
Go to TurnOnOff command, select ConfirmationResponse under completion rule, then select Add an action.
Under New Action-Type, select Call web endpoint
In Edit Action - Endpoints, select UpdateDeviceState, which is the web endpoint we created.
In Configuration, put the following values:
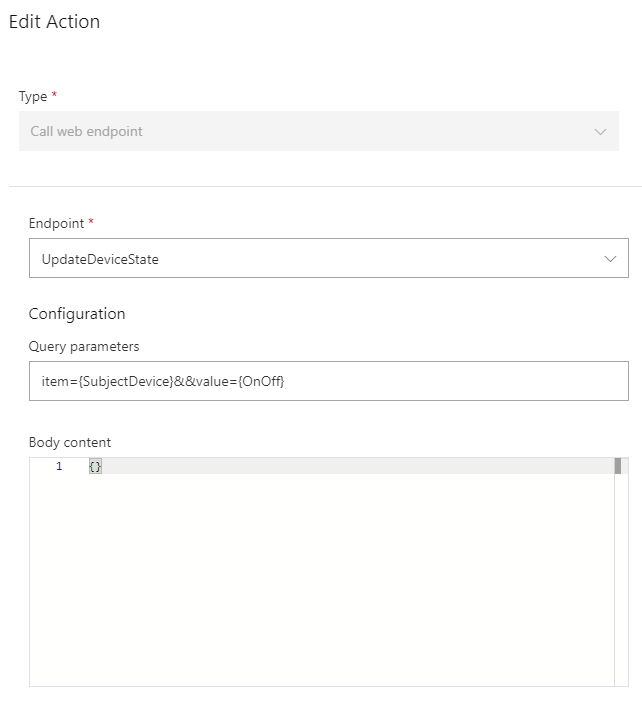
Setting Suggested value Description Endpoints UpdateDeviceState The web endpoint you wish to call in this action. Query parameters item={SubjectDevice}&&value={OnOff} The query parameters to append to the web endpoint URL. Body content N/A The body content of the request. Note
- The suggested query parameters are only needed for the example endpoint
In On Success - Action to execute, select Send speech response.
In Simple editor, enter
{SubjectDevice} is {OnOff}.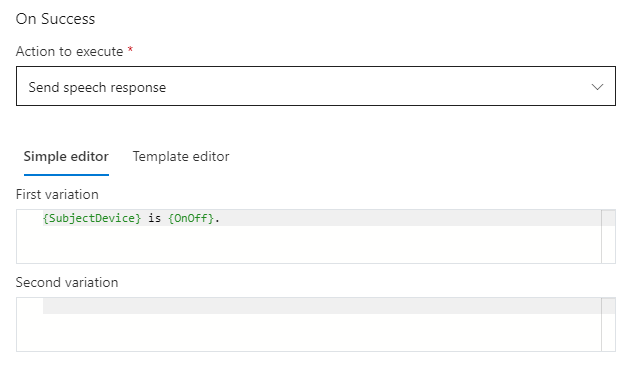
Setting Suggested value Description Action to execute Send speech response Action to execute if the request to web endpoint succeeds Note
- You can also directly access the fields in the http response by using
{YourWebEndpointName.FieldName}. For example:{UpdateDeviceState.TV}
- You can also directly access the fields in the http response by using
In On Failure - Action to execute, select Send speech response
In Simple editor, enter
Sorry, {WebEndpointErrorMessage}.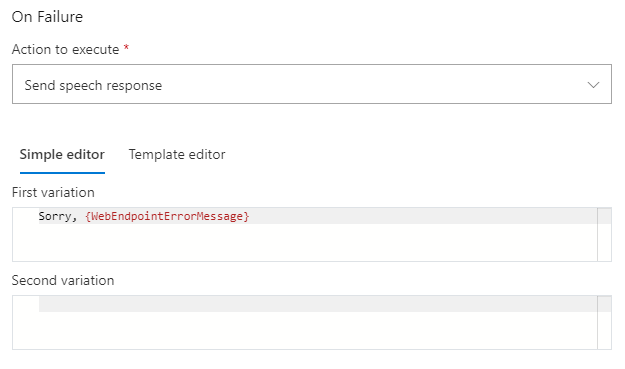
Setting Suggested value Description Action to execute Send speech response Action to execute if the request to web endpoint fails Note
{WebEndpointErrorMessage}is optional. You are free to remove it if you don't want to expose any error message.- Within our example endpoint, we send back http response with detailed error messages for common errors such as missing header parameters.
Try it out in test portal
- On Success response, save, train and test.
- On Fail response, remove one of the query parameters, save, retrain, and test.

Integrate with client application
In Send Custom Commands activity to client application, you added a Send activity to client action. The activity is sent to the client application whether or not Call web endpoint action is successful or not. However, typically you only want to send activity to the client application when the call to the web endpoint is successful. In this example, this is when the device's state is successfully updated.
- Delete the Send activity to client action you previously added.
- Edit call web endpoint:
- In Configuration, make sure Query Parameters is
item={SubjectDevice}&&value={OnOff} - In On Success, change Action to execute to Send activity to client
- Copy the JSON below to the Activity Content
{ "type": "event", "name": "UpdateDeviceState", "value": { "state": "{OnOff}", "device": "{SubjectDevice}" } } - In Configuration, make sure Query Parameters is
Now you only send activity to the client when the request to the web endpoint is successful.
Create visuals for syncing device state
Add the following XML to MainPage.xaml above the EnableMicrophoneButton block.
<Button x:Name="SyncDeviceStateButton" Content="Sync Device State"
        Margin="0,10,10,0" Click="SyncDeviceState_ButtonClicked"
        Height="35"/>
<Button x:Name="EnableMicrophoneButton" ......
        .........../>
Sync device state
In MainPage.xaml.cs, add the reference using Windows.Web.Http;. Add the following code to the MainPage class. This method sends a GET request to the example endpoint, and extract the current device state for your app. Make sure to change <your_app_name> to what you used in the header in Custom Command web endpoint.
private async void SyncDeviceState_ButtonClicked(object sender, RoutedEventArgs e)
{
    //Create an HTTP client object
    var httpClient = new HttpClient();

    //Add a user-agent header to the GET request.
    var your_app_name = "<your-app-name>";

    Uri endpoint = new Uri("https://webendpointexample.azurewebsites.net/api/DeviceState");
    var requestMessage = new HttpRequestMessage(HttpMethod.Get, endpoint);
    requestMessage.Headers.Add("app", $"{your_app_name}");

    try
    {
        //Send the GET request
        var httpResponse = await httpClient.SendRequestAsync(requestMessage);
        httpResponse.EnsureSuccessStatusCode();
        var httpResponseBody = await httpResponse.Content.ReadAsStringAsync();
        dynamic deviceState = JsonConvert.DeserializeObject(httpResponseBody);
        var TVState = deviceState.TV.ToString();
        var FanState = deviceState.Fan.ToString();
        await CoreApplication.MainView.CoreWindow.Dispatcher.RunAsync(
            CoreDispatcherPriority.Normal,
            () =>
            {
                State_TV.Text = TVState;
                State_Fan.Text = FanState;
            });
    }
    catch (Exception ex)
    {
        NotifyUser(
            $"Unable to sync device status: {ex.Message}");
    }
}
Try it out
- Start the application.
- Select Sync Device State.
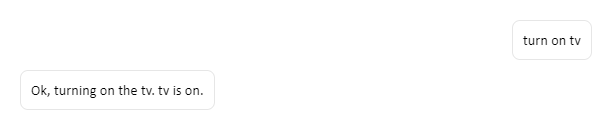
If you tested out the app withturn on tvin previous section, you would see the TV shows as on.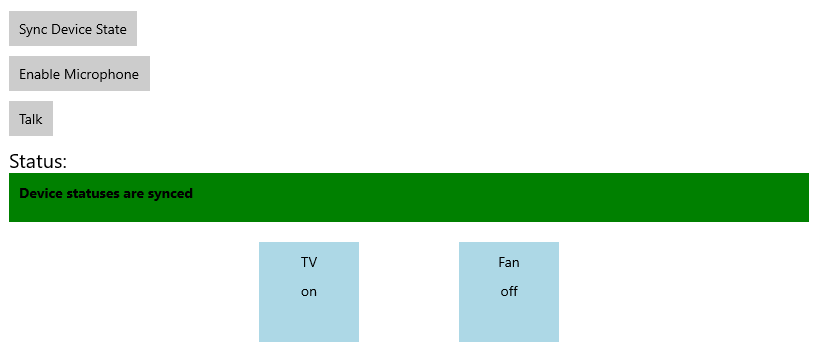
- Select Enable microphone.
- Select the Talk button.
- Say
turn on the fan. The visual state of the fan should change to on.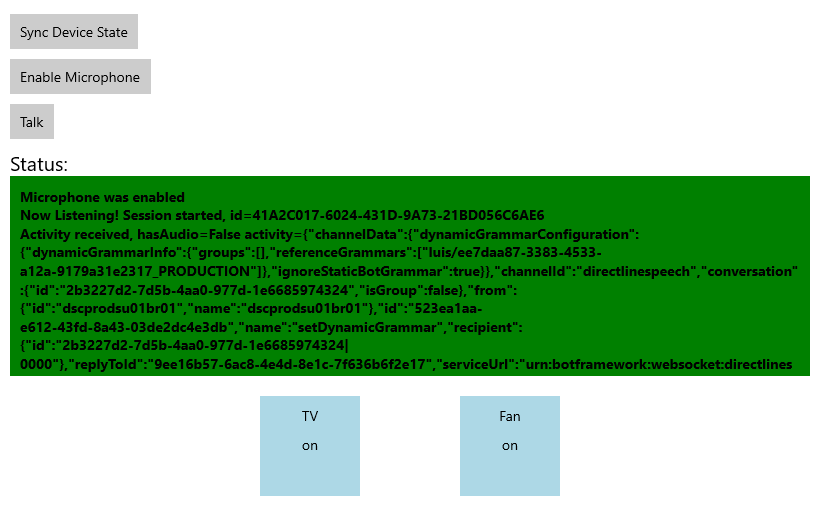
Next steps
Feedback
Coming soon: Throughout 2024 we will be phasing out GitHub Issues as the feedback mechanism for content and replacing it with a new feedback system. For more information see: https://aka.ms/ContentUserFeedback.
Submit and view feedback for