Quickstart: Build an image classification model with the Custom Vision portal
In this quickstart, you'll learn how to use the Custom Vision web portal to create an image classification model. Once you build a model, you can test it with new images and eventually integrate it into your own image recognition app.
If you don't have an Azure subscription, create a free account before you begin.
Prerequisites
- A set of images with which to train your classification model. You can use the set of sample images on GitHub. Or, you can choose your own images using the tips below.
- A supported web browser
Create Custom Vision resources
To use the Custom Vision Service you will need to create Custom Vision Training and Prediction resources in Azure. To do so in the Azure portal, fill out the dialog window on the Create Custom Vision page to create both a Training and Prediction resource.
Create a new project
In your web browser, navigate to the Custom Vision web page and select Sign in. Sign in with the same account you used to sign in to the Azure portal.
To create your first project, select New Project. The Create new project dialog box appears.
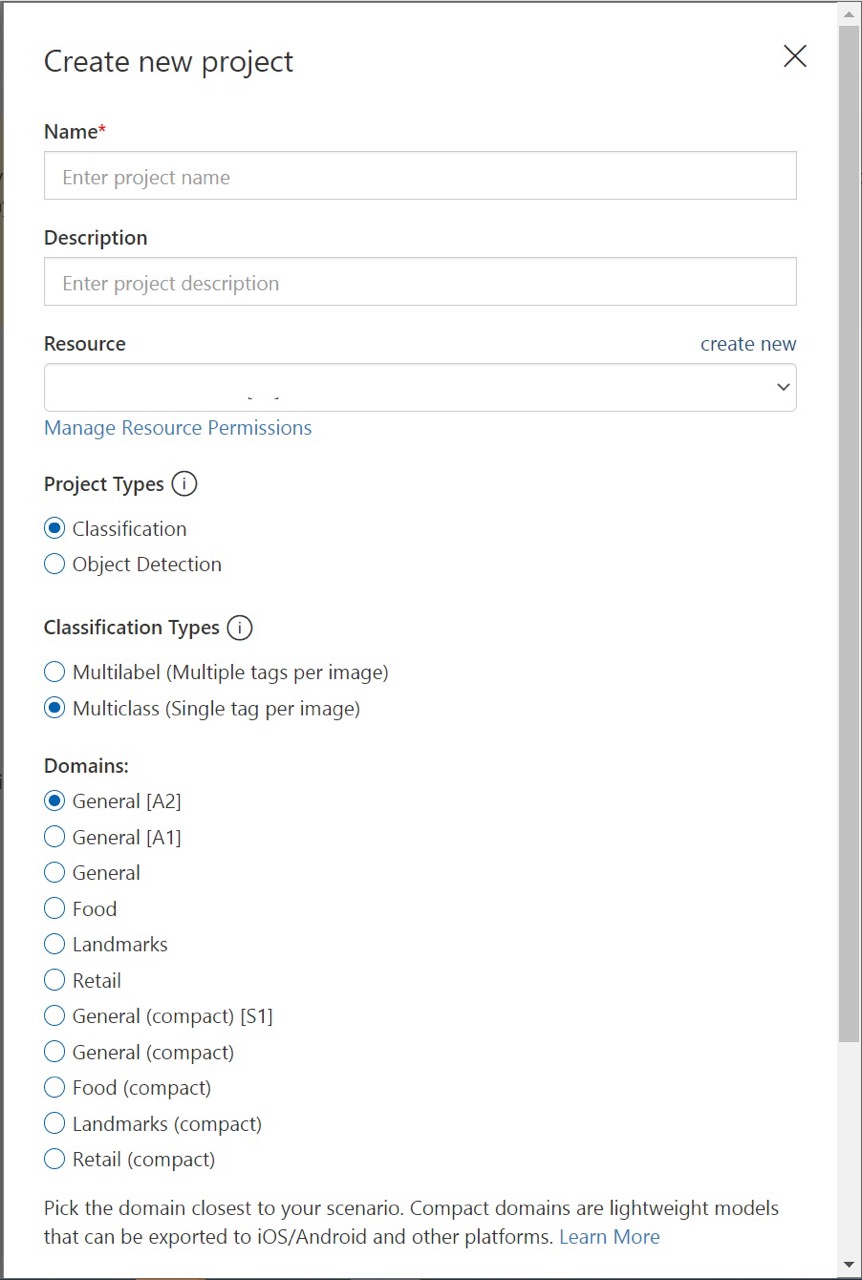
Enter a name and a description for the project. Then select your Custom Vision Training Resource. If your signed-in account is associated with an Azure account, the Resource dropdown displays all of your compatible Azure resources.
Note
If no resource is available, please confirm that you have logged into customvision.ai with the same account as you used to sign in to the Azure portal. Also, please confirm you have selected the same "Directory" in the Custom Vision website as the directory in the Azure portal where your Custom Vision resources are located. In both sites, you may select your directory from the drop down account menu at the top right corner of the screen.
Select Classification under Project Types. Then, under Classification Types, choose either Multilabel or Multiclass, depending on your use case. Multilabel classification applies any number of your tags to an image (zero or more), while multiclass classification sorts images into single categories (every image you submit will be sorted into the most likely tag). You'll be able to change the classification type later if you want to.
Next, select one of the available domains. Each domain optimizes the model for specific types of images, as described in the following table. You can change the domain later if you wish.
Domain Purpose Generic Optimized for a broad range of image classification tasks. If none of the other domains are appropriate, or you're unsure of which domain to choose, select the Generic domain. Food Optimized for photographs of dishes as you would see them on a restaurant menu. If you want to classify photographs of individual fruits or vegetables, use the Food domain. Landmarks Optimized for recognizable landmarks, both natural and artificial. This domain works best when the landmark is clearly visible in the photograph. This domain works even if the landmark is slightly obstructed by people in front of it. Retail Optimized for images that are found in a shopping catalog or shopping website. If you want high precision classifying between dresses, pants, and shirts, use this domain. Compact domains Optimized for the constraints of real-time classification on mobile devices. The models generated by compact domains can be exported to run locally. Finally, select Create project.
Choose training images
As a minimum, we recommend you use at least 30 images per tag in the initial training set. You'll also want to collect a few extra images to test your model once it's trained.
In order to train your model effectively, use images with visual variety. Select images that vary by:
- camera angle
- lighting
- background
- visual style
- individual/grouped subject(s)
- size
- type
Additionally, make sure all of your training images meet the following criteria:
- .jpg, .png, .bmp, or .gif format
- no greater than 6MB in size (4MB for prediction images)
- no less than 256 pixels on the shortest edge; any images shorter than this will be automatically scaled up by the Custom Vision Service
Upload and tag images
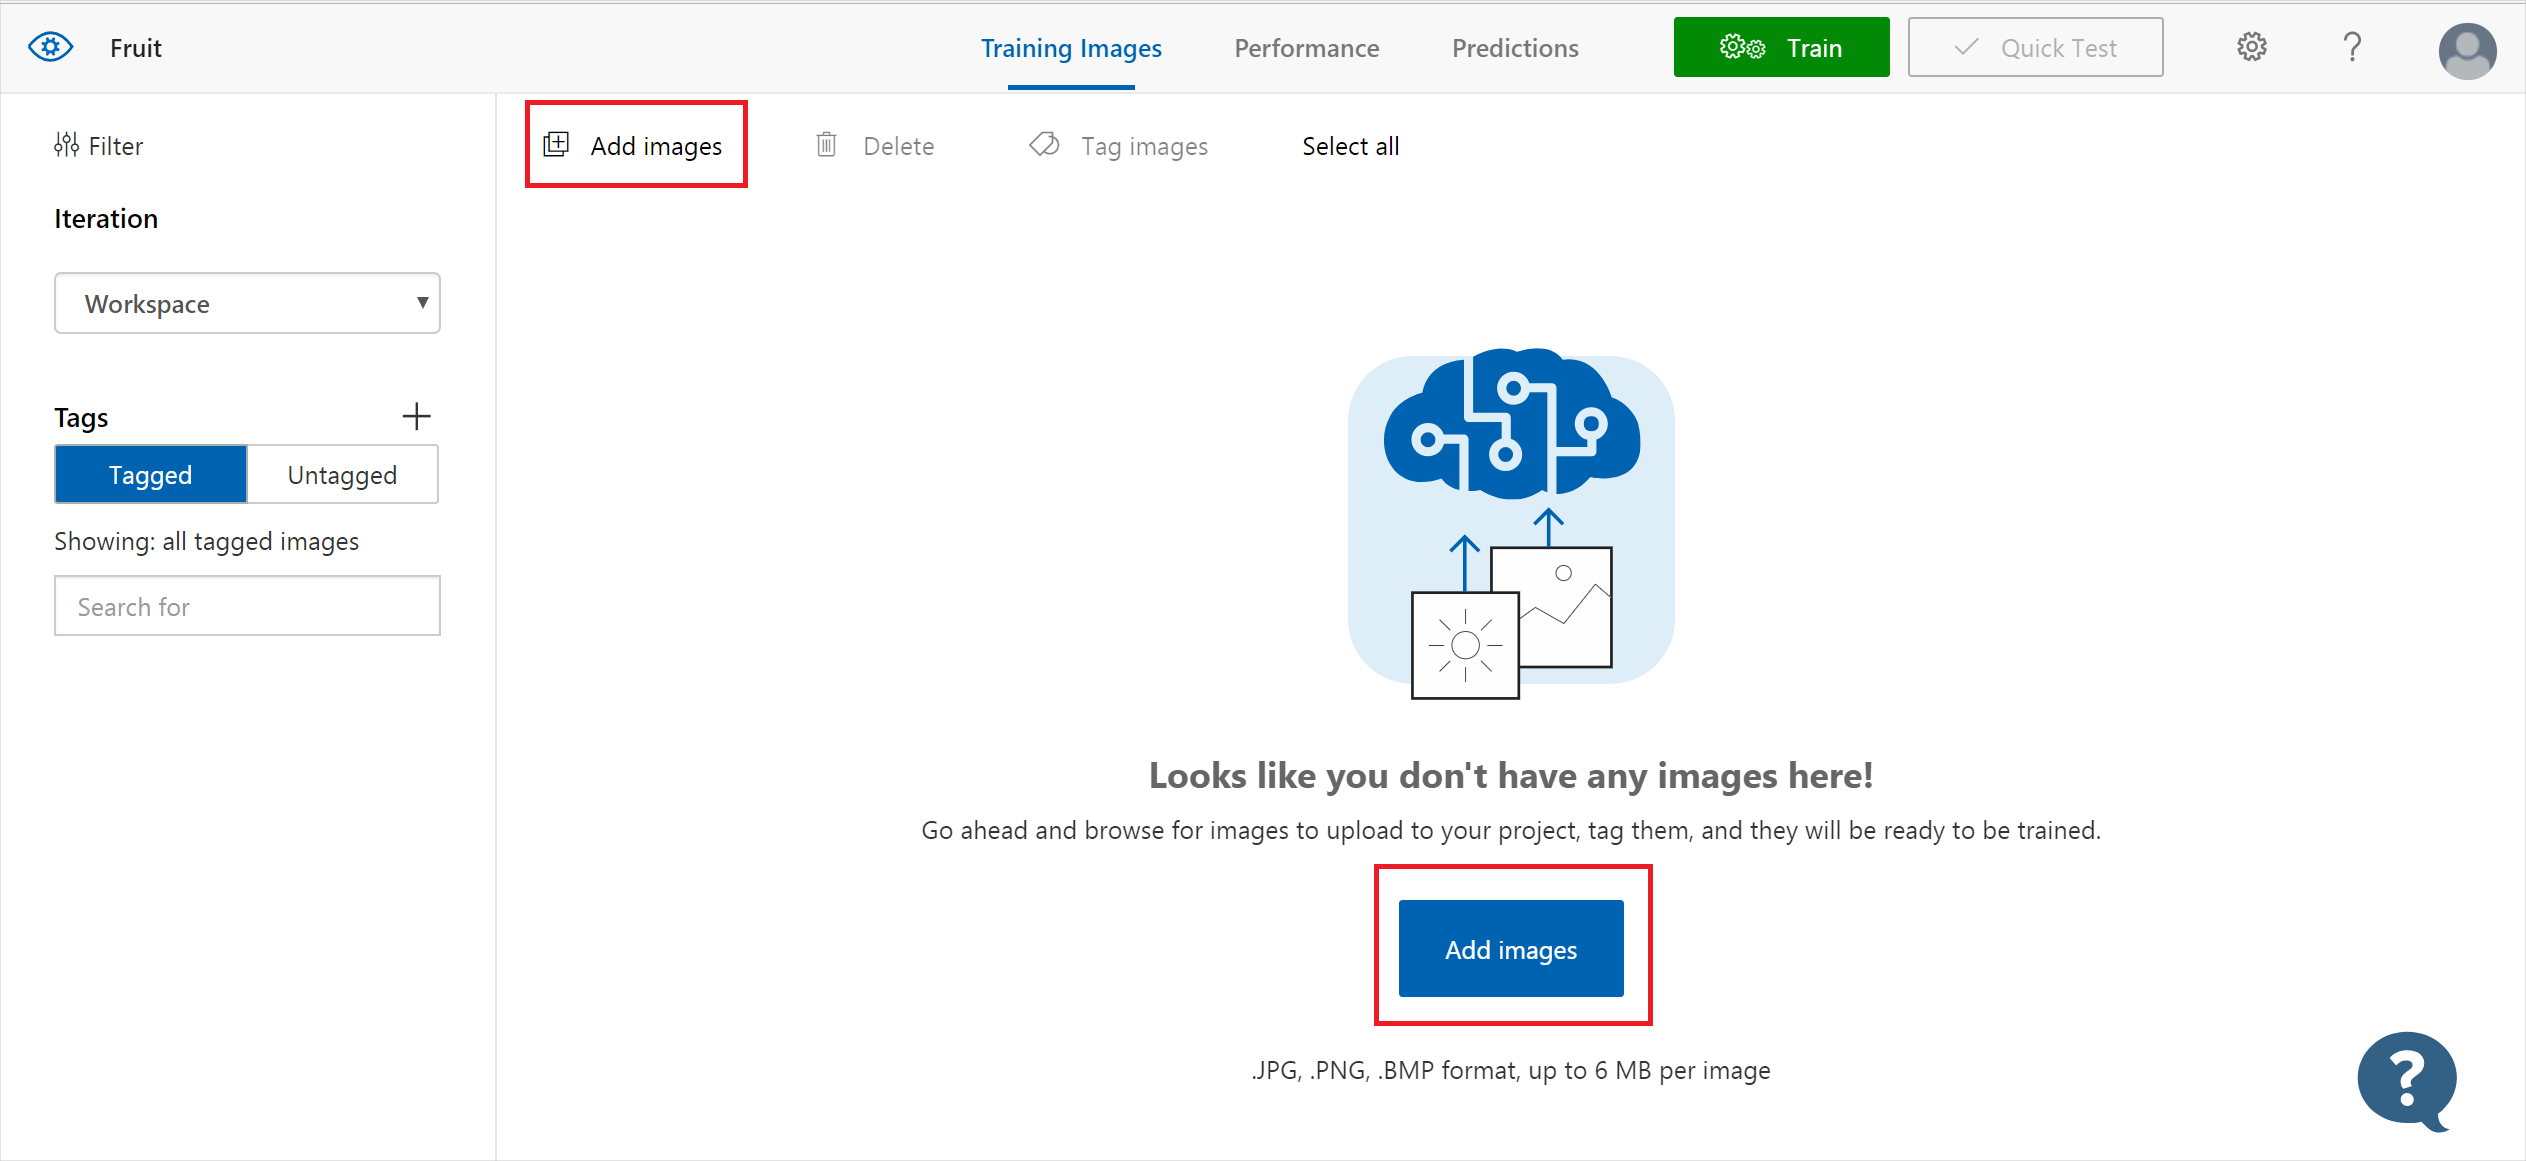
In this section, you upload and manually tag images to help train the classifier.
To add images, select Add images and then select Browse local files. Select Open to move to tagging. Your tag selection is applied to the entire group of images you've selected to upload, so it's easier to upload images in separate groups according to their applied tags. You can also change the tags for individual images after they're uploaded.
To create a tag, enter text in the My Tags field and press Enter. If the tag already exists, it appears in a dropdown menu. In a multilabel project, you can add more than one tag to your images, but in a multiclass project you can add only one. To finish uploading the images, use the Upload [number] files button.
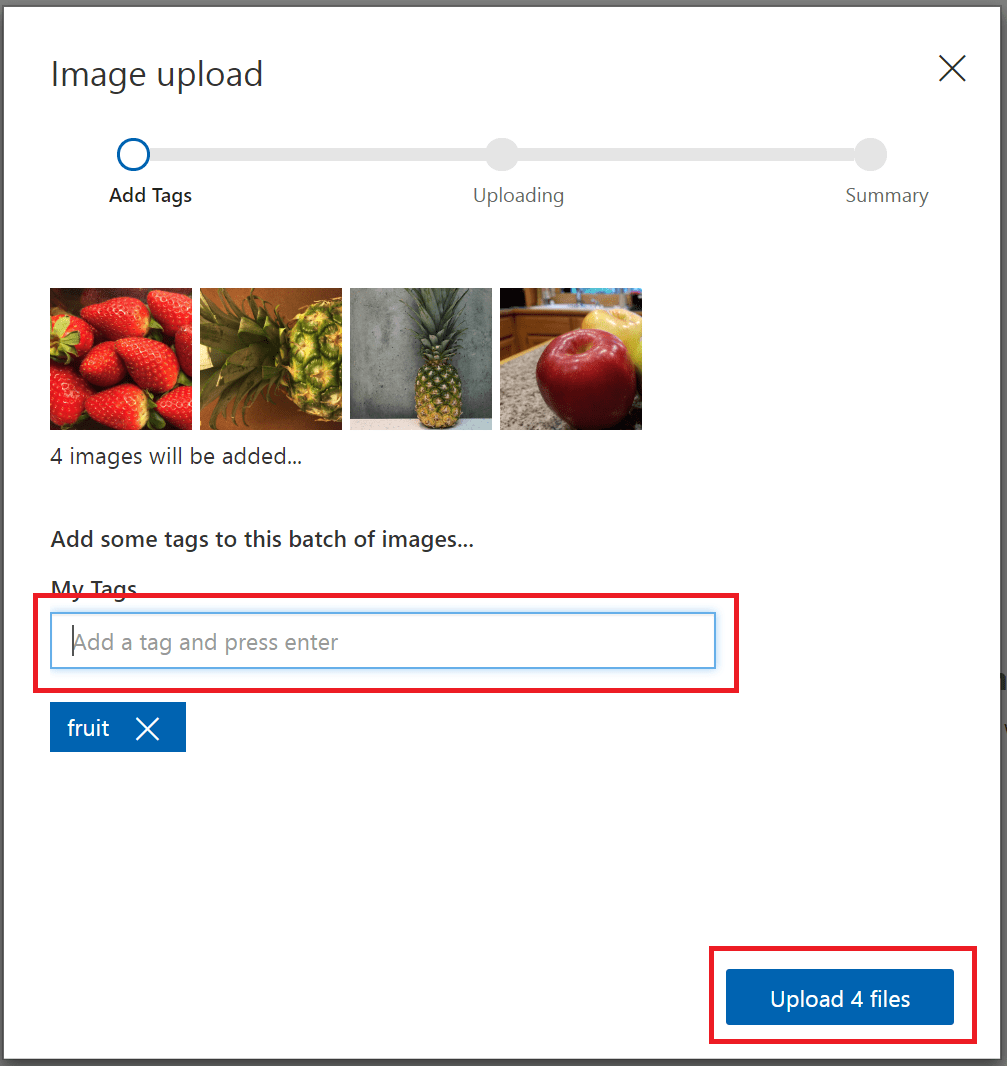
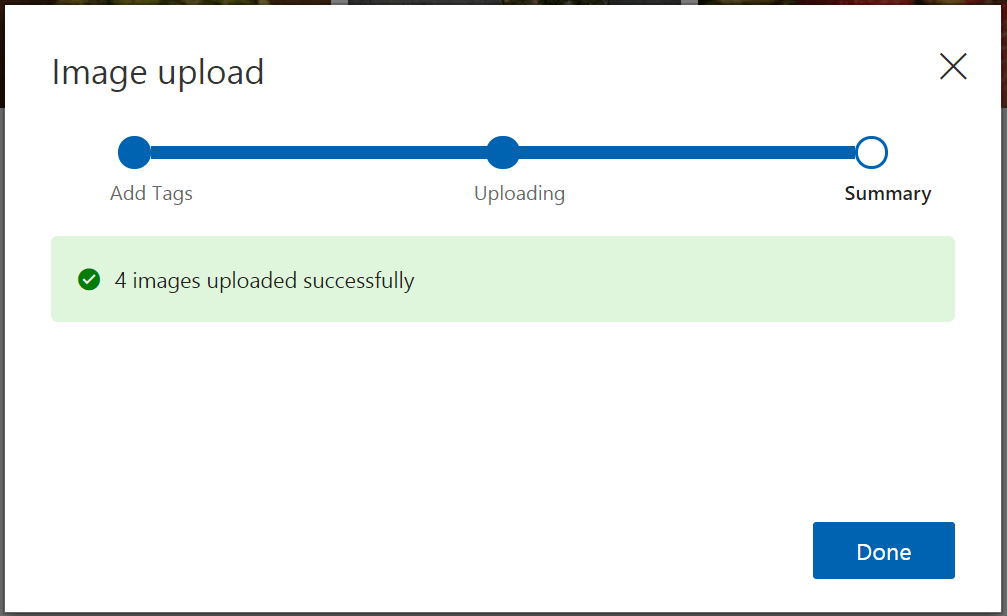
Select Done once the images are uploaded.
To upload another set of images, return to the top of this section and repeat the steps.
Train the classifier
To train the classifier, select the Train button. The classifier uses all of the current images to create a model that identifies the visual qualities of each tag. This process can take several minutes.

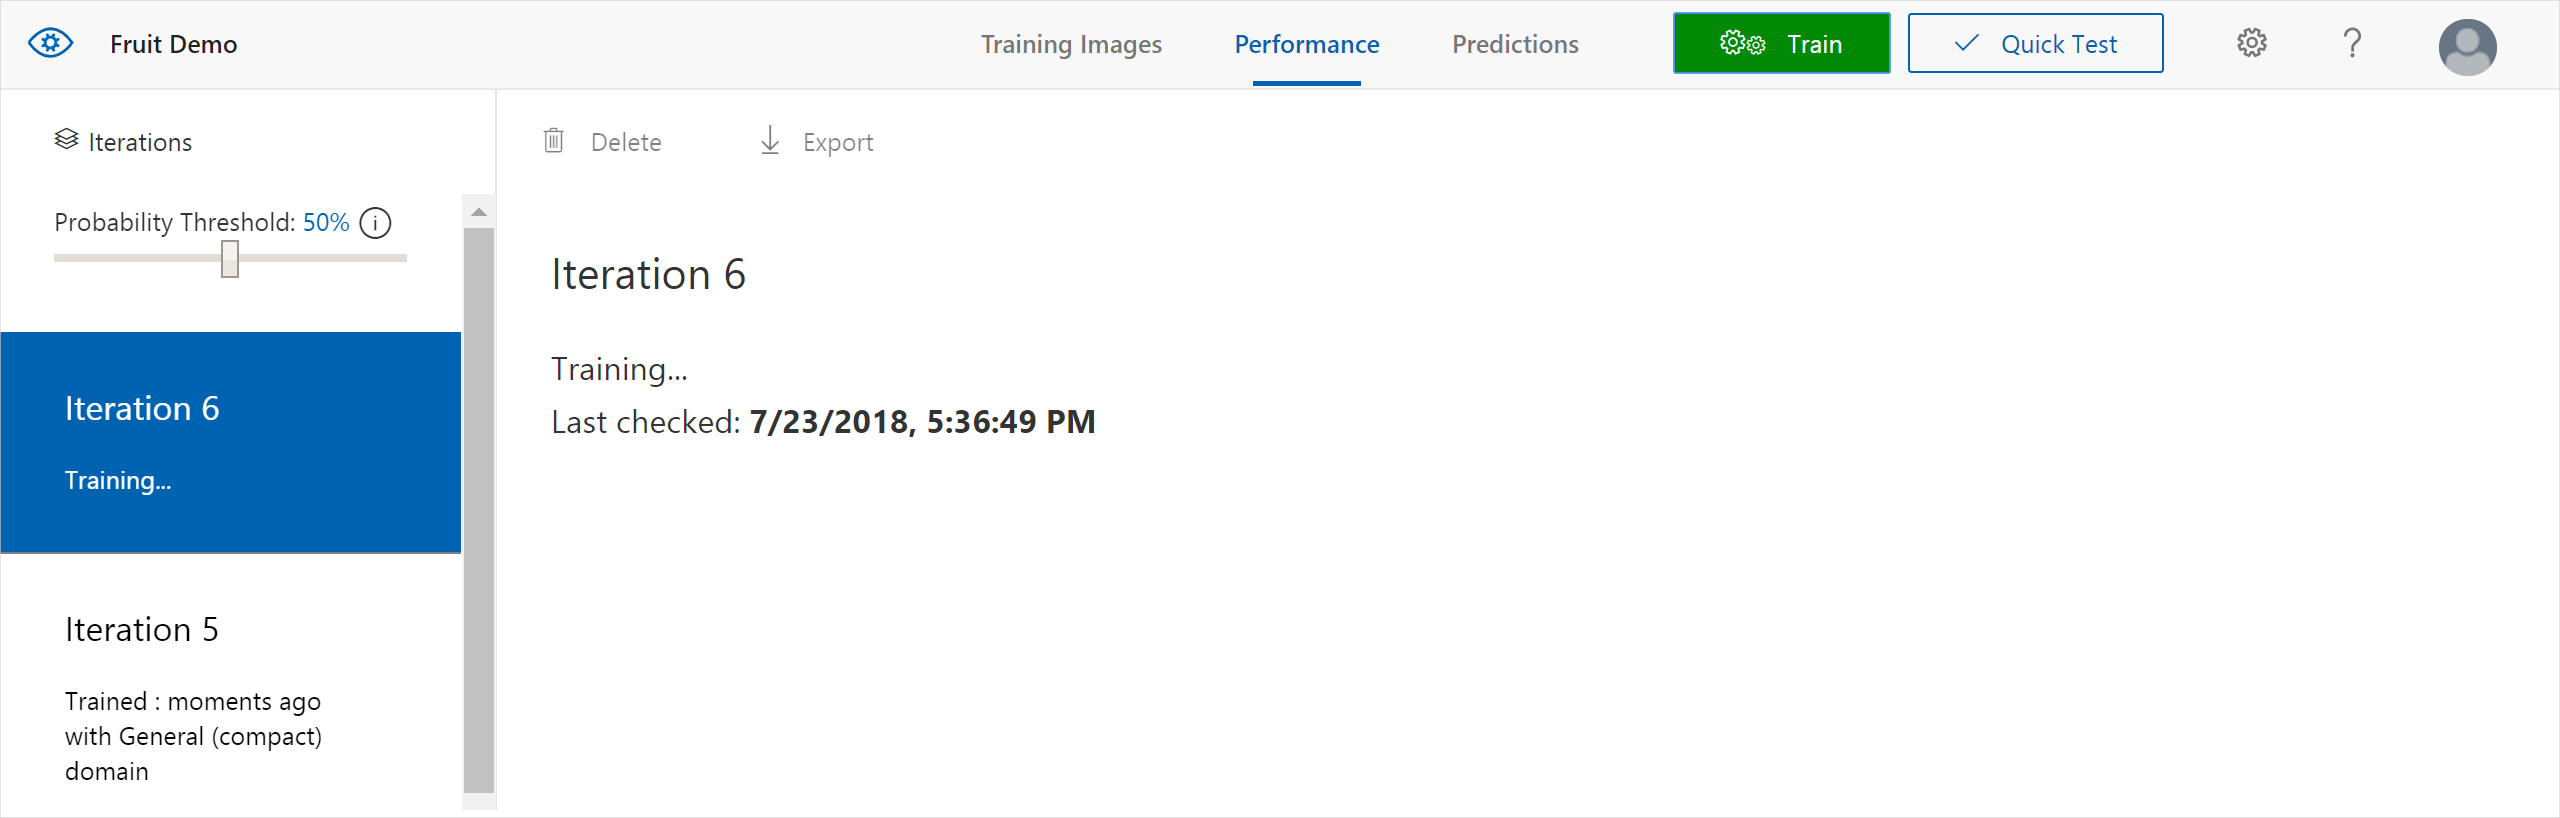
The training process should only take a few minutes. During this time, information about the training process is displayed in the Performance tab.
Evaluate the classifier
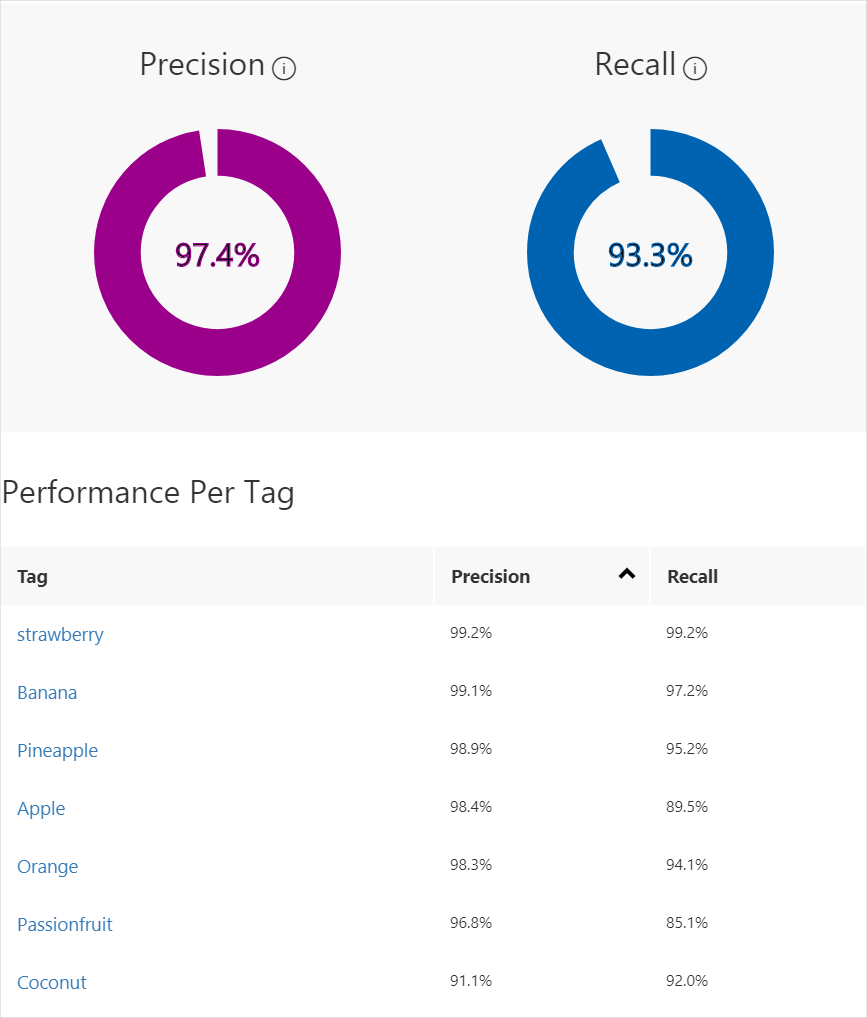
After training has completed, the model's performance is estimated and displayed. The Custom Vision Service uses the images that you submitted for training to calculate precision and recall. Precision and recall are two different measurements of the effectiveness of a classifier:
- Precision indicates the fraction of identified classifications that were correct. For example, if the model identified 100 images as dogs, and 99 of them were actually of dogs, then the precision would be 99%.
- Recall indicates the fraction of actual classifications that were correctly identified. For example, if there were actually 100 images of apples, and the model identified 80 as apples, the recall would be 80%.
Probability threshold
Note the Probability Threshold slider on the left pane of the Performance tab. This is the level of confidence that a prediction needs to have in order to be considered correct (for the purposes of calculating precision and recall).
When you interpret prediction calls with a high probability threshold, they tend to return results with high precision at the expense of recall—the detected classifications are correct, but many remain undetected. A low probability threshold does the opposite—most of the actual classifications are detected, but there are more false positives within that set. With this in mind, you should set the probability threshold according to the specific needs of your project. Later, when you're receiving prediction results on the client side, you should use the same probability threshold value as you used here.
Manage training iterations
Each time you train your classifier, you create a new iteration with updated performance metrics. You can view all of your iterations in the left pane of the Performance tab. You'll also find the Delete button, which you can use to delete an iteration if it's obsolete. When you delete an iteration, you delete any images that are uniquely associated with it.
See Use your model with the prediction API to learn how to access your trained models programmatically.
Next steps
In this quickstart, you learned how to create and train an image classification model using the Custom Vision web portal. Next, get more information on the iterative process of improving your model.
Feedback
Coming soon: Throughout 2024 we will be phasing out GitHub Issues as the feedback mechanism for content and replacing it with a new feedback system. For more information see: https://aka.ms/ContentUserFeedback.
Submit and view feedback for