How to create a CLU project
Use this article to learn how to set up these requirements and create a project.
Prerequisites
Before you start using CLU, you will need several things:
- An Azure subscription - Create one for free.
- An Azure AI Language resource
Create a Language resource
Before you start using CLU, you will need an Azure AI Language resource.
Note
- You need to have an owner role assigned on the resource group to create a Language resource.
Create a new resource from the Azure portal
Sign in to the Azure portal to create a new Azure AI Language resource.
Select Create a new resource
In the window that appears, search for Language service
Select Create
Create a Language resource with following details.
Instance detail Required value Region One of the supported regions for your Language resource. Name Required name for your Language resource Pricing tier One of the supported pricing tiers for your Language resource.
Create a new Language resource from Language Studio
If it's your first time logging in, you'll see a window in Language Studio that will let you choose an existing Language resource or create a new one. You can also create a resource by clicking the settings icon in the top-right corner, selecting Resources, then clicking Create a new resource.
Create a Language resource with following details.
| Instance detail | Required value |
|---|---|
| Azure subscription | Your Azure subscription |
| Azure resource group | Your Azure resource group |
| Azure resource name | Your Language resource name |
| Location | A supported regions for your Language resource. |
| Pricing tier | A supported pricing tiers for your Language resource. |
Important
- Make sure to enable Managed Identity when you create a Language resource.
- Read and confirm Responsible AI notice
Sign in to Language Studio
Go to the Language Studio and sign in with your Azure account.
In the Choose a language resource window that appears, find your Azure subscription, and choose your Language resource. If you don't have a resource, you can create a new one.
Instance detail Required value Azure subscription Your Azure subscription. Azure resource group Your Azure resource group name. Azure resource name Your Azure resource name. Location One of the supported regions for your Language resource. For example "West US 2". Pricing tier One of the valid pricing tiers for your Language resource. You can use the Free (F0) tier to try the service. 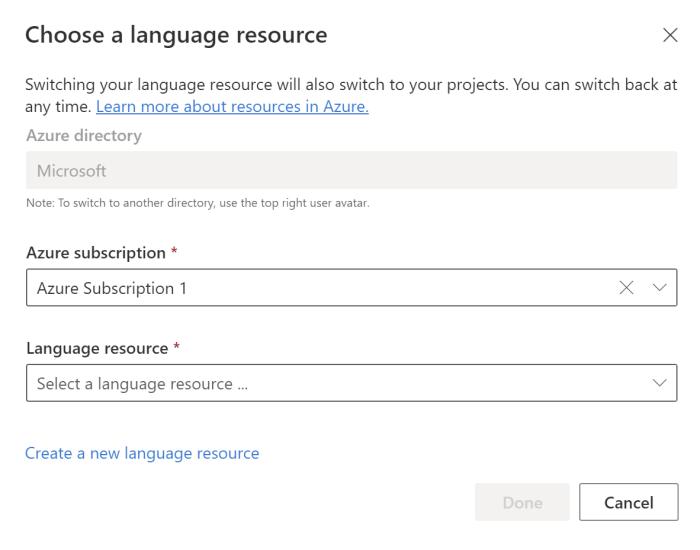

Create a conversation project
Once you have a Language resource created, create a Conversational Language Understanding project.
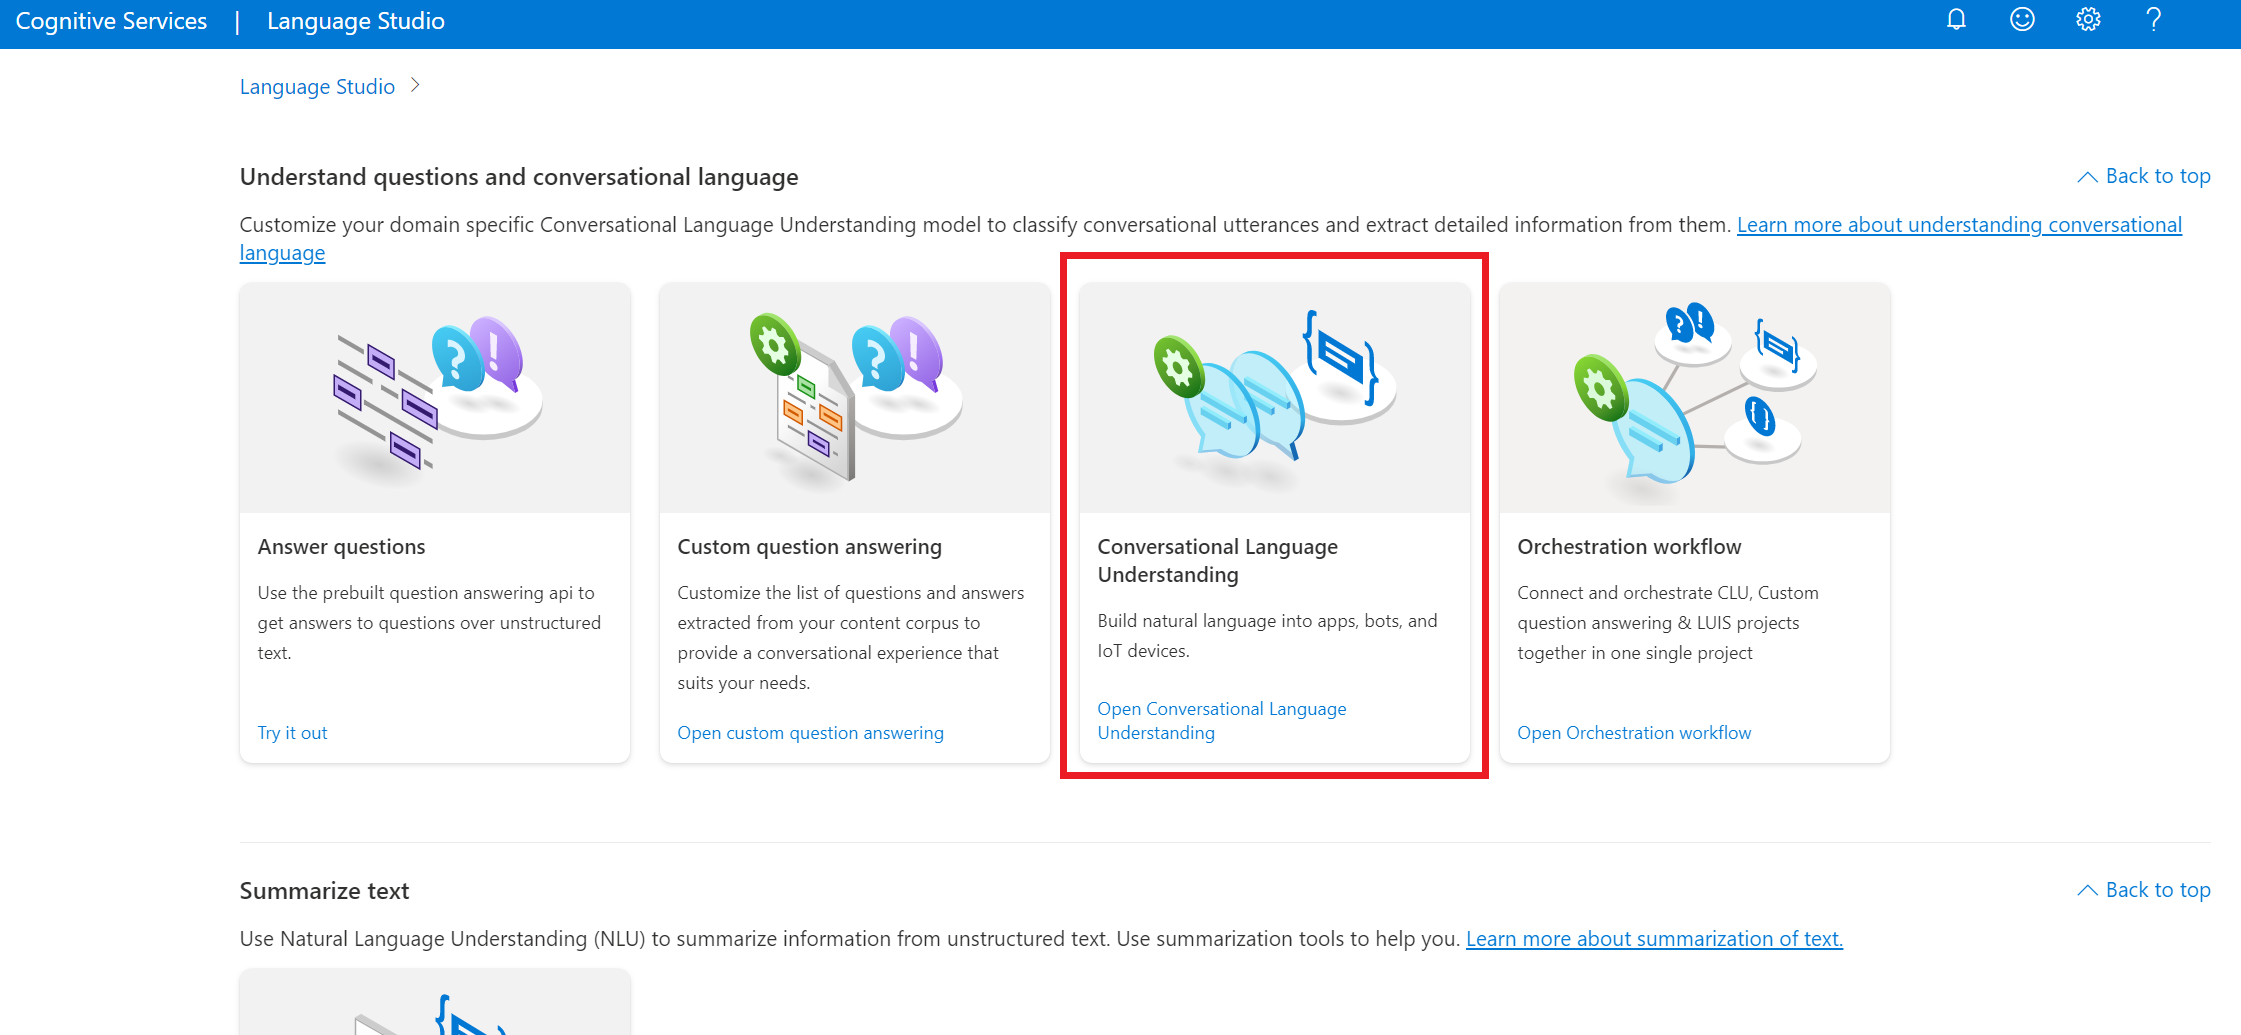
In Language Studio, find the section named Understand questions and conversational language and select Conversational language understanding.
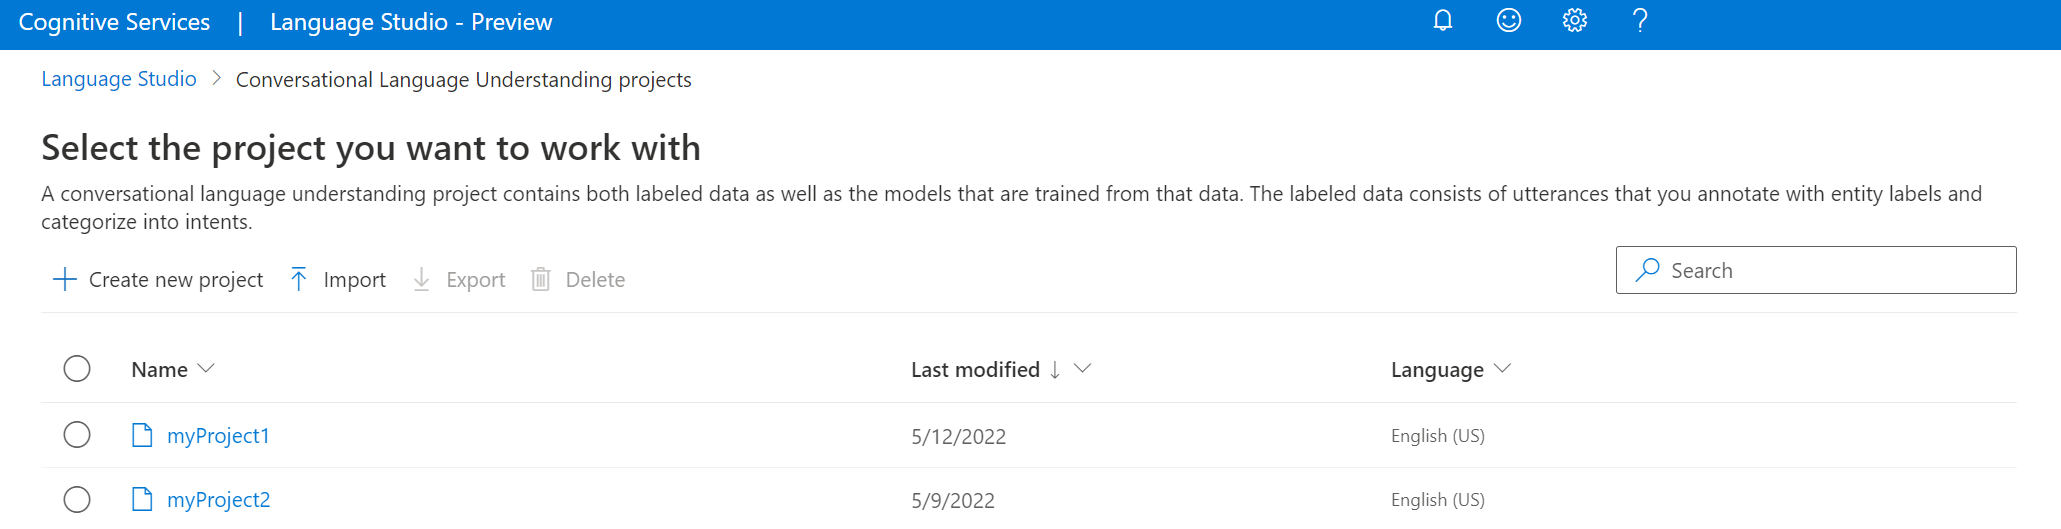
This will bring you to the Conversational language understanding projects page. Select Create new project.


To create a new project you need to provide the following details:
| Value | Description |
|---|---|
| Name | A name for your project. Once it's created, it can't be changed |
| Description | Optional project description. |
| Utterances primary language | The primary language of your project. Your training data should primarily be in this language. |
| Enable multiple languages | Whether you would like to enable your project to support multiple languages at once. |
Once you're done, select Next and review the details. Select create to complete the process. You should now see the Build Schema screen in your project.
Import project
You can export a Conversational Language Understanding project as a JSON file at any time by going to the conversation projects page, selecting a project, and from the top menu, clicking on Export.

That project can be reimported as a new project. If you import a project with the exact same name, it replaces the project's data with the newly imported project's data.
If you have an existing LUIS application, you can import the LUIS application JSON to Conversational Language Understanding directly, and it will create a Conversation project with all the pieces that are currently available: Intents, ML entities, and utterances. See the LUIS migration article for more information.
To import a project, select the arrow button next to Create a new project and select Import, then select the LUIS or Conversational Language Understanding JSON file.

Export project
You can export a Conversational Language Understanding project as a JSON file at any time by going to the conversation projects page, selecting a project, and pressing Export.
Get CLU project details
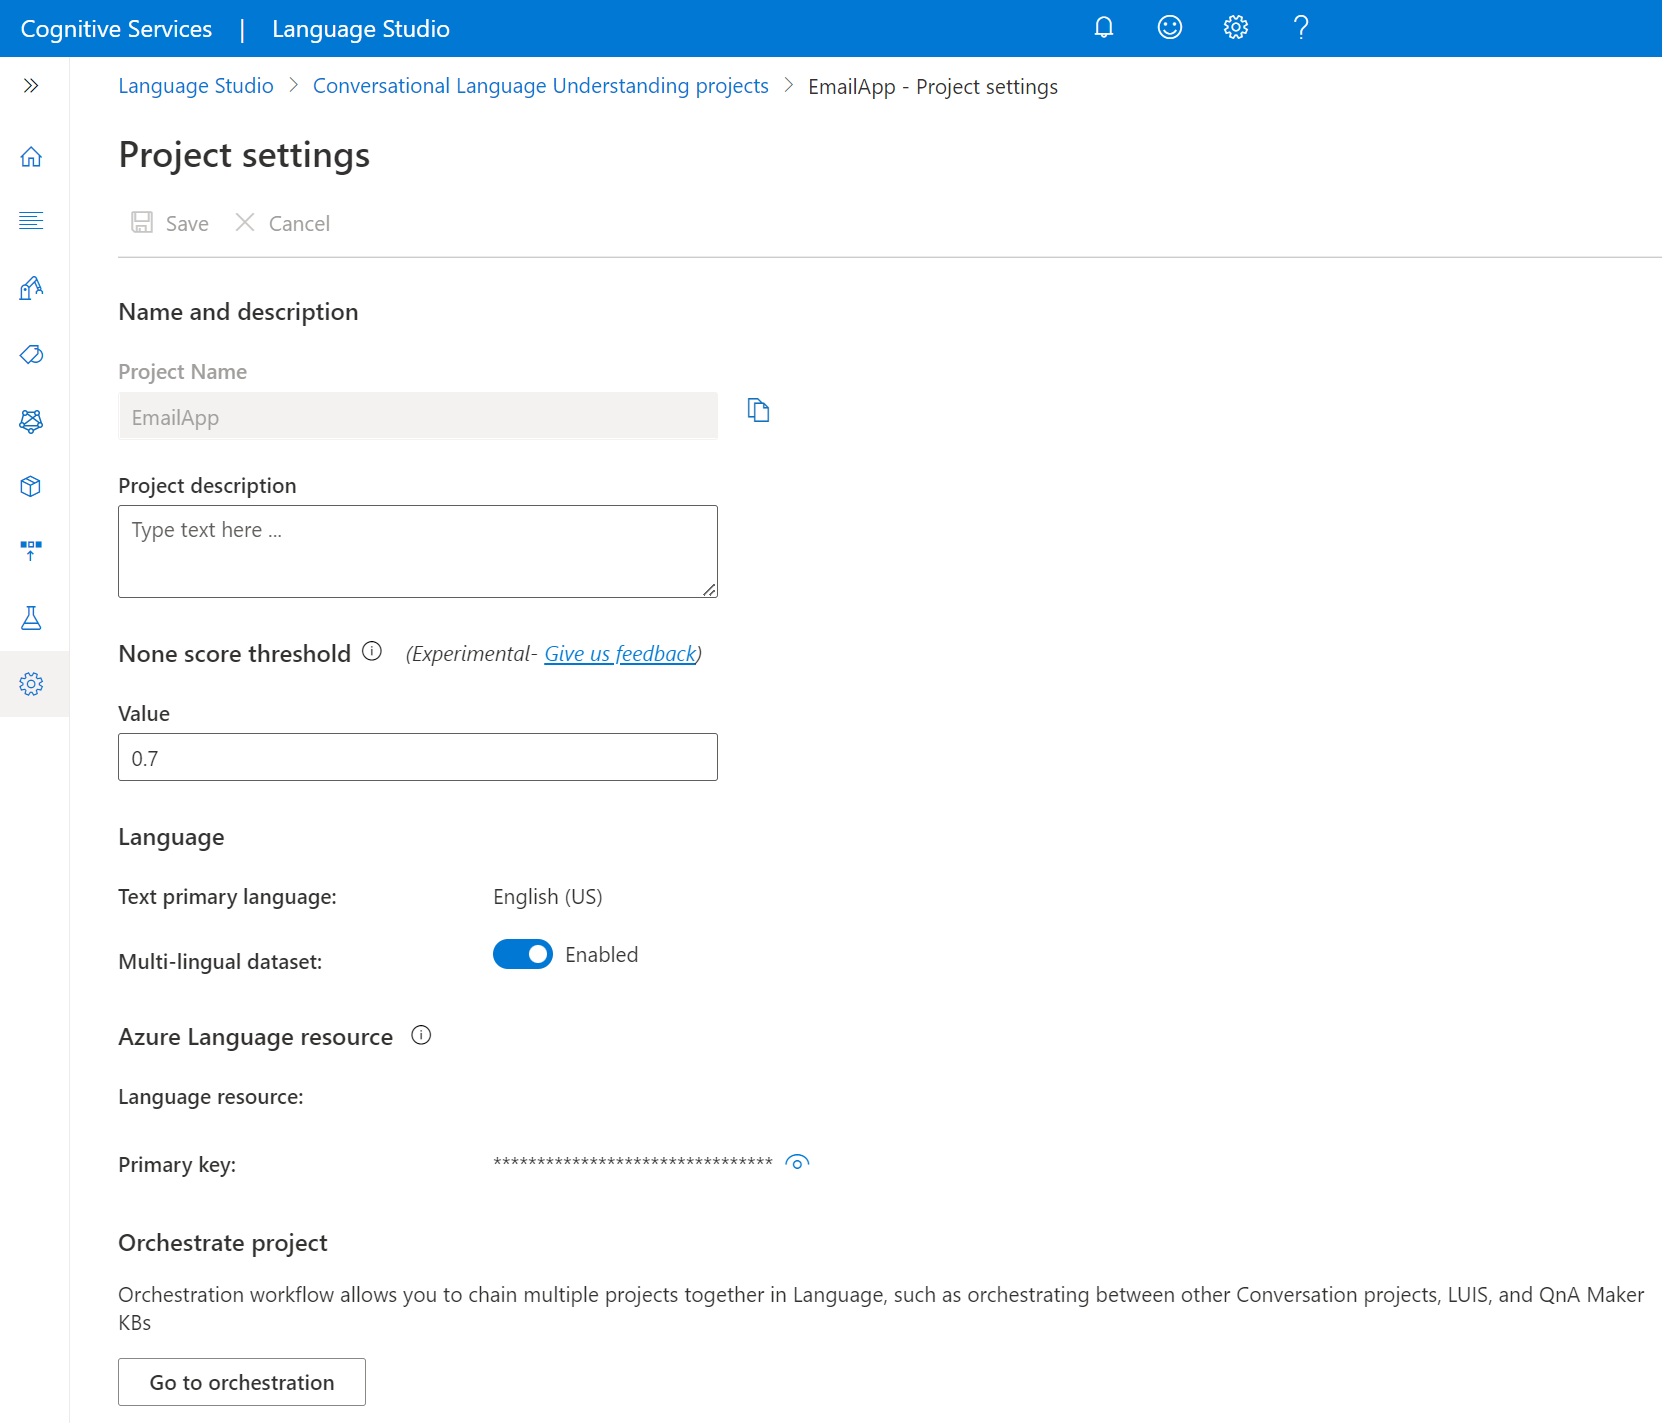
Go to your project settings page in Language Studio.
You can see project details.
In this page you can update project description and enable/disable Multi-lingual dataset in project settings.
You can also retrieve your resource primary key from this page.

Delete project
When you don't need your project anymore, you can delete your project using Language Studio. Select Projects from the left navigation menu, select the project you want to delete, and then select Delete from the top menu.
Next Steps
Feedback
Coming soon: Throughout 2024 we will be phasing out GitHub Issues as the feedback mechanism for content and replacing it with a new feedback system. For more information see: https://aka.ms/ContentUserFeedback.
Submit and view feedback for