Integrated Power BI experience in Azure Cosmos DB portal for Synapse Link enabled accounts
APPLIES TO: ![]() NoSQL
NoSQL
With the integrated Power BI experience, you can visualize your Azure Cosmos DB data in near real time in just a few clicks. It uses the built-in Power BI integration feature in the Azure portal along with Azure Synapse Link.
Synapse Link enables you to build Power BI dashboards with no performance or cost impact to your transactional workloads, and no ETL pipelines. With DirectQuery, you can build dashboards using live data from your Azure Cosmos DB accounts, without importing or copying the data into Power BI.
Build a Power BI report
Use the following steps to build a Power BI report from Azure Cosmos DB data in DirectQuery mode:
Sign in to the Azure portal and navigate to your Azure Cosmos DB account.
From the Integrations section, open the Power BI pane and select Get started.
Note
Currently, this option is only available for API for NoSQL accounts.
From the Enable Azure Synapse Link tab, if your account is not already enabled with Synapse Link, you can enable it from Enable Azure Synapse link for this account section. If Synapse Link is already enabled for your account, you will not see this tab.
Note
Once enabled, you cannot disable Azure Synapse Link. Enabling Azure Synapse Link has cost implications. See Azure Synapse Link pricing section for more details.
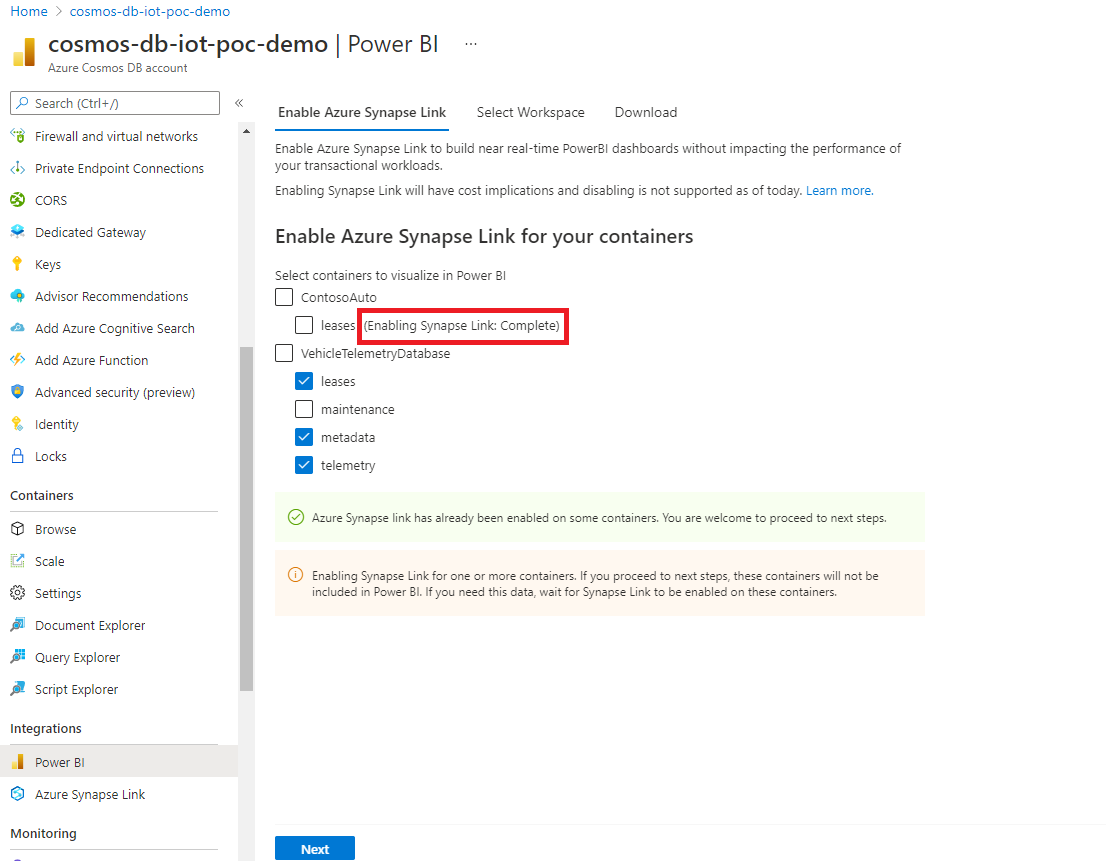
Next from the Enable Azure Synapse Link for your containers section, choose the required containers to enable Synapse Link.
If you already enabled Synapse Link on some containers, you will see the checkbox next to the container name is selected. You may optionally deselect them, based on the data you'd like to visualize in Power BI.
If Synapse Link is not enabled, you can enable this on your existing containers.
If enabling Synapse Link is in progress on any of the containers, the data from those containers will not be included. You should come back to this tab later and import data when the containers are enabled.
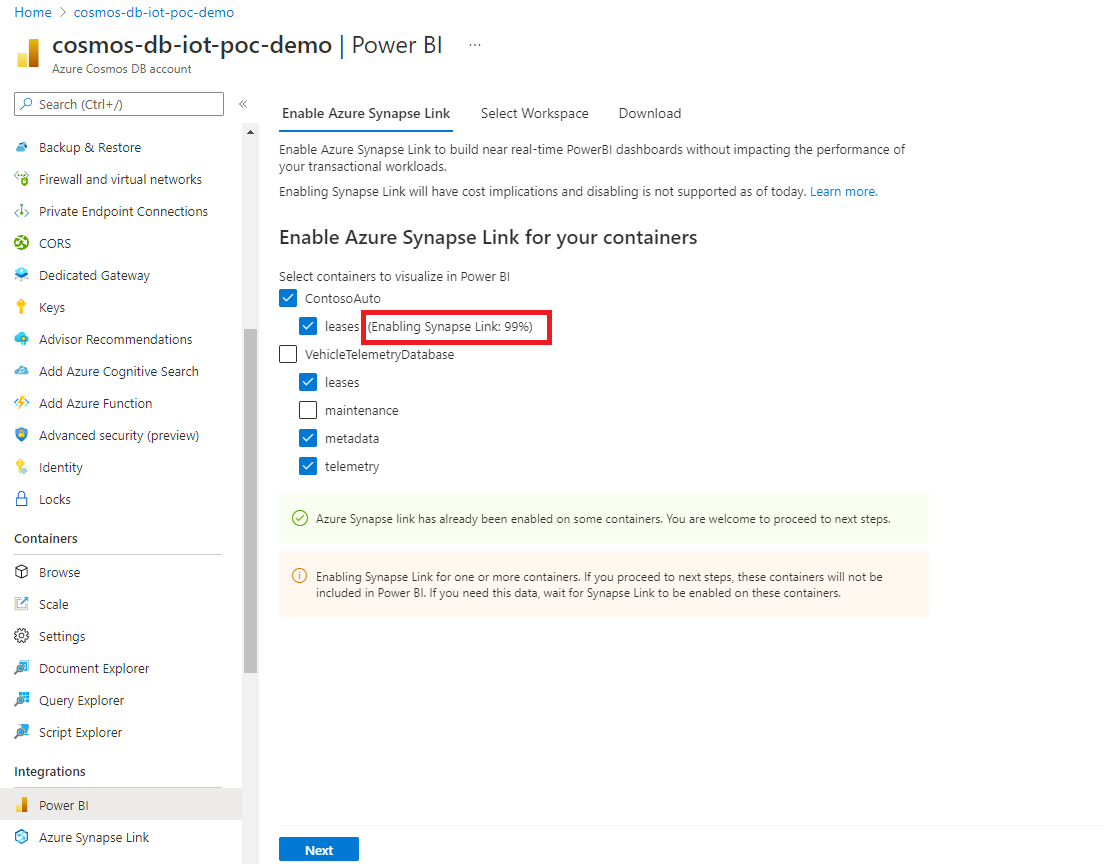
Depending on the amount of data in your containers, it may take a while to enable Synapse Link. To learn more, see enable Synapse Link on existing containers article.
You can check the progress in the portal as shown in the following screen. Containers are enabled with Synapse Link when the progress reaches 100%.
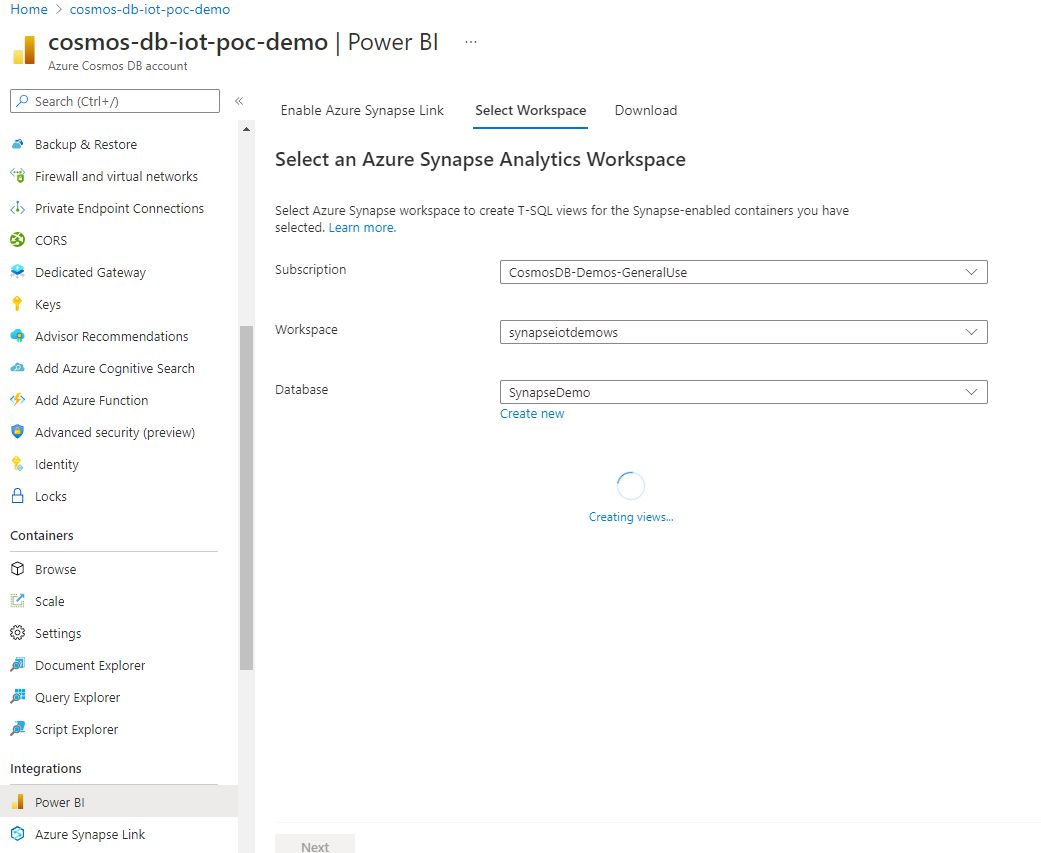
From the Select workspace tab, choose the Azure Synapse Analytics workspace and select Next. This will automatically create T-SQL views in Synapse Analytics, for the containers selected earlier. For more information on T-SQL views required to connect your Azure Cosmos DB to Power BI, see Prepare views article.
Note
Your Azure Cosmos DB container proprieties will be represented as columns in T-SQL views, including deep nested JSON data. This is a quick start for your BI dashboards. These views will be available in your Synapse workspace/database; you can also use these exact same views in Synapse Workspace for data exploration, data science, data engineering, etc. Please note that advanced scenarios may demand more complex views or fine tuning of these views, for better performance. For more information. see best practices for Synapse Link when using Synapse serverless SQL pools article.
You can either choose an existing workspace or create a new one. To select an existing workspace, provide the Subscription, Workspace, and the Database details. Azure portal will use your Microsoft Entra credentials to automatically connect to your Synapse workspace and create T-SQL views. Make sure you have "Synapse administrator" permissions to this workspace.
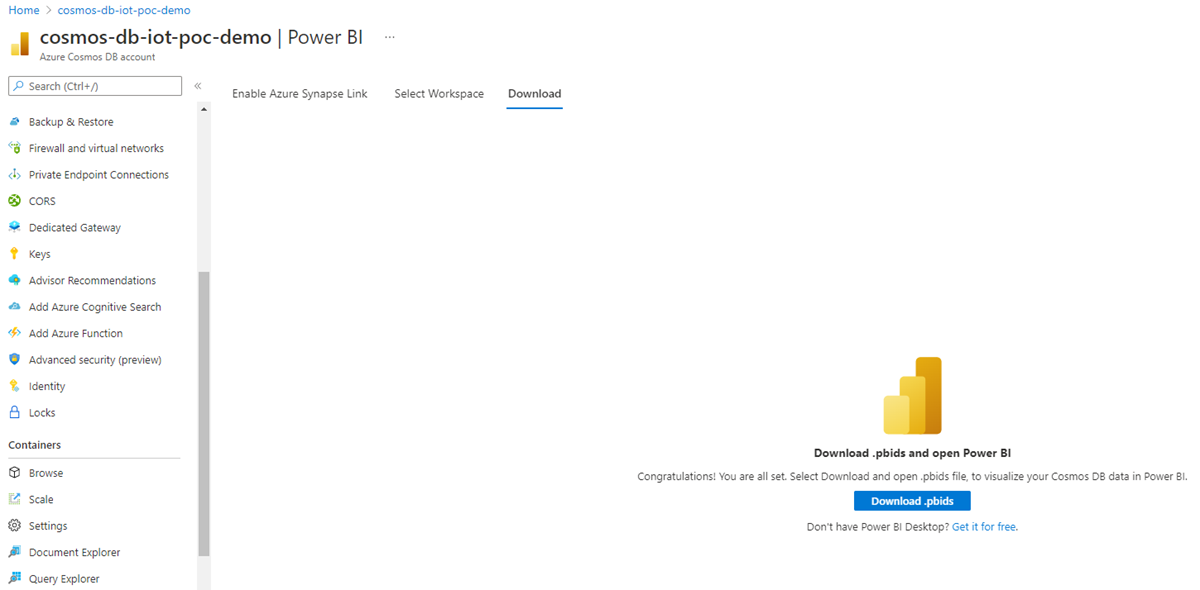
Next, select Download .pbids to download the Power BI data source file. Open the downloaded file. It contains the required connection information and opens a Power BI dashboard.
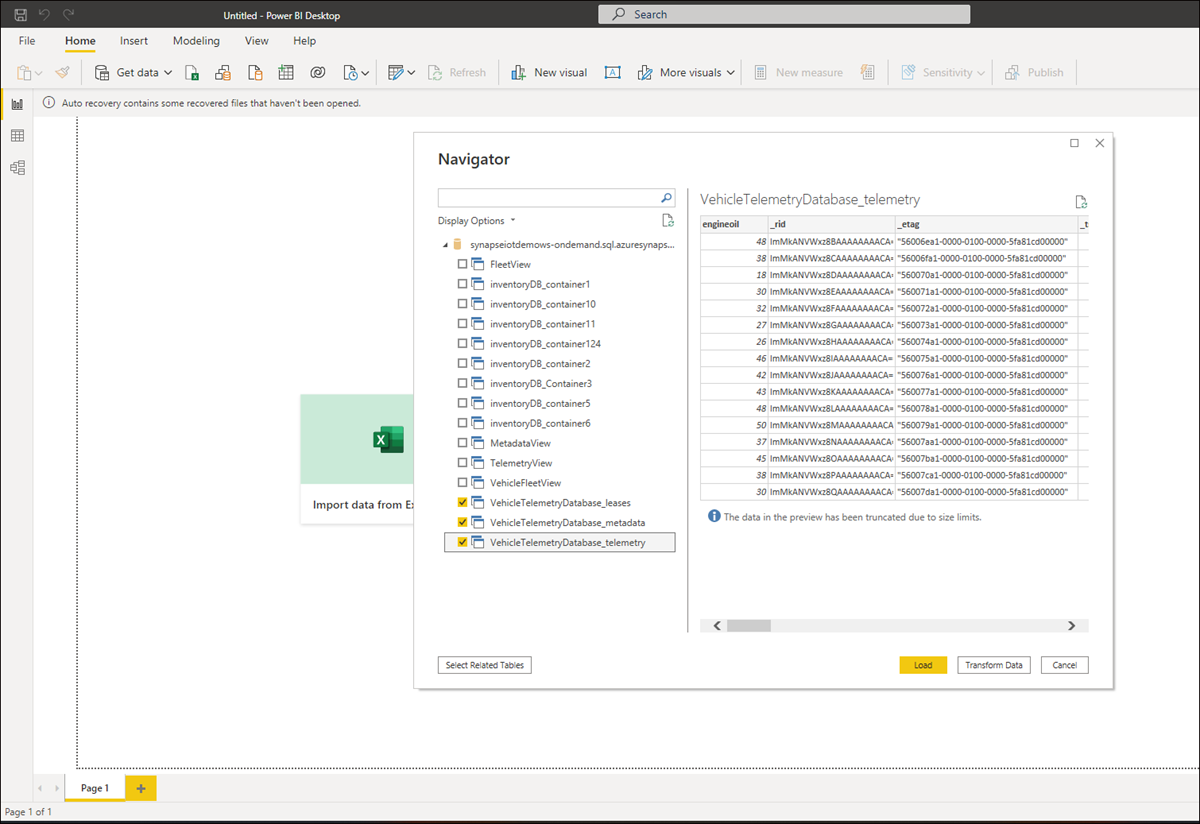
You can now connect to Azure Cosmos DB data from Power BI, using Synapse Link. A list of T-SQL views corresponding to the data in each container are displayed.
For example, the following screen shows vehicle fleet data. You can load this data for further analysis or transform it before loading.
You can now start building the dashboard using Azure Cosmos DB's analytical data. Any changes to your data will be reflected in the dashboard, as soon as the data is replicated to analytical store, which typically happens in a couple of minutes.


Next steps
Feedback
Coming soon: Throughout 2024 we will be phasing out GitHub Issues as the feedback mechanism for content and replacing it with a new feedback system. For more information see: https://aka.ms/ContentUserFeedback.
Submit and view feedback for