Add and configure a catalog from GitHub or Azure DevOps
Article
This guide explains how to add and configure a catalog in your Azure Deployment Environments dev center. A catalog is a repository hosted in GitHub or Azure DevOps.
You can use a catalog to provide your development teams with a curated set of infrastructure as code (IaC) templates called environment definitions.
Deployment Environments supports catalogs hosted in Azure Repos (the repository service in Azure, commonly referred to as Azure DevOps) and catalogs hosted in GitHub. Azure DevOps supports authentication by assigning permissions to a managed identity. Azure DevOps and GitHub both support the use of a personal access token (PAT) for authentication. To further secure your templates, the catalog is encrypted; Azure Deployment Environments supports encryption at rest with platform-managed encryption keys, which Microsoft for Azure Services manages.
To learn how to host a Git repository in an Azure DevOps project, see Azure Repos.
Microsoft offers a quick start catalog that you can add to the dev center, and a sample catalog that you can use as your repository. You also can use your own private repository, or you can fork and customize the environment definitions in the sample catalog.
Configure a managed identity for the dev center
After you create a dev center, before you can attach a catalog, you must configure a managed identity, also called an MSI, for the dev center. You can attach either a system-assigned managed identity (system-assigned MSI) or a user-assigned managed identity (user-assigned MSI). You then assign roles to the managed identity to allow the dev center to create environment types in your subscription and read the Azure DevOps project that contains the catalog repo.
If your dev center doesn't have an MSI attached, follow the steps in Configure a managed identity to create one and to assign roles for the dev center managed identity.
You can add a catalog from an Azure DevOps repository or a GitHub repository. You can choose to authenticate by assigning permissions to an MSI or by using a PAT, which you store in a key vault.
Select the tab for the type of repository and authentication you want to use.
Your Azure DevOps organization must be in the same directory as the Azure subscription that contains your dev center.
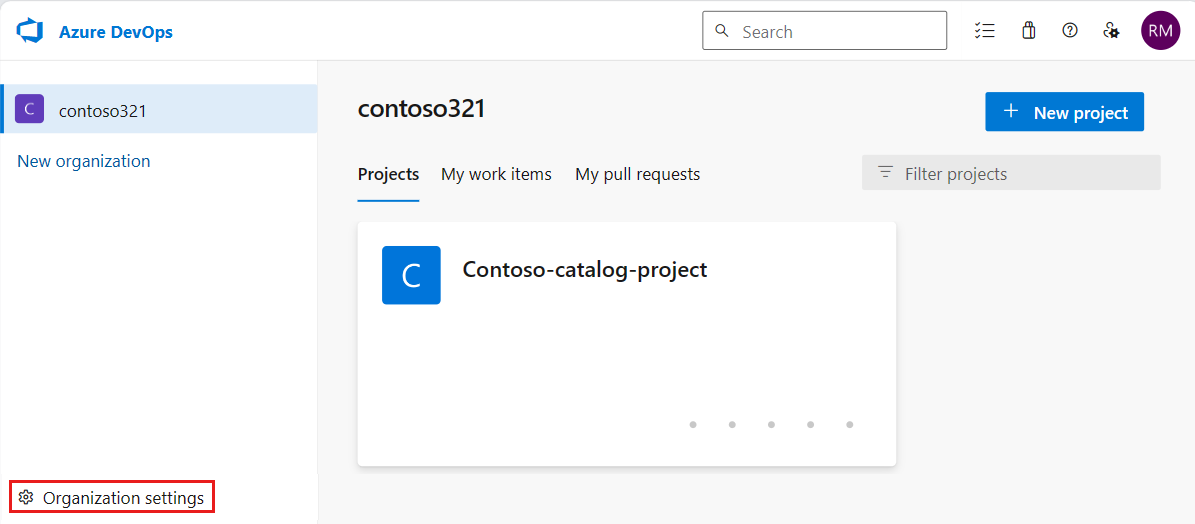
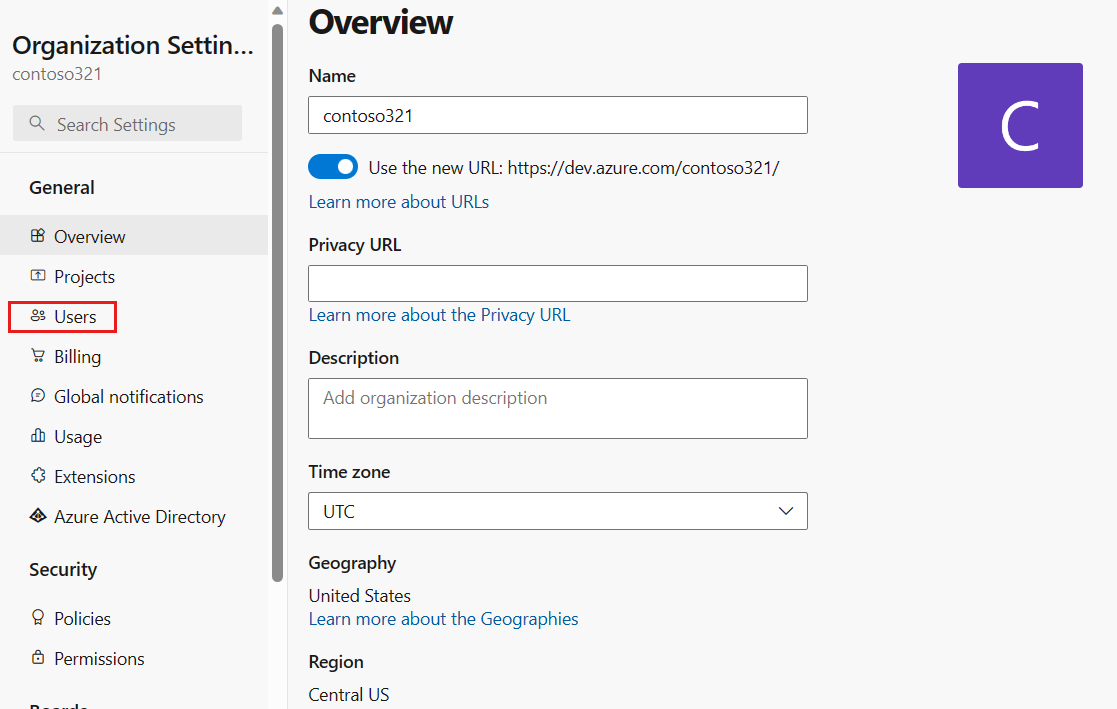
Select Organization settings.
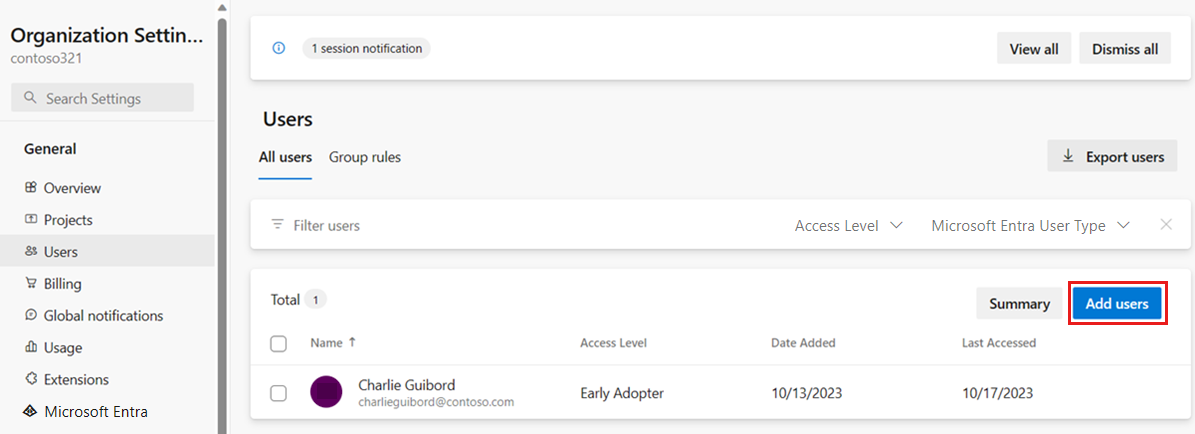
On the Overview page, select Users.
On the Users page, select Add users.
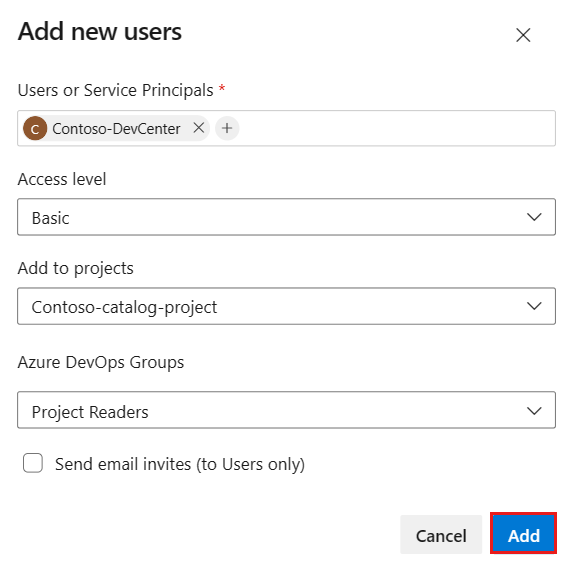
Complete Add new users by entering or selecting the following information, and then select Add:
Name
Value
Users or Service Principals
Enter the name of your dev center. When you use a system-assigned MSI, specify the name of the dev center, not the object ID of the managed account. When you use a user-assigned MSI, use the name of the managed account.
Access level
Select Basic.
Add to projects
Select the project that contains your repository.
Azure DevOps Groups
Select Project Readers.
Send email invites (to Users only)
Clear the checkbox.
Add your repository as a catalog
Azure Deployment Environments supports attaching Azure DevOps repositories and GitHub repositories. You can store a set of curated IaC templates in a repository. Attaching the repository to a dev center as a catalog gives your development teams access to the templates and enables them to quickly create consistent environments.
The following steps let you attach an Azure DevOps repository.
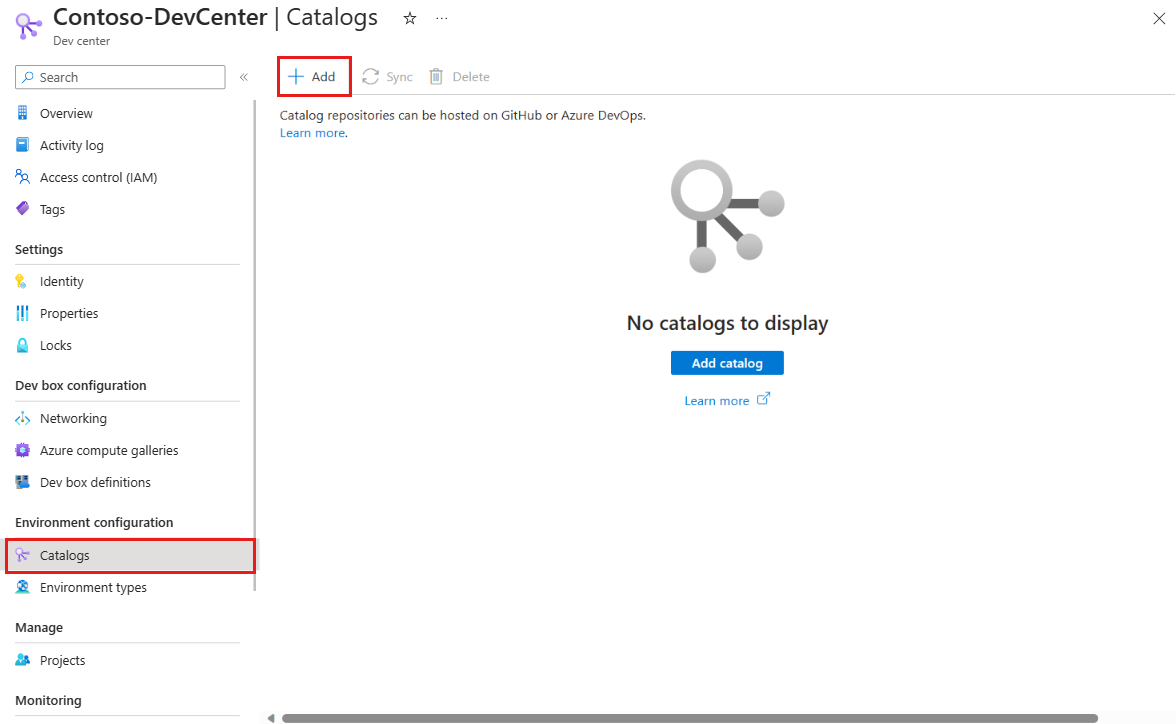
In the left menu under Environment configuration, select Catalogs, and then select Add.
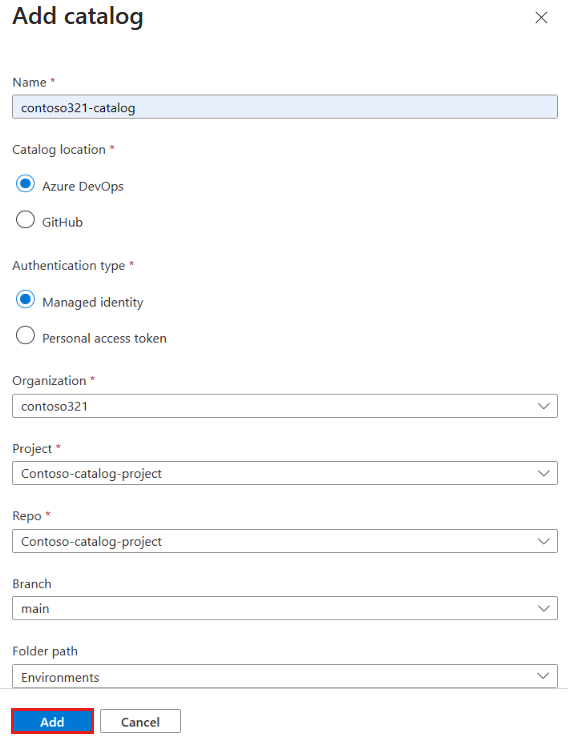
In Add catalog, enter the following information, and then select Add:
Field
Value
Name
Enter a name for the catalog.
Catalog location
Select Azure DevOps.
Authentication type
Select Managed Identity.
Organization
Select your Azure DevOps organization.
Project
From the list of projects, select the project that stores the repo.
Repo
From the list of repos, select the repo you want to add.
Branch
Select the branch.
Folder path
Dev Box retrieves a list of folders in your branch. Select the folder that stores your IaC templates.
In Catalogs for the dev center, verify that your catalog appears. If the connection is successful, Status is Connected. Connecting to a catalog can take a few minutes the first time.
To add a catalog, complete the following tasks:
Get the clone URL for your Azure DevOps repository.
Create a personal access token (PAT).
Store the PAT as a key vault secret in Azure Key Vault.
Add your repository as a catalog.
Get the clone URL for your Azure DevOps repository
Go to the home page of your team collection (for example, https://contoso-web-team.visualstudio.com), and then select your project.
You need an Azure Key Vault to store the PAT that's used to grant Azure access to your repository. Key vaults can control access with either access policies or role-based access control (RBAC). If you have an existing key vault, you can use it, but you should check whether it uses access policies or RBAC assignments to control access. For help with configuring an access policy for a key vault, see Assign a Key Vault access policy.
Use the following steps to create an RBAC key vault:
In the left menu under Environment configuration, select Catalogs, and then select Add.
In Add catalog, enter the following information, and then select Add:
Field
Value
Name
Enter a name for the catalog.
Catalog location
Select Azure DevOps.
Authentication type
Select Personal Access Token.
Organization
Select the organization that hosts the catalog repo.
Project
Select the project that stores the catalog repo.
Rep
Select the repo that stores the catalog.
Folder path
Select the folder that holds your IaC templates.
Secret identifier
Enter the secret identifier that contains your PAT for the repository. When you copy a secret identifier, the connection string includes a version identifier at the end, like in this example: https://contoso-kv.vault.azure.net/secrets/GitHub-repo-pat/9376b432b72441a1b9e795695708ea5a. Removing the version identifier ensures that Deployment Environments fetches the latest version of the secret from the key vault. If your PAT expires, only the key vault needs to be updated. Example secret identifier:https://contoso-kv.vault.azure.net/secrets/GitHub-repo-pat
In Catalogs for the dev center, verify that your catalog appears. If the connection is successful, the Status is Connected.
To add a catalog, complete the following tasks:
Get the clone URL of your GitHub repository.
Create a personal access token (PAT) in GitHub.
Store the PAT as a key vault secret in Azure Key Vault.
Add your repository as a catalog.
Get the clone URL of your GitHub repository
Go to the home page of the GitHub repository that contains the template definitions.
Azure Deployment Environments supports authenticating to GitHub repositories by using either classic tokens or fine-grained tokens. In this example, you create a fine-grained token.
Go to the home page of the GitHub repository that contains the template definitions.
In the upper-right corner of GitHub, select the profile image, and then select Settings.
On the left sidebar, select Developer settings > Personal access tokens > Fine-grained tokens.
Select Generate new token.
On the New fine-grained personal access token page, provide the following information:
Name
Value
Token name
Enter a descriptive name for the token.
Expiration
Select the token expiration period in days.
Description
Enter a description for the token.
Resource owner
Select the owner of the repository.
Repository access
Select Only select repositories.
Select repositories
Select the repository that contains the environment definitions.
Repository permissions
Expand Repository permissions, and for Contents, from the Access list, select Code read.
Select Generate token.
Copy and save the generated token to use later.
Important
When working with a private repository stored within a GitHub organization, you must ensure that the GitHub PAT is configured to give access to the correct organization and the repositories within it.
Classic tokens within the organization must be SSO authorized to the specific organization after they are created.
Fine-grained tokens must have the owner of the token set as the organization itself to be authorized.
Incorrectly configured PATs can result in a Repository not found error.
Create a Key Vault
You need an Azure Key Vault to store the PAT that is used to grant Azure access to your repository. Key vaults can control access with either access policies or role-based access control (RBAC). If you have an existing key vault, you can use it, but you should check whether it uses access policies or RBAC assignments to control access. For help with configuring an access policy for a key vault, see Assign a key vault access policy.
Use the following steps to create an RBAC key vault:
In the left menu under Environment configuration, select Catalogs, and then select Add.
In Add catalog, enter the following information, and then select Add.
Field
Value
Name
Enter a name for the catalog.
Catalog location
Select GitHub.
Repo
Enter or paste the clone URL for either your GitHub repository or your Azure DevOps repository. Sample catalog example:https://github.com/Azure/deployment-environments.git
Branch
Enter the repository branch to connect to. Sample catalog example:main
Folder path
Enter the folder path relative to the clone URI that contains subfolders that hold your environment definitions. The folder path is for the folder with subfolders containing environment definition environment files, not for the folder with the environment definition environment file itself. The following image shows the sample catalog folder structure. Sample catalog example:/Environments
The folder path can begin with or without a forward slash (/).
Secret identifier
Enter the secret identifier that contains your PAT for the repository. When you copy a secret identifier, the connection string includes a version identifier at the end, like in this example: https://contoso-kv.vault.azure.net/secrets/GitHub-repo-pat/9376b432b72441a1b9e795695708ea5a. Removing the version identifier ensures that Deployment Environments fetch the latest version of the secret from the key vault. If your PAT expires, only the key vault needs to be updated. Example secret identifier:https://contoso-kv.vault.azure.net/secrets/GitHub-repo-pat
In Catalogs for the dev center, verify that your catalog appears. If the connection is successful, Status is Connected.
Update a catalog
If you update the Azure Resource Manager template (ARM template) contents or definition in the attached repository, you can provide the latest set of environment definitions to your development teams by syncing the catalog.
To sync an updated catalog in Azure Deployment Environments:
On the left menu for your dev center, under Environment configuration, select Catalogs.
Select the specific catalog, and then select Sync. The service scans through the repository and makes the latest list of environment definitions available to all of the associated projects in the dev center.
Delete a catalog
You can delete a catalog to remove it from the Azure Deployment Environments dev center. Templates in a deleted catalog aren't available to development teams when they deploy new environments. Update the environment definition reference for any existing environments that were created by using the environment definitions in the deleted catalog. If the reference isn't updated and the environment is redeployed, the deployment fails.
To delete a catalog:
On the left menu for your dev center, under Environment configuration, select Catalogs.
Select the specific catalog, and then select Delete.
In the Delete catalog dialog, select Continue to delete the catalog.
Catalog sync errors
When you add or sync a catalog, you might encounter a sync error. A sync error indicates that some or all of the environment definitions have errors. Use the Azure CLI or the REST API to GET the catalog. The GET response shows you the type of error:
Ignored environment definitions that were detected to be duplicates.
Invalid environment definitions that failed due to schema, reference, or validation errors.
Resolve ignored environment definition errors
An ignored environment definition error occurs if you add two or more environment definitions that have the same name. You can resolve this issue by renaming environment definitions so that each environment definition has a unique name within the catalog.
Resolve invalid environment definition errors
An invalid environment definition error might occur for various reasons:
Manifest schema errors. Ensure that your environment definition environment file matches the required schema.
Validation errors. Check the following items to resolve validation errors:
Ensure that the environment file's engine type is correctly configured as ARM.
Ensure that the environment definition name is between 3 and 63 characters.
Ensure that the environment definition name includes only characters that are valid for a URL, which are alphanumeric characters and these symbols: ~!,.';:=-_+()*&$@
Reference errors. Ensure that the template path that the environment file references is a valid relative path to a file in the repository.
Coming soon: Throughout 2024 we will be phasing out GitHub Issues as the feedback mechanism for content and replacing it with a new feedback system. For more information see: https://aka.ms/ContentUserFeedback.