Create audit streaming
Azure DevOps Services
Note
Auditing is still in public preview.
Learn how to create an audit stream, which sends data to other locations for further processing. Send auditing data to other Security Incident and Event Management (SIEM) tools and open new possibilities, such as the ability to trigger alerts for specific events, create views on auditing data, and perform anomaly detection. Setting up a stream also allows you to store more than 90-days worth of auditing data, which is the maximum amount of data that Azure DevOps keeps for your organizations.
Important
Auditing is only available for organizations backed by Microsoft Entra ID. For more information, see Connect your organization to Microsoft Entra ID.
Audit streams represent a pipeline that flows audit events from your Azure DevOps organization to a stream target. Every half hour or less, new audit events are bundled and streamed to your targets. The following stream targets are available for configuration.
- Splunk – Connect to on-premises or cloud-based Splunk.
- Azure Monitor Logs - Send auditing logs to Azure Monitor Logs. Logs stored in Azure Monitor Logs can be queried and have alerts configured. Look for the table named AzureDevOpsAuditing. You can also connect Microsoft Sentinel to your workspace.
- Azure Event Grid – For scenarios where you want your auditing logs to be sent somewhere else, whether inside or outside of Azure, you can set up an Azure Event Grid connection.
Private linked workspaces aren't supported today.
Note
Auditing isn't available for on-premises deployments of Azure DevOps Server. It is possible to connect an audit stream to an on-premises or cloud-based instance of Splunk, but make sure you allow IP ranges for inbound connections. For details, see Allowed address lists and network connections, IP addresses and range restrictions.
Prerequisites
By default, Project Collection Administrators (PCAs) are the only group that has access to the auditing feature. You must have the following permissions:
Manage audit streams
View audit log
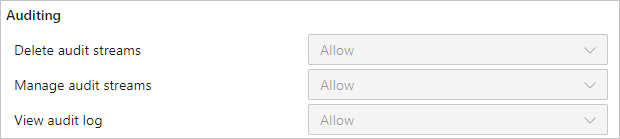
These permissions can be given to any users or groups you wish to have manage your organization's streams. Additionally, there's also a Delete audit streams permission that you can add on for users or groups.
Create a stream
Sign in to your organization (
https://dev.azure.com/{yourorganization}).Select
 Organization settings.
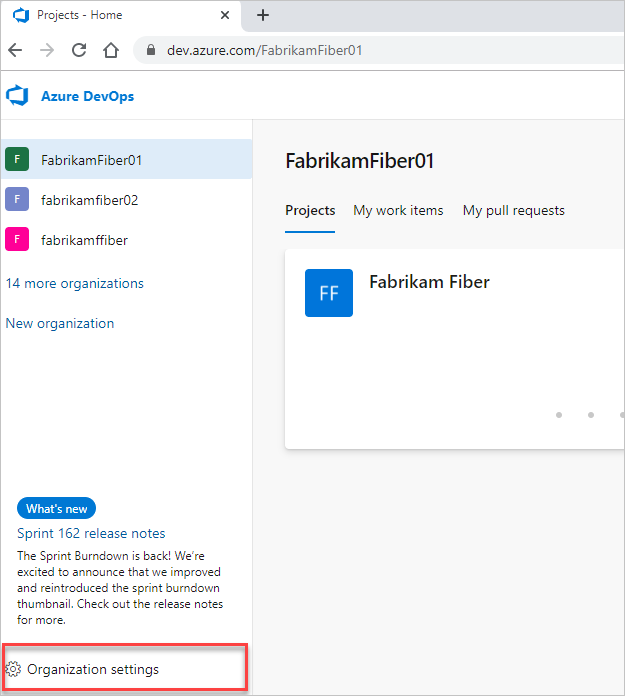
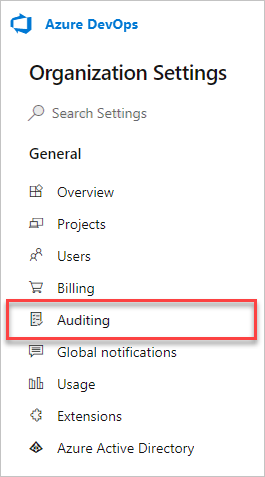
Select Auditing.
Note
If you don't see Auditing in Organization Settings, then auditing is not currently enabled for your organization. Someone in the organization owner or Project Collection Administrators (PCAs) group must enable Auditing in Organization Policies. You will then be able to see events on the Auditing page if you have the appropriate permissions.
Go to the Streams tab, and then select New stream.
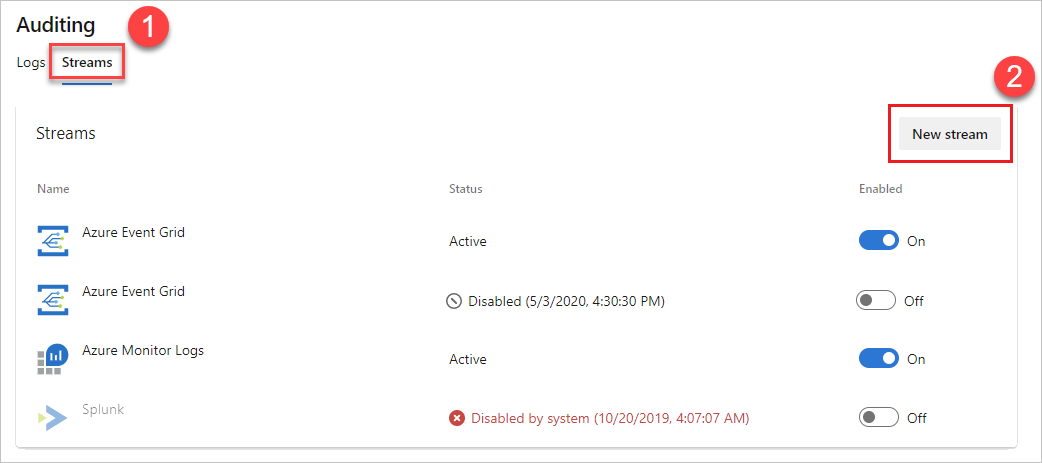
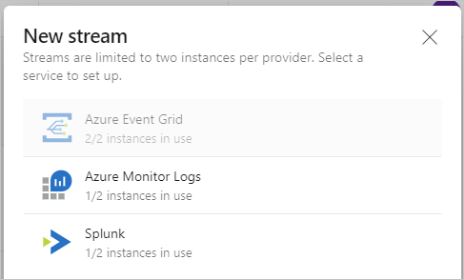
Select the stream target that you want to configure, and then select from the following instructions to set up your stream target type.
Note
At this time, you can only have 2 streams for each target type.
Set up a Splunk stream
Streams send data to Splunk via the HTTP Event Collector endpoint.
Enable this feature in Splunk. For more information, see this Splunk documentation.
Once it's enabled, you should have an HTTP Event Collector token and the URL to your Splunk instance. You need both the token and URL to create a Splunk stream.
Note
When you're creating a new Event Collector token in Splunk, don't check “Enable indexer acknowledgement”. If it's checked, then no events flow into Splunk. You can edit the token in Splunk to remove that setting.
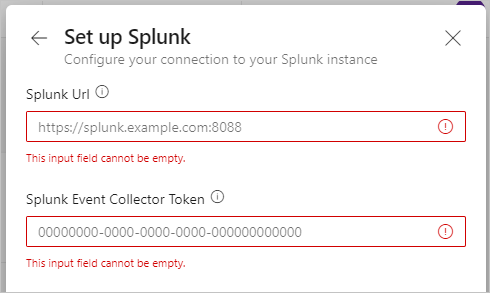
Enter your Splunk URL, which is the pointer to your Splunk instance. Ensure that you specify a port at the end of the URL. The default port is
8088, so your URL would be similar tohttps://prd-p-2k3mp2xhznbs.cloud.splunk.com:8088orhttps://prd-p-2k3mp2xhznbs.splunkcloud.com.Enter the event collector token you created into the token field. The token is stored securely within Azure DevOps and never displayed again in the UI. We recommend rotating the token regularly, which you can do by getting a new token from Splunk and editing the stream.
Select Set up and your stream's configured.
Events begin to arrive on Splunk within half an hour or less.
Set up an Event Grid stream
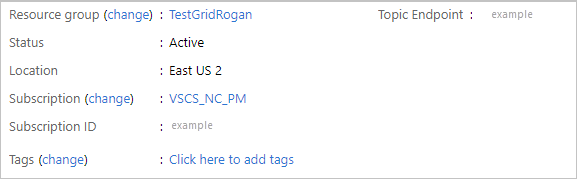
Create an Event Grid topic on Azure.
Make note of the “Topic Endpoint” and one of the two “Access Keys”. Use this information to create the Event Grid connection.
Enter the topic endpoint and one of the access keys. The access key is stored securely within Azure DevOps and never displayed again in the UI. Rotate the access key regularly, which you can do by getting a new key from Azure Event Grid and editing the stream

Once you have your Event Grid stream configured, you can set up subscriptions on the Event Grid to send the data almost anywhere in Azure.
Set up an Azure Monitor Log stream
Create a Log Analytics workspace.
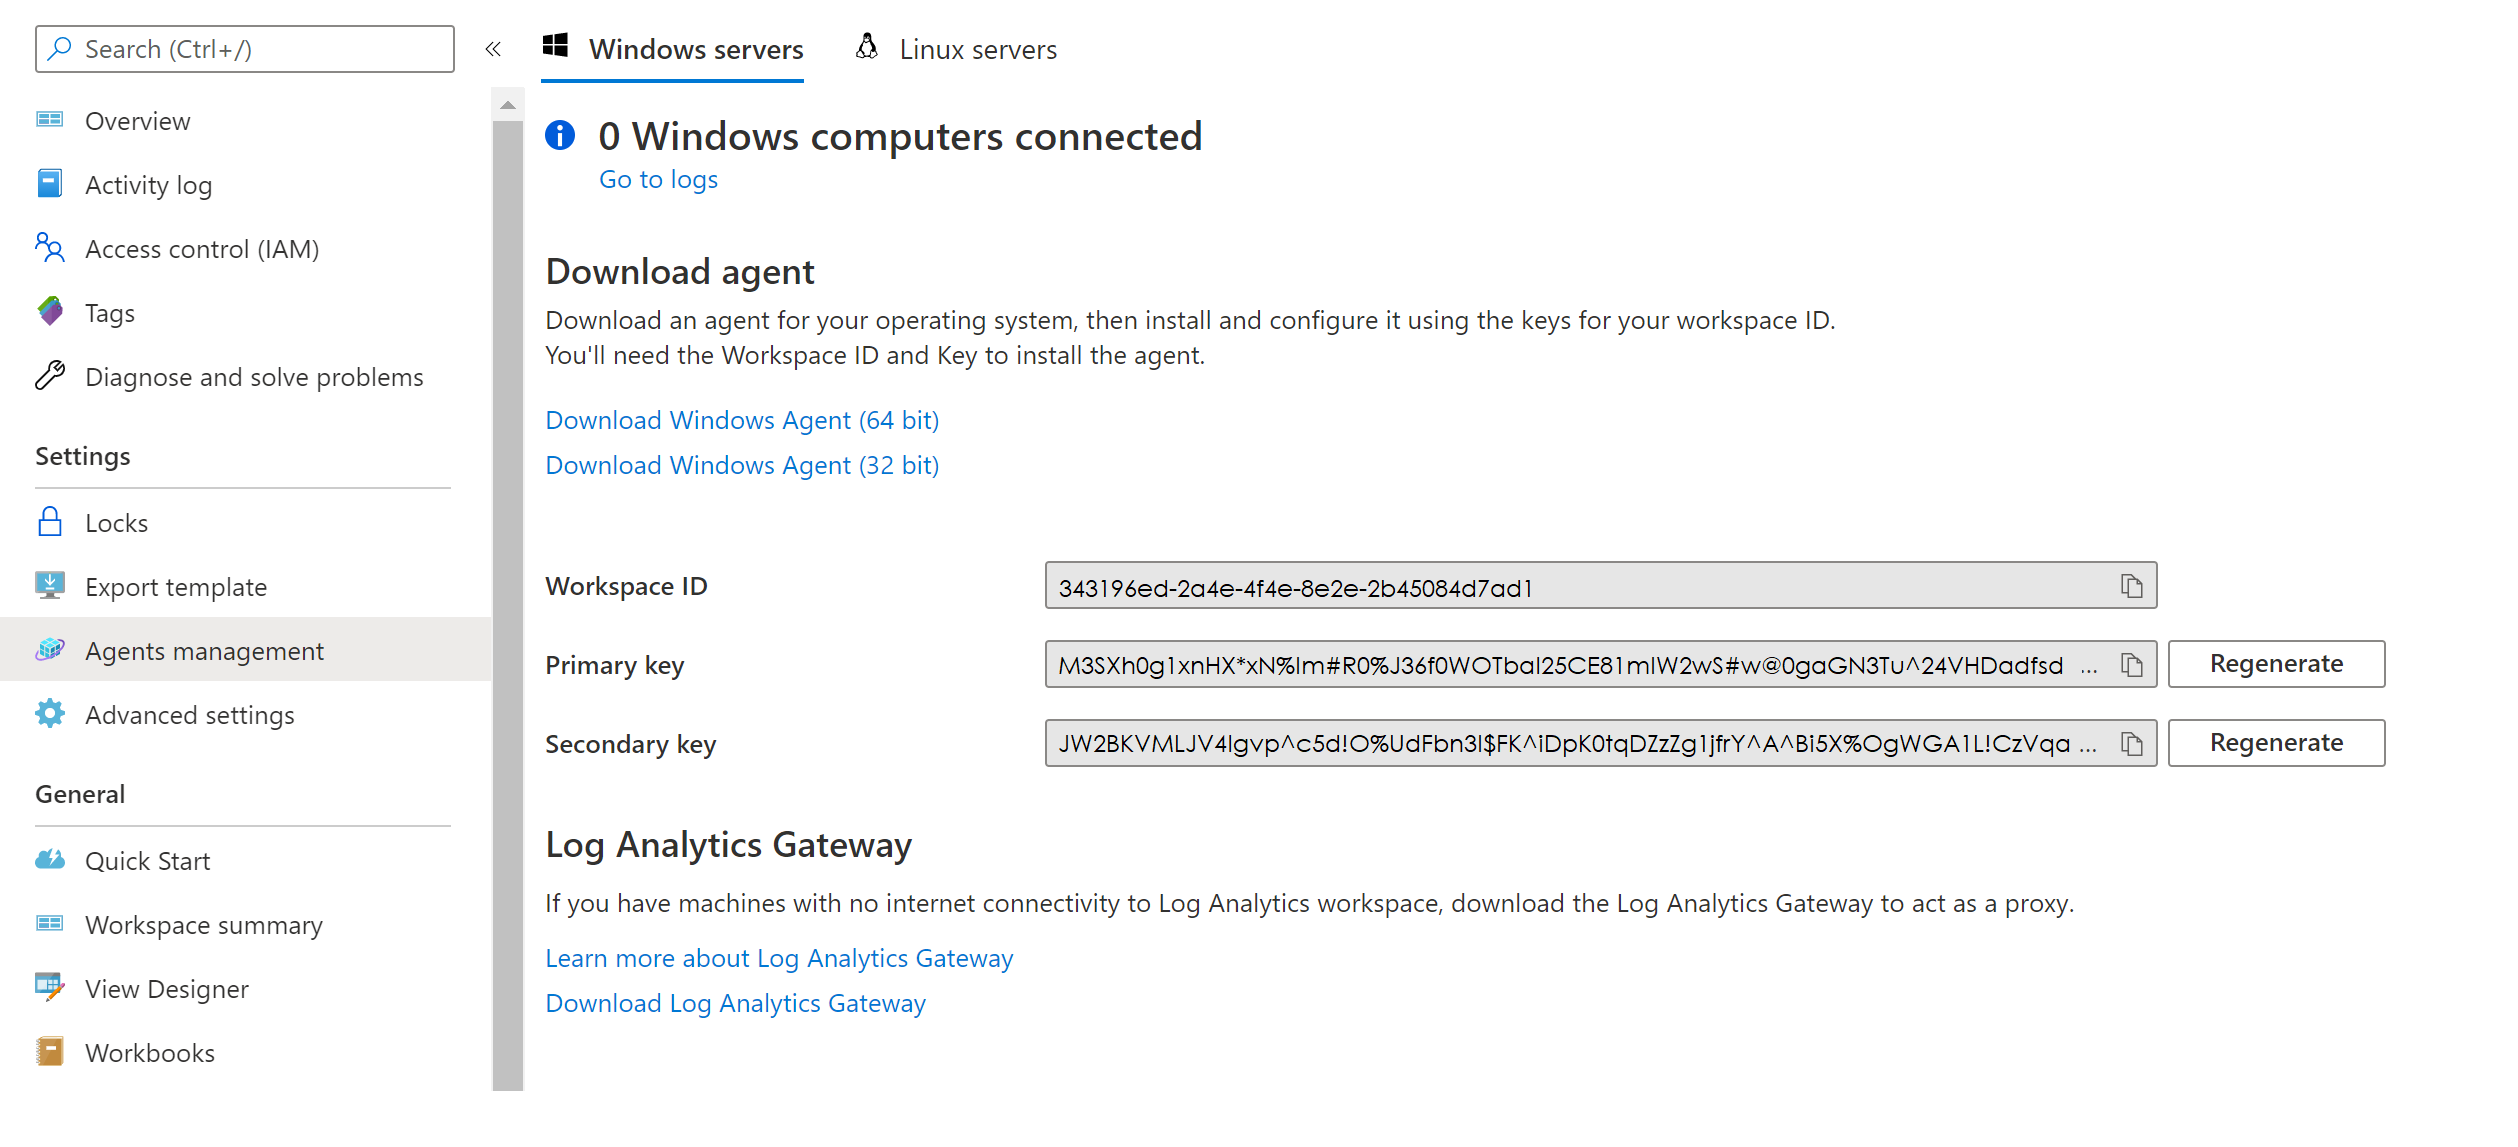
Open the workspace and select Agents.
Select Log Analytics agent instructions to view the workspace ID and primary key.
Make note of the workspace ID and primary key.
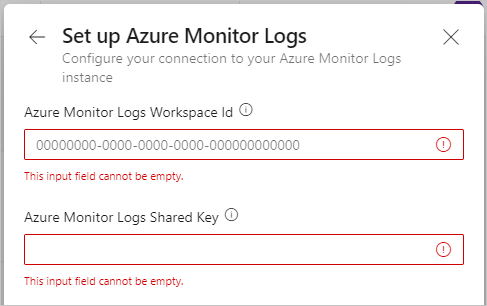
Set up your Azure Monitor log stream by proceeding through the same initial steps to create a stream.
For target options, select Azure Monitor Logs.
Enter the workspace ID and primary key, and then select Set up. The primary key is stored securely within Azure DevOps and never displayed again in the UI. Rotate the key regularly, which you can do by getting a new key from Azure Monitor Log and editing the stream.
The stream is enabled and new events begin to flow within half an hour or less. You can reference the AzureDevOpsAuditing table.
Note
The default retention time for Azure Monitor Logs is 30 days only. You can configure and chose longer retention by selecting Data Retention under Usage and estimated costs in your workspace settings. This incurs additional charges. Check the documentation to manage usage and costs with Azure Monitor Logs for more details.
Edit a stream
Details about your stream target can change over time. To reflect these changes in your streams, you can edit them. To edit a stream, make sure that you have the Manage audit streams permission.
Next to the stream that you want to edit, select the vertical three dots on the far right, and then select Edit stream.

Select Save.
Parameters available for editing differ per stream type.
Disable a stream
Next to the stream that you want to disable, move the Enabled toggle from On to Off.
When streams encounter a failure, they may become disabled. You can get details on the failure from the status shown next to the stream, or by selecting Edit stream. You can also disable a stream manually, and then re-enable it later.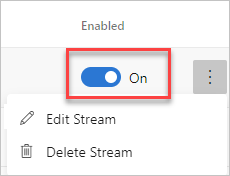
Select Save.
You can re-enable a disabled stream. It catches up on any audit events that were missed for up to the previous seven days. That way you don't miss any events from the duration that the stream was disabled.
Note
If a stream is disabled for more than 7 days, events older than 7 days aren't included in the catch up.
Delete a stream
To delete a stream, make sure that you have the Delete audit streams permission.
Important
Once you delete a stream you can't get it back.
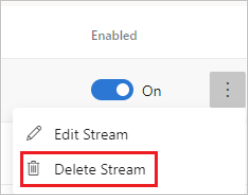
Hover over the stream you want to delete and select the vertical three dots on the far right.
Select Delete stream.
Select Confirm.
Your stream gets removed. Any events that haven't been sent before the deletion aren't sent.
Related articles
Feedback
Coming soon: Throughout 2024 we will be phasing out GitHub Issues as the feedback mechanism for content and replacing it with a new feedback system. For more information see: https://aka.ms/ContentUserFeedback.
Submit and view feedback for