Customize the web layout for a work item type (Inheritance process)
Azure DevOps Services | Azure DevOps Server 2022 - Azure DevOps Server 2019
Work items are the backbone for planning and tracking work. As such, you'll want to make sure that each work item type (WIT) is tracking the data that your team needs.
Important
This article applies to Azure DevOps Services and Azure DevOps Server 2019 and later versions. To customize any project defined on a collection for TFS 2018 or earlier, see On-premises XML process model.
Important
You can only use the Inheritance process model for projects defined on a project collection configured to support the Inheritance process model. If your on-premises collection is configured to use the On-premises XML process model, you can only use that process model to customize the work tracking experience. To learn more, see Customize work tracking, Choose the process model for your project collection.
To customize any project defined on a collection for TFS 2018 or earlier, see On-premises XML process model.
To support your work tracking requirements, you can customize each WIT to add custom groups to collect custom fields that you add under a common section. You can organize your forms by placing logically related groups and HTML fields on separate pages within a form to minimize clutter on any one page within the form.
For example, the following form shows that two custom pages have been added, Impact and Mitigation. In addition, several new groups and fields have been added to the Details page.
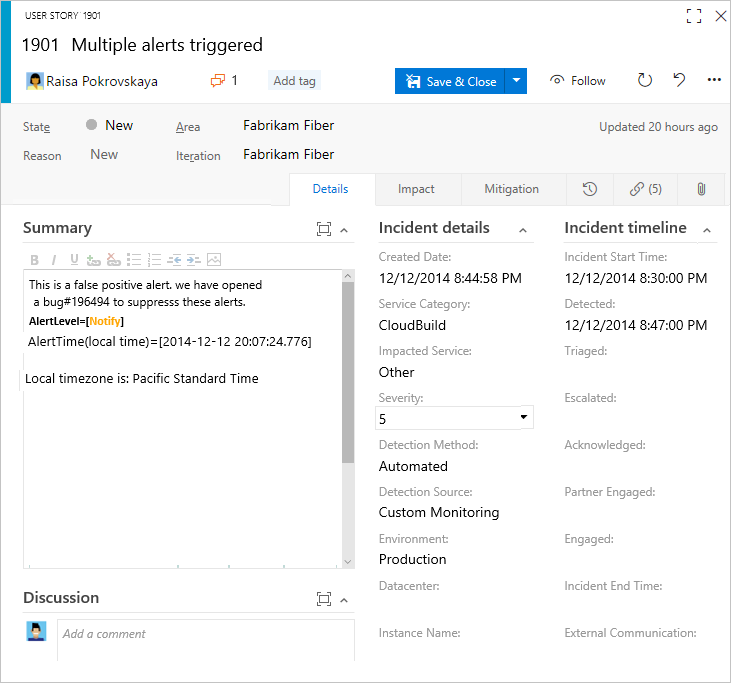
Once you've added a custom page or group, you can add custom fields to those pages or groups. To learn more about what you can customize, see About process customization and inherited processes.
Prerequisites
Prior to customizing a process, we recommend that you review Configure and customize Azure Boards, which provides guidance on how to customize Azure Boards to meet your business needs. For a description of the different backlogs and boards, see Tasks supported by Backlogs, Boards, Taskboards, and Plans.
- You must have an organization created in Azure DevOps Services. If you haven't created one yet, do that now.
- To create, edit, and manage processes, you must be a member of the Project Collection Administrators group, or have the corresponding collection-level permissions Create process, Delete process, Edit process, or Delete a field from organization set to Allow. See Set permissions and access for work tracking, Customize an inherited process.
- You must have selected the Inheritance process model for the project collection where the project is created. To learn more, see Choose the process model for your project collection.
- To create, edit, and manage processes, you must be a member of the Project Collection Administrators group, or have the corresponding permissions Create process, Delete process, Edit process, or Delete a field from organization set to Allow. See Set permissions and access for work tracking, Customize an inherited process.
Open Settings>Process
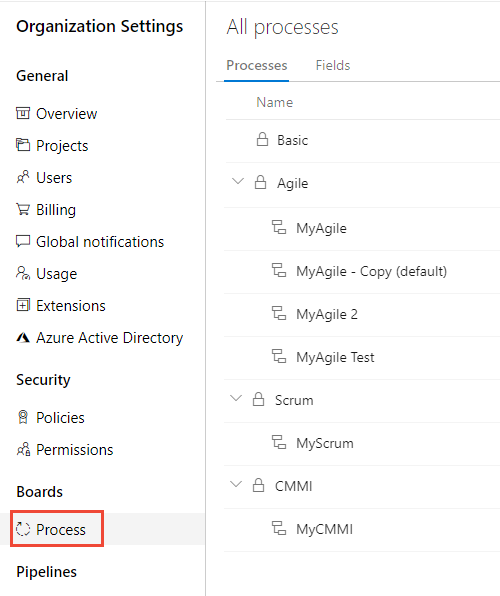
You create, manage, and make customizations to processes from Organization settings>Process.
Choose the
 Azure DevOps logo to open Projects. Then choose Organization settings.
Then, choose Process.
Important
If you don't see Process, then you're working from TFS-2018 or earlier version. The Process page isn't supported. You must use the features supported for the On-premises XML process model.
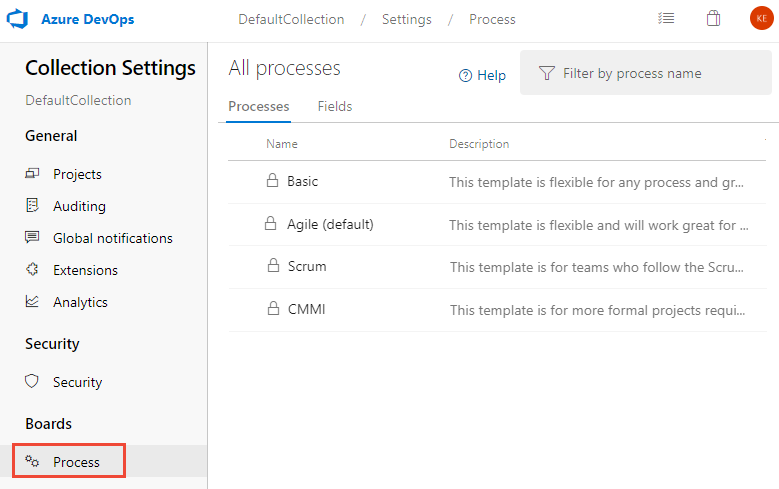
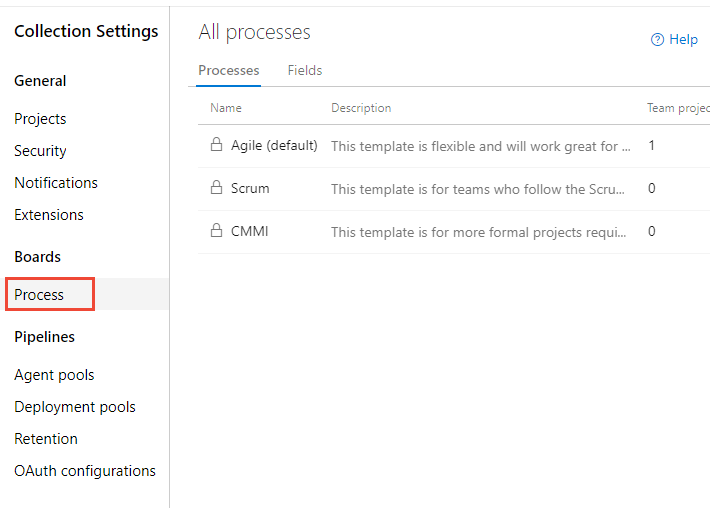
You create, manage, and make customizations to processes from Collection Settings>Process.
Choose the
Azure DevOps logo to open Projects. Choose the project collection whose processes you want to customize, and then choose Collection Settings.
Then, choose Process.
You create, manage, and make customizations to processes from Admin settings>Process.
Choose the
Azure DevOps logo to open Projects. Then choose Admin settings.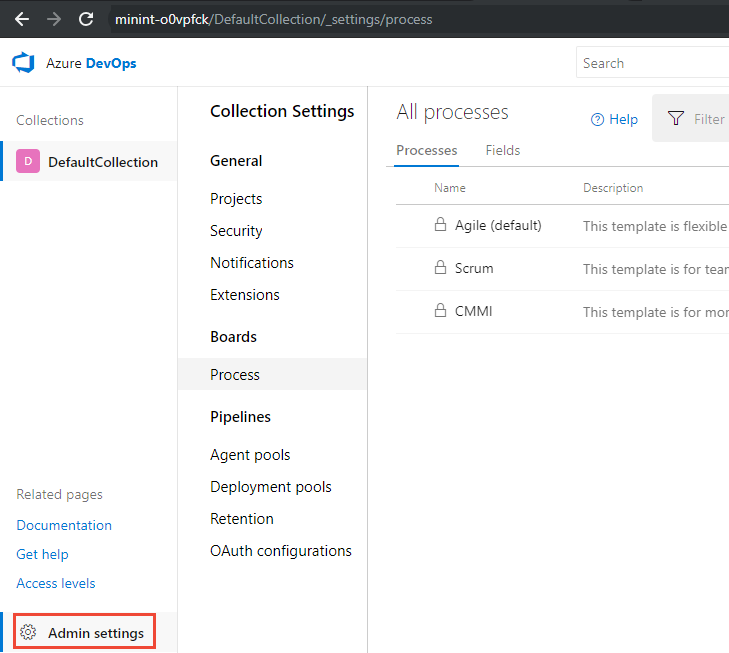
Then, choose Process.
Note
As you customize an inherited process, all projects that use that process are updated automatically to reflect the customizations. For this reason, we recommend that you create a test process and test project when you have a number of customizations to make in order to test the customizations prior to rolling them out to your organization. To learn more, see Create and manage inherited processes.
Add a custom group
You can add your own custom groups to both inherited pages and custom pages.
From the Layout page, choose New group.
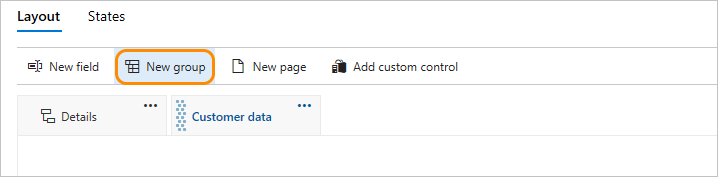
If the New field and other options are disabled, you don't have the necessary permissions to edit the process. See Set permissions and access for work tracking, Customize an inherited process.
Name the group and choose the column it should appear in. For information about columns, see About process customization and inherited processes, Layout and resizing.
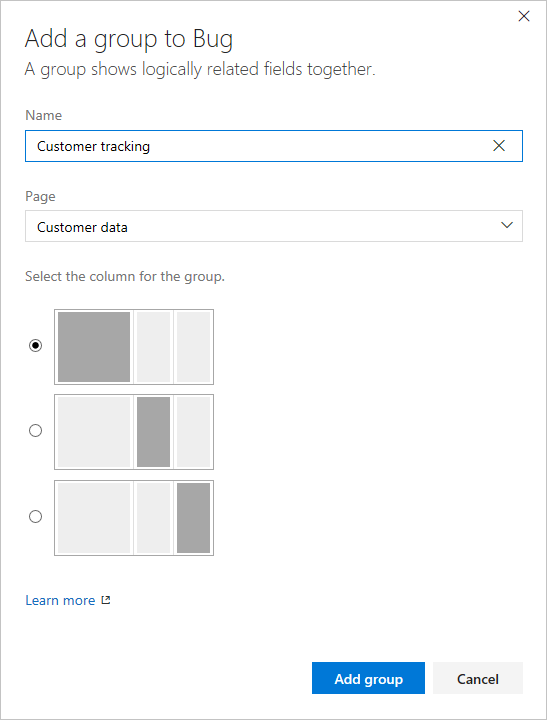
(Optional) Once you've added the group, you can drag and drop the group into any column or within the column, or select the Move Up or Move Down options from the group's … context menu.
Delete or remove a custom group
Before you remove a group, first move all fields defined in that group to another group or remove them from the form.
Tip
You must remove all fields from a group for the Remove option to appear.
Choose the ![]() Remove option from the custom group … context menu.
Remove option from the custom group … context menu.
Note
When all fields in an inherited group are hidden, the inherited group itself does not appear on the form.
Move a field
Within a page, you can quickly drag-and-drop a field to a new group or section within the page.
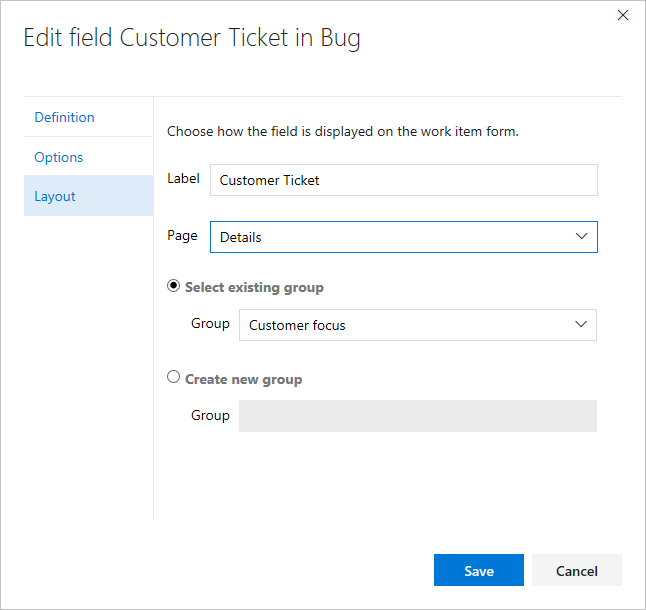
To move a field to another page, choose Edit from the field's … context menu and then choose the Page from the menu. Optionally, select an existing group or create a new group.
Here we move the Customer ticket field to the Details page and the Customer focus group.
Remove a field from a form
You can only remove custom fields from a form. For inherited fields, you can hide them from showing on the form. To learn more, see Customize a field for a process, Show, hide, or remove a field.
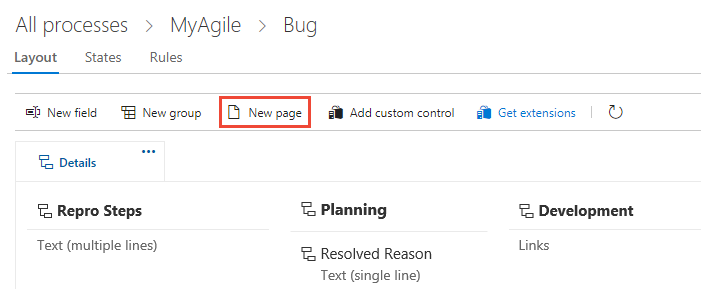
Add a custom page
Add a custom page when you have several custom fields that you want to group within that page. You can add and reorder custom pages.
From the Layout page of the WIT you've selected, click New page.
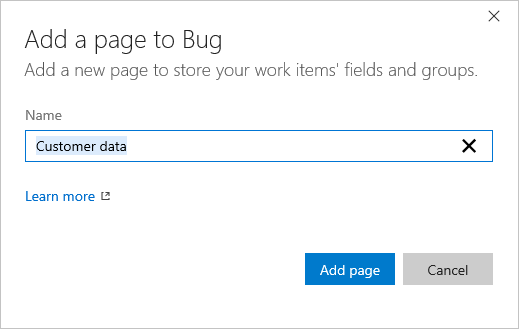
Label the page.
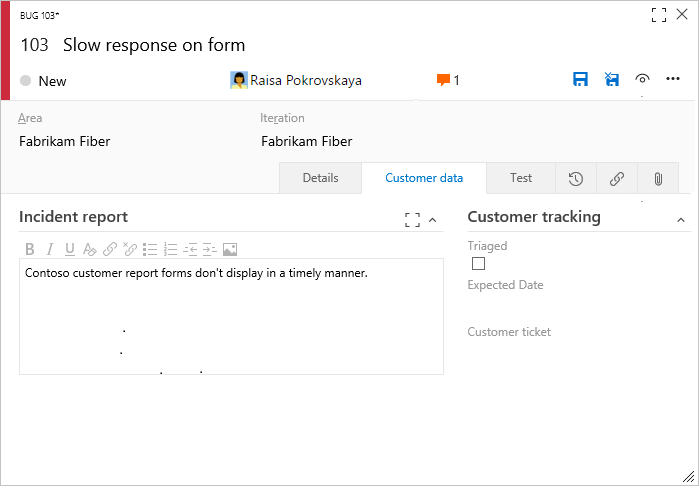
When you've finished adding groups and fields to the page, verify your layout is as expected. Refresh your browser and open a work item of the type you just customized.
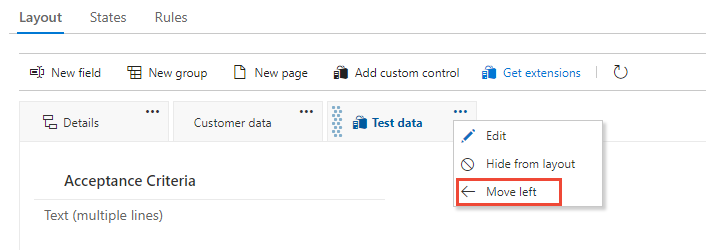
Reorder pages
You can reorder custom pages using drag and drop, or choose the move operation from the custom page … context menu. You can't move the inherited Details page.
Delete a page
Before you delete a page, you'll want to move any fields that your team still uses to another page.
Choose the ![]() Delete option from the custom page … context menu.
Delete option from the custom page … context menu.
Note
Deleting a page doesn't delete any data. Once data has been defined for a field, it's maintained in the data store and work item history, even if you remove it from the form. You can always choose to re-add the field by choosing New field and selecting Use an existing field.
Related articles
Note
You can review changes made to an inherited process through the audit log. To learn more, see Access, export, and filter audit logs.
Feedback
Coming soon: Throughout 2024 we will be phasing out GitHub Issues as the feedback mechanism for content and replacing it with a new feedback system. For more information see: https://aka.ms/ContentUserFeedback.
Submit and view feedback for