Quickstart: Create a lab in the Azure portal
This quickstart walks you through creating a lab in Azure DevTest Labs by using the Azure portal. Azure DevTest Labs is a service for easily creating, using, and managing infrastructure-as-a-service (IaaS) virtual machines (VMs) and platform-as-a-service (PaaS) environments in a lab context.
Prerequisite
- At least Contributor access to an Azure subscription. If you don't have an Azure account, create one for free.
Create a lab
In the Azure portal, search for and select DevTest Labs.
On the DevTest Labs page, select Create. The Create DevTest Lab page appears.
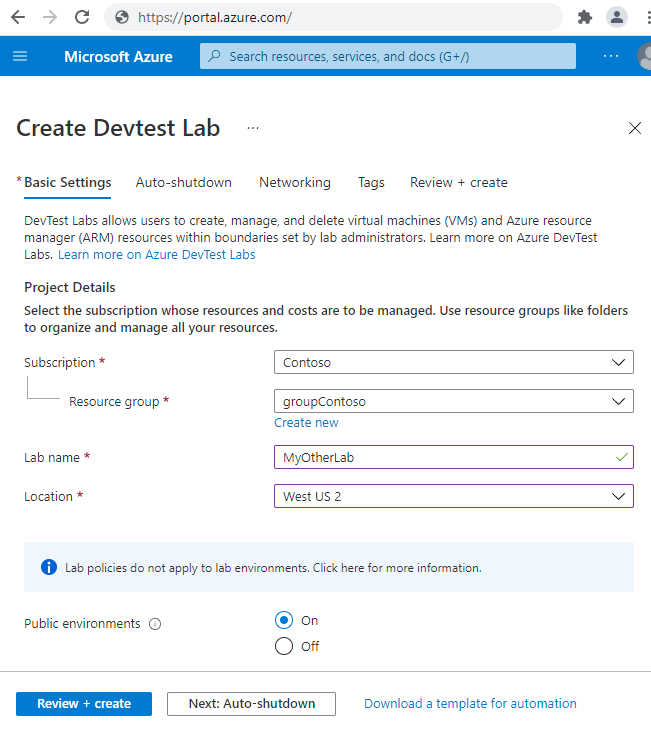
On the Basic Settings tab, provide the following information:
- Subscription: Change the subscription if you want to use a different subscription for the lab.
- Resource group: Select an existing resource group from the dropdown list, or select Create new to create a new resource group so it's easy to delete later.
- Lab Name: Enter a name for the lab.
- Location: If you're creating a new resource group, select an Azure region for the resource group and lab.
- Public environments: Leave On for access to the DevTest Labs public environment repository. Set to Off to disable access. For more information, see Enable public environments when you create a lab.
Optionally, select each tab at the top of the page, and customize those settings
You can also apply or change most of these settings after lab creation.
After you complete all settings, select Review + create at the bottom of the page.
If the settings are valid, Succeeded appears at the top of the Review + create page. Review the settings, and then select Create.
Tip
Select Download a template for automation at the bottom of the page to view and download the lab configuration as an Azure Resource Manager (ARM) template. You can use the ARM template to create more labs.
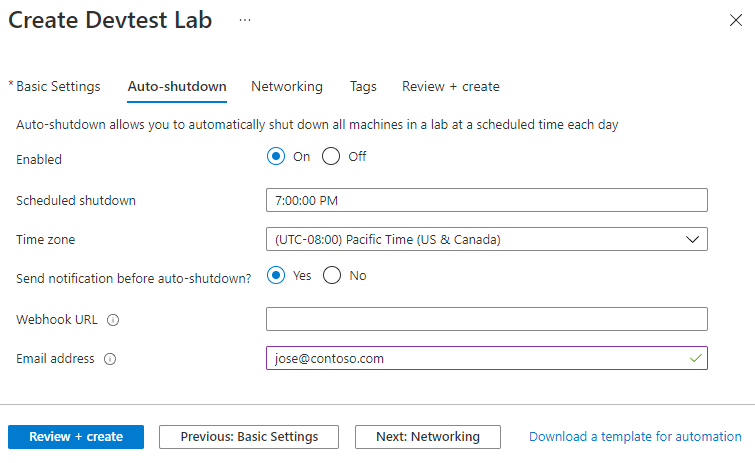
Auto-shutdown tab
Auto-shutdown helps save lab costs by shutting down all lab VMs at a certain time of day. To configure auto-shutdown:
On the Create DevTest Lab page, select the Auto-shutdown tab.
Fill out the following information:
- Enabled: Select On to enable auto shutdown.
- Scheduled shutdown and Time zone: Specify the daily time and time zone to shut down all lab VMs.
- Send notification before auto-shutdown: Select Yes or No for the option to post or send a notification 30 minutes before the auto-shutdown time.
- Webhook URL and Email address: If you choose to send notifications, enter a webhook URL endpoint or semicolon-separated list of email addresses where you want the notification to post or be sent. For more information, see Configure auto shutdown for labs and VMs.
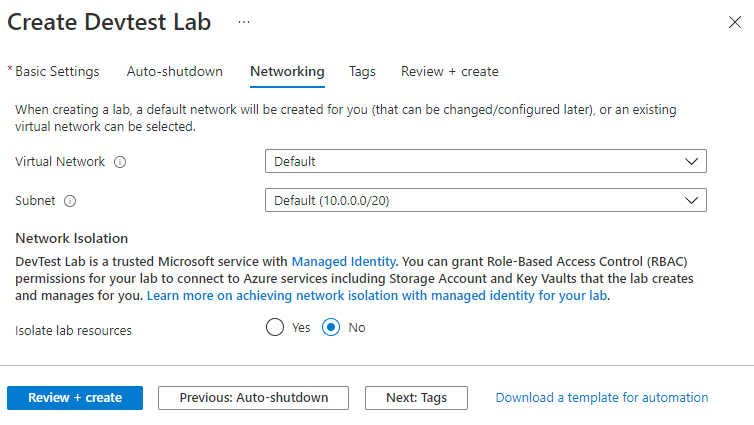
Networking tab
Azure DevTest Labs creates a new default virtual network for each lab. If you have another virtual network, you can choose to use it for the new lab instead of the default. For more information, see Add a virtual network in Azure DevTest Labs.
To configure networking:
- On the Create DevTest Lab page, select the Networking tab.
- For Virtual Network, select a different virtual network from the dropdown list. For Subnet, if necessary, select a subnet from the dropdown list.
- For Isolate lab resources, select Yes to completely isolate lab resources to the selected network. For more information, see Network isolation in DevTest Labs.
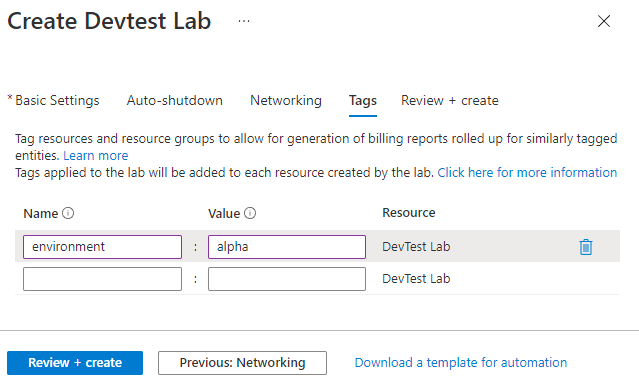
Tags tab
You can assign tags that apply to all lab resources. Tags can help you manage and track resources. For more information, see Add tags to a lab.
To add tags:
- On the Create DevTest Lab page, select the Tags tab.
- Under Name and Value, select or enter one or more case-sensitive name-value pairs to help identify resources.
Verify lab creation
After you select Create, you can monitor the lab creation process in Notifications at top right in the portal.
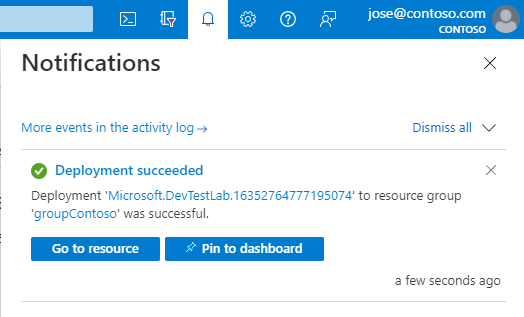
When the deployment finishes, select Go to resource. The lab's Overview page appears.
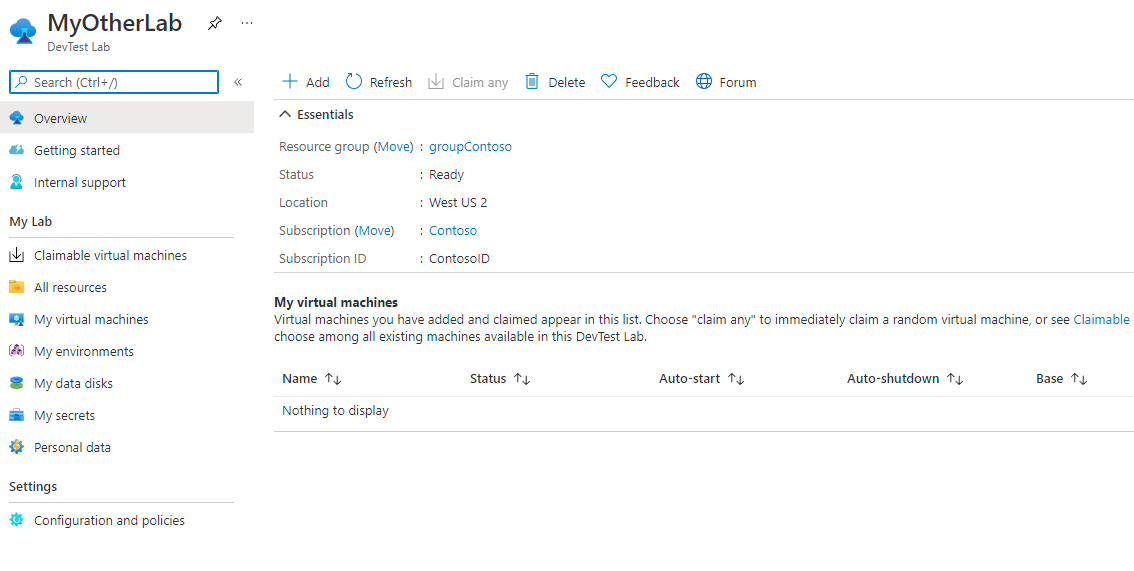
You can now add and configure VMs, environments, users, and policies for the lab.
Clean up resources
When you're done using the lab, delete it and its resources to avoid further charges.
On the lab Overview page, select Delete from the top menu.
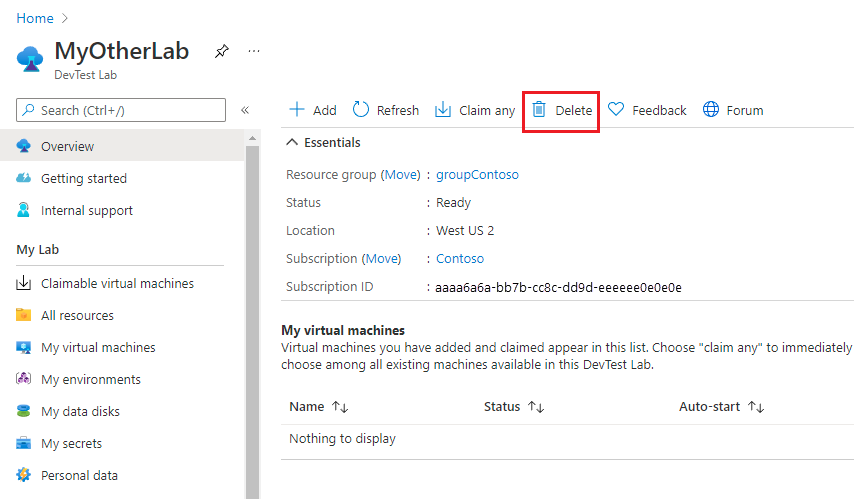
On the Are you sure you want to delete it page, enter the lab name, and then select Delete.
During the deletion process, you can select Notifications at the top of your screen to view progress. Deleting a lab can take a while.
If you created a resource group for the lab, you can now delete the resource group. You can't delete a resource group that has a lab in it. Deleting the resource group that contained the lab deletes all resources in the resource group.
- Select the resource group that contained the lab from your subscription's Resource groups list.
- At the top of the page, select Delete resource group.
- On the Are you sure you want to delete "<resource group name>" page, enter the resource group name, and then select Delete.
Next steps
To learn how to add VMs to your lab, go on to the next article:
Feedback
Coming soon: Throughout 2024 we will be phasing out GitHub Issues as the feedback mechanism for content and replacing it with a new feedback system. For more information see: https://aka.ms/ContentUserFeedback.
Submit and view feedback for