Quickstart: Create an Azure Front Door Standard/Premium - Azure PowerShell
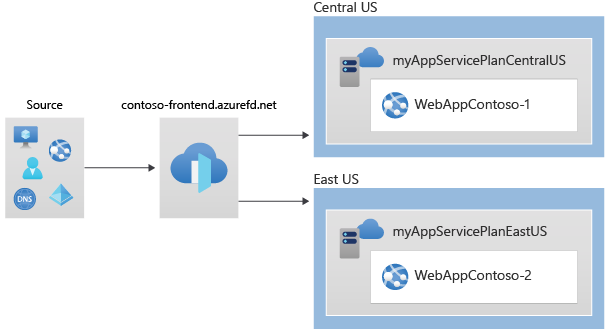
In this quickstart, you'll learn how to create an Azure Front Door Standard/Premium profile using Azure PowerShell. You'll create this profile using two Web Apps as your origin. You can then verify connectivity to your Web Apps using the Azure Front Door endpoint hostname.
Note
For web workloads, we highly recommend utilizing Azure DDoS protection and a web application firewall to safeguard against emerging DDoS attacks. Another option is to employ Azure Front Door along with a web application firewall. Azure Front Door offers platform-level protection against network-level DDoS attacks. For more information, see security baseline for Azure services.
Prerequisites
- An Azure account with an active subscription. Create an account for free.
- Azure PowerShell installed locally or Azure Cloud Shell
Note
We recommend that you use the Azure Az PowerShell module to interact with Azure. See Install Azure PowerShell to get started. To learn how to migrate to the Az PowerShell module, see Migrate Azure PowerShell from AzureRM to Az.
Azure Cloud Shell
Azure hosts Azure Cloud Shell, an interactive shell environment that you can use through your browser. You can use either Bash or PowerShell with Cloud Shell to work with Azure services. You can use the Cloud Shell preinstalled commands to run the code in this article, without having to install anything on your local environment.
To start Azure Cloud Shell:
| Option | Example/Link |
|---|---|
| Select Try It in the upper-right corner of a code or command block. Selecting Try It doesn't automatically copy the code or command to Cloud Shell. |  |
| Go to https://shell.azure.com, or select the Launch Cloud Shell button to open Cloud Shell in your browser. |  |
| Select the Cloud Shell button on the menu bar at the upper right in the Azure portal. |  |
To use Azure Cloud Shell:
Start Cloud Shell.
Select the Copy button on a code block (or command block) to copy the code or command.
Paste the code or command into the Cloud Shell session by selecting Ctrl+Shift+V on Windows and Linux, or by selecting Cmd+Shift+V on macOS.
Select Enter to run the code or command.
Create resource group
In Azure, you allocate related resources to a resource group. You can either use an existing resource group or create a new one.
Create a resource group with New-AzResourceGroup:
New-AzResourceGroup -Name myRGFD -Location centralus
Create two instances of a web app
This quickstart requires two instances of a web application that run in different Azure regions. Both the web application instances run in Active/Active mode, so either one can take traffic. This configuration differs from an Active/Stand-By configuration, where one acts as a failover.
If you don't already have a web app, use New-AzWebApp to set up two example web apps.
# Create first web app in Central US region.

$webapp1 = New-AzWebApp `
    -Name "WebAppContoso-01" `
    -Location centralus `
    -ResourceGroupName myRGFD `
    -AppServicePlan myAppServicePlanCentralUS

# Create second web app in South Central US region.

$webapp2 = New-AzWebApp `
    -Name "WebAppContoso-02" `
    -Location EastUS `
    -ResourceGroupName myRGFD `
    -AppServicePlan myAppServicePlanEastUS
Create a Front Door
This section details how you can create and configure the components of a Front Door.
Create a Front Door profile
Run New-AzFrontDoorCdnProfile to create an Azure Front Door profile.
Note
If you want to deploy Azure Front Door Standard instead of Premium substitute the value of the sku parameter with Standard_AzureFrontDoor. You won't be able to deploy managed rules with WAF Policy, if you choose Standard SKU. For detailed comparison, view Azure Front Door tier comparison.
#Create the profile

$fdprofile = New-AzFrontDoorCdnProfile `
    -ResourceGroupName myRGFD `
    -Name contosoAFD `
    -SkuName Premium_AzureFrontDoor `
    -Location Global
Add an endpoint
Run New-AzFrontDoorCdnEndpoint to create an endpoint in your profile. You can create multiple endpoints in your profile after finishing the create experience.
#Create the endpoint

$FDendpoint = New-AzFrontDoorCdnEndpoint `
    -EndpointName contosofrontend `
    -ProfileName contosoAFD `
    -ResourceGroupName myRGFD `
    -Location Global
Create an origin group
Use New-AzFrontDoorCdnOriginGroupHealthProbeSettingObject and New-AzFrontDoorCdnOriginGroupLoadBalancingSettingObject to create in-memory objects for storing health probe and load balancing settings.
Run New-AzFrontDoorCdnOriginGroup to create an origin group that will contain your two web apps.
# Create health probe settings

$HealthProbeSetting = New-AzFrontDoorCdnOriginGroupHealthProbeSettingObject `
    -ProbeIntervalInSecond 60 `
    -ProbePath "/" `
    -ProbeRequestType GET `
    -ProbeProtocol Http

# Create load balancing settings

$LoadBalancingSetting = New-AzFrontDoorCdnOriginGroupLoadBalancingSettingObject `
    -AdditionalLatencyInMillisecond 50 `
    -SampleSize 4 `
    -SuccessfulSamplesRequired 3

# Create origin group

$originpool = New-AzFrontDoorCdnOriginGroup `
    -OriginGroupName og `
    -ProfileName contosoAFD `
    -ResourceGroupName myRGFD `
    -HealthProbeSetting $HealthProbeSetting `
    -LoadBalancingSetting $LoadBalancingSetting
Add an origin to the group
Run New-AzFrontDoorCdnOrigin to add your Web App origins to your origin group.
# Add first web app origin to origin group.

$origin1 = New-AzFrontDoorCdnOrigin `
    -OriginGroupName og `
    -OriginName contoso1 `
    -ProfileName contosoAFD `
    -ResourceGroupName myRGFD `
    -HostName webappcontoso-01.azurewebsites.net `
    -OriginHostHeader webappcontoso-01.azurewebsites.net `
    -HttpPort 80 `
    -HttpsPort 443 `
    -Priority 1 `
    -Weight 1000

# Add second web app origin to origin group.

$origin2 = New-AzFrontDoorCdnOrigin `
    -OriginGroupName og `
    -OriginName contoso2 `
    -ProfileName contosoAFD `
    -ResourceGroupName myRGFD `
    -HostName webappcontoso-02.azurewebsites.net `
    -OriginHostHeader webappcontoso-02.azurewebsites.net `
    -HttpPort 80 `
    -HttpsPort 443 `
    -Priority 1 `
    -Weight 1000
Add a route
Run New-AzFrontDoorCdnRoute to map your endpoint to the origin group. This route forwards requests from the endpoint to your origin group.
# Create a route to map the endpoint to the origin group

$Route = New-AzFrontDoorCdnRoute `
    -EndpointName contosofrontend `
    -Name defaultroute `
    -ProfileName contosoAFD `
    -ResourceGroupName myRGFD `
    -ForwardingProtocol MatchRequest `
    -HttpsRedirect Enabled `
    -LinkToDefaultDomain Enabled `
    -OriginGroupId $originpool.Id `
    -SupportedProtocol Http,Https
Your Front Door profile has become fully functional with the last step.
Test the Front Door
When you create the Azure Front Door Standard/Premium profile, it takes a few minutes for the configuration to be deployed globally. Once completed, you can access the frontend host you created.
Run Get-AzFrontDoorCdnEndpoint to get the hostname of the Front Door endpoint.
$fd = Get-AzFrontDoorCdnEndpoint `
    -EndpointName contosofrontend `
    -ProfileName contosoafd `
    -ResourceGroupName myRGFD

$fd.hostname
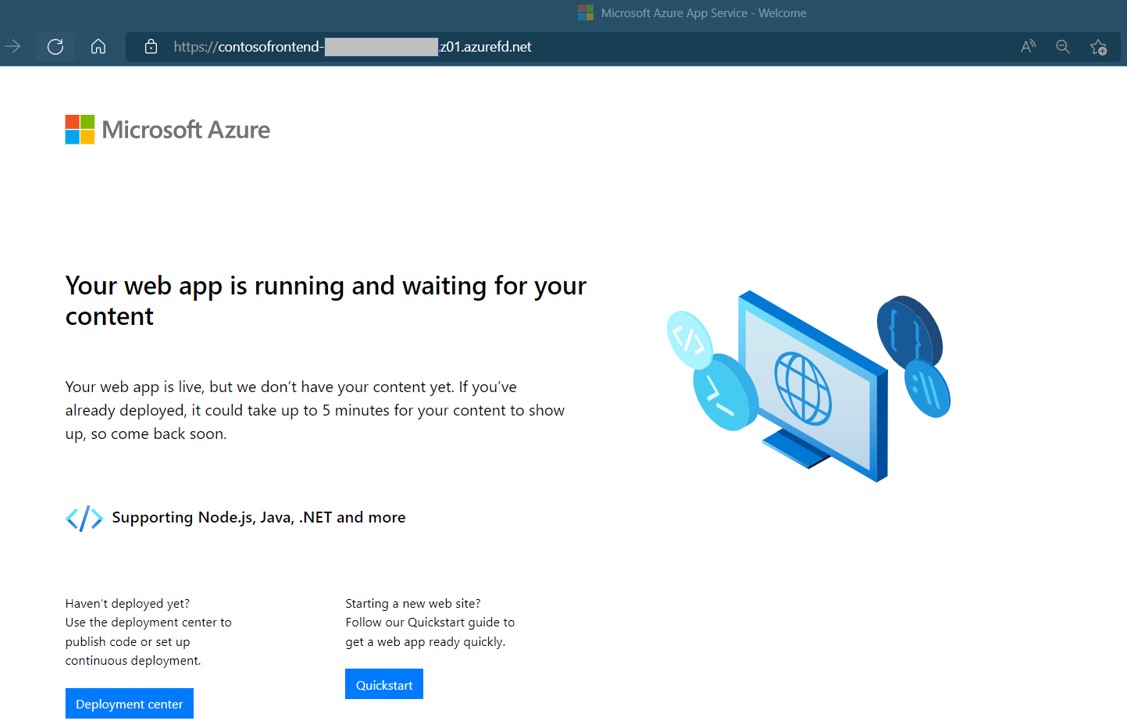
In a browser, go to the endpoint hostname: contosofrontend-<hash>.z01.azurefd.net. Your request will automatically get routed to the web app with the lowest latency in the origin group.
To test instant global failover, we'll use the following steps:
Open a browser, as described above, and go to the endpoint hostname:
contosofrontend-<hash>.z01.azurefd.net.Stop one of the Web Apps by running Stop-AzWebApp
Stop-AzWebApp -ResourceGroupName myRGFD -Name "WebAppContoso-01"Refresh your browser. You should see the same information page.
Tip
There is a little bit of delay for these actions. You might need to refresh again.
Find the other web app, and stop it as well.
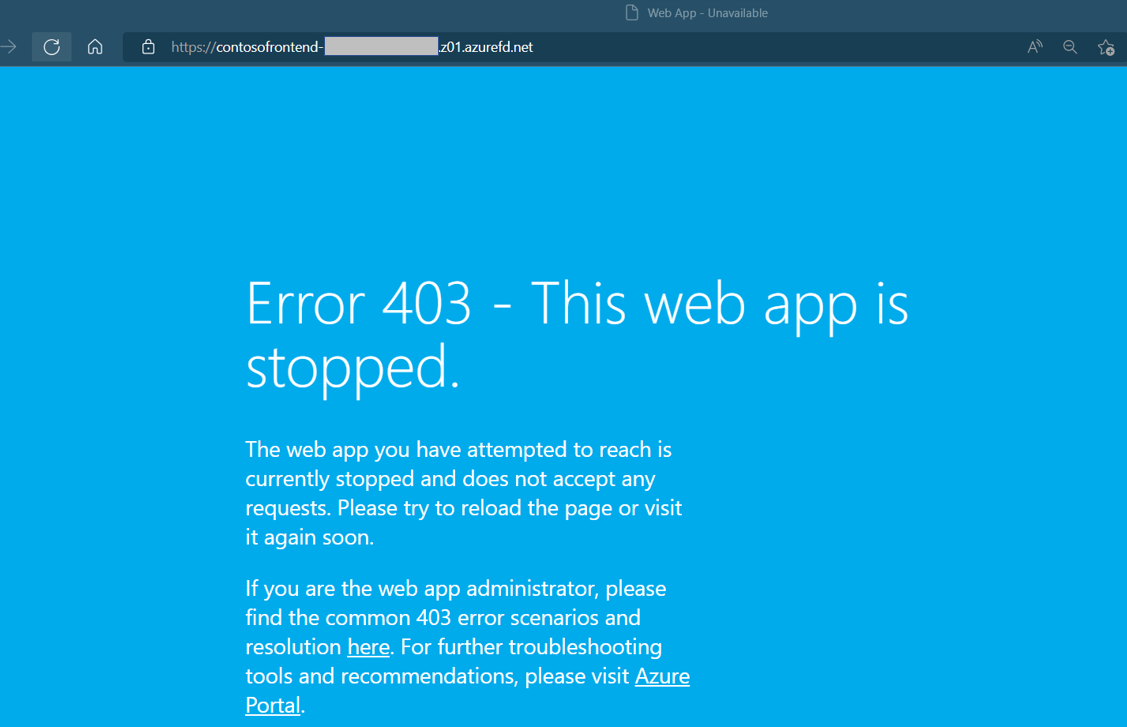
Stop-AzWebApp -ResourceGroupName myRGFD -Name "WebAppContoso-02"Refresh your browser. This time, you should see an error message.
Restart one of the Web Apps by running Start-AzWebApp. Refresh your browser and the page will go back to normal.
Start-AzWebApp -ResourceGroupName myRGFD -Name "WebAppContoso-01"
Clean up resources
When you no longer need the resources that you created with the Front Door, delete the resource group. When you delete the resource group, you also delete the Front Door and all its related resources.
To delete the resource group, Run Remove-AzResourceGroup:
Remove-AzResourceGroup -Name myRGFD
Next steps
To learn how to add a custom domain to your Front Door, continue to the Front Door tutorials.
Feedback
Coming soon: Throughout 2024 we will be phasing out GitHub Issues as the feedback mechanism for content and replacing it with a new feedback system. For more information see: https://aka.ms/ContentUserFeedback.
Submit and view feedback for