Quickstart: Deploy events using the Azure portal
Note
Fast Healthcare Interoperability Resources (FHIR®) is an open healthcare specification.
In this quickstart, learn how to deploy the events feature in the Azure portal to send FHIR and DICOM event messages.
Prerequisites
It's important that you have the following prerequisites completed before you begin the steps of deploying the events feature.
- An active Azure account
- Microsoft Azure Event Hubs namespace and an event hub deployed in the Azure portal
- Workspace deployed in the Azure Health Data Services
- FHIR service deployed in the workspace or DICOM service deployed in the workspace
Important
You will also need to make sure that the Microsoft.EventGrid resource provider has been successfully registered with your Azure subscription to deploy the events feature. For more information, see Azure resource providers and types - Register resource provider.
Note
For the purposes of this quickstart, we'll be using a basic events set up and an event hub as the endpoint for events messages. To learn how to deploy Azure Event Hubs, see Quickstart: Create an event hub using Azure portal.
Deploy events
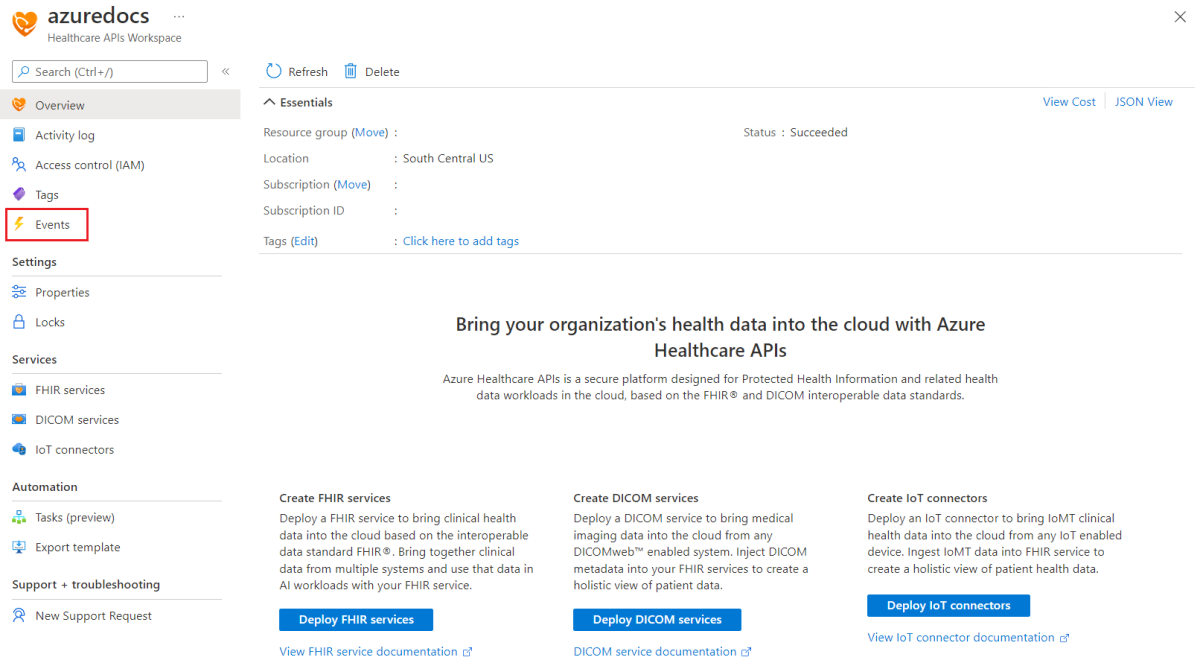
Browse to the workspace that contains the FHIR or DICOM service you want to send events messages from and select the Events button on the left hand side of the portal.
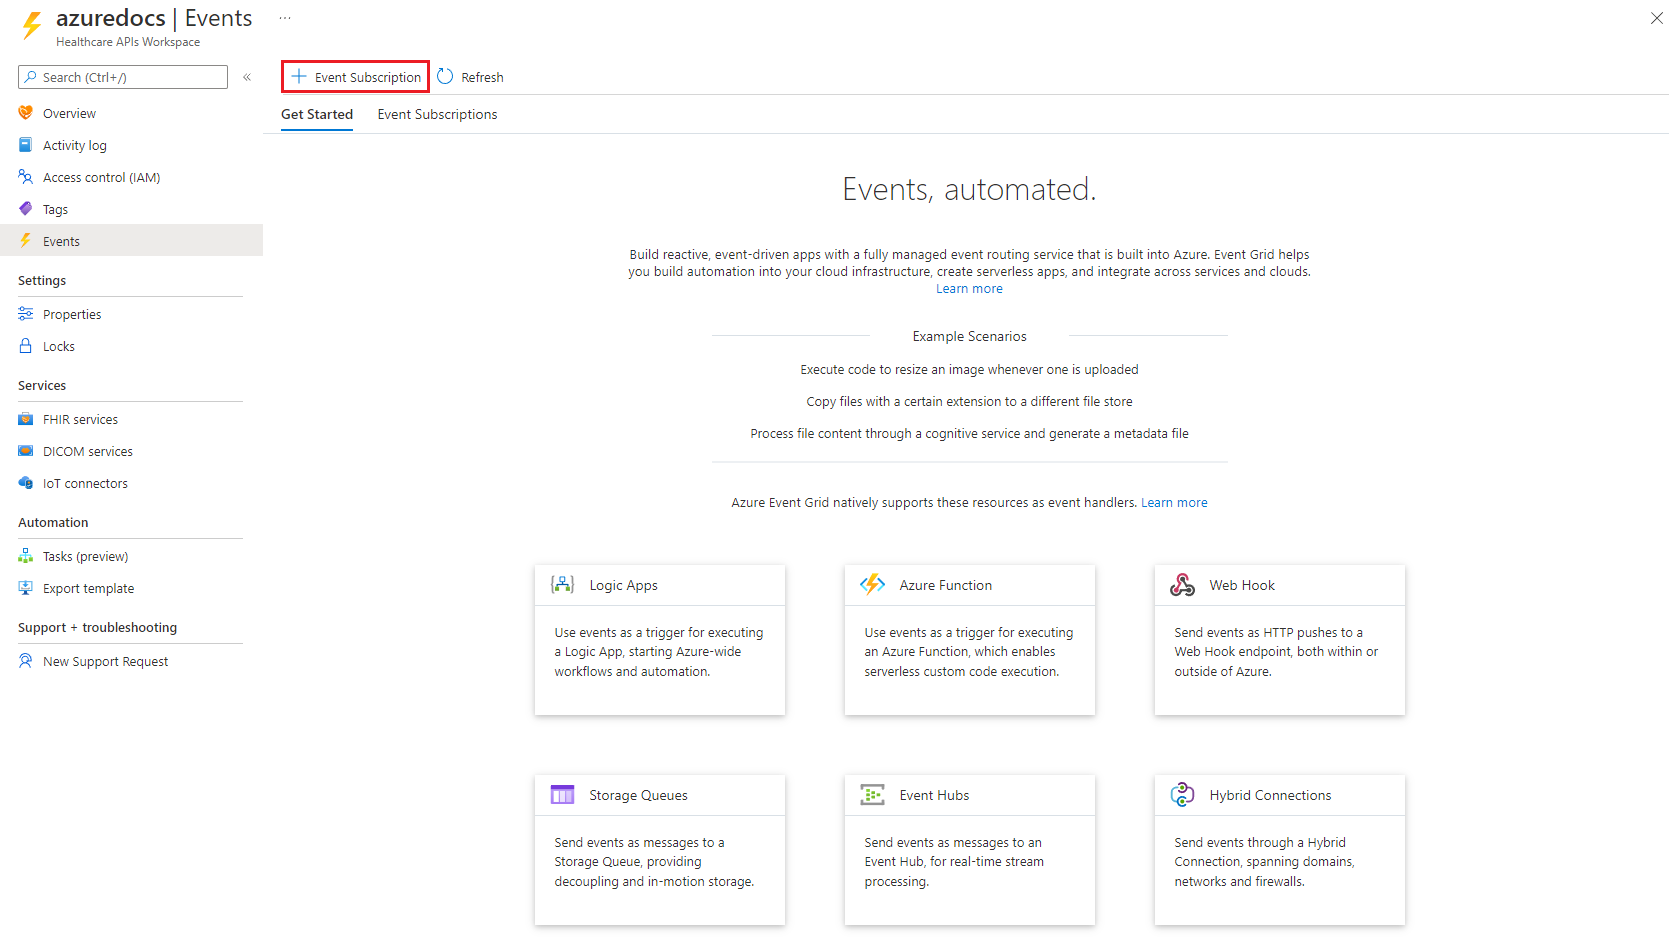
Select + Event Subscription to begin the creation of an event subscription.
In the Create Event Subscription box, enter the following subscription information.
- Name: Provide a name for your events subscription.
- System Topic Name: Provide a name for your system topic.
Note
The first time you set up the events feature, you will be required to enter a new System Topic Name. Once the system topic for the workspace is created, the System Topic Name will be used for any additional events subscriptions that you create within the workspace.
- Event types: Type of FHIR or DICOM events to send messages for (for example: create, updated, and deleted).
- Endpoint Details: Endpoint to send events messages to (for example: an Azure Event Hubs namespace + an event hub).
Note
For the purposes of this quickstart, we'll use the Event Schema and the Managed Identity Type settings at their default values.

After the form is completed, select Create to begin the subscription creation.
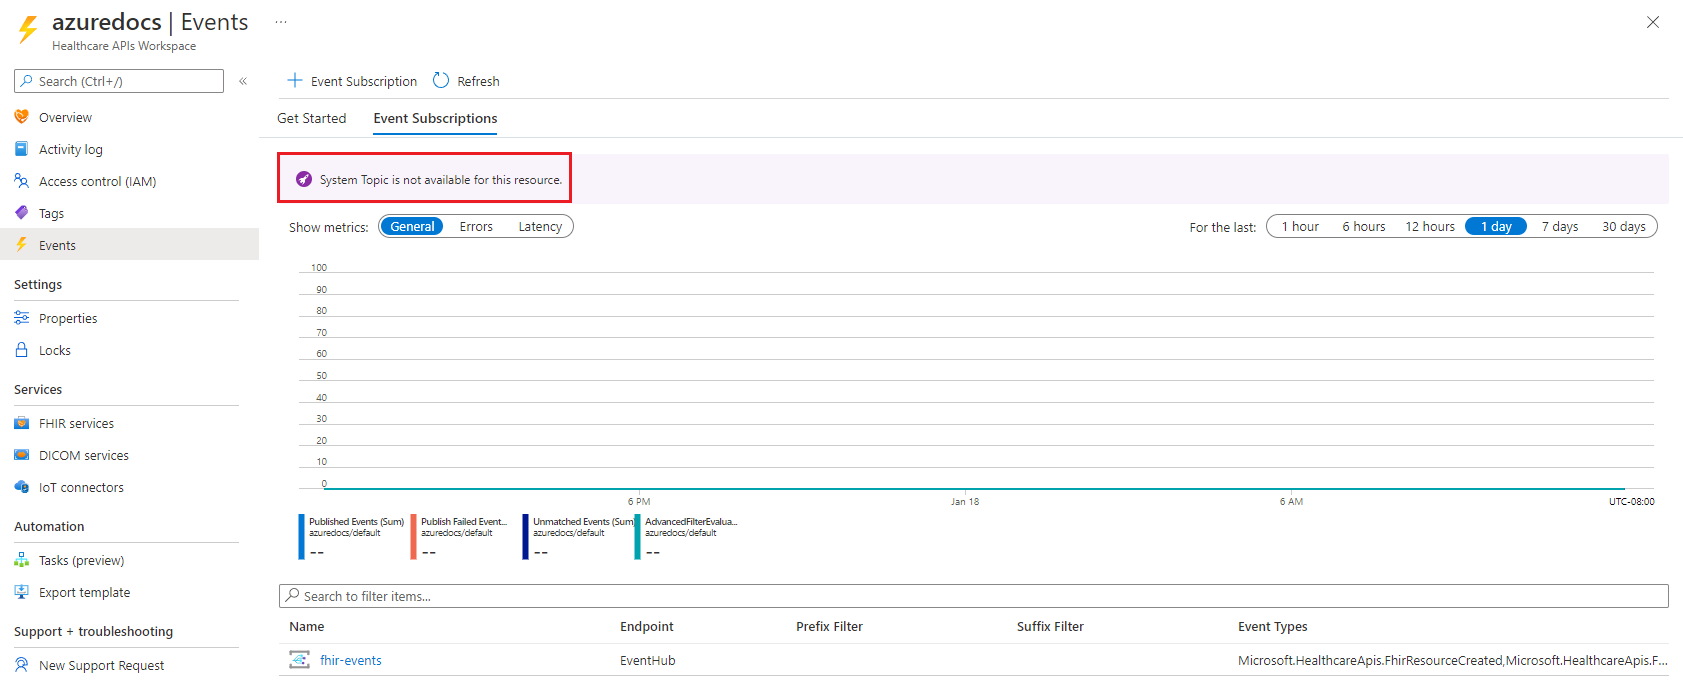
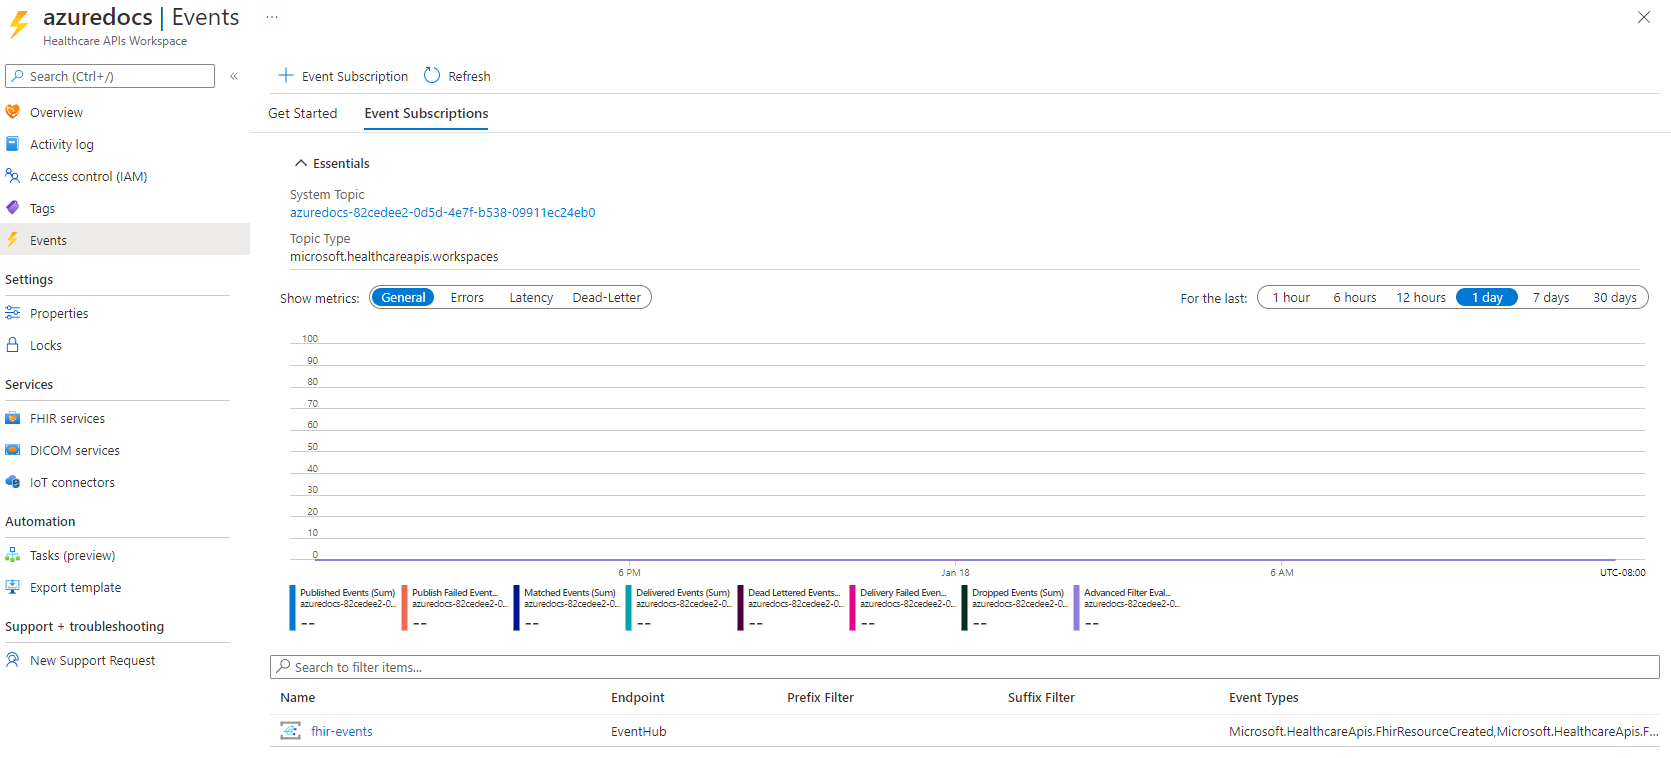
Event message sending can't occur until the Event Grid System Topic deployment has successfully completed. Upon successful creation of the Event Grid System Topic, the status of the workspace changes from Updating to Succeeded.

After the subscription is deployed, it will require access to your message delivery endpoint.
Tip
For more information about providing access using an Azure Managed identity, see Assign a system-managed identity to an Event Grid system topic and Event delivery with a managed identity.
For more information about managed identities, see What are managed identities for Azure resources.
For more information about Azure role-based access control (Azure RBAC), see What is Azure role-based access control (Azure RBAC).


Next steps
In this quickstart, you learned how to deploy events using the Azure portal.
To learn how to enable the events metrics, see
To learn how to export Event Grid system diagnostic logs and metrics, see
FHIR® is a registered trademark of Health Level Seven International, registered in the U.S. Trademark Office and is used with their permission.
Feedback
Coming soon: Throughout 2024 we will be phasing out GitHub Issues as the feedback mechanism for content and replacing it with a new feedback system. For more information see: https://aka.ms/ContentUserFeedback.
Submit and view feedback for