Create and manage lab accounts
Important
The information in this article applies to lab accounts. Azure Lab Services lab plans replace lab accounts. Learn how you can get started by creating a lab plan. For existing lab account customers, we recommend that you migrate from lab accounts to lab plans.
In Azure Lab Services, a lab account is a container for labs. An administrator creates a lab account with Azure Lab Services and provides access to lab owners who can create labs in the account. This article describes how to create a lab account, view all lab accounts, and delete a lab account.
Create a lab account
The following steps illustrate how to use the Azure portal to create a lab account with Azure Lab Services.
Sign in to the Azure portal.
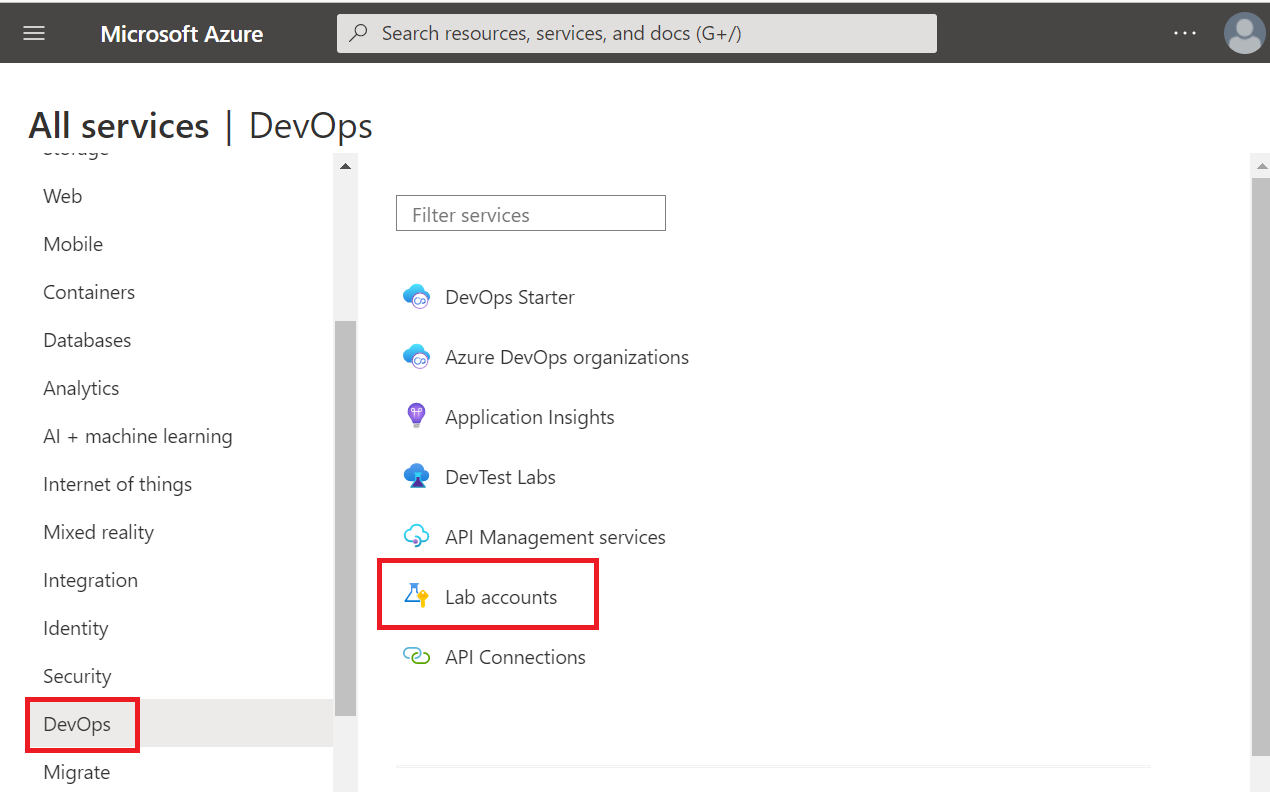
Select All services on the left menu. Select the DevOps category. Select the Lab accounts tile.
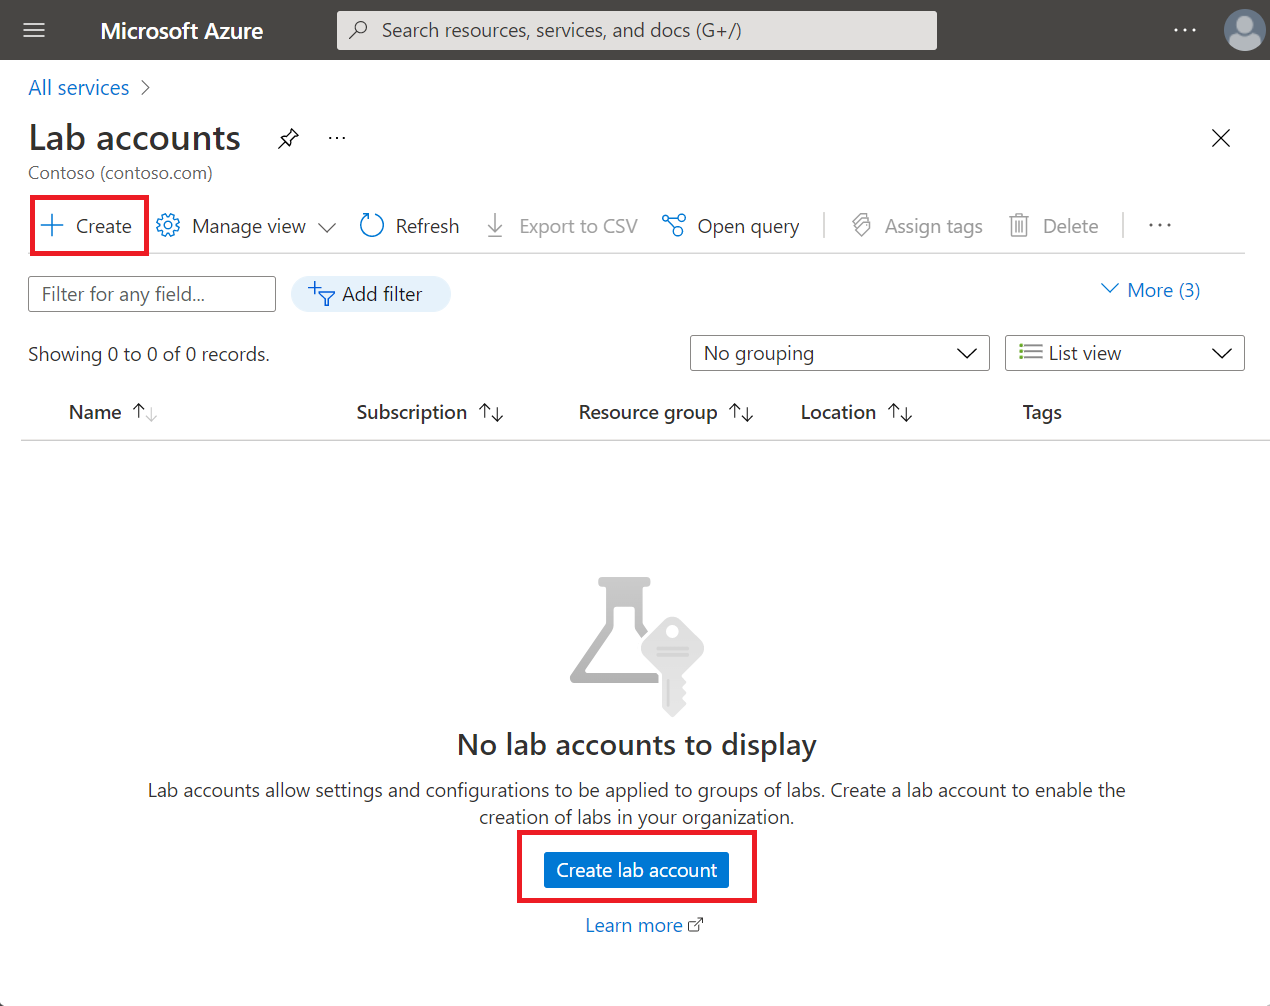
On the Lab Accounts page, select Create on the toolbar or Create lab account on the page.
On the Basics tab of the Create a lab account page, do the following actions:
Select the Azure subscription in which you want to create the lab account.
For Resource group, select Create new, and enter a name for the resource group.
For Lab account name, enter a name.
For Location, select a location/region in which you want the lab account to be created.
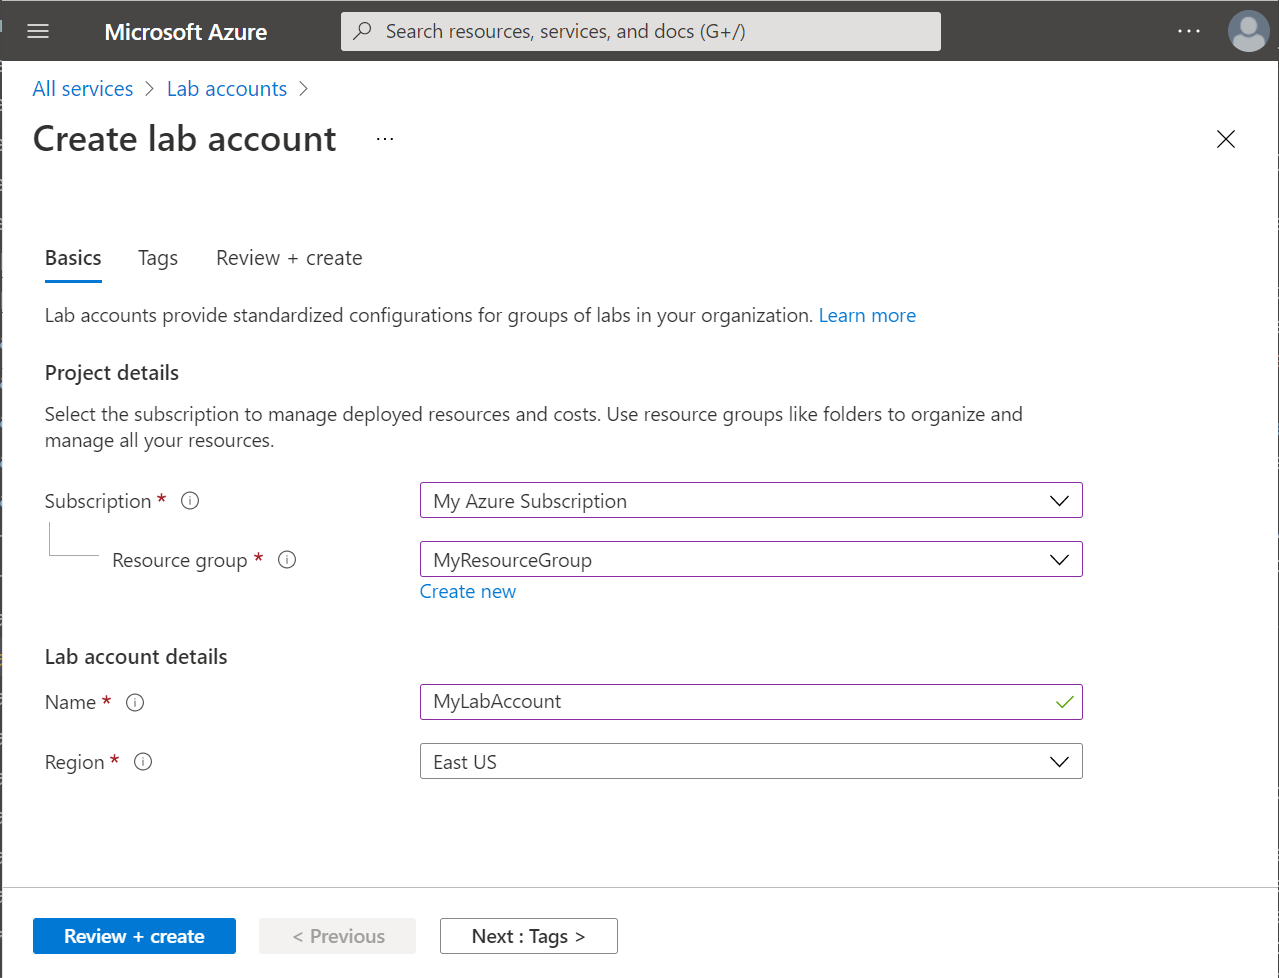
Select Next: Tags.
On the Tags tab, add any tags you want to associate with the lab account. Tags are name/value pairs that enable you to categorize resources and view consolidated billing by applying the same tag to multiple resources and resource groups. For more information, see Use tags to organize your Azure resources.
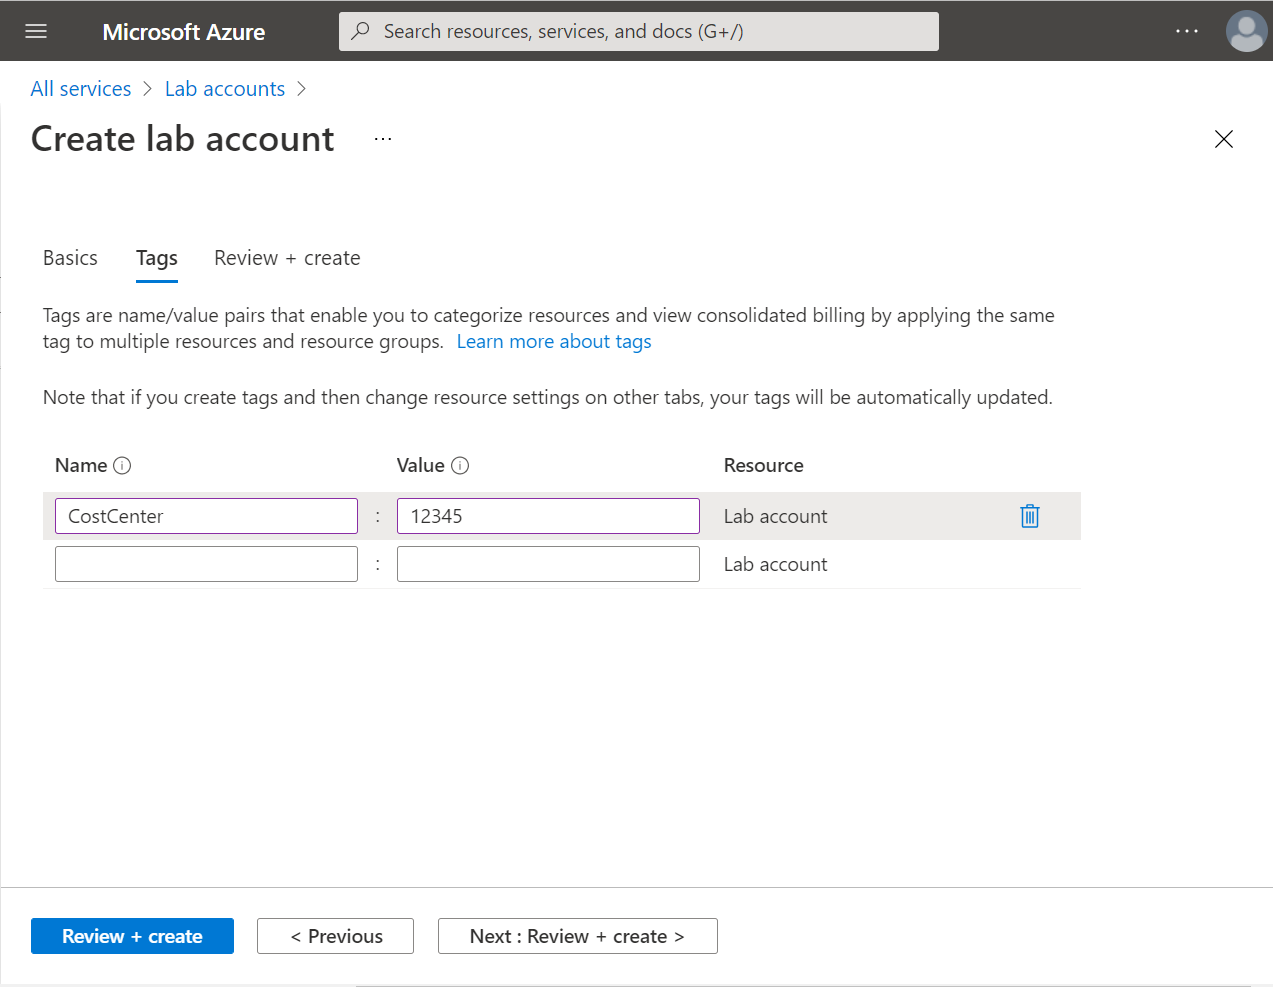
Select Next: Review + create.
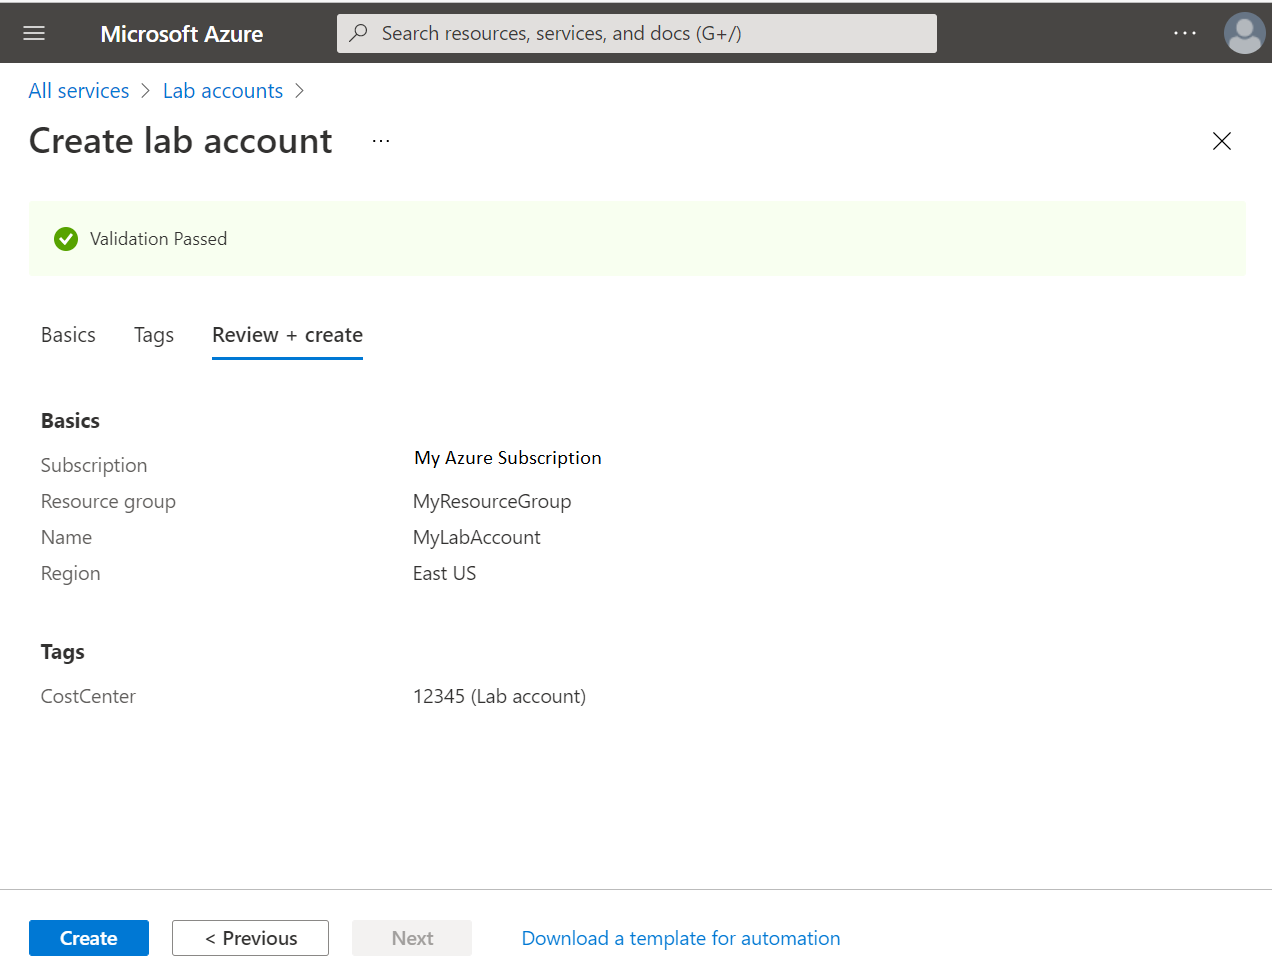
Wait for validation to pass. Review the summary information on the Review + create page, and select Create.
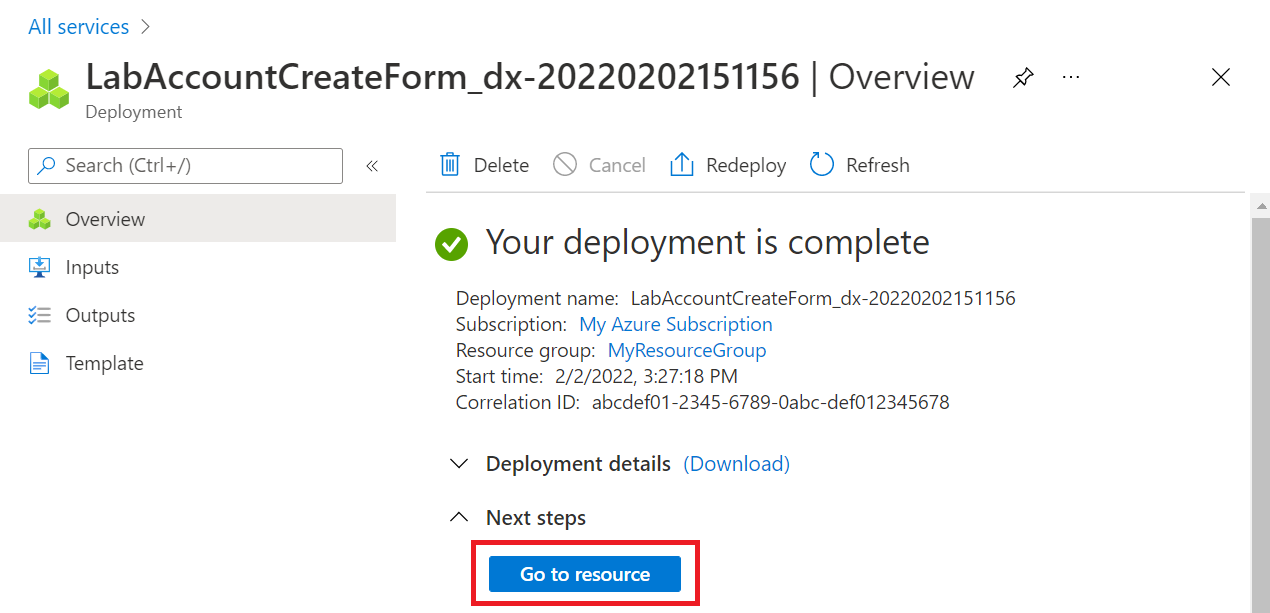
Wait until the deployment is complete, expand Next steps, and select Go to resource.
You can also select the bell icon on the toolbar (Notifications), confirm that the deployment succeeded, and then select Go to resource.
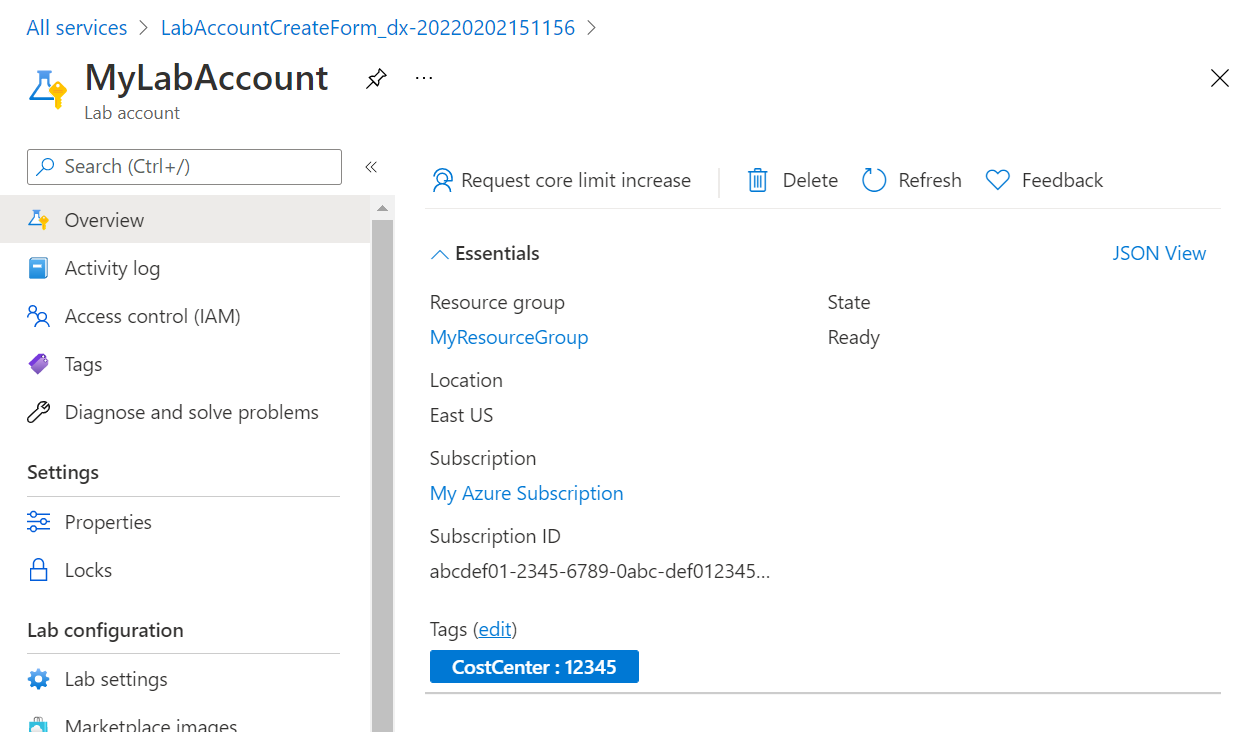
You'll see the Overview page for the lab account.
View lab accounts
Sign in to the Azure portal.
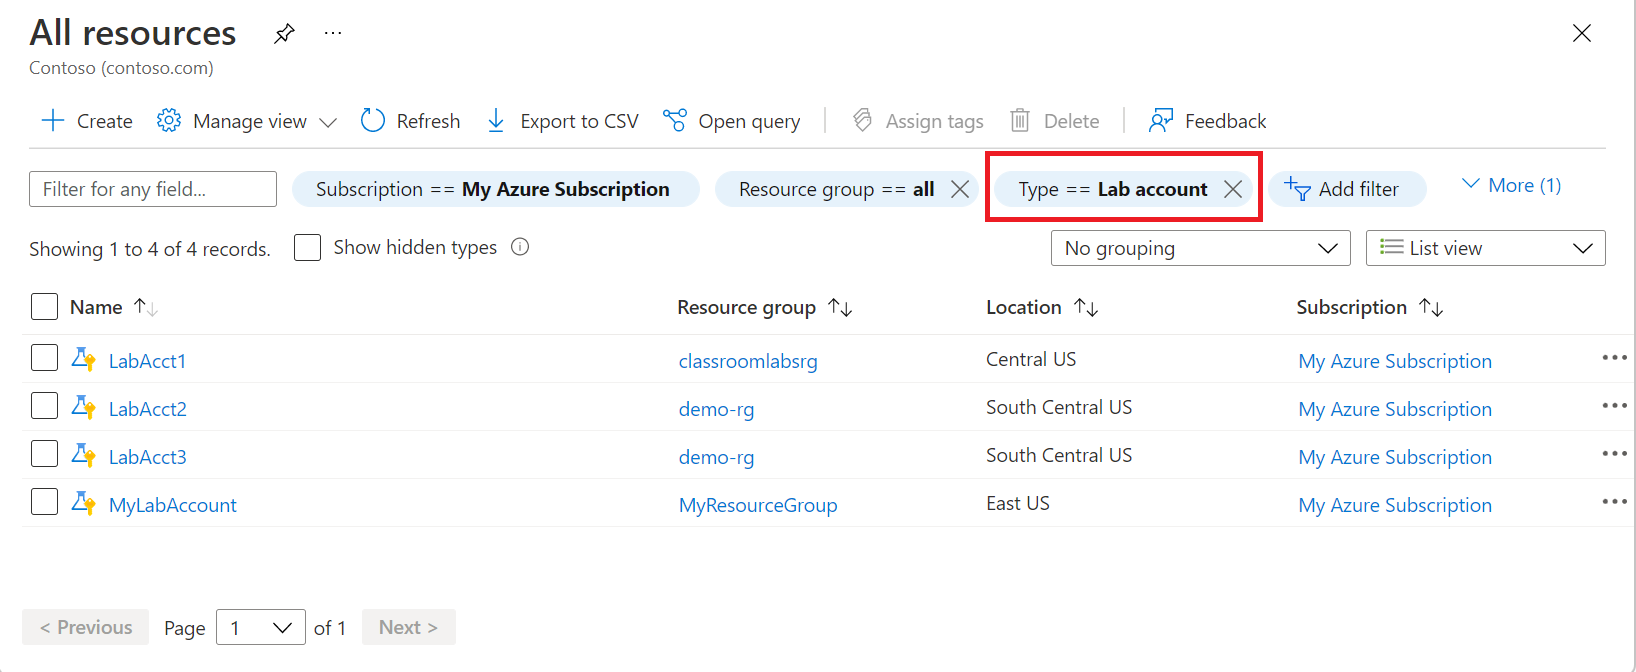
Select All resources from the menu.
Select Lab Accounts for the type. You can also filter by subscription, resource group, locations, and tags.
Delete a lab account
Follow instructions from the previous section that displays lab accounts in a list. Use the following instructions to delete a lab account:
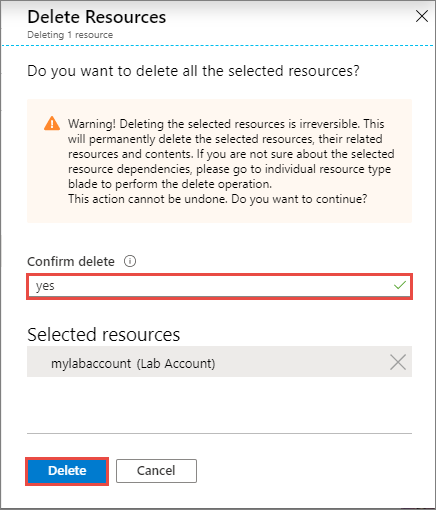
Select the lab account that you want to delete.
Select Delete from the toolbar.

Type yes for confirmation.
Select Delete.
Automatic shutdown settings
Automatic shutdown features enable you to prevent wasted VM usage hours in the labs. The following settings catch most of the cases where users accidentally leave their virtual machines running:
You can configure these settings at both the lab account level and the lab level. If you enable them at the lab account level, they're applied to all labs within the lab account. For all new lab accounts, these settings are turned on by default.
Automatically disconnect users from virtual machines that the OS deems idle
Note
This setting is available only for Windows virtual machines.
When the Disconnect users when virtual machines are idle setting is turned on, the user is disconnected from any machines in the lab when the Windows OS deems the session to be idle (including the template virtual machines). The Windows OS definition of idle uses two criteria:
- User absence: no keyboard or mouse input.
- Lack of resource consumption: All the processors and all the disks were idle for a certain percentage of time.
Users will see a message like this in the VM before they're disconnected:
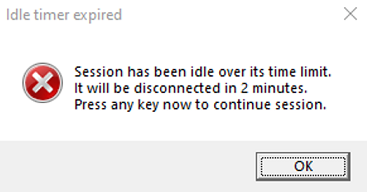
The virtual machine is still running when the user is disconnected. If the user reconnects to the virtual machine by signing in, windows or files that were open or work that was unsaved before the disconnect will still be there. In this state, because the virtual machine is running, it still counts as active and accrues cost.
To automatically shut down idle Windows virtual machines that are disconnected, use the combination of Disconnect users when virtual machines are idle and Shut down virtual machines when users disconnect settings.
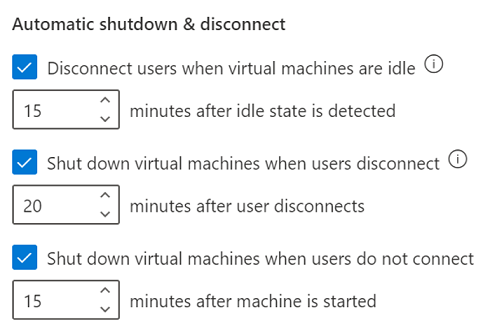
For example, if you configure the settings as follows:
- Disconnect users when virtual machines are idle: 15 minutes after the idle state is detected.
- Shut down virtual machines when users disconnect: 5 minutes after the user disconnects.
The Windows virtual machines will automatically shut down 20 minutes after the user stops using them.

Automatically shut down virtual machines when users disconnect
The Shut down virtual machines when users disconnect setting supports both Windows and Linux virtual machines. When this setting is on, automatic shutdown will occur when:
- The Remote Desktop (RDP) connection is disconnected for Windows or Linux VMs.
- The Secure Shell (SSH) connection is disconnected for a Linux VM.
Important
Only specific distributions and versions of Linux are supported. Shutdown settings are not supported by the Data Science Virtual Machine - Ubuntu image.
You can specify how long the virtual machines should wait for the user to reconnect before automatically shutting down.
Automatically shut down virtual machines that are started but users don't connect
In a lab, a user might start a virtual machine but never connect to it. For example:
- A schedule in the lab starts all virtual machines for a class session, but some students don't show up and don't connect to their machines.
- A user starts a virtual machine but forgets to connect.
The Shut down virtual machines when users do not connect setting will catch these cases and automatically shut down the virtual machines.
Next steps
- As an admin, configure automatic shutdown settings for a lab account.
- As an admin, use the Az.LabServices PowerShell module to manage lab accounts.
- As an educator, configure automatic shutdown settings for a lab.
Feedback
Coming soon: Throughout 2024 we will be phasing out GitHub Issues as the feedback mechanism for content and replacing it with a new feedback system. For more information see: https://aka.ms/ContentUserFeedback.
Submit and view feedback for