Create a lab in Azure Lab Services using a Bicep file
In this article, you learn how to create a lab using a Bicep file. For a detailed overview of Azure Lab Services, see An introduction to Azure Lab Services.
Bicep is a domain-specific language (DSL) that uses declarative syntax to deploy Azure resources. It provides concise syntax, reliable type safety, and support for code reuse. Bicep offers the best authoring experience for your infrastructure-as-code solutions in Azure.
An Azure Resource Manager template is a JavaScript Object Notation (JSON) file that defines the infrastructure and configuration for your project. The template uses declarative syntax. You describe your intended deployment without writing the sequence of programming commands to create the deployment.
Prerequisites
- An Azure account with an active subscription. If you don't have an Azure subscription, create a free account before you begin.
- An Azure account with permission to manage a lab, such as the Lab Creator, Owner, Contributor, or Lab Services Contributor Azure RBAC role. Learn more about the Azure Lab Services built-in roles and assignment scopes.
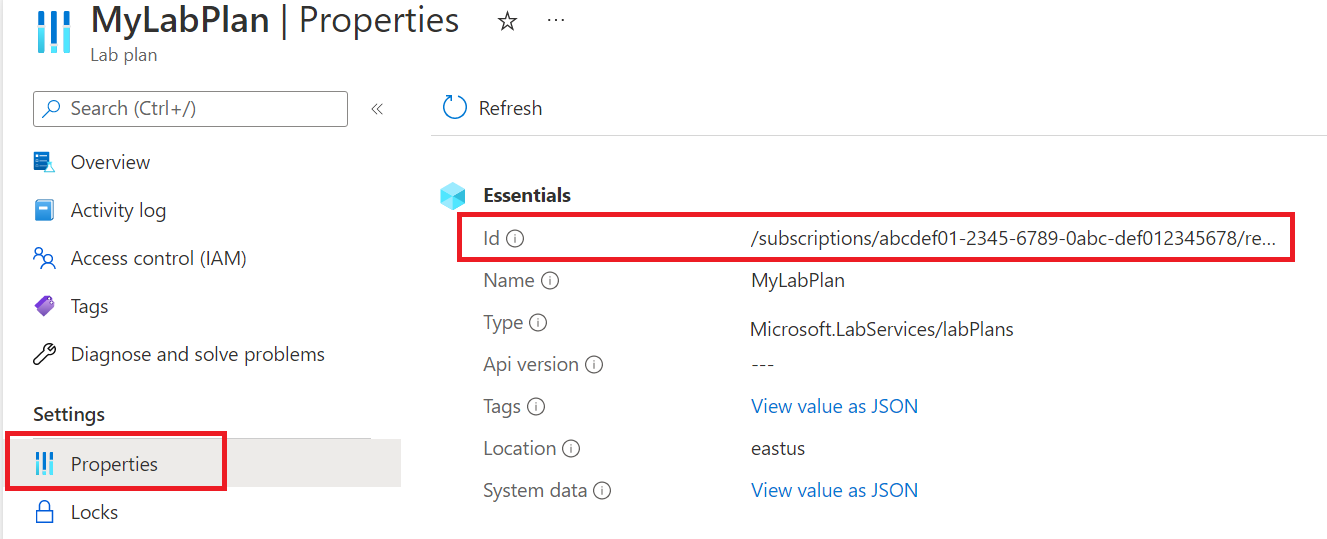
- An Azure lab plan. If you don't have a lab plan yet, follow the steps in Quickstart: Set up resources to create labs.
Review the code
The Bicep file used in this article is from Azure Quickstart Templates.
@description('The location in which the lab resource should be deployed.')
param location string = resourceGroup().location

@description('The name of the lab.  Lab must be unique within the resource group.')
param labName string = 'lab-${uniqueString(deployment().name)}'

@description('Lab Virtual Machine Administrator User Name')
param adminUsername string

@description('Lab Virtual Machine Administrator Password')
@secure()
param adminPassword string

resource labResource 'Microsoft.LabServices/labs@2021-11-15-preview' = {
  name: labName
  location: location
  tags: {}
  properties: {
    title: labName
    autoShutdownProfile: {
      shutdownOnDisconnect: 'Enabled'
      shutdownWhenNotConnected: 'Enabled'
      shutdownOnIdle: 'LowUsage'
      disconnectDelay: 'P0D'
      noConnectDelay: 'PT15M'
      idleDelay: 'PT15M'
    }
    connectionProfile: {
      webSshAccess: 'None'
      webRdpAccess: 'None'
      clientSshAccess: 'None'
      clientRdpAccess: 'Public'
    }
    virtualMachineProfile: {
      createOption: 'TemplateVM'
      imageReference: {
        offer: 'windows-11'
        publisher: 'microsoftwindowsdesktop'
        sku: 'win11-21h2-pro'
        version: 'latest'
      }
      sku: {
        name: 'Classic_Fsv2_2_4GB_128_S_SSD'
        capacity: 0
      }
      additionalCapabilities: {
        installGpuDrivers: 'Disabled'
      }
      usageQuota: 'PT10H'
      useSharedPassword: 'Enabled'
      adminUser: {
        username: adminUsername
        password: adminPassword
      }
    }
    securityProfile: {
      openAccess: 'Disabled'
    }
  }
}
Deploy the resources
Save the Bicep file as main.bicep to your local computer.
Deploy the Bicep file using either Azure CLI or Azure PowerShell.
az group create --name exampleRG --location eastus
az deployment group create --resource-group exampleRG --template-file main.bicep --parameters adminUsername=<admin-username>
Note
Replace <admin-username> with a unique username. You'll also be prompted to enter adminPassword. The minimum password length is 12 characters.
When the deployment finishes, you should see a messaged indicating the deployment succeeded.

Review deployed resources
Use the Azure portal, Azure CLI, or Azure PowerShell to list the deployed resources in the resource group.
To use Azure PowerShell, first verify the Az.LabServices module is installed. Then use the Get-AzLabServicesLab cmdlet.
az resource list --resource-group exampleRG
Clean up resources
When no longer needed, use the Azure portal, Azure CLI, or Azure PowerShell to delete the VM and all of the resources in the resource group.
az group delete --name exampleRG
Next steps
In this article, you deployed a simple virtual machine using a Bicep file or ARM template. To learn more about Azure virtual machines, continue to the tutorial for Linux VMs.
Feedback
Coming soon: Throughout 2024 we will be phasing out GitHub Issues as the feedback mechanism for content and replacing it with a new feedback system. For more information see: https://aka.ms/ContentUserFeedback.
Submit and view feedback for