Tutorial: Create a cross-region Azure Load Balancer using the Azure portal
A cross-region load balancer ensures a service is available globally across multiple Azure regions. If one region fails, the traffic is routed to the next closest healthy regional load balancer.
In this tutorial, you learn how to:
- Create cross-region load balancer.
- Create a backend pool containing two regional load balancers.
- Create a load balancer rule.
- Test the load balancer.
If you don’t have an Azure subscription, create a free account before you begin.
Prerequisites
- An Azure subscription.
- Two standard sku Azure Load Balancers with backend pools deployed in two different Azure regions.
- For information on creating a regional standard load balancer and virtual machines for backend pools, see Quickstart: Create a public load balancer to load balance VMs using the Azure portal.
- Append the name of the load balancers, virtual machines, and other resources in each region with a -R1 and -R2.
- For information on creating a regional standard load balancer and virtual machines for backend pools, see Quickstart: Create a public load balancer to load balance VMs using the Azure portal.
Sign in to Azure portal
Sign in to the Azure portal.
Create cross-region load balancer
In this section, you create a
- Cross-region load balancer
- Frontend with a global public IP address
- Backend pool with two regional load balancers
Important
To complete these steps, ensure that two regional load balancers with backend pools have been deployed in your subscription. For more information, see, Quickstart: Create a public load balancer to load balance VMs using the Azure portal.
In the search box at the top of the portal, enter Load balancer. Select Load balancer in the search results.
In the Load balancer page, select Create.
In the Basics tab of the Create load balancer page, enter, or select the following information:
Setting Value Project details Subscription Select your subscription. Resource group Select Create new and enter CreateCRLBTutorial-rg in the text box. Instance details Name Enter myLoadBalancer-cr Region Select (US) East US. Type Select Public. SKU Leave the default of Standard. Tier Select Global 
Select Next: Frontend IP configuration at the bottom of the page.
In Frontend IP configuration, select + Add a frontend IP.
Enter LoadBalancerFrontend in Name in Add frontend IP address.
Select IPv4 or IPv6 for IP version.
In Public IP address, select Create new. Enter myPublicIP-cr in Name. Select OK.
Select Add.
Select Next: Backend pools at the bottom of the page.
In Backend pools, select + Add a backend pool.
Enter myBackendPool-cr in Name in Add backend pool.
In Load balancers, select myLoadBalancer-r1 or your first regional load balancer in the Load balancer pull-down box. Verify the Frontend IP configuration and IP address correspond with myLoadBalancer-r1.
Select myLoadBalancer-r2 or your second regional load balancer in the Load balancer pull-down box. Verify the Frontend IP configuration and IP address correspond with myLoadBalancer-r2.
Select Add.
Select Next: Inbound rules at the bottom of the page.
In Inbound rules, select + Add a load balancing rule.
In Add load balancing rule, enter or select the following information:
Setting Value Name Enter myHTTPRule-cr. IP Version Select IPv4 or IPv6 for IP Version. Frontend IP address Select LoadBalancerFrontend. Protocol Select TCP. Port Enter 80. Backend pool Select myBackendPool-cr. Session persistence Select None. Idle timeout (minutes) Enter or move the slider to 15. TCP reset Select Enabled. Floating IP Leave the default of Disabled. Select Add.
Select Review + create at the bottom of the page.
Select Create in the Review + create tab.
Note
Cross region load-balancer can only be deployed in the following home regions: East US 2, East US, East Europe, Southeast Asia, Central US, North Europe, East Asia. For more information, see https://aka.ms/homeregionforglb.
Test the load balancer
In this section, you test the cross-region load balancer. You connect to the public IP address in a web browser. You stop the virtual machines in one of the regional load balancer backend pools and observe the failover.
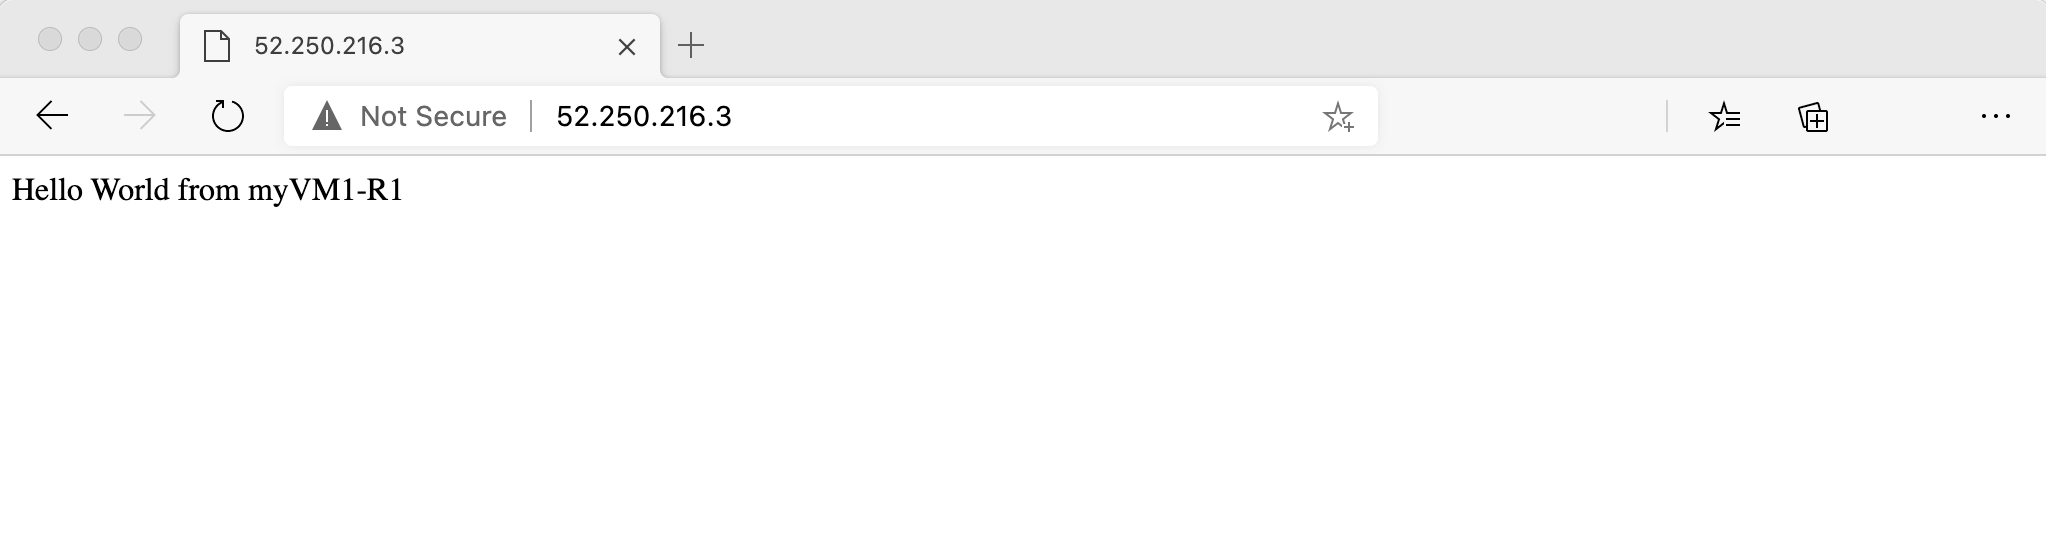
Find the public IP address for the load balancer on the Overview screen. Select All services in the left-hand menu, select All resources, and then select myPublicIP-cr.
Copy the public IP address, and then paste it into the address bar of your browser. The default page of IIS Web server is displayed on the browser.

Stop the virtual machines in the backend pool of one of the regional load balancers.
Refresh the web browser and observe the failover of the connection to the other regional load balancer.
Clean up resources
When no longer needed, delete the resource group, load balancer, and all related resources.
To do so, select the resource group CreateCRLBTutorial-rg that contains the resources and then select Delete.
Next steps
In this tutorial, you:
- Created a cross-region load balancer.
- Added regional load balancers to the backend pool of the cross-region load balancer.
- Created a load-balancing rule.
- Tested the load balancer.
For more information on cross-region load balancer, see:
Feedback
Coming soon: Throughout 2024 we will be phasing out GitHub Issues as the feedback mechanism for content and replacing it with a new feedback system. For more information see: https://aka.ms/ContentUserFeedback.
Submit and view feedback for