Set up Azure Managed Grafana authentication and permissions
To process data, Azure Managed Grafana needs permission to access data sources. In this guide, learn how to set up authentication during the creation of the Azure Managed Grafana instance, so that Grafana can access data sources using a system-assigned managed identity or a service principal. This guide also introduces the option to add a Monitoring Reader role assignment on the target subscription.
Prerequisite
An Azure account with an active subscription. Create an account for free.
Sign in to Azure
Sign in to Azure with the Azure portal or with the Azure CLI.
Sign in to the Azure portal with your Azure account.
Set up authentication and permissions during the creation of the instance
Create a workspace with the Azure portal or the CLI.
Configure basic settings
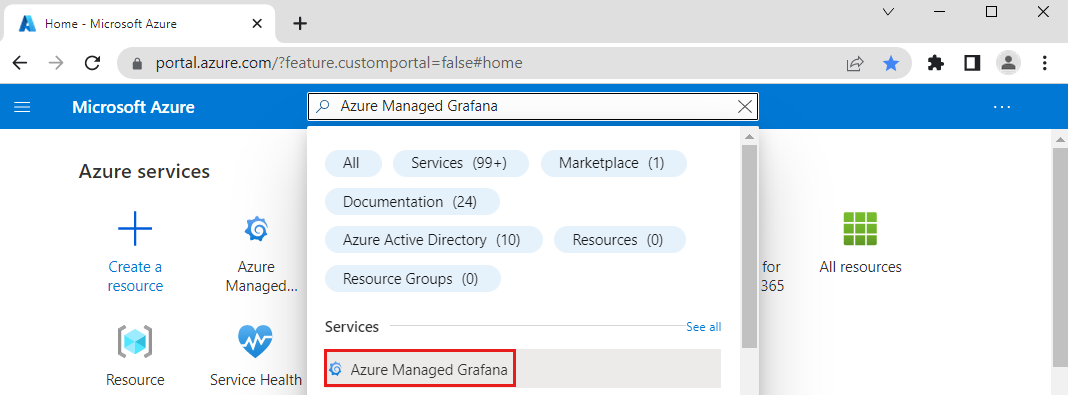
In the upper-left corner of the home page, select Create a resource. In the Search resources, services, and docs (G+/) box, enter Azure Managed Grafana and select Azure Managed Grafana.
Select Create.
In the Basics pane, enter the following settings.
Setting Description Example Subscription ID Select the Azure subscription you want to use. my-subscription Resource group name Create a resource group for your Azure Managed Grafana resources. my-resource-group Location Use Location to specify the geographic location in which to host your resource. Choose the location closest to you. (US) East US Name Enter a unique resource name. It will be used as the domain name in your Managed Grafana instance URL. my-grafana Pricing Plan Choose between an Essential (preview) and a Standard plan. The Standard tier offers additional features. More information about pricing plans. Essential (preview) Keep all other default values and select the tab Permission to control access rights for your Grafana instance and data sources:
Configure permission settings
Review below different methods to manage permissions to access data sources within Azure Managed Grafana.
With managed identity enabled
System-assigned managed identity is the default authentication method provided to all users who have the Owner or User Access Administrator role for the subscription.
Note
In the permissions tab, if Azure displays the message "You must be a subscription 'Owner' or 'User Access Administrator' to use this feature.", go to the next section of this doc to learn about setting up Azure Managed Grafana with system-assigned managed identity disabled.
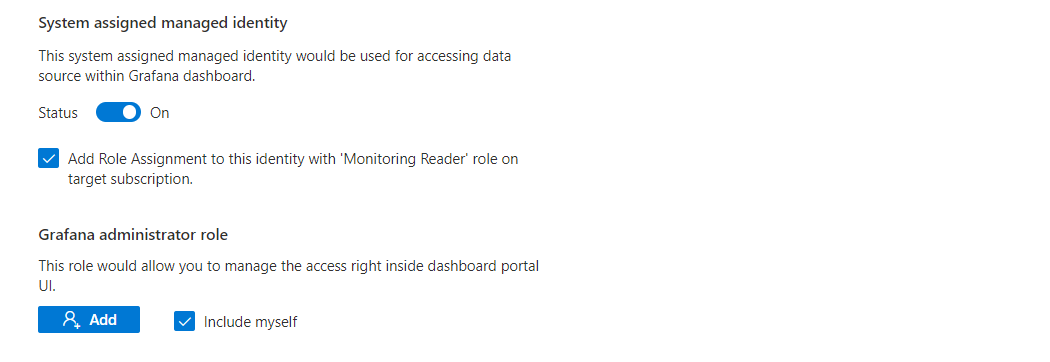
The box System assigned managed identity is set to On by default.
The box Add role assignment to this identity with 'Monitoring Reader' role on target subscription is checked by default. If you uncheck this box, you will need to manually add role assignments for Azure Managed Grafana later on. For reference, go to Modify access permissions to Azure Monitor.
Under Grafana administrator role, the box Include myself is checked by default. Optionally select Add to grant the Grafana administrator role to more members.
With managed identity disabled
Azure Managed Grafana can also access data sources with managed identity disabled. You can use a service principal for authentication, using a client ID and secret.
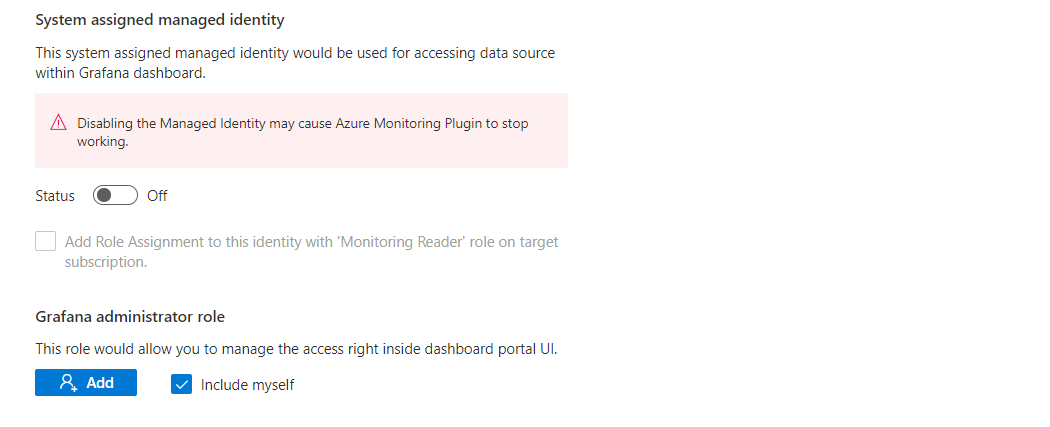
In the Permissions tab, set the box System assigned managed identity to Off. The line Add role assignment to this identity with 'Monitoring Reader' role on target subscription is automatically grayed out.
Under Grafana administrator role, if you have the Owner or User Access Administrator role for the subscription, the box Include myself is checked by default. Optionally select Add to grant the Grafana administrator role to more members. If you don't have the necessary role, you won't be able to manage Grafana access rights yourself.
Note
Turning off system-assigned managed identity disables the Azure Monitor data source plugin for your Azure Managed Grafana instance. In this scenario, use a service principal instead of Azure Monitor to access data sources.
Review and create the new instance
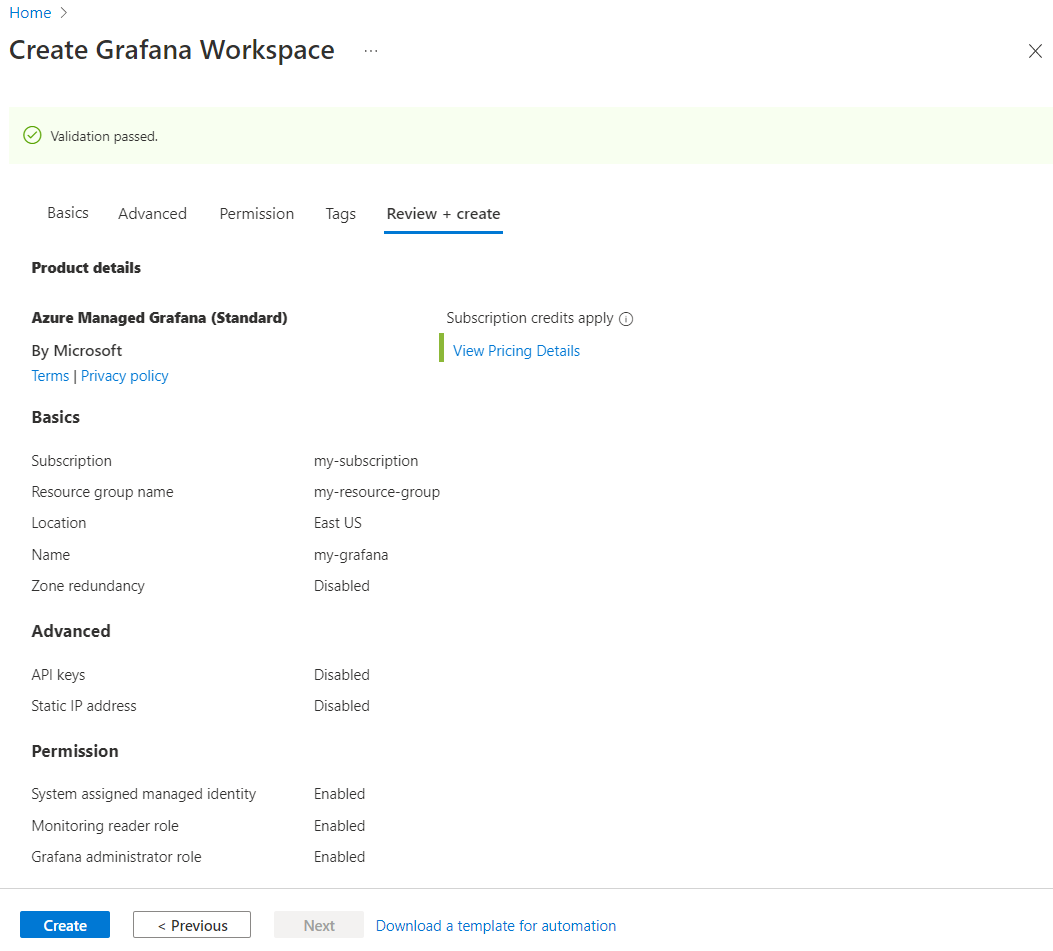
Select the Review + create tab. After validation runs, select Create. Your Azure Managed Grafana resource is deploying.
Update authentication and permissions
After your workspace has been created, you can still turn on or turn off system-assigned managed identity and update Azure role assignments for Azure Managed Grafana.
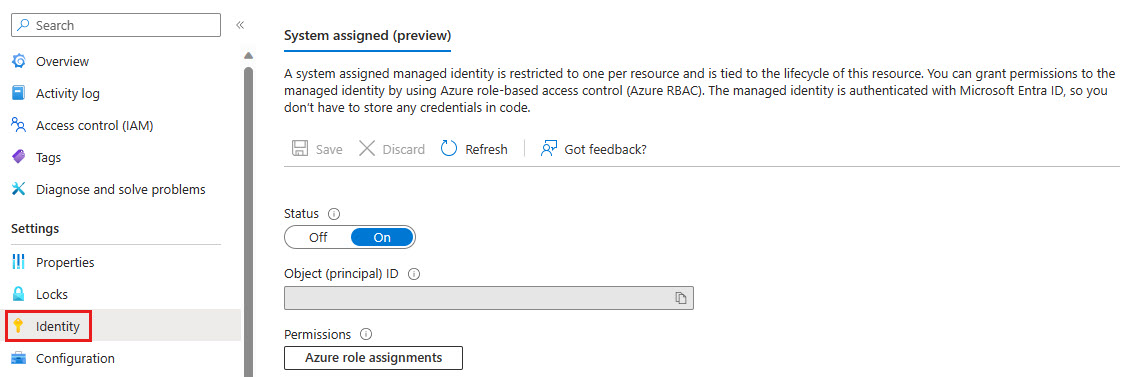
In the Azure portal, from the left menu, under Settings, select Identity.
Set the status for System assigned to Off, to deactivate the system assigned managed identity, or set it to On to activate this authentication method.
Under permissions, select Azure role assignments to set Azure roles.
When done, select Save
Note
Disabling a system-assigned managed identity is irreversible. If you re-enable the identity in the future, Azure will create a new identity.
Next steps
Feedback
Coming soon: Throughout 2024 we will be phasing out GitHub Issues as the feedback mechanism for content and replacing it with a new feedback system. For more information see: https://aka.ms/ContentUserFeedback.
Submit and view feedback for