Migrate data to Azure Database for MySQL with dbForge Studio for MySQL
APPLIES TO:  Azure Database for MySQL - Single Server
Important
Azure Database for MySQL single server is on the retirement path. We strongly recommend that you upgrade to Azure Database for MySQL flexible server. For more information about migrating to Azure Database for MySQL flexible server, see What's happening to Azure Database for MySQL Single Server?
Looking to move your MySQL databases to Azure Database for MySQL? Consider using the migration tools in dbForge Studio for MySQL. With it, database transfer can be configured, saved, edited, automated, and scheduled.
To complete the examples in this article, you'll need to download and install dbForge Studio for MySQL.
Connect to Azure Database for MySQL
In dbForge Studio for MySQL, select New Connection from the Database menu.
Provide a host name and sign-in credentials.
Select Test Connection to check the configuration.

Migrate with the Backup and Restore functionality
You can choose from many options when using dbForge Studio for MySQL to migrate databases to Azure. If you need to move the entire database, it's best to use the Backup and Restore functionality.
In this example, we migrate the sakila database from MySQL server to Azure Database for MySQL. The logic behind using the Backup and Restore functionality is to create a backup of the MySQL database and then restore it in Azure Database for MySQL.
Back up the database
In dbForge Studio for MySQL, select Backup Database from the Backup and Restore menu. The Database Backup Wizard appears.
On the Backup content tab of the Database Backup Wizard, select database objects you want to back up.
On the Options tab, configure the backup process to fit your requirements.
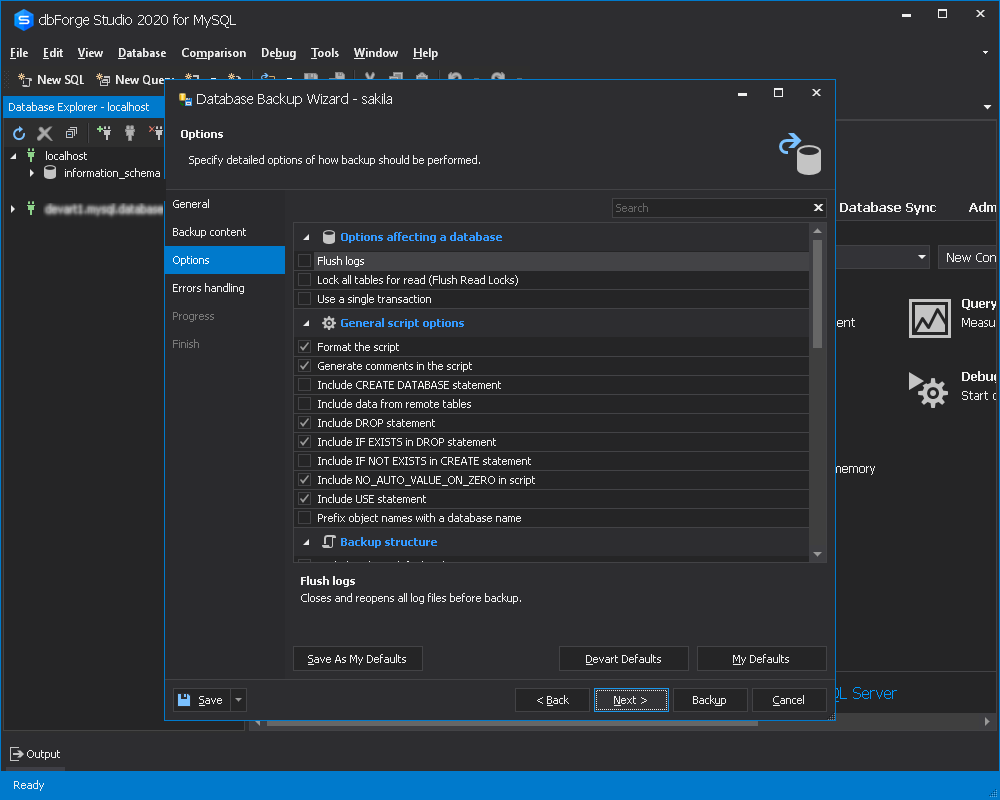
Select Next, and then specify error processing behavior and logging options.
Select Backup.

Restore the database
In dbForge Studio for MySQL, connect to Azure Database for MySQL. Refer to the instructions.
Select Restore Database from the Backup and Restore menu. The Database Restore Wizard appears.
In the Database Restore Wizard, select a file with a database backup.

Select Restore.
Check the result.

Migrate with the Copy Databases functionality
The Copy Databases functionality in dbForge Studio for MySQL is similar to Backup and Restore, except that it doesn't require two steps to migrate a database. It also lets you transfer two or more databases at once.
Note
The Copy Databases functionality is only available in the Enterprise edition of dbForge Studio for MySQL.
In this example, we migrate the world_x database from MySQL server to Azure Database for MySQL.
To migrate a database using the Copy Databases functionality:
In dbForge Studio for MySQL, select Copy Databases from the Database menu.
On the Copy Databases tab, specify the source and target connection. Also select the databases to be migrated.
We enter the Azure MySQL connection and select the world_x database. Select the green arrow to start the process.
Check the result.
You'll see that the world_x database has successfully appeared in Azure MySQL.

Migrate a database with schema and data comparison
You can choose from many options when using dbForge Studio for MySQL to migrate databases, schemas, and/or data to Azure. If you need to move selective tables from a MySQL database to Azure, it's best to use the Schema Comparison and the Data Comparison functionality.
In this example, we migrate the world database from MySQL server to Azure Database for MySQL.
The logic behind using the Backup and Restore functionality is to create a backup of the MySQL database and then restore it in Azure Database for MySQL.
The logic behind this approach is to create an empty database in Azure Database for MySQL and synchronize it with the source MySQL database. We first use the Schema Comparison tool, and next we use the Data Comparison functionality. These steps ensure that the MySQL schemas and data are accurately moved to Azure.
To complete this exercise, you'll first need to connect to Azure Database for MySQL and create an empty database.
Schema synchronization
On the Comparison menu, select New Schema Comparison. The New Schema Comparison Wizard appears.
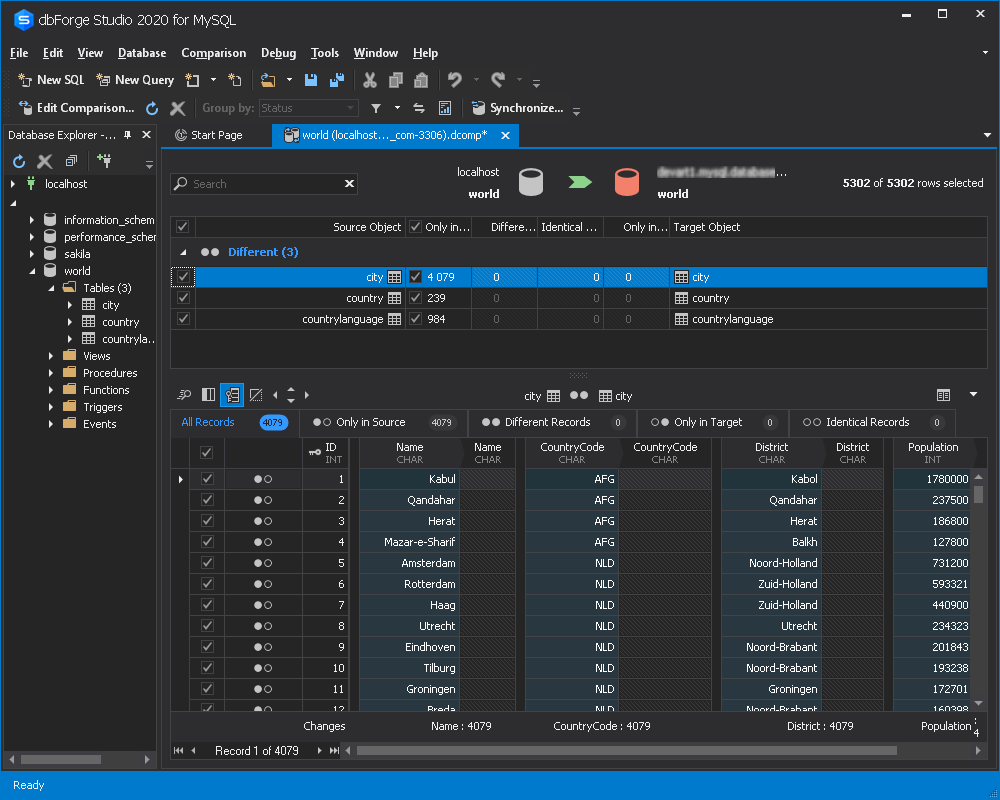
Choose your source and target, and then specify the schema comparison options. Select Compare.
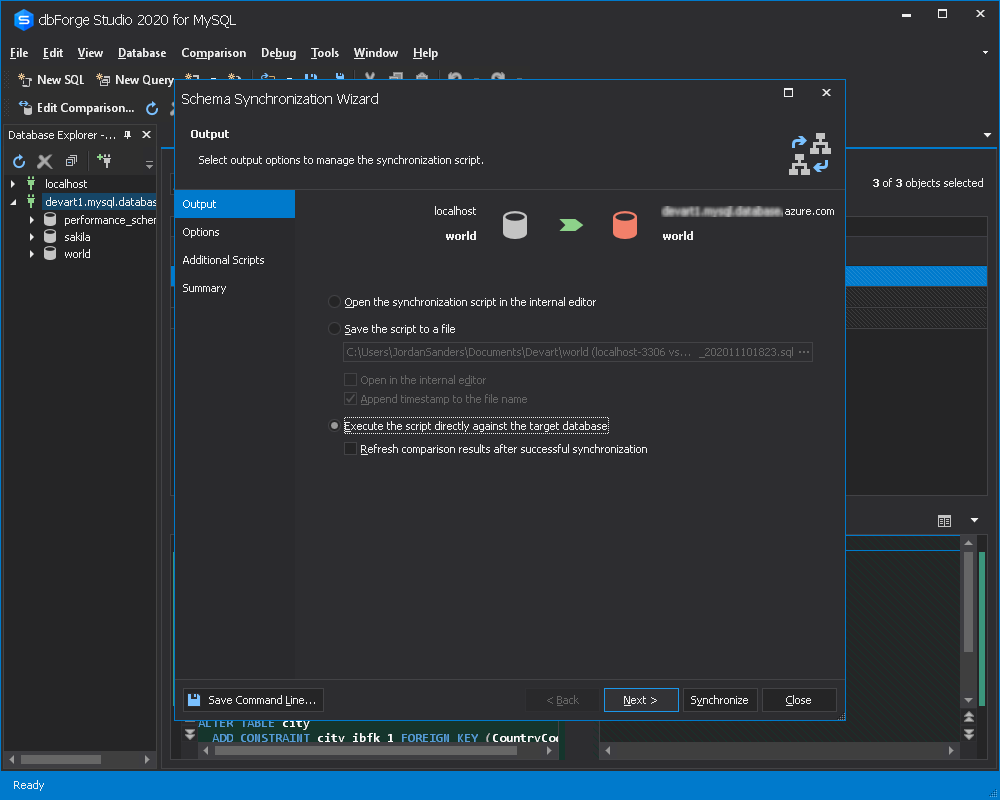
In the comparison results grid that appears, select objects for synchronization. Select the green arrow button to open the Schema Synchronization Wizard.
Walk through the steps of the wizard to configure synchronization. Select Synchronize to deploy the changes.

Data Comparison
On the Comparison menu, select New Data Comparison. The New Data Comparison Wizard appears.
Choose your source and target, and then specify the data comparison options. Change mappings if necessary, and then select Compare.
In the comparison results grid that appears, select objects for synchronization. Select the green arrow button to open the Data Synchronization Wizard.
Walk through the steps of the wizard configuring synchronization. Select Synchronize to deploy the changes.
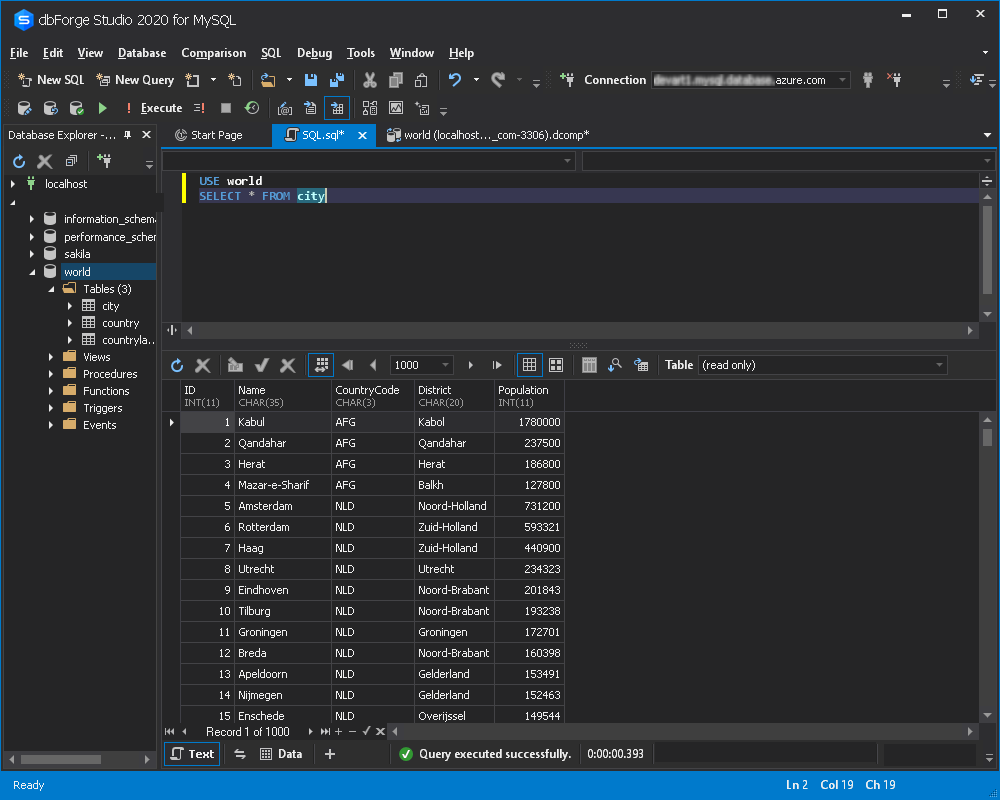
Check the result.


Next steps
Feedback
Coming soon: Throughout 2024 we will be phasing out GitHub Issues as the feedback mechanism for content and replacing it with a new feedback system. For more information see: https://aka.ms/ContentUserFeedback.
Submit and view feedback for