Quickstart: Create an Object Anchors model from a 3D model
Azure Object Anchors is a managed cloud service that converts 3D models into AI models that enable object-aware mixed reality experiences for the HoloLens. This quickstart covers how to create an Object Anchors model from a 3D model using the Azure Object Anchors Conversion SDK for .NET.
You'll learn how to:
- Create an Object Anchors account.
- Convert a 3D model to create an Object Anchors model using the Azure Object Anchors Conversion SDK for .NET (NuGet).
Prerequisites
To complete this quickstart, make sure you have:
- A Windows machine with Visual Studio 2022.
- Git for Windows.
- The .NET 6.0 SDK.
If you don't have an Azure subscription, create an Azure free account before you begin.
Create an Object Anchors account
First, you need to create an account with the Object Anchors service.
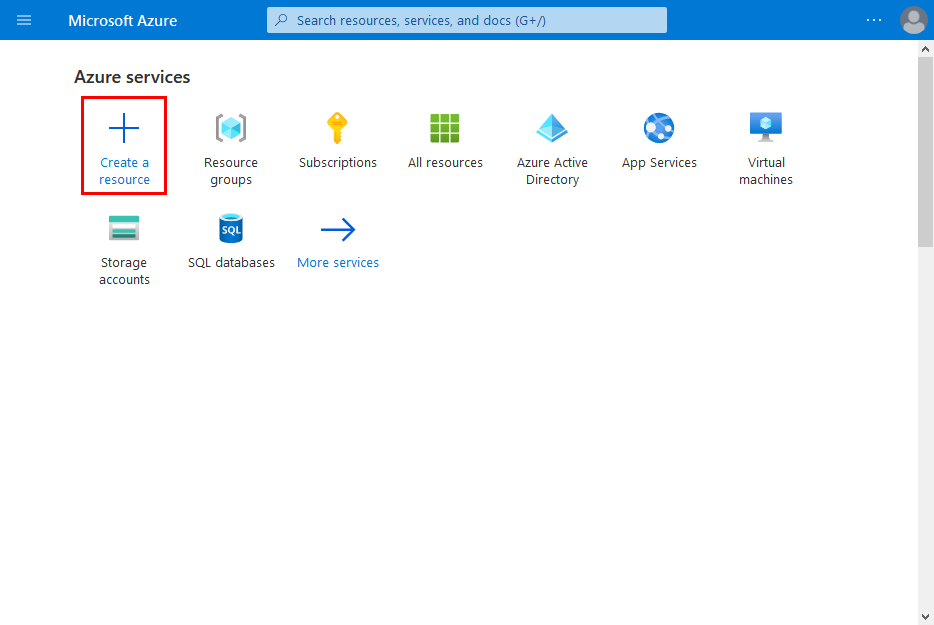
Go to the Azure portal and select Create a resource.
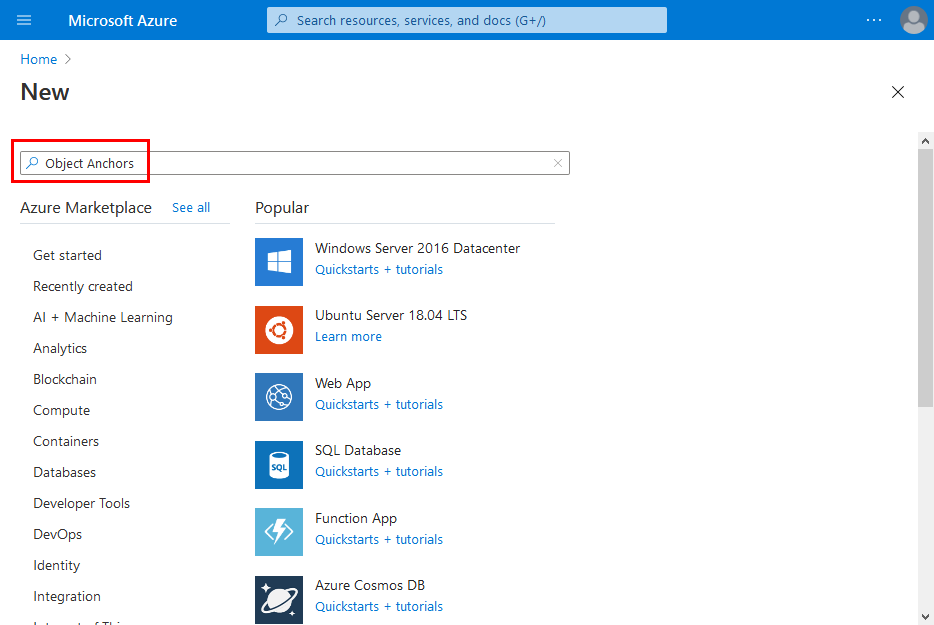
Search for the Object Anchors resource.
Search for "Object Anchors".
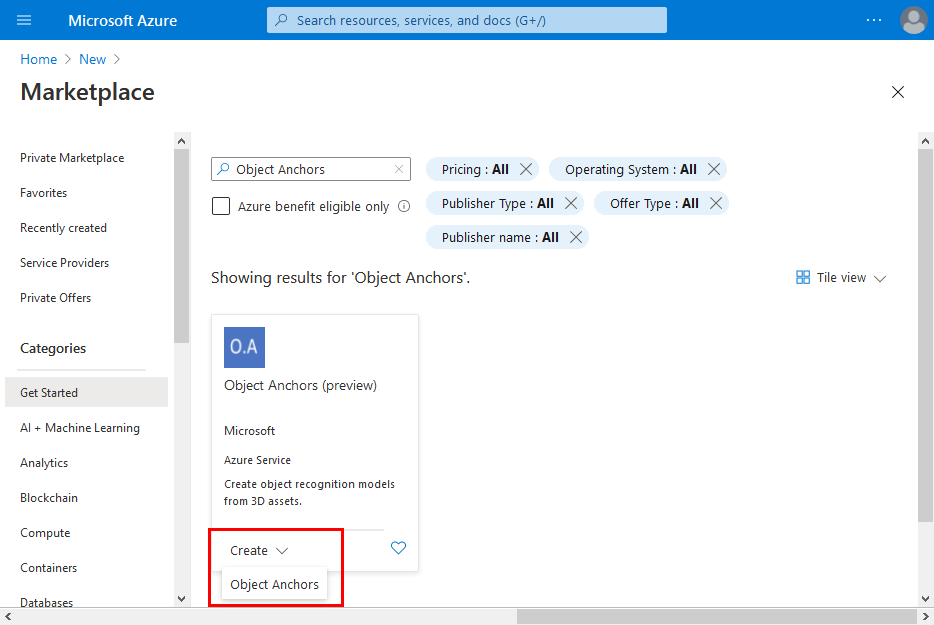
On the Object Anchors resource in the search results, select Create -> Object Anchors.
In the Object Anchors Account dialog box:
- Enter a unique resource name.
- Select the subscription you want to attach the resource to.
- Create or use an existing resource group.
- Select the region you'd like your resource to exist in.
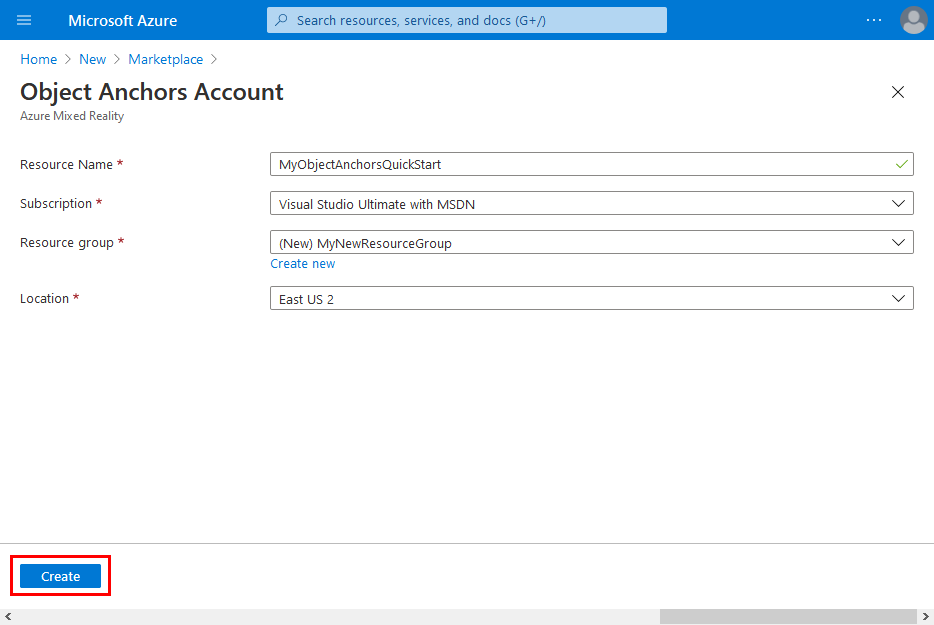
Select Create to begin creating the resource.
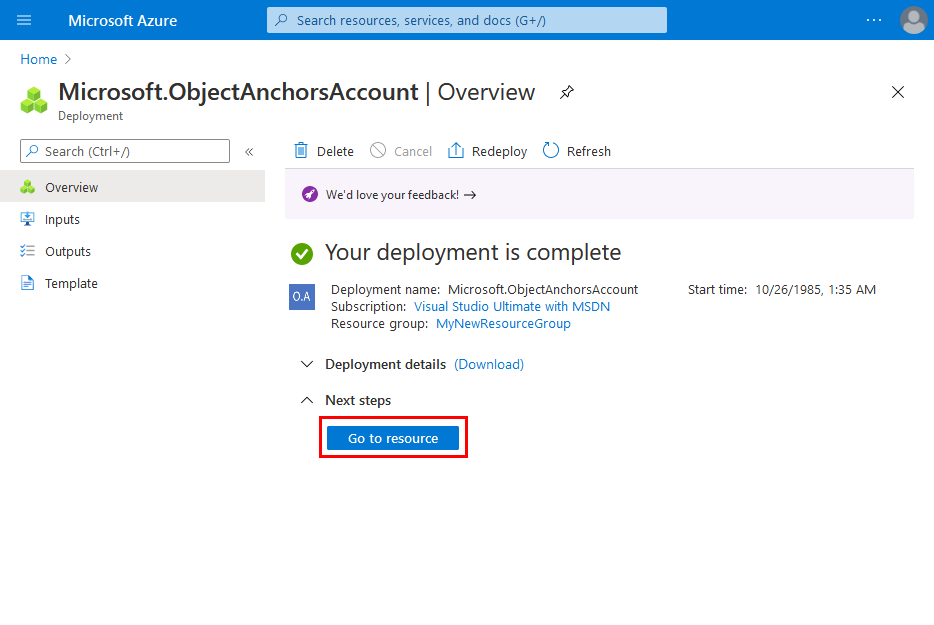
Once the resource has been created, select Go to resource.
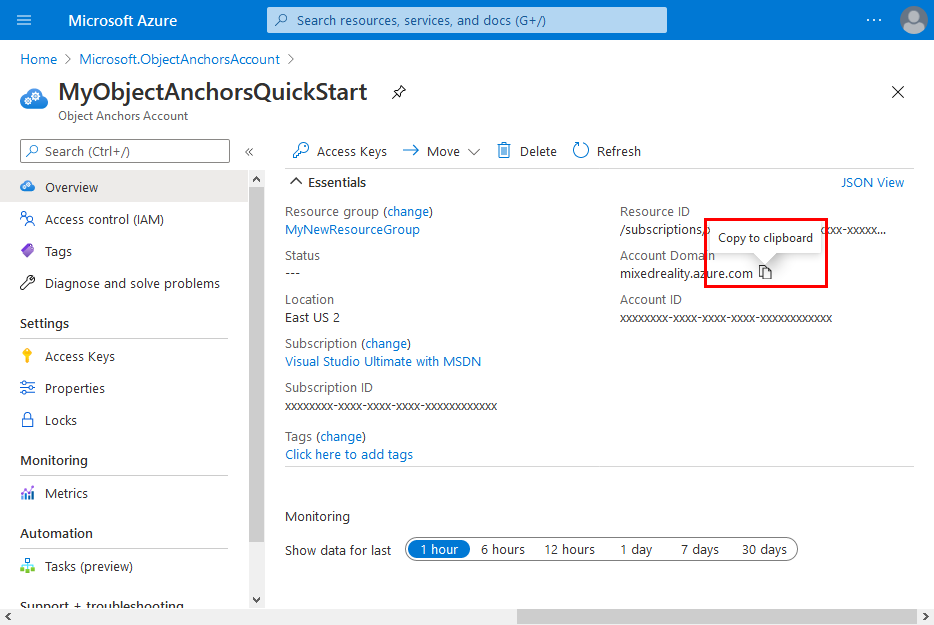
On the overview page:
Take note of the Account Domain. You'll need it later.
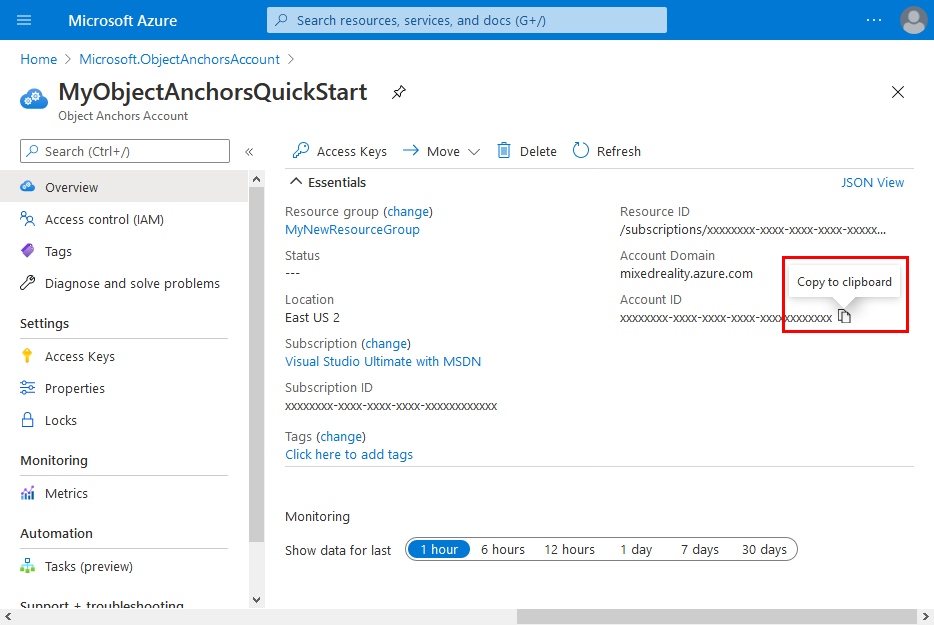
Take note of the Account ID. You'll need it later.
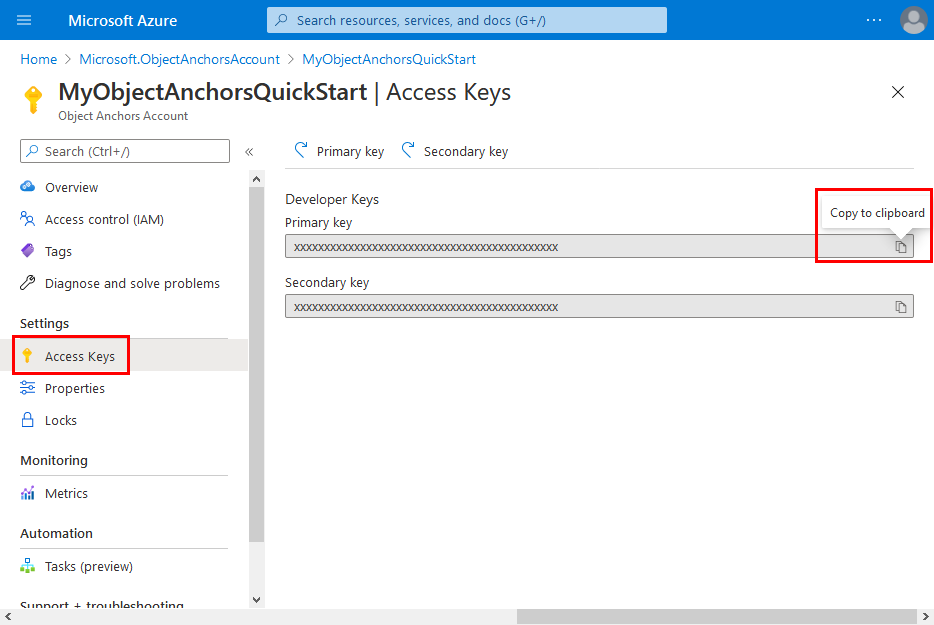
Go to the Access Keys page and take note of the Primary key. You'll need it later.
Get the sample project
Clone the samples repository by running the following commands:
git clone https://github.com/Azure/azure-object-anchors.git

cd ./azure-object-anchors
Convert a 3D model
Now, you can go ahead and convert your 3D model.
Open
quickstarts/conversion/Conversion.slnin Visual Studio. This solution contains a C# console project.Open the
Configuration.csfile located in the root of the project and replace theset-mevalues on following fields:Field Description AccountDomain The Account Domain of the Object Anchors account created above. AccountId The Account ID of the Object Anchors account created above. AccountKey The Primary key of the Object Anchors account created above There are four additional fields that need to be verified:
Field Description InputAssetPath The absolute path to a 3D model on your local machine. Supported file formats are fbx,ply,obj, andglb.AssetDimensionUnit The unit of measurement of your 3D model. All the supported units of measurement can be accessed using the Azure.MixedReality.ObjectAnchors.Conversion.AssetLengthUnitenumeration.Gravity The direction of the gravity vector of the 3D model. This 3D vector gives the downward direction in the coordinate system of your model. For example if negative yrepresents the downward direction in the model's 3D space, this value would beVector3(0.0f, -1.0f, 0.0f).DisableDetectScaleUnits As of Azure.MixedReality.ObjectAnchors.Conversion 0.3.0-beta.6, embedded scale units are used by default when available forfbxfiles. This behavior can be disabled by setting the value totrue. This option is ignored for file formats other thanfbx.Build and run the project to upload your 3D model, register a new conversion job with the service, and wait for it to be completed. Once the job is completed, the Object Anchors model will be downloaded next to the file specified in the
InputAssetPath. You should see something similar to the following console output:Asset : *********** Gravity : *********** Unit : *********** Attempting to upload asset... Attempting to create asset conversion job... Successfully created asset conversion job. Job ID: *********** Waiting for job completion... Asset conversion job completed successfully. Attempting to download result as '***********'... Success!Make a note of the Job ID for future reference. It may be useful when debugging or troubleshooting.
Once the job is completed successfully, you should see a file with the format
<Model-Filename-Without-Extension>_<JobID>.ouin the specified output location. For example, if your 3D model filename ischair.plyand your job ID is00000000-0000-0000-0000-000000000000then the filename the service outputs will bechair_00000000-0000-0000-0000-000000000000.ou.
Error Codes
For details on the different error codes that can result from a failed asset conversion job and how to handle each, refer to the conversion error codes page.
Clean up resources
In the preceding steps, you created Azure resources in a resource group. If you don't expect to need these resources in the future, you can delete them by deleting the resource group.
From the Azure portal menu or Home page, select Resource groups. Then, on the Resource groups page, select myResourceGroup.
On the myResourceGroup page, make sure that the listed resources are the ones you want to delete.
Select Delete resource group, type myResourceGroup in the text box to confirm, and then select Delete.
Next steps
In this quickstart, you created an Object Anchors account and converted a 3D model to create an Object Anchors model. To learn how to integrate that model with the Object Anchors SDK in your mixed reality app, continue with any of the following articles:
Feedback
Coming soon: Throughout 2024 we will be phasing out GitHub Issues as the feedback mechanism for content and replacing it with a new feedback system. For more information see: https://aka.ms/ContentUserFeedback.
Submit and view feedback for