QuickStart: Get started with NGINXaaS – An Azure Native ISV Service
In this quickstart, you'll use the Azure Marketplace to find and create an instance of NGINXaaS.
Create a new NGINXaaS resource
Basics
To create an NGINXaaS deployment using the Marketplace, subscribe to NGINXaaS in the Azure portal.
Set the following values in the Create NGINXaaS pane.
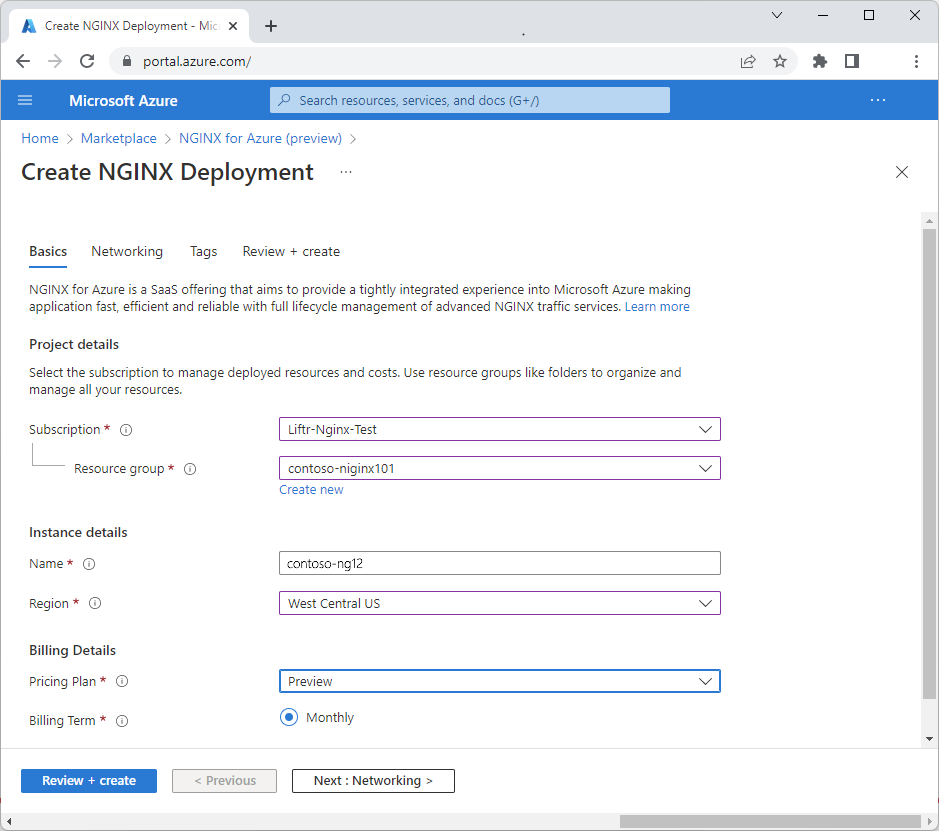
Property Description Subscription From the drop-down, select your Azure subscription where you have owner access. Resource group Specify whether you want to create a new resource group or use an existing one. A resource group is a container that holds related resources for an Azure solution. For more information, see Azure Resource Group overview. Name Put the name for the NGINXaaS account you want to create. Region Select West Central US. West Central US is the only Azure region supported by NGINXaaS during preview. Pricing Plan Specified based on the selected NGINXaaS plan.
Note
West Central US is the only Azure region supported by NGINXaaS during preview.
Networking
After filling in the proper values, select the Next: Networking to see the Networking screen. Specify the VNet and Subnet that is associated with the NGINXaaS deployment.
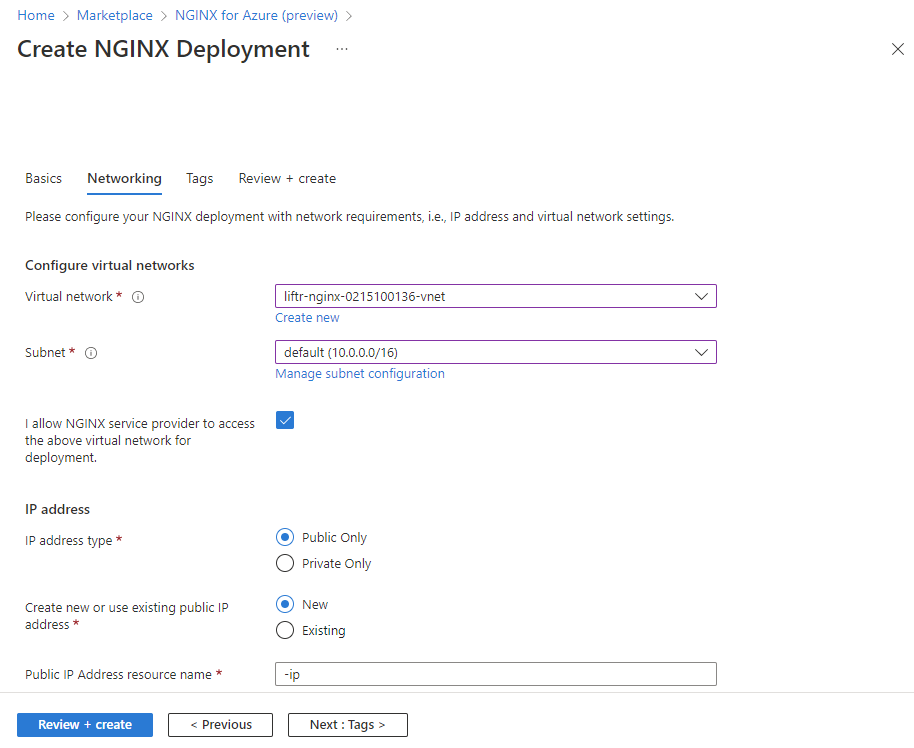
Select the checkbox I allow NGINXaaS service provider to access the above virtual network for deployment to indicate that you acknowledge access to your Tenant to ensure VNet and NIC association.
Select either Public or Private End points for the IP address selection.
Tags
You can specify custom tags for the new NGINXaaS resource in Azure by adding custom key-value pairs.
Select Tags.
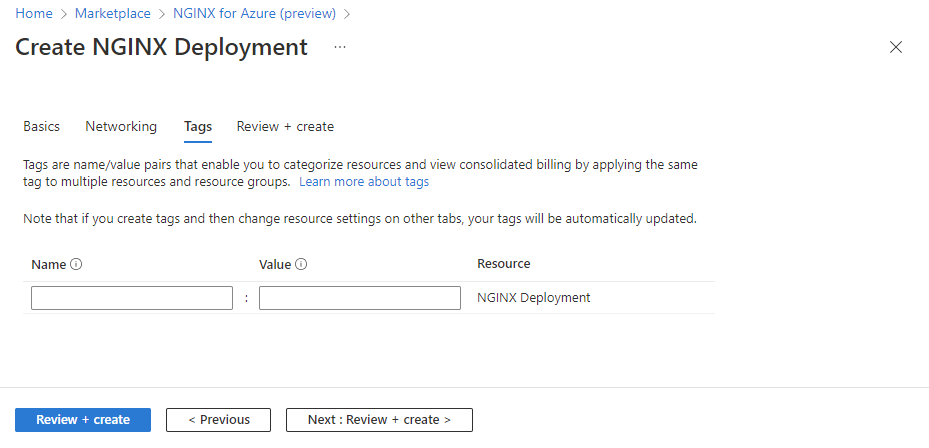
Property Description Name Name of the tag corresponding to the Azure NGINXaaS resource. Value Value of the tag corresponding to the Azure NGINXaaS resource.
Review and create
Select the Next: Review + Create to navigate to the final step for resource creation. When you get to the Review + Create page, all validations are run. At this point, review all the selections made in the Basics, Networking, and optionally Tags panes. You can also review the NGINXaaS and Azure Marketplace terms and conditions.
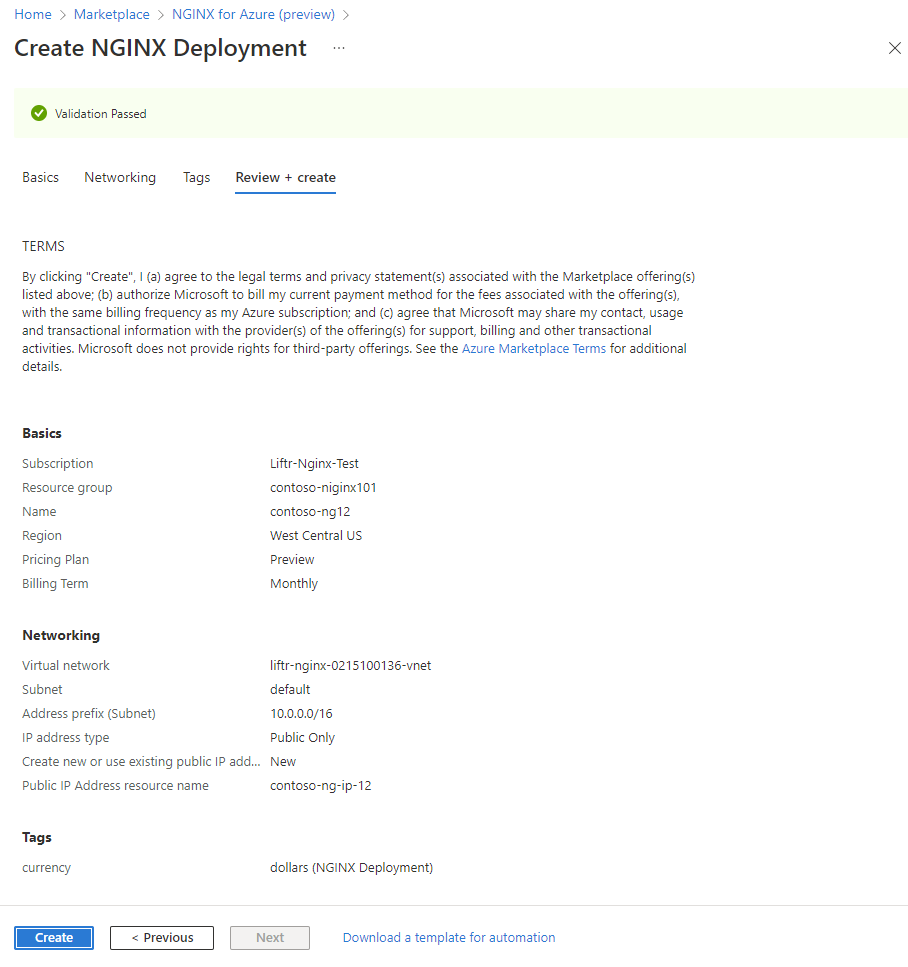
Once you've reviewed all the information select Create. Azure now deploys the NGINXaaSaaS resource.
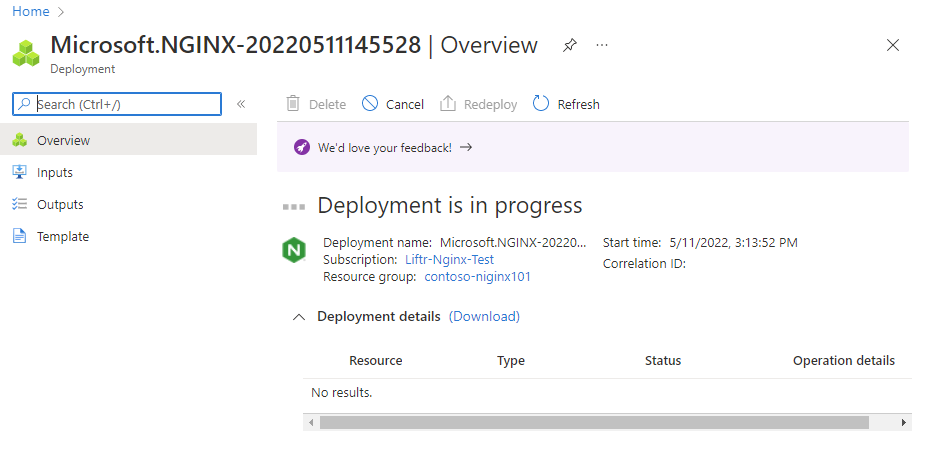
Deployment completed
Once the create process is completed, select Go to Resource to navigate to the specific NGINXaaS resource.
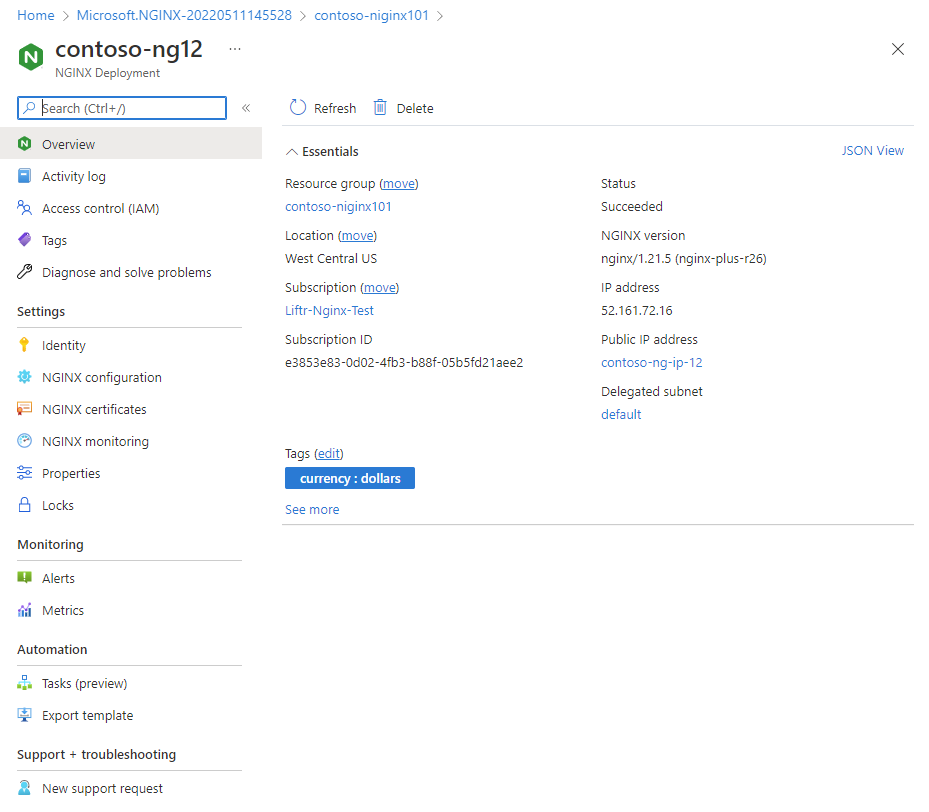
Select Overview in the Resource menu to see information on the deployed resources.
Next steps
Get started with NGINXaaS – An Azure Native ISV Service on
Feedback
Coming soon: Throughout 2024 we will be phasing out GitHub Issues as the feedback mechanism for content and replacing it with a new feedback system. For more information see: https://aka.ms/ContentUserFeedback.
Submit and view feedback for