Manage high availability in Azure Database for PostgreSQL - Flexible Server
APPLIES TO:  Azure Database for PostgreSQL - Flexible Server
This article describes how you can enable or disable high availability configuration in your Azure Database for PostgreSQL flexible server instance in both zone-redundant and same-zone deployment models.
High availability feature provisions physically separate primary and standby replica with the same zone or across zones depending on the deployment model. For more information, see high availability concepts documentation. You may choose to enable high availability at the time of Azure Database for PostgreSQL flexible server instance creation or after the creation.
This page provides guidelines how you can enable or disable high availability. This operation doesn't change your other settings including VNET configuration, firewall settings, and backup retention. Similarly, enabling and disabling of high availability is an online operation and doesn't impact your application connectivity and operations.
Prerequisites
Important
For the list of regions that support Zone redundant high availability, please review the supported regions here.
Enable high availability during server creation
This section provides details specifically for HA-related fields. You can follow these steps to deploy high availability while creating your Azure Database for PostgreSQL flexible server instance.
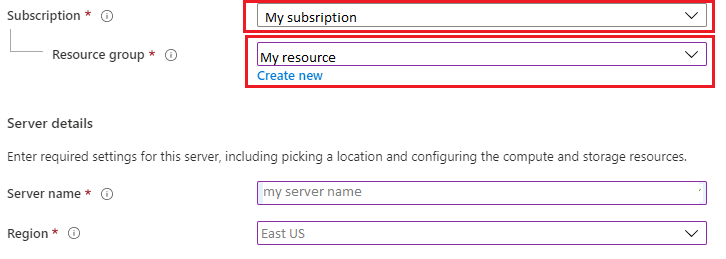
In the Azure portal, choose Azure Database for PostgreSQL flexible server and select create. For details on how to fill details such as Subscription, Resource group, server name, region, and other fields, see how-to documentation for the server creation.
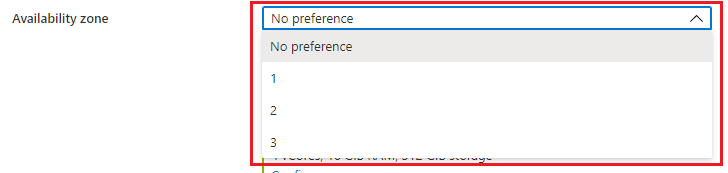
Choose your availability zone. This is useful if you want to collocate your application in the same availability zone as the database to reduce latency. Choose No Preference if you want the Azure Database for PostgreSQL flexible server instance to deploy the primary server on any availability zone. Note that only if you choose the availability zone for the primary in a zone-redundant HA deployment are you allowed to choose the standby availability zone.
Select the checkbox for Enable high availability. That opens up an option to choose high availability mode. If the region doesn't support AZs, then only same-zone mode is enabled.
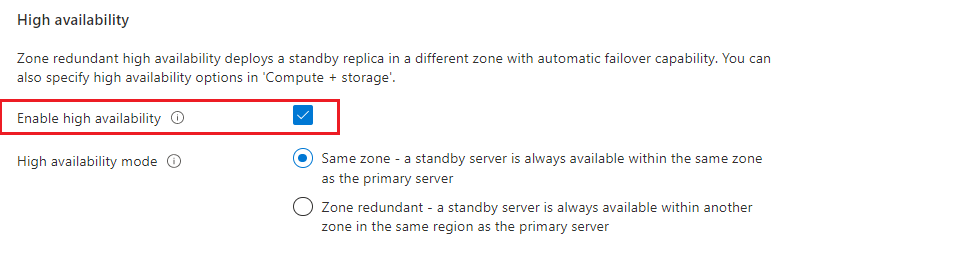
If you chose the Availability zone in step 2 and if you chose zone-redundant HA, then you can choose the standby zone.

If you want to change the default compute and storage, select Configure server.

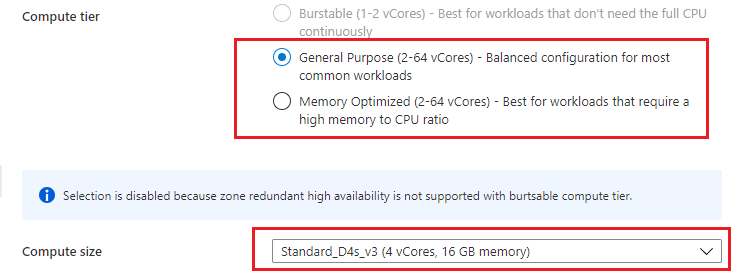
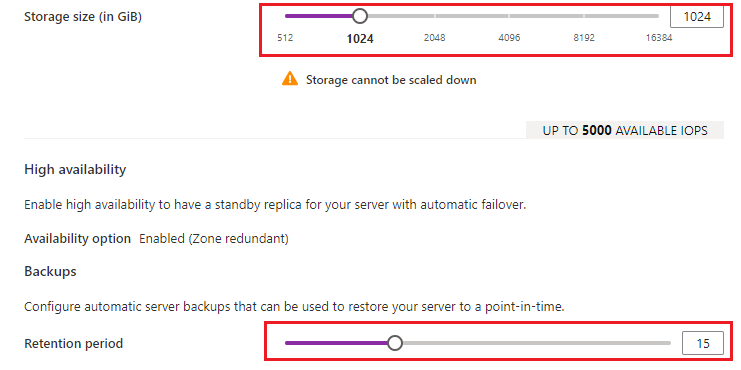
If high availability option is checked, the burstable tier isn't available to choose. You can choose either General purpose or Memory Optimized compute tiers. Then you can select compute size for your choice from the dropdown.
Select storage size in GiB using the sliding bar and select the backup retention period between 7 days and 35 days.
Select Save.
Enable high availability post server creation
Follow these steps to enable high availability for your existing Azure Database for PostgreSQL flexible server instance.
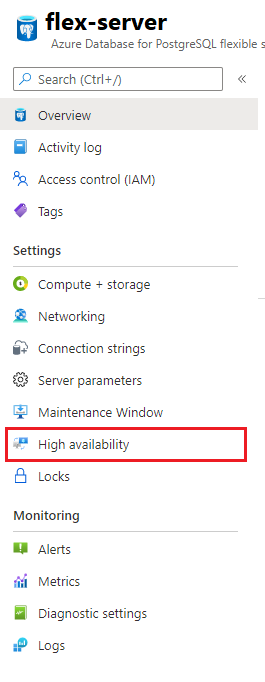
In the Azure portal, select your existing Azure Database for PostgreSQL flexible server instance.
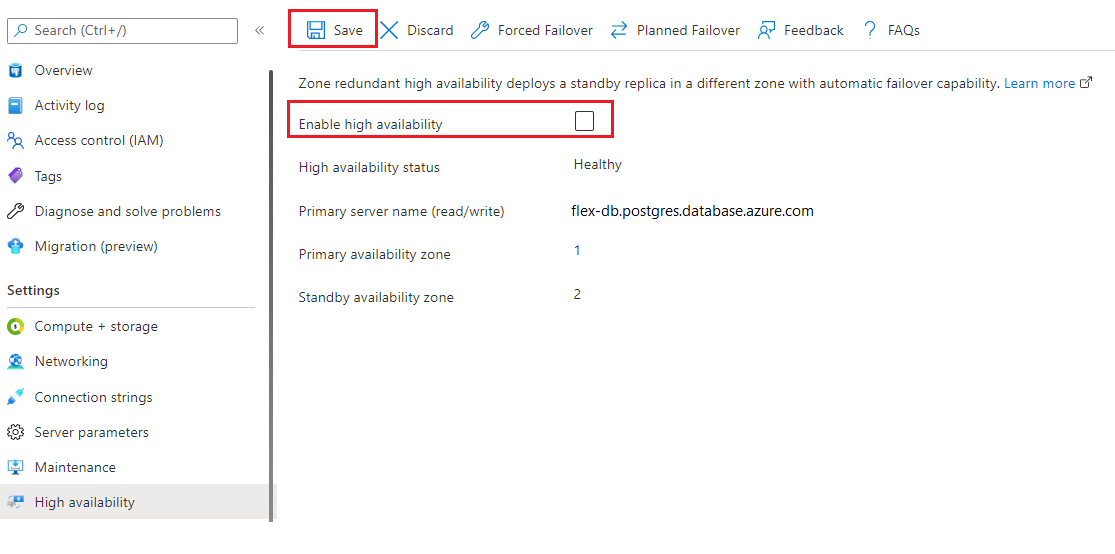
On the Azure Database for PostgreSQL flexible server instance page, select High Availability from the left panel to open high availability page.
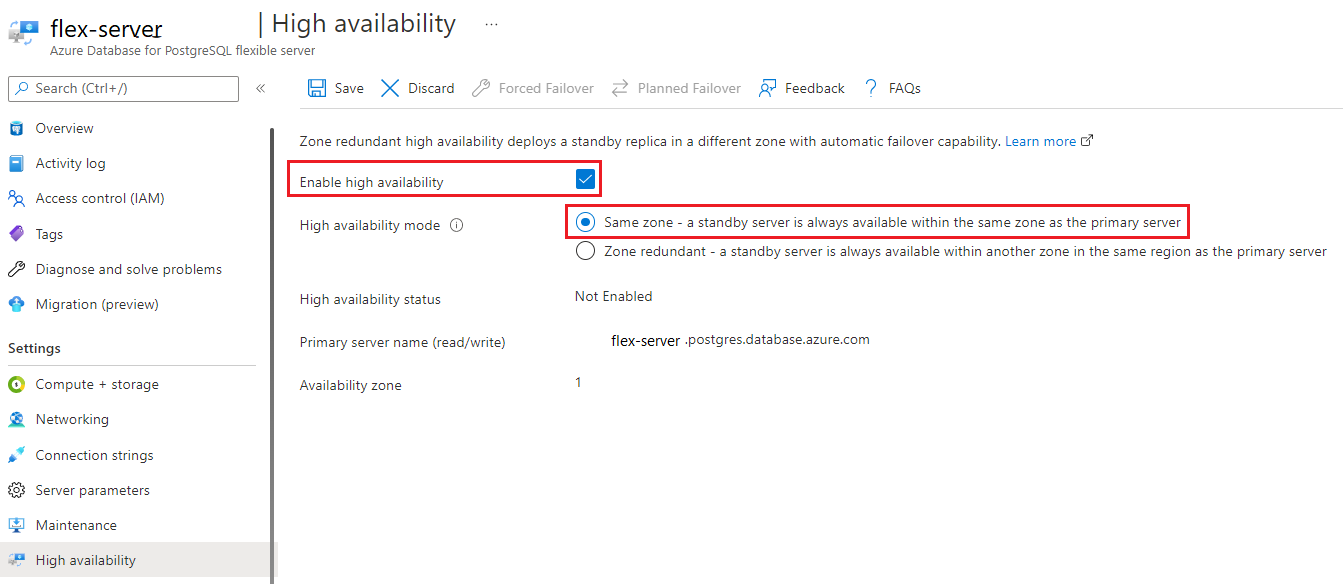
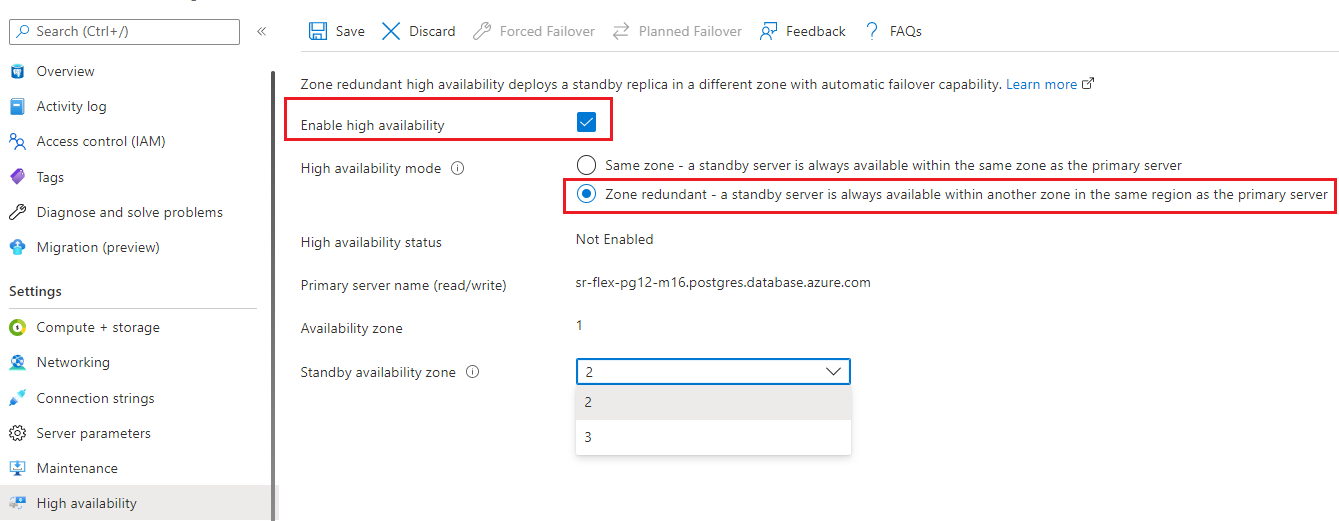
Select the Enable high availability checkbox to enable the option. It shows same zone HA and zone-redundant HA option. If you choose zone-redundant HA, you can choose the standby AZ.
A confirmation dialog appears stating that by enabling high availability, your costs increase due to more server and storage deployment.
Select Enable HA button to enable the high availability.
A notification appears stating the high availability deployment is in progress.
Disable high availability
Follow these steps to disable high availability for your Azure Database for PostgreSQL flexible server instance that is already configured with high availability.
In the Azure portal, select your existing Azure Database for PostgreSQL flexible server instance.
On the Azure Database for PostgreSQL flexible server instance page, select High Availability from the front panel to open high availability page.
Select on the High availability checkbox to disable the option. Then select Save to save the change.
A confirmation dialog is shown where you can confirm disabling high availability.
Select Disable HA button to disable the high availability.
A notification appears stating that decommissioning of the high availability deployment is in progress.
Forced failover
Follow these steps to force failover your primary to the standby Azure Database for PostgreSQL flexible server instance. This immediately brings the primary down and triggers a failover to the standby server. This is useful for cases like testing the unplanned outage failover time for your workload.
In the Azure portal, select your existing Azure Database for PostgreSQL flexible server instance that has high availability feature already enabled.
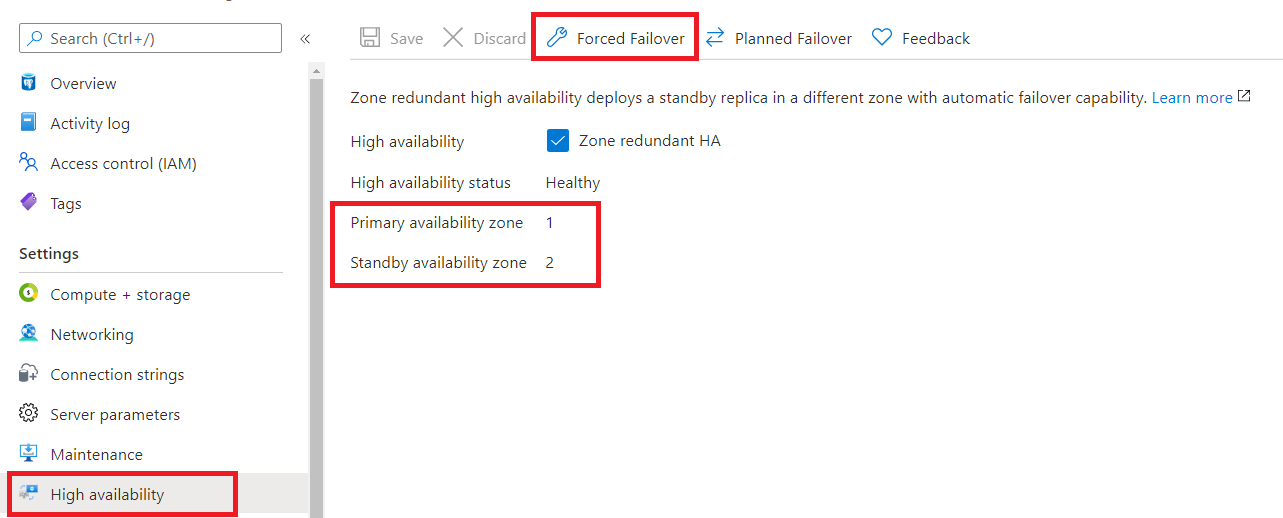
On the Azure Database for PostgreSQL flexible server instance page, select High Availability from the front panel to open high availability page.
Check the Primary availability zone and the Standby availability zone
Select on Forced Failover to initiate the manual failover procedure. A pop up informs you on the potential downtime until the failover is complete. Read the message and select Ok.
A notification appears mentioning that failover is in progress.
Once failover to the standby server is complete, a notification pops up.
Check the new Primary availability zone and the Standby availability zone.
Important
Please do not perform immediate, back-to-back failovers. Wait for at least 15-20 minutes between failovers, which will also allow the new standby server to be fully established.
The overall end-to-end operation time as reported on the portal may be longer than the actual downtime experienced by the application. Please measure the downtime from the application perspective.
Planned failover
Follow these steps to perform a planned failover from your primary to the standby Azure Database for PostgreSQL flexible server instance. This will first prepare the standby server and performs the failover. This provides the least downtime as this performs a graceful failover to the standby server for situations like after a failover event, you want to bring the primary back to the preferred availability zone.
- In the Azure portal, select your existing Azure Database for PostgreSQL flexible server instance that has high availability feature already enabled.
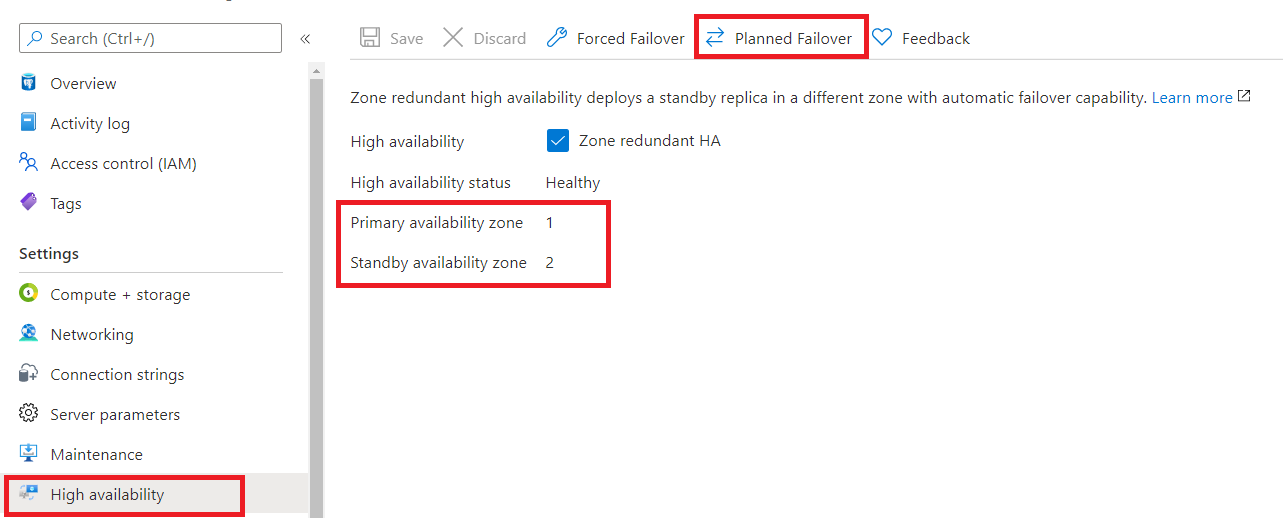
- On the Azure Database for PostgreSQL flexible server instance page, select High Availability from the front panel to open high availability page.
- Check the Primary availability zone and the Standby availability zone
- Select on Planned Failover to initiate the manual failover procedure. A pop up informs you about the process. Read the message and select Ok.
- A notification appears mentioning that failover is in progress.
- Once failover to the standby server is complete, a notification pops up.
- Check the new Primary availability zone and the Standby availability zone.
Important
Please do not perform immediate, back-to-back failovers. Wait for at least 15-20 minutes between failovers, which will also allow the new standby server to be fully established.
It is recommended to perform planned failover during low activity period.
The overall end-to-end operation time may be longer than the actual downtime experienced by the application. Please measure the downtime from the application perspective.
Enabling Zone redundant HA after the region supports AZ
There are Azure regions that don't support availability zones. If you already deployed non-HA servers, you can't directly enable zone redundant HA on the server, but you can perform restore and enable HA in that server. The following steps shows how to enable Zone redundant HA for that server.
- From the overview page of the server, select Restore to perform a PITR. Choose Latest restore point.
- Choose a server name, availability zone.
- Select Review+Create".
- A new Azure Database for PostgreSQL flexible server instance is created from the backup.
- Once the new server is created, from the overview page of the server, follow the guide to enable HA.
- After data verification, you can optionally delete the old server.
- Make sure your clients connection strings are modified to point to your new HA-enabled server.
Next steps
- Learn about business continuity
- Learn about zone redundant high availability
Feedback
Coming soon: Throughout 2024 we will be phasing out GitHub Issues as the feedback mechanism for content and replacing it with a new feedback system. For more information see: https://aka.ms/ContentUserFeedback.
Submit and view feedback for