Modify a packet core instance
Each Azure Private 5G Core site contains a packet core instance, which is a cloud-native implementation of the 3GPP standards-defined 5G Next Generation Core (5G NGC or 5GC). In this how-to guide, you'll learn how to modify a packet core instance using the Azure portal; this includes modifying the packet core's custom location, connected Azure Stack Edge (ASE) device, and access network configuration. You'll also learn how to add, modify and remove the data networks attached to the packet core instance.
If you want to modify a packet core instance's local access configuration, follow Modify the local access configuration in a site.
Prerequisites
If you want to make changes to the packet core configuration or access network, refer to Collect packet core configuration values and Collect access network values to collect the new values and make sure they're in the correct format. If you want to enable UE usage monitoring, refer to Collect UE usage tracking values.
Note
You can't update a packet core instance's Technology type or Version field.
- To change the technology type, you'll need to delete the site and recreate it.
- To change the version, upgrade the packet core instance.
If you want to make changes to the attached data networks, refer to Collect data network values to collect the new values and make sure they're in the correct format.
Ensure you can sign in to the Azure portal using an account with access to the active subscription you used to create your private mobile network. This account must have the built-in Contributor or Owner role at the subscription scope.
If you use Microsoft Entra ID to authenticate access to your local monitoring tools and you're making a change that requires a packet core reinstall, ensure your local machine has core kubectl access to the Azure Arc-enabled Kubernetes cluster. This requires a core kubeconfig file, which you can obtain by following Core namespace access.
Plan a maintenance window
The following changes will trigger components of the packet core software to restart, during which your service will be unavailable for approximately 8-12 minutes:
- Attaching a new or existing data network to the packet core instance.
- Changing the following configuration on an attached data network:
- Dynamic UE IP pool prefixes
- Static UE IP pool prefixes
- Network address and port translation parameters
- DNS addresses
- Changing the UE Maximum Transmission Unit (MTU) signaled by the packet core.
The following changes will trigger the packet core to reinstall, during which your service will be unavailable for up to two hours:
- Detaching a data network from the packet core instance.
- Changing the packet core instance's custom location.
- Changing the N2, N3 or N6 interface configuration on an attached data network.
The following changes require you to manually perform a reinstall, during which your service will be unavailable for up to two hours, before they take effect:
- Changing access network configuration.
- Enabling monitoring UE usage with Event Hubs.
If you're making any of these changes to a healthy packet core instance, we recommend running this process during a maintenance window to minimize the impact on your service. Changes not listed here should not trigger a service interruption, but we recommend using a maintenance window in case of misconfiguration.
Back up deployment information
The following list contains the data that will be lost over a packet core reinstall. If you're making a change that requires a reinstall, back up any information you'd like to preserve; after the reinstall, you can use this information to reconfigure your packet core instance. If your packet core instance is in Uninstalled, Uninstalling or Failed state, or if you're connecting an ASE device for the first time, you can skip this step and proceed to Select the packet core instance to modify.
- Depending on your authentication method when signing in to the distributed tracing and packet core dashboards:
- If you use Microsoft Entra ID, save a copy of the Kubernetes Secret Object YAML file you created in Create Kubernetes Secret Objects.
- If you use local usernames and passwords and want to keep using the same credentials, save a copy of the current passwords to a secure location.
- All traces are deleted during upgrade and cannot be retrieved. If you want to retain any traces, export and save them securely before continuing.
- Any customizations made to the packet core dashboards won't be carried over the reinstall. Refer to Exporting a dashboard in the Grafana documentation to save a backed-up copy of your dashboards.
- Most UEs will automatically re-register and recreate any sessions after the reinstall completes. If you have any special devices that require manual operations to recover from a packet core outage, gather a list of these UEs and their recovery steps.
Select the packet core instance to modify
In this step, you'll navigate to the Packet Core Control Plane resource representing your packet core instance.
Sign in to the Azure portal.
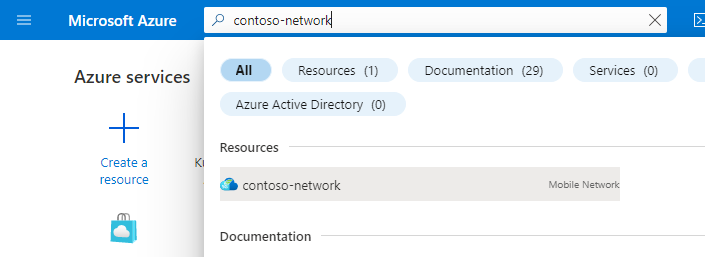
Search for and select the Mobile Network resource representing the private mobile network.
In the Resource menu, select Sites.
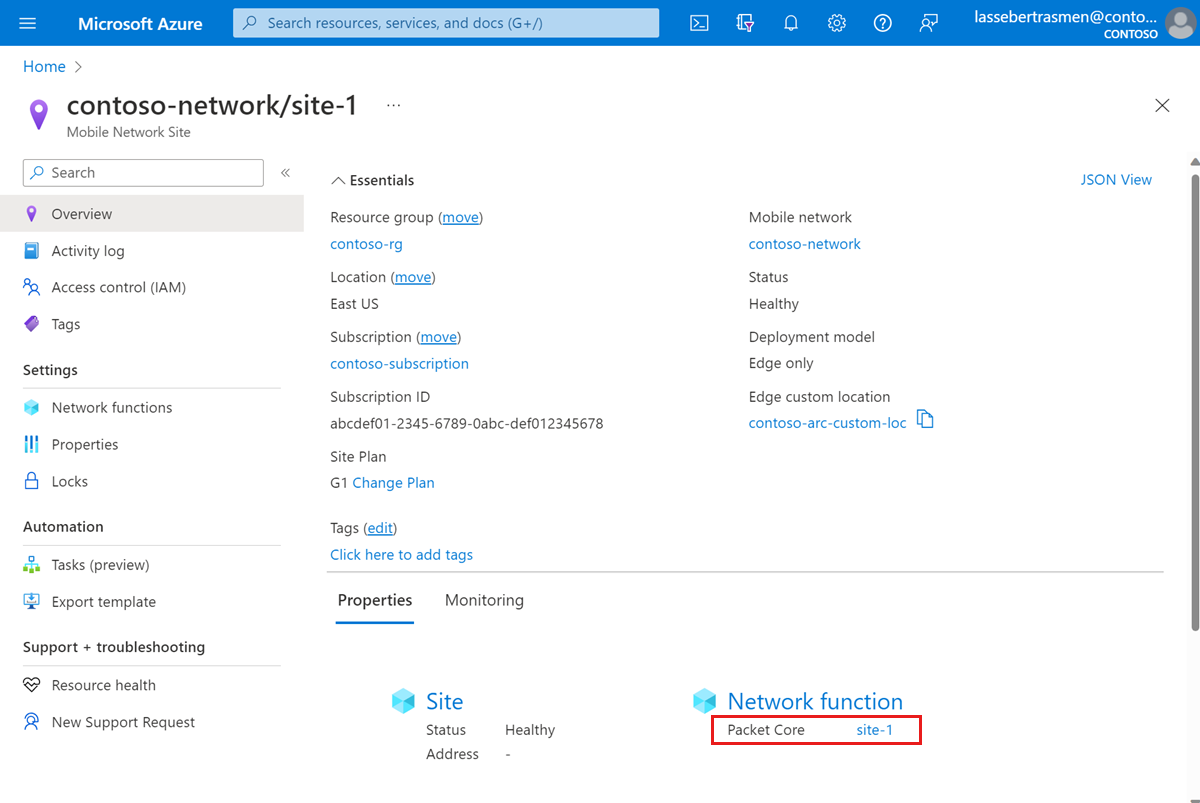
Select the site containing the packet core instance you want to modify.
Under the Network function heading, select the name of the Packet Core Control Plane resource shown next to Packet Core.
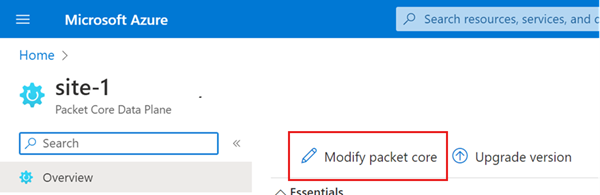
Select Modify packet core.
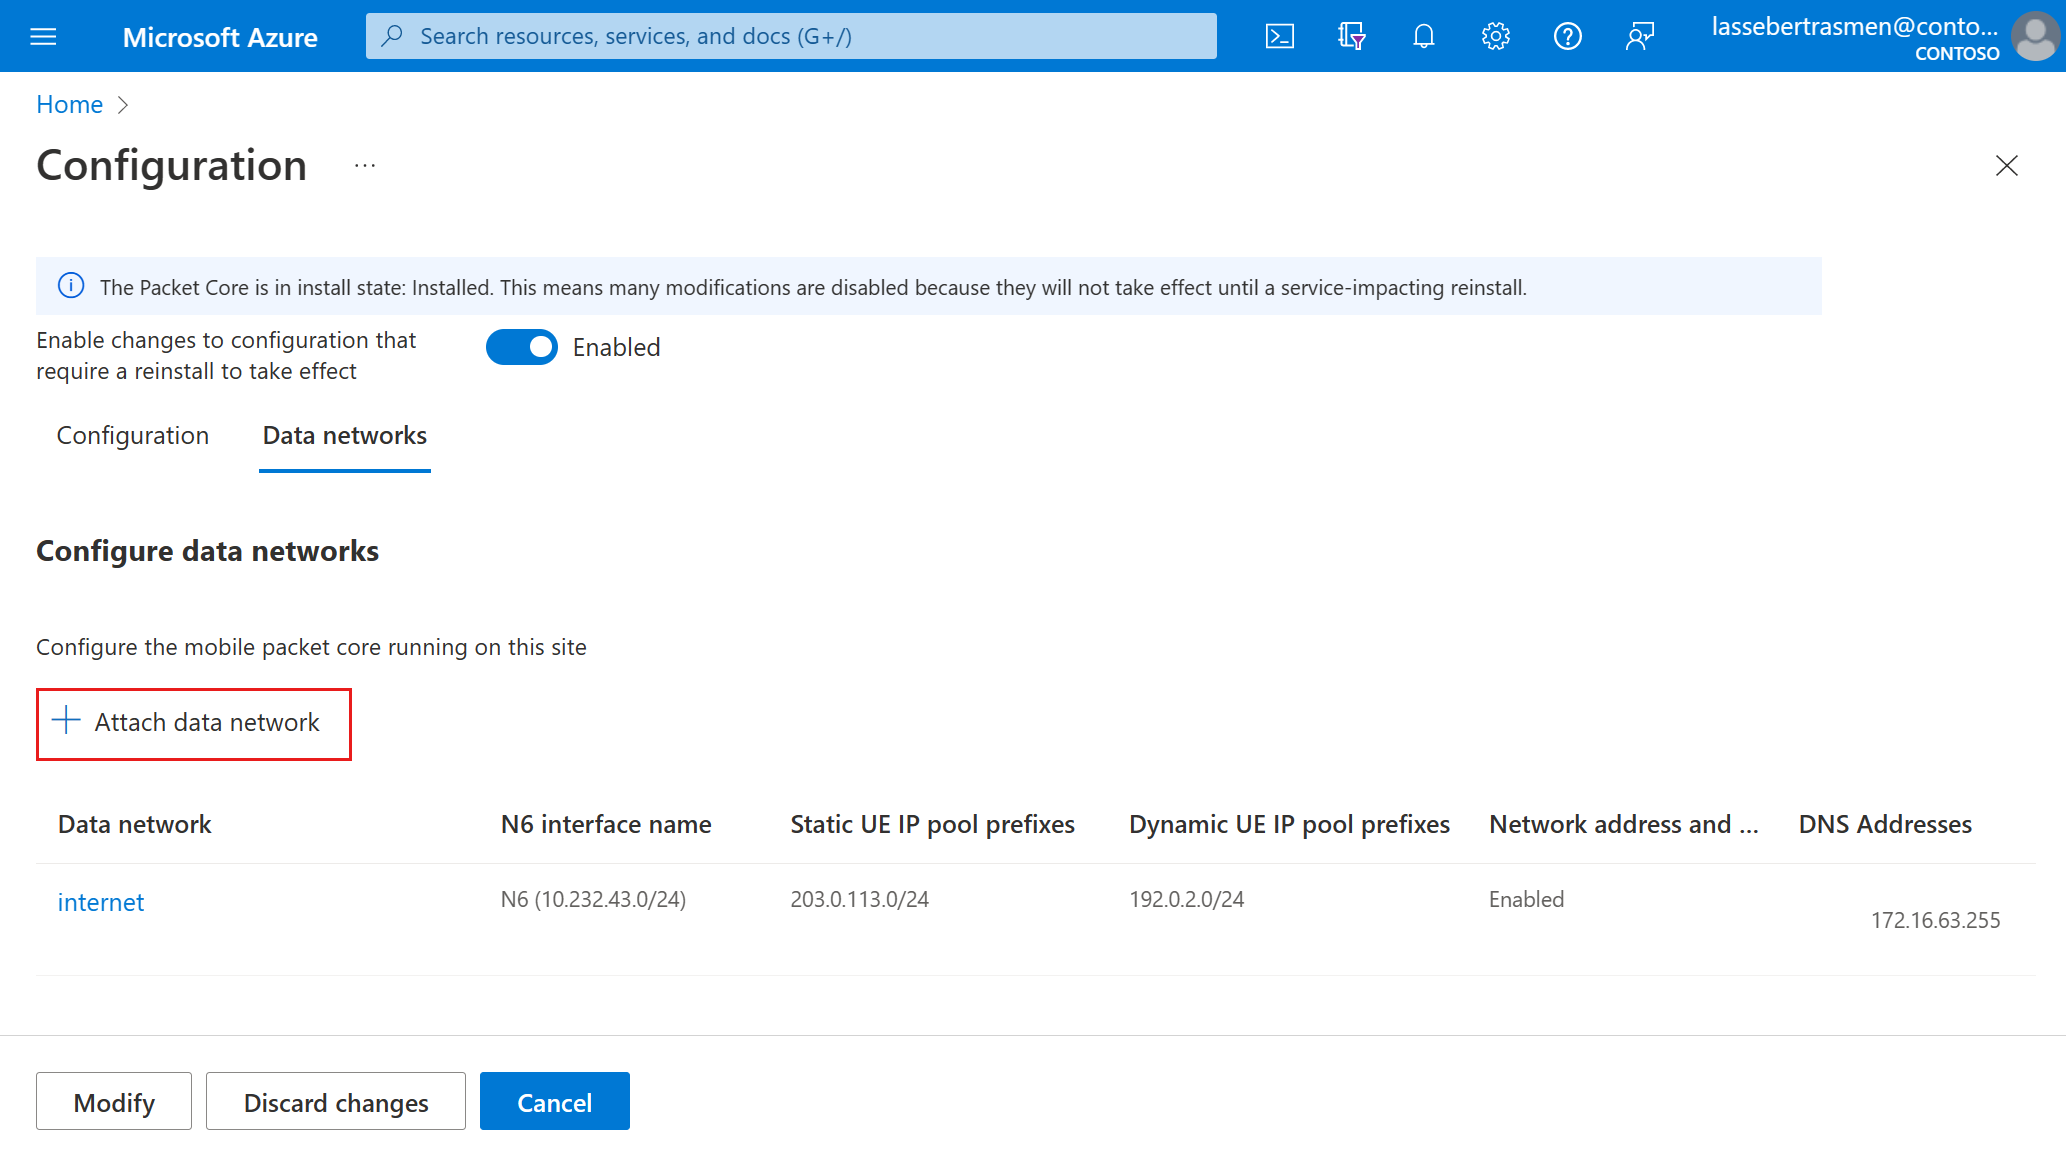
If you're making a change that requires a packet core reinstall, enable the Enable changes to configuration that require a reinstall to take effect toggle.
Choose the next step:
- If you want to make changes to the packet core configuration or access network values, go to Modify the packet core configuration.
- If you want to configure a new or existing data network and attach it to the packet core instance, go to Attach a data network.
- If you want to make changes to a data network that's already attached to the packet core instance, go to Modify attached data network configuration.
Modify the packet core configuration
To modify the packet core and/or access network configuration:
If you haven't already, select the packet core instance to modify.
In the Configuration tab, fill out the fields with any new values.
- Use the information you collected in Collect packet core configuration values for the top-level configuration values.
- Use the information you collected in Collect access network values for the configuration values under Access network.
- If you want to enable UE usage monitoring, use the information collected in Collect UE usage tracking values to fill out the Azure Event Hub Namespace, Event Hub name and User Assigned Managed Identity values.
Choose the next step:
- If you've finished modifying the packet core instance, go to Submit and verify changes.
- If you want to configure a new or existing data network and attach it to the packet core instance, go to Attach a data network.
- If you want to make changes to a data network that's already attached to the packet core instance, go to Modify attached data network configuration.
Attach a data network
Important
You must configure the ASE device with interfaces corresponding to the data networks before you can attach them to the packet core. See Changing ASE configuration after deployment.
To configure a new or existing data network and attach it to your packet core instance:
If you haven't already, select the packet core instance to modify.
Select the Data networks tab.
Select Attach data network.
In the Data network field, choose an existing data network from the dropdown or select Create new to create a new one. Use the information you collected in Collect data network values to fill out the remaining fields.
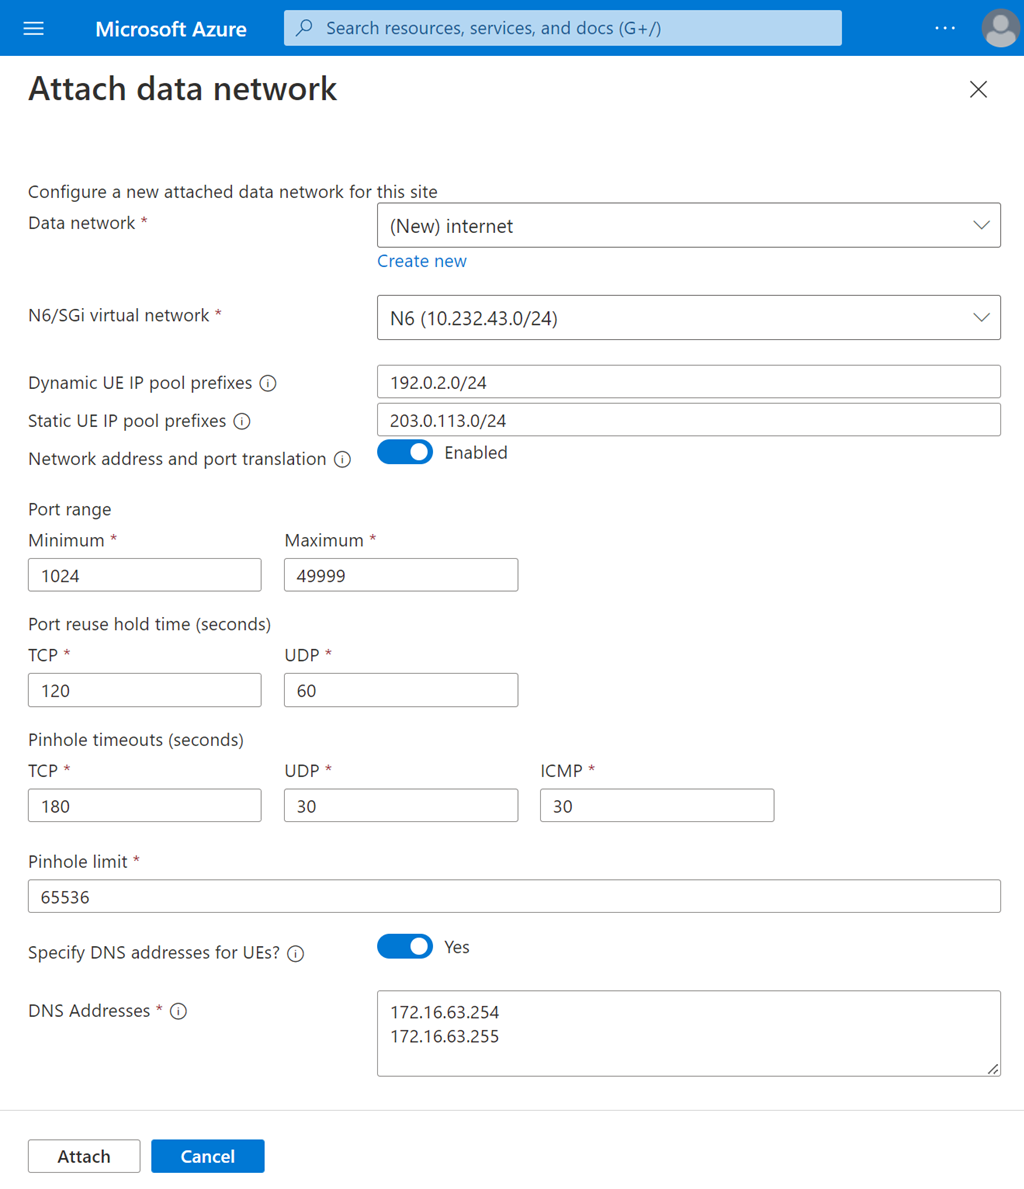
Select Attach.
Repeat the steps above for each additional data network you want to configure.
Choose the next step:
- If you've finished modifying the packet core instance, go to Submit and verify changes.
- If you want to make changes to a data network that's already attached to the packet core instance, go to Modify attached data network configuration.
Modify attached data network configuration
To make changes to a data network attached to your packet core instance:
If you haven't already, select the packet core instance to modify.
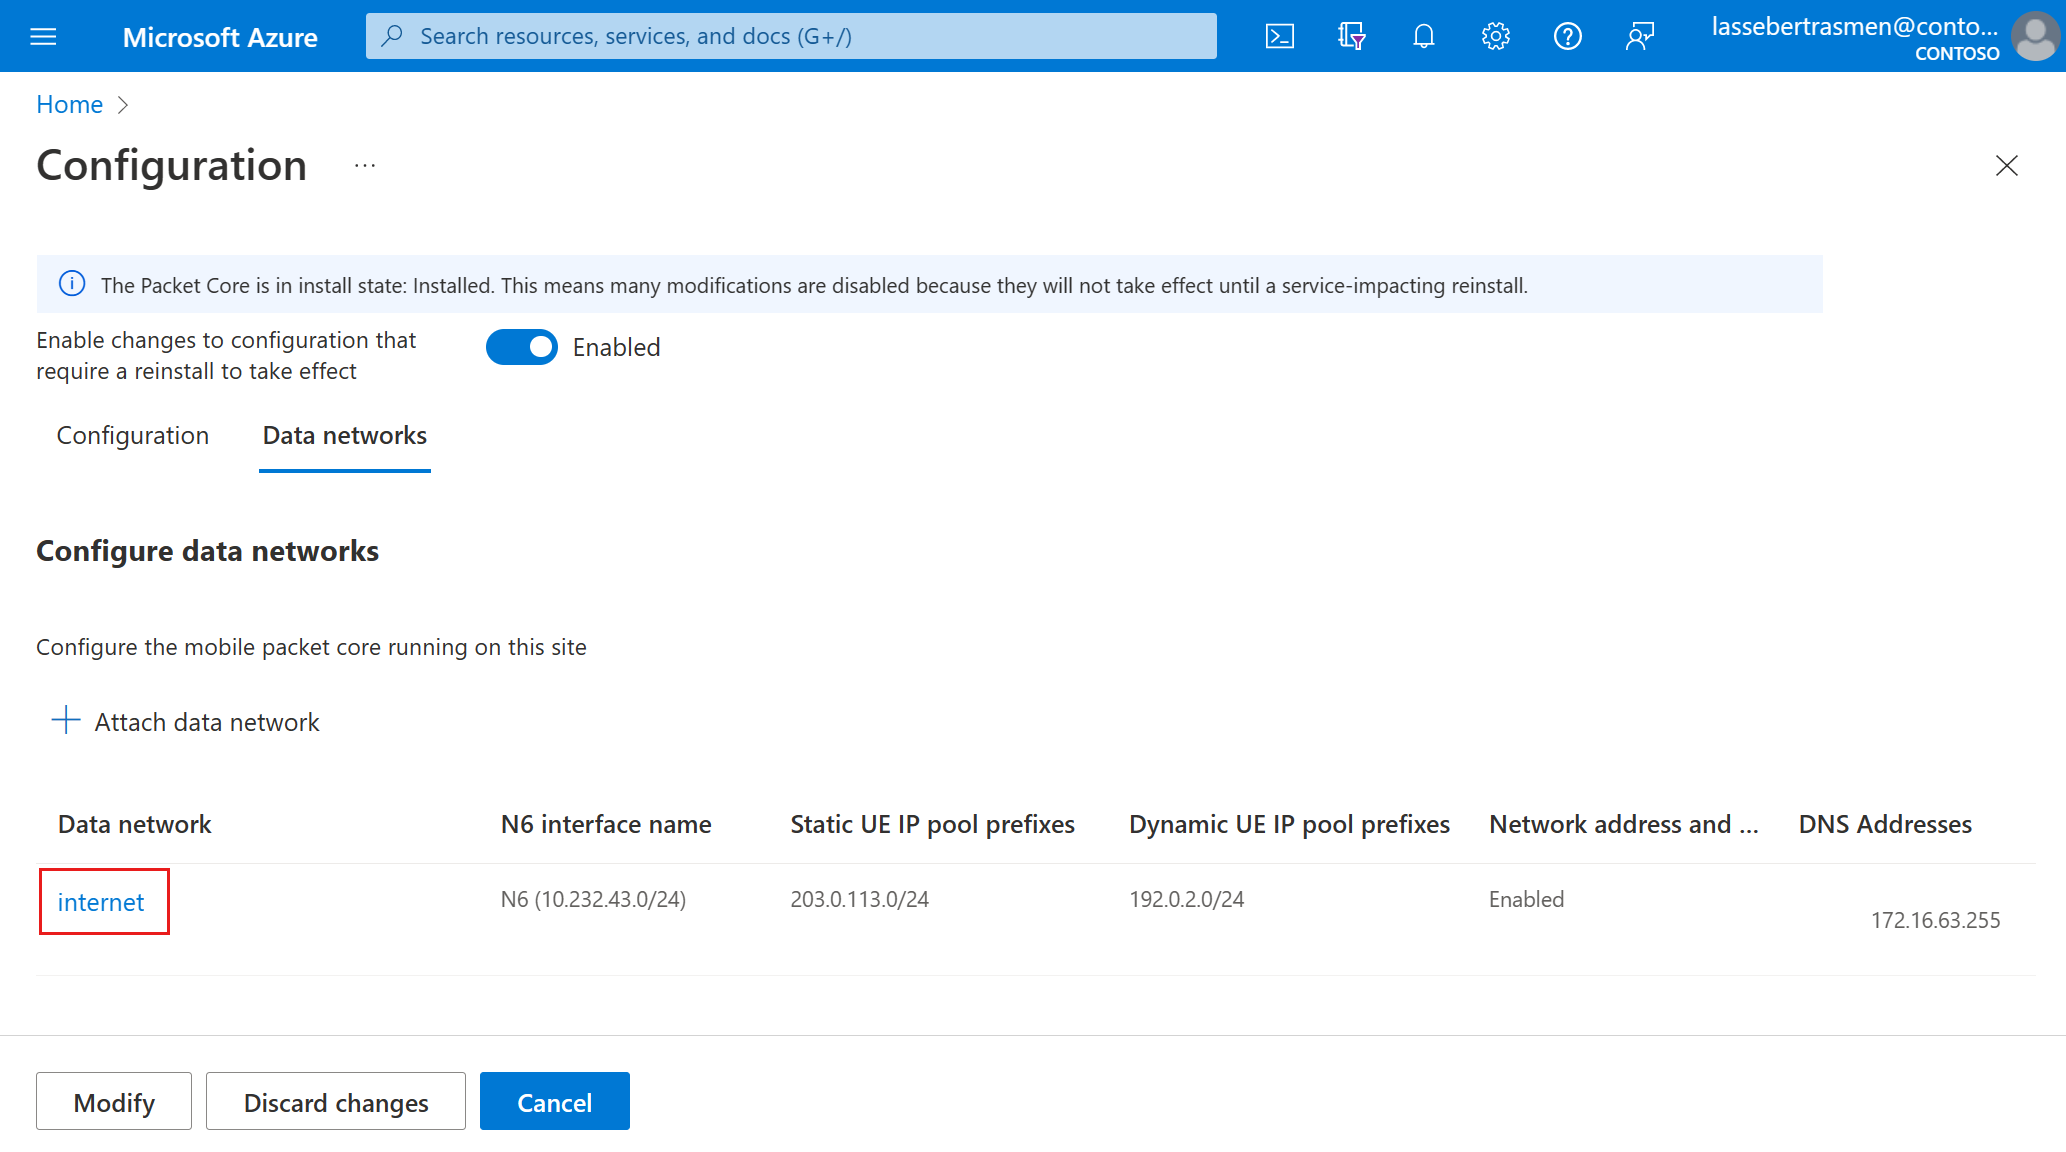
Select the Data networks tab.
Select the data network you want to modify.
Use the information you collected in Collect data network values to fill out the fields in the Modify attached data network window.
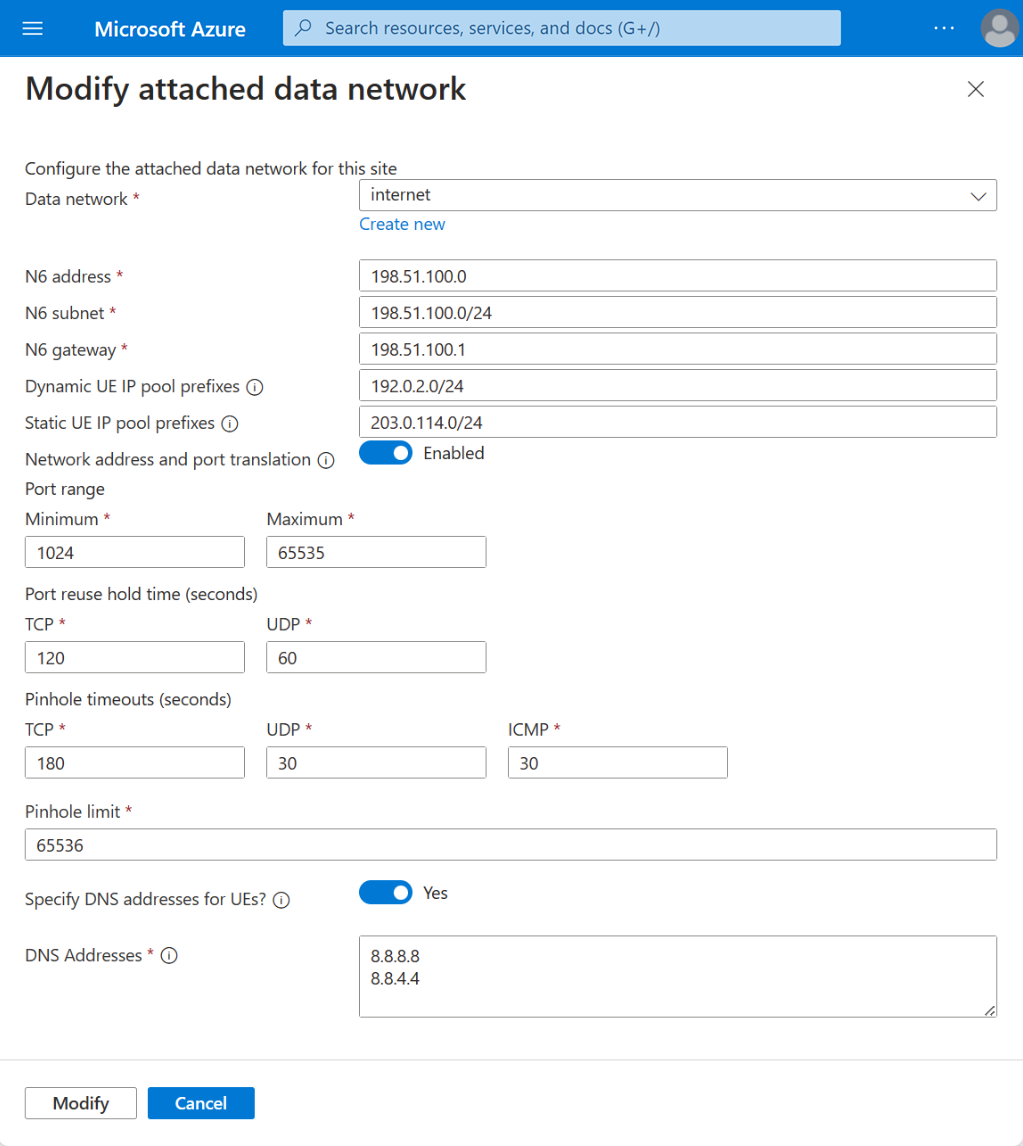
Select Modify. You should see your changes under the Data networks tab.
Go to Submit and verify changes.
Remove an attached data network
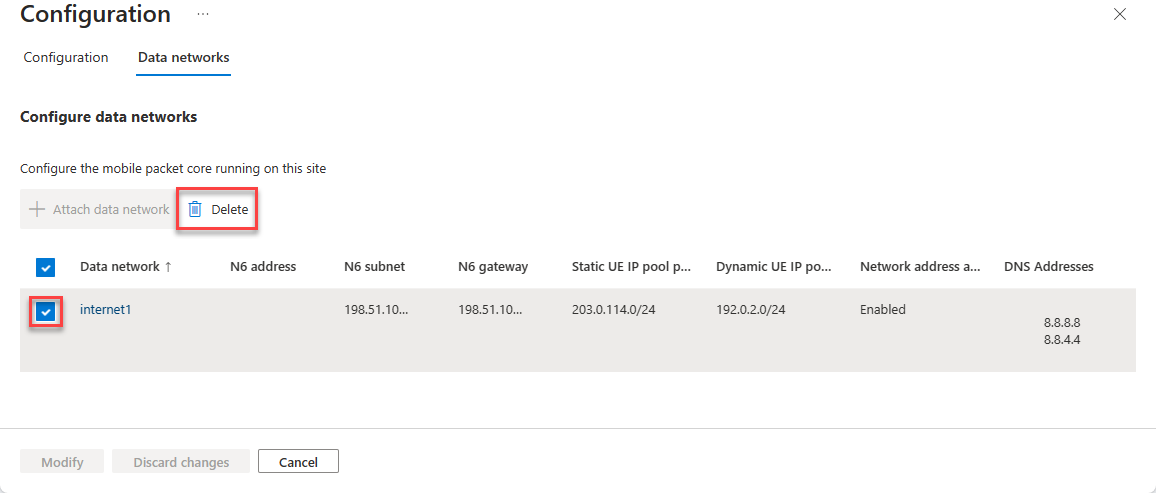
To remove a data network attached to the packet core:
- Select the checkbox for the data network you want to delete.
- Select Delete.
This change will require a manual packet core reinstall to take effect, see Next steps.
Submit and verify changes
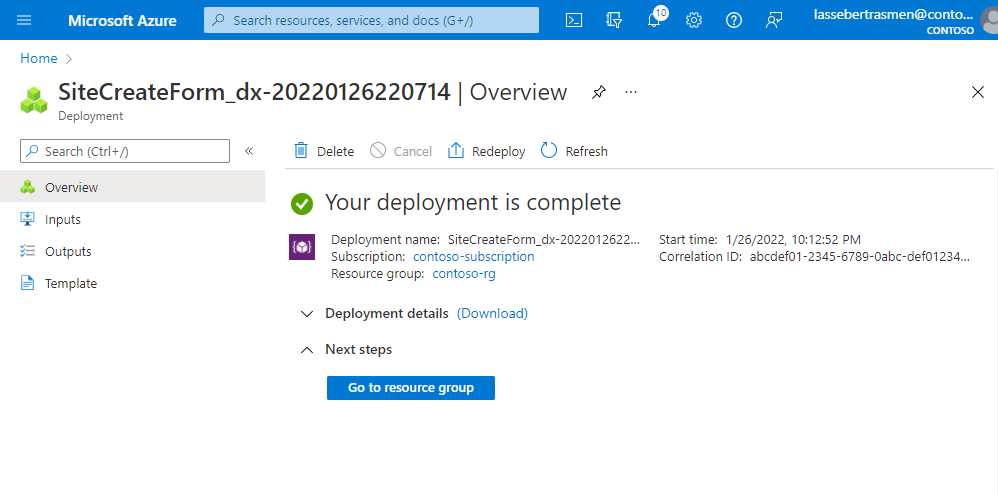
Select Modify.
Azure will now redeploy the packet core instance with the new configuration. The Azure portal will display the following confirmation screen when this deployment is complete.
Navigate to the Packet Core Control Plane resource as described in Select the packet core instance to modify.
- If you made changes to the packet core configuration, check that the fields under Connected ASE device, Azure Arc Custom Location and Access network contain the updated information.
- If you made changes to the attached data networks, check that the fields under Data networks contain the updated information.
Remove data network resource
If you removed an attached data network from the packet core and it is no longer attached to any packet cores or referenced by any SIM policies, you can remove the data network from the resource group:
Note
The data network that you want to delete must have no SIM policies associated with it. If the data network has one or more associated SIM policies data network removal will be prevented.
- If you need to delete data network from a SIM policy's configuration:
Navigate to the SIM Policy resource.
Select Modify SIM Policy.
Either:
- Select the Delete button for the network slice containing the associated data network.
- Or
- Select the Edit button for the network slice containing the associated data network.
- Select a new Data network to be associated with the network slice.
- Select Modify.
Select Review + Modify.
Select Modify.
- Navigate to the resource group containing your AP5GC resources.
- Select the checkbox for the data network resource you want to delete.
- Select Delete.
Restore backed up deployment information
If you made changes that triggered a packet core reinstall, reconfigure your deployment using the information you gathered in Back up deployment information.
Depending on your authentication method when signing in to the distributed tracing and packet core dashboards:
- If you use Microsoft Entra ID, reapply the Secret Object for distributed tracing and the packet core dashboards.
- If you use local usernames and passwords, follow Access the distributed tracing web GUI and Access the packet core dashboards to restore access to your local monitoring tools.
If you backed up any packet core dashboards, follow Importing a dashboard in the Grafana documentation to restore them.
If you have UEs that require manual operations to recover from a packet core outage, follow their recovery steps.
Next steps
- If you made a configuration change that requires you to manually perform packet core reinstall, follow Reinstall the packet core instance in a site.
- Use Azure Monitor or the packet core dashboards to confirm your packet core instance is operating normally after you modify it.
Feedback
Coming soon: Throughout 2024 we will be phasing out GitHub Issues as the feedback mechanism for content and replacing it with a new feedback system. For more information see: https://aka.ms/ContentUserFeedback.
Submit and view feedback for