Upgrade the packet core instance in a site - Azure portal
Each Azure Private 5G Core site contains a packet core instance, which is a cloud-native implementation of the 3GPP standards-defined 5G Next Generation Core (5G NGC or 5GC). You'll need to periodically upgrade your packet core instances to get access to the latest Azure Private 5G Core features and maintain support for your private mobile network. In this how-to guide, you'll learn how to upgrade a packet core instance using the Azure portal.
If your deployment contains multiple sites, we recommend upgrading the packet core in a single site first and ensuring the upgrade is successful before upgrading the packet cores in the remaining sites.
Prerequisites
- You must have a running packet core. Use Azure monitor platform metrics or the packet core dashboards to confirm your packet core instance is operating normally.
- Ensure you can sign in to the Azure portal using an account with access to the active subscription you used to create your private mobile network. This account must have the built-in Contributor or Owner role at the subscription scope.
- If you use Microsoft Entra ID to authenticate access to your local monitoring tools, ensure your local machine has core kubectl access to the Azure Arc-enabled Kubernetes cluster. This requires a core kubeconfig file, which you can obtain by following Core namespace access.
View the current packet core version
To check which version your packet core instance is currently running, and whether there's a newer version available:
Sign in to the Azure portal.
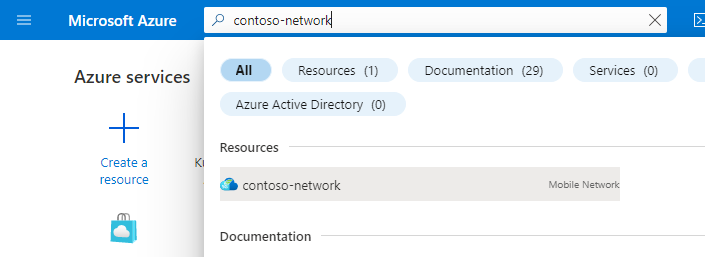
Search for and select the Mobile Network resource representing the private mobile network.
In the Resource menu, select Sites.
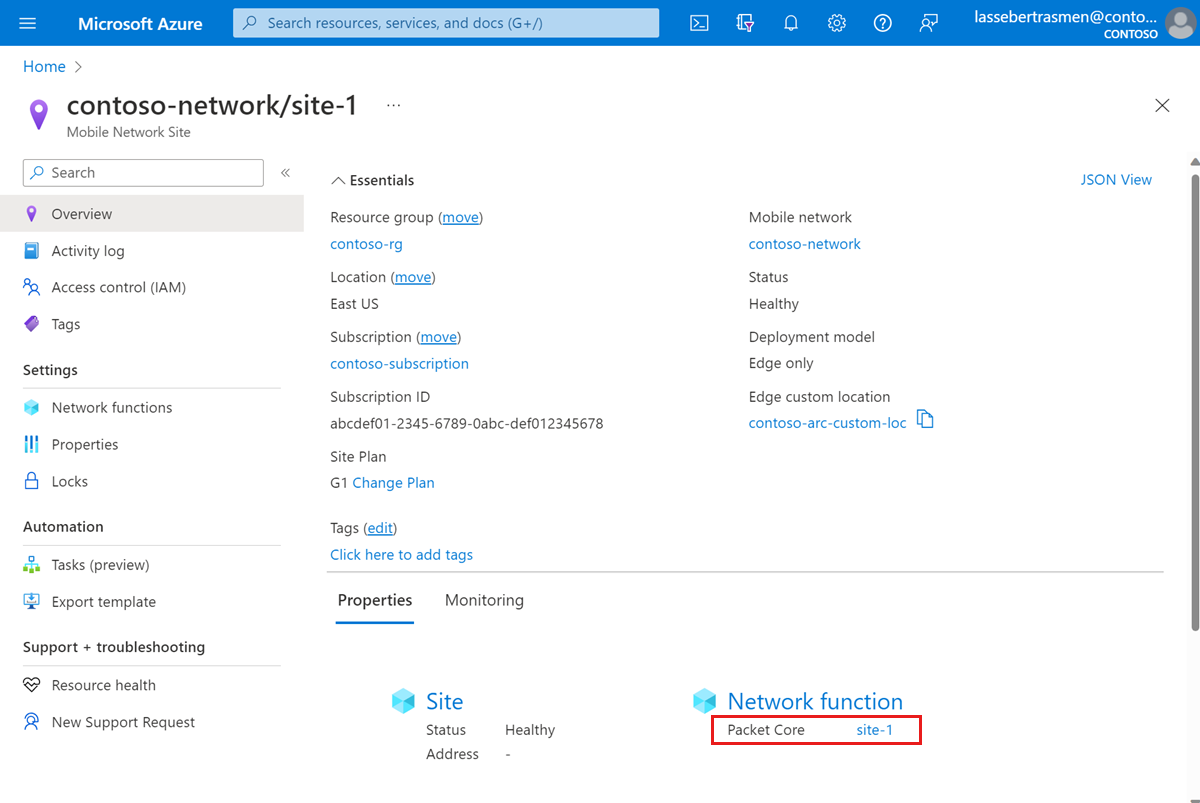
Select the site containing the packet core instance you're interested in.
Under the Network function heading, select the name of the Packet Core Control Plane resource shown next to Packet Core.
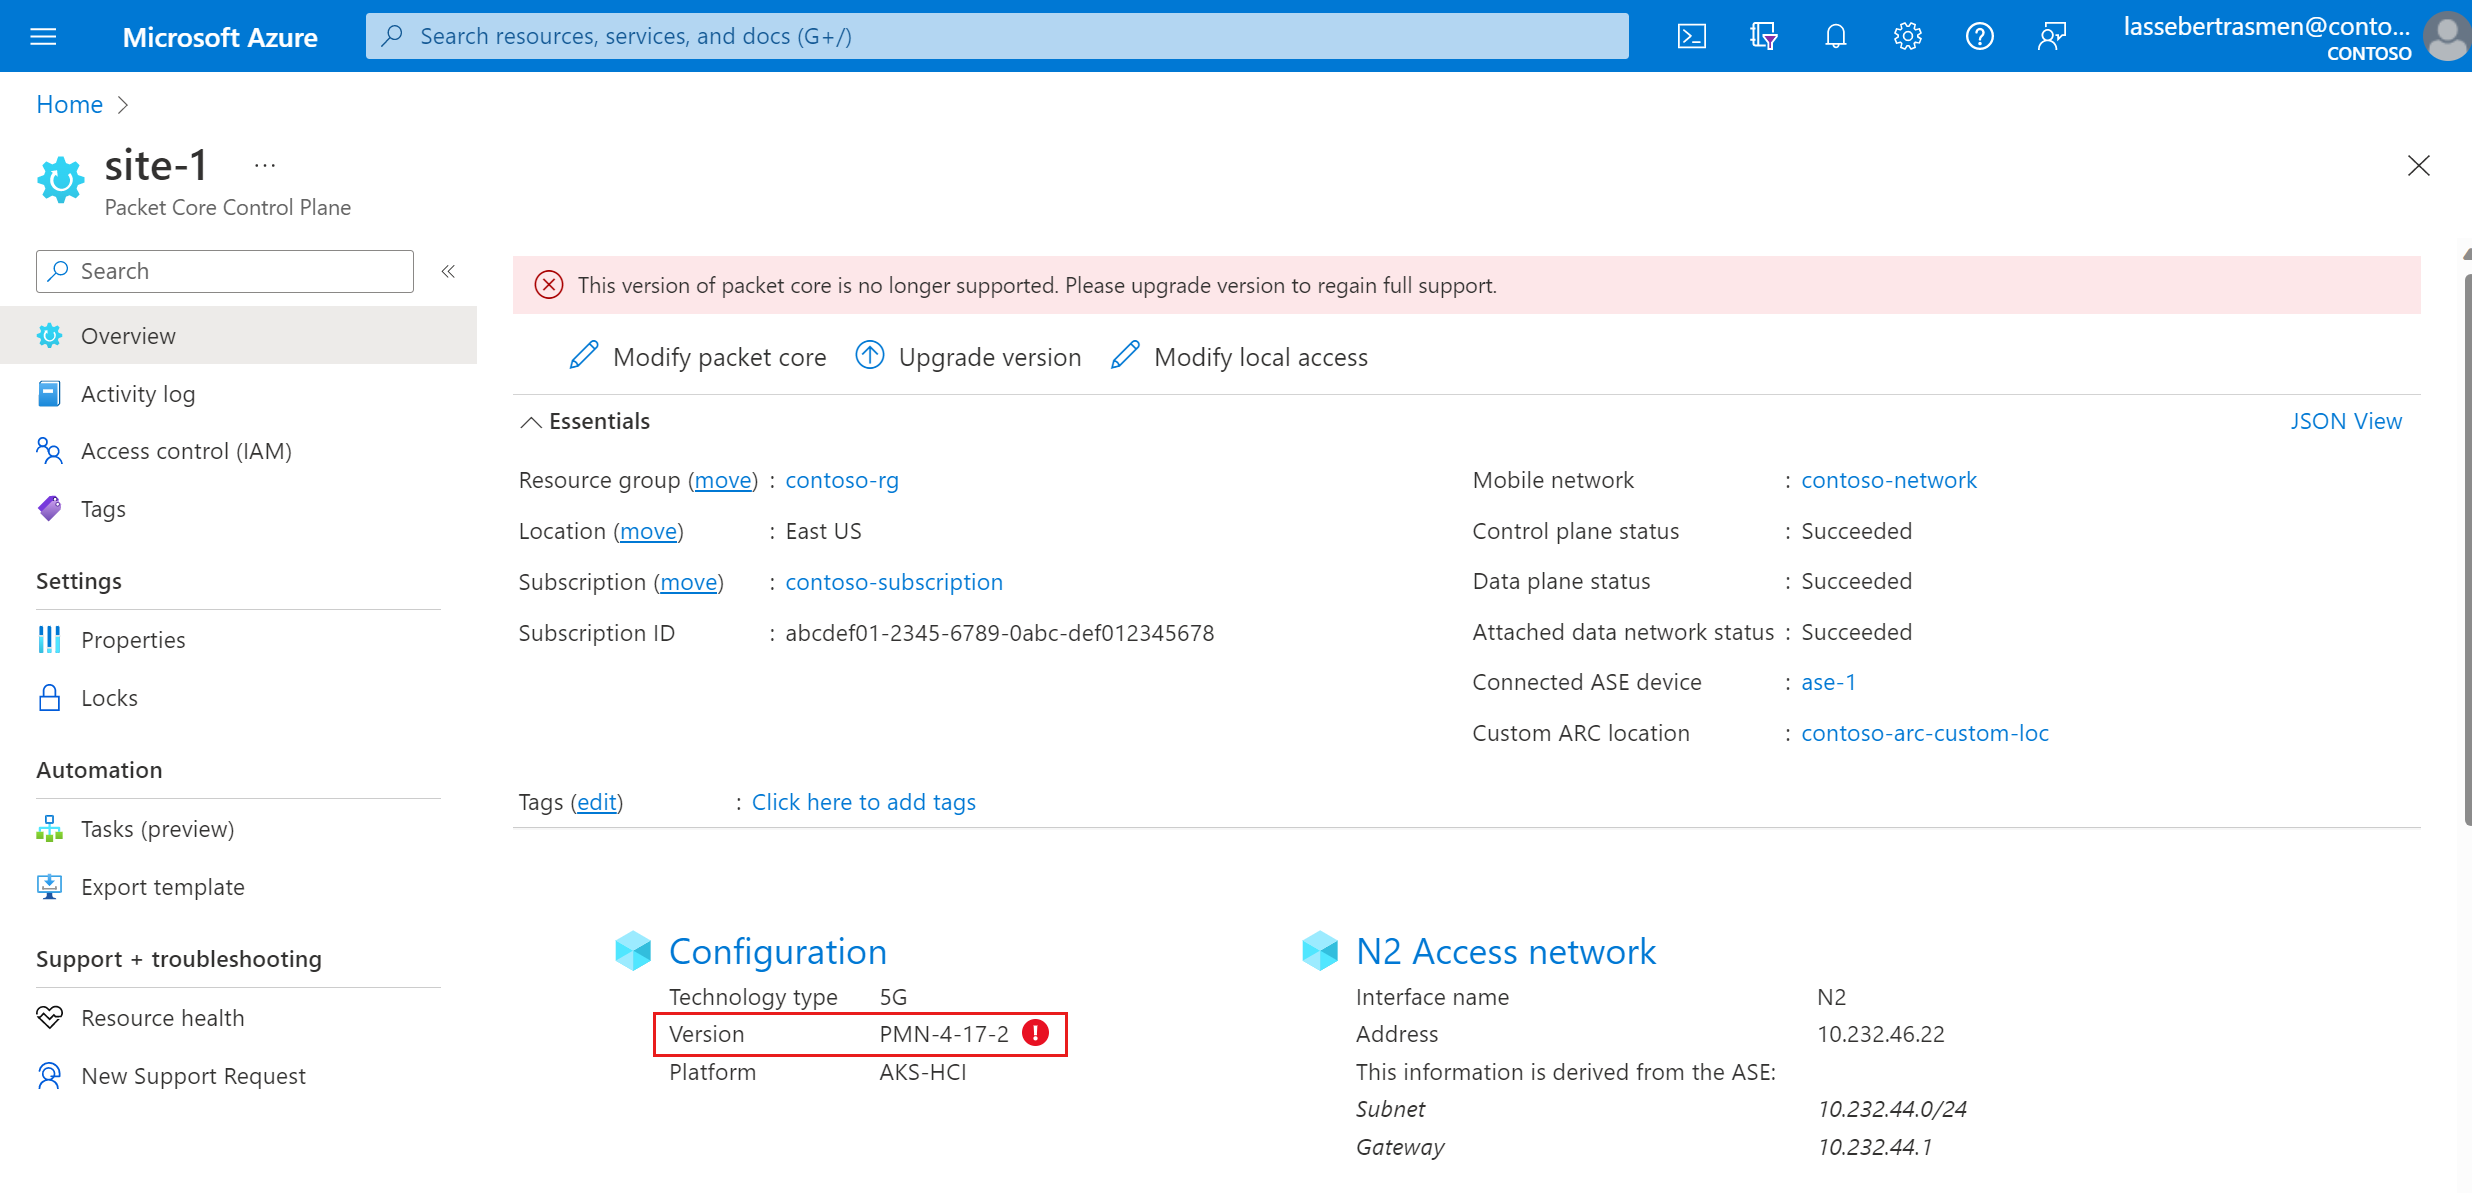
Check the Version field under the Configuration heading to view the current software version. If there's a warning that you're running an unsupported version, we advise that you upgrade your packet core instance to a version that Microsoft currently supports.

Plan for your upgrade
The service will be unavailable during the upgrade period. We recommend upgrading your packet core instance during a maintenance window to minimize the impact of the upgrade on your service.
When planning for your upgrade, make sure you're allowing sufficient time for an upgrade and a possible rollback in the event of any issues. An upgrade and rollback of packet core can each take up to two hours to complete.
In addition, consider the following points for pre- and post-upgrade steps you may need to plan for when scheduling your maintenance window:
- Refer to the packet core release notes for the version of packet core you're upgrading to and whether it's supported by the version your Azure Stack Edge (ASE) is currently running.
- If your ASE version is incompatible with the packet core version you're upgrading to, you'll need to upgrade ASE first. Refer to Update your Azure Stack Edge Pro GPU for the latest available version of ASE.
- If you're currently running a packet core version that the ASE version you're upgrading to supports, you can upgrade ASE and packet core independently.
- If you're currently running a packet core version that the ASE version you're upgrading to doesn't support, it's possible that packet core won't operate normally with the new ASE version. In this case, we recommend planning a maintenance window that allows you time to upgrade both ASE and packet core. Refer to Update your Azure Stack Edge Pro GPU for how long the ASE upgrade will take.
- Prepare a testing plan with any steps you'll need to follow to validate your deployment post-upgrade. This plan should include testing some registered devices and sessions, and you'll execute it as part of Verify upgrade.
- Review Restore backed up deployment information and Verify upgrade for the post-upgrade steps you'll need to follow to ensure your deployment is fully operational. Make sure your upgrade plan allows sufficient time for these steps.
Upgrade the packet core instance
Back up deployment information
The following list contains the data that will be lost over a packet core upgrade. Back up any information you'd like to preserve; after the upgrade, you can use this information to reconfigure your packet core instance.
- Depending on your authentication method when signing in to the distributed tracing and packet core dashboards:
- If you use Microsoft Entra ID, save a copy of the Kubernetes Secret Object YAML file you created in Create Kubernetes Secret Objects.
- If you use local usernames and passwords and want to keep using the same credentials, save a copy of the current passwords to a secure location.
- All traces are deleted during upgrade and cannot be retrieved. If you want to retain any traces, export and save them securely before continuing.
- Any customizations made to the packet core dashboards won't be carried over the upgrade. Refer to Exporting a dashboard in the Grafana documentation to save a backed-up copy of your dashboards.
- Most UEs will automatically re-register and recreate any sessions after the upgrade completes. If you have any special devices that require manual operations to recover from a packet core outage, gather a list of these UEs and their recovery steps.
Upgrade ASE
If you determined in Plan for your upgrade that you need to upgrade your ASE, follow the steps in Update your Azure Stack Edge Pro GPU.
Upgrade packet core
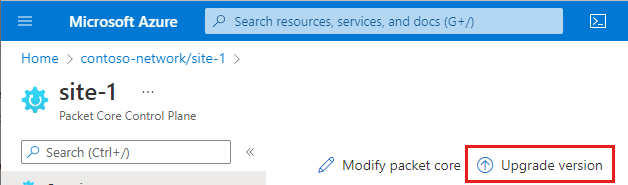
Navigate to the Packet Core Control Plane resource that you're interested in upgrading as described in View the current packet core version.
Select Upgrade version.
From the New version list, select the packet core version you want to upgrade to.
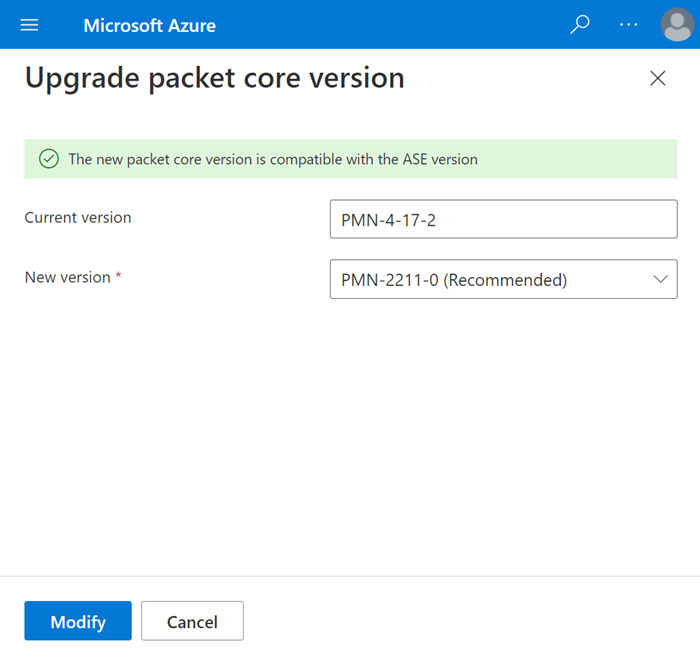
Note
If a warning appears about an incompatibility between the selected packet core version and the current Azure Stack Edge version, you'll need to upgrade ASE first. Select Upgrade ASE from the warning prompt and follow the instructions in Update your Azure Stack Edge Pro GPU. Once you've finished updating your ASE, go back to the beginning of this step to upgrade packet core.
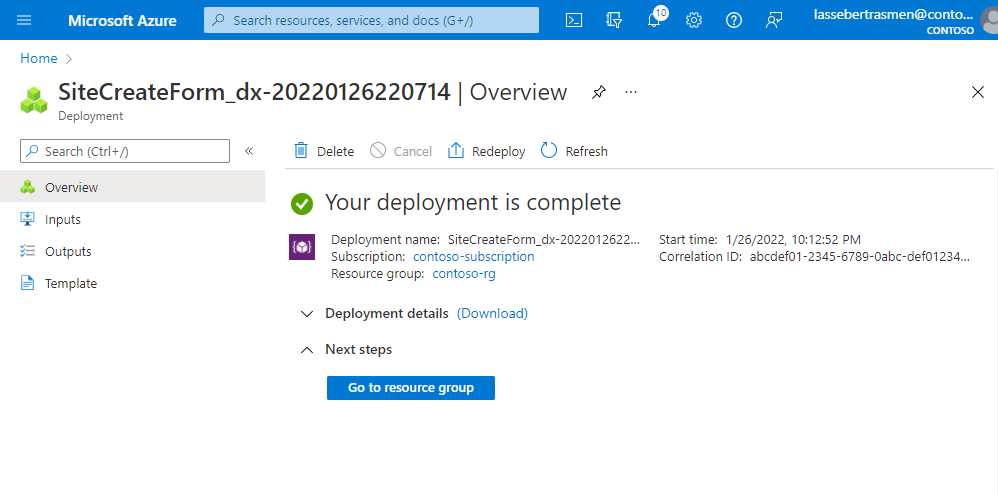
Select Modify.
Azure will now redeploy the packet core instance at the new software version. The Azure portal will display the following confirmation screen when this deployment is complete.
Restore backed up deployment information
Reconfigure your deployment using the information you gathered in Back up deployment information.
Depending on your authentication method when signing in to the distributed tracing and packet core dashboards:
- If you use Microsoft Entra ID, check that you can access distributed tracing and packet core dashboards using Microsoft Entra ID. If you cannot access either of these, reapply the Secret Object for distributed tracing and the packet core dashboards.
- If you use local usernames and passwords, follow Access the distributed tracing web GUI and Access the packet core dashboards to restore access to your local monitoring tools.
If you backed up any packet core dashboards, follow Importing a dashboard in the Grafana documentation to restore them.
If you have UEs that require manual operations to recover from a packet core outage, follow their recovery steps.
Verify upgrade
Once the upgrade completes, check if your deployment is operating normally.
- Navigate to the Packet Core Control Plane resource as described in View the current packet core version. Check the Version field under the Configuration heading to confirm that it displays the new software version.
- Use Azure Monitor platform metrics or the packet core dashboards to confirm your packet core instance is operating normally.
- Execute the testing plan you prepared in Plan for your upgrade.
Rollback
If you encountered issues after the upgrade, you can roll back the packet core instance to the version you were previously running.
If any of the configuration options you set while your packet core instance was running a newer version aren't supported in the version that you want to roll back to, you'll need to revert to the previous configuration before you're able to perform a rollback. Check the packet core release notes for information on when new features were introduced.
Ensure you have a backup of your deployment information. If you need to back up again, follow Back up deployment information.
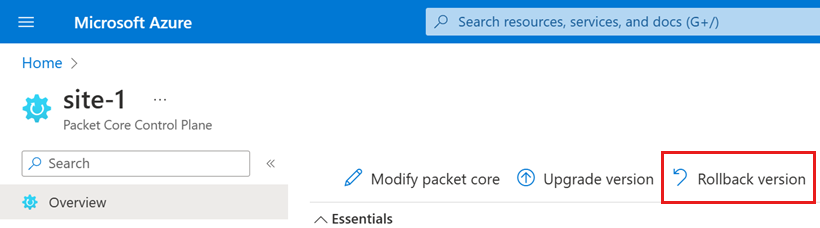
Navigate to the Packet Core Control Plane resource that you want to roll back as described in View the current packet core version.
Select Rollback version.
In the Roll back packet core screen on the right, in the Confirm rollback field, type yes.

Select Roll back packet core.
Azure will now redeploy the packet core instance at the previous software version. You can check the latest status of the rollback by looking at the Packet core installation state field. The Packet Core Control Plane resource's overview page will refresh every 20 seconds, and you can select Refresh to trigger a manual update. The Packet core installation state field will show as RollingBack during the rollback and update to Installed when the process completes.
Follow the steps in Restore backed up deployment information to reconfigure your deployment.
Follow the steps in Verify upgrade to check if the rollback was successful.
Next steps
You've finished upgrading your packet core instance.
- If your deployment contains multiple sites, upgrade the packet core instance in another site.
- Use Azure Monitor platform metrics or the packet core dashboards to monitor your deployment.
Feedback
Coming soon: Throughout 2024 we will be phasing out GitHub Issues as the feedback mechanism for content and replacing it with a new feedback system. For more information see: https://aka.ms/ContentUserFeedback.
Submit and view feedback for