Create and manage business glossaries
In Microsoft Purview, you can create multiple business glossaries to support separate glossaries for any context in your business. This article provides the steps to create and manage business glossaries in the Microsoft Purview Data Catalog.
Create a new glossary
To create a business glossary, follow these steps:
Open the Data catalog
If you're using the classic Microsoft Purview portal, select Glossary. If you're using the new Microsoft Purview portal under Business glossary, select Glossaries.
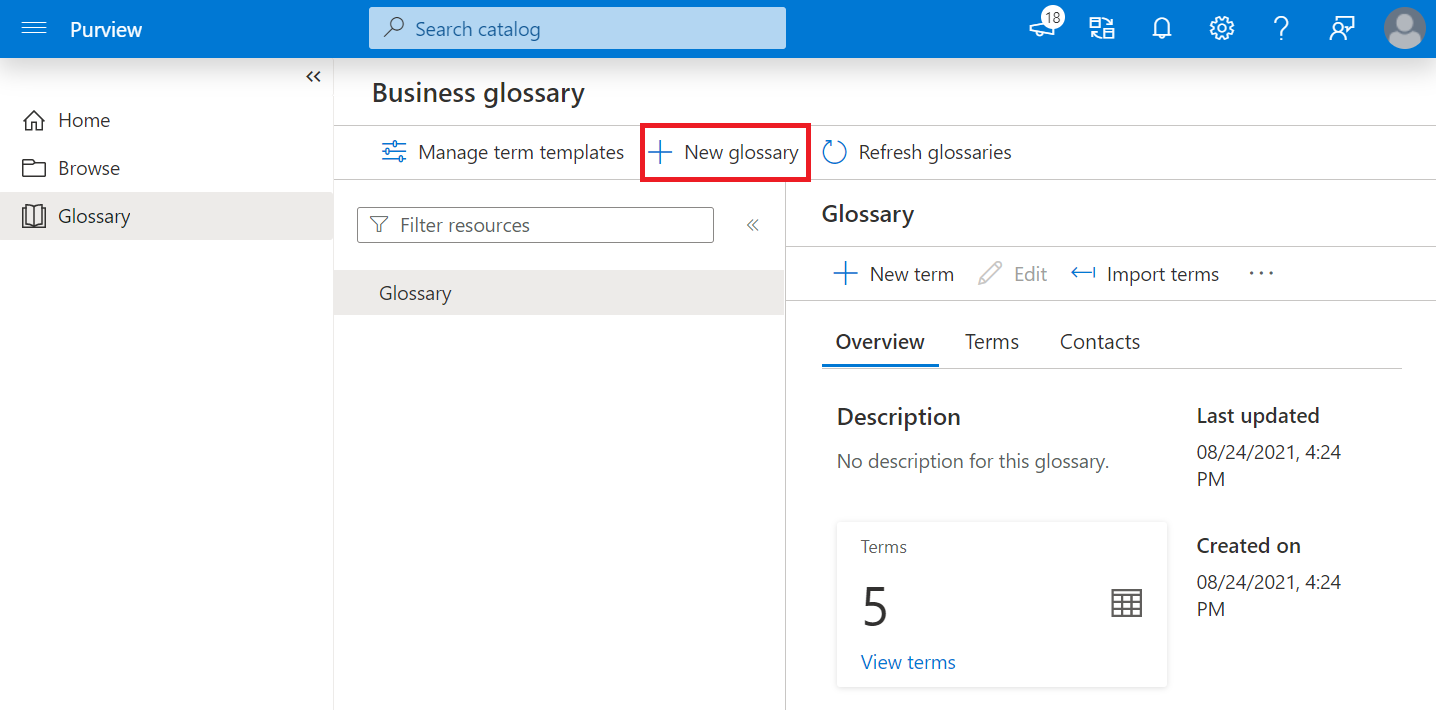
On the Business glossary page, select + New glossary.
Give your glossary a Name and a Description.
You'll need to select at least one Steward, a Microsoft Entra user or group who will manage the glossary.
You'll also need to select at least one Expert, a Microsoft Entra user or group who can be contacted for more information about the glossary.
You can give additional information about the stewards or experts here, and when you're finished, select Create.

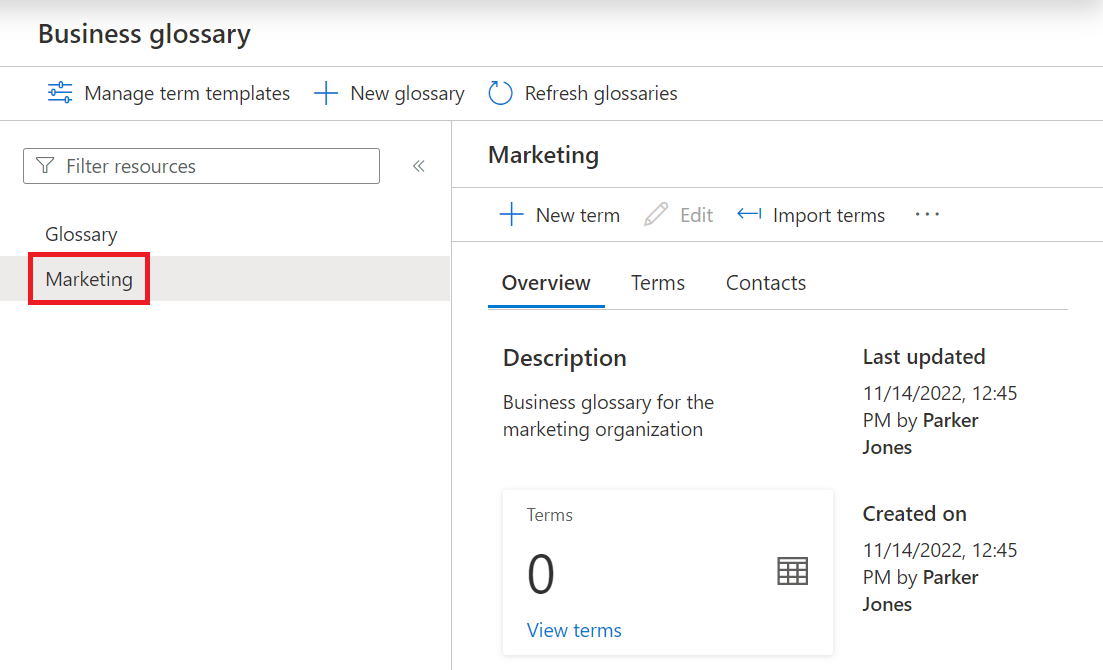
Once your new glossary is created, you'll be able to see it in the list of glossaries. You can switch between glossaries by selecting their names.
Manage or delete a glossary
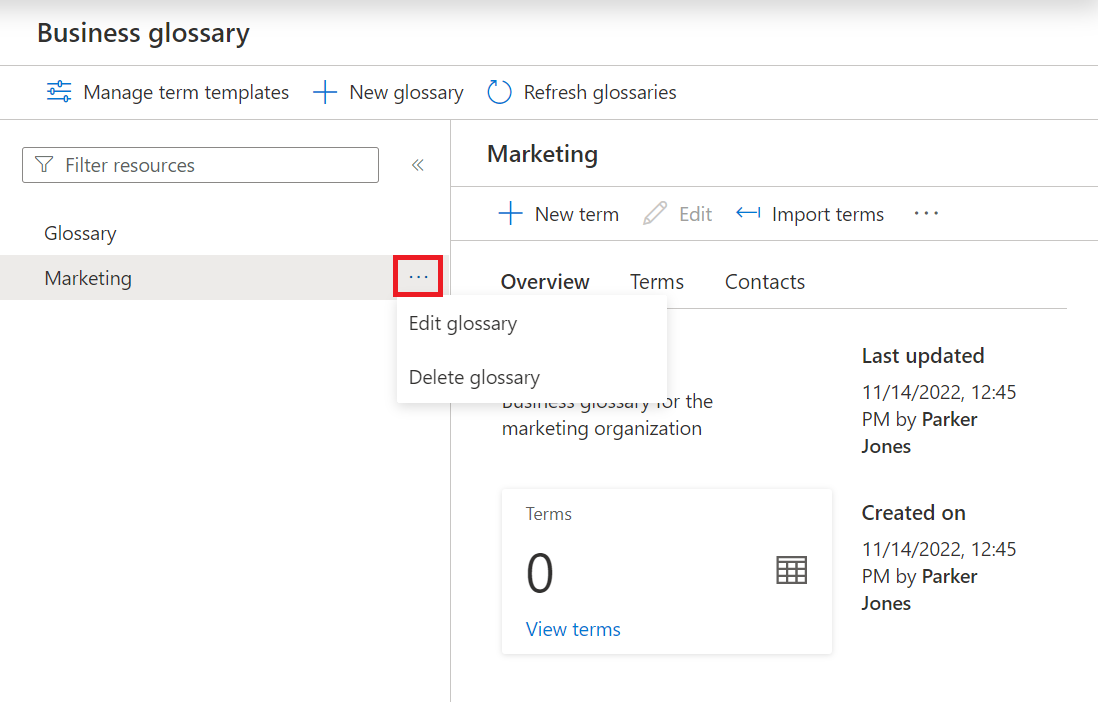
To edit or delete a glossary, hover over the glossary and select the ellipsis button next to the glossary's name.
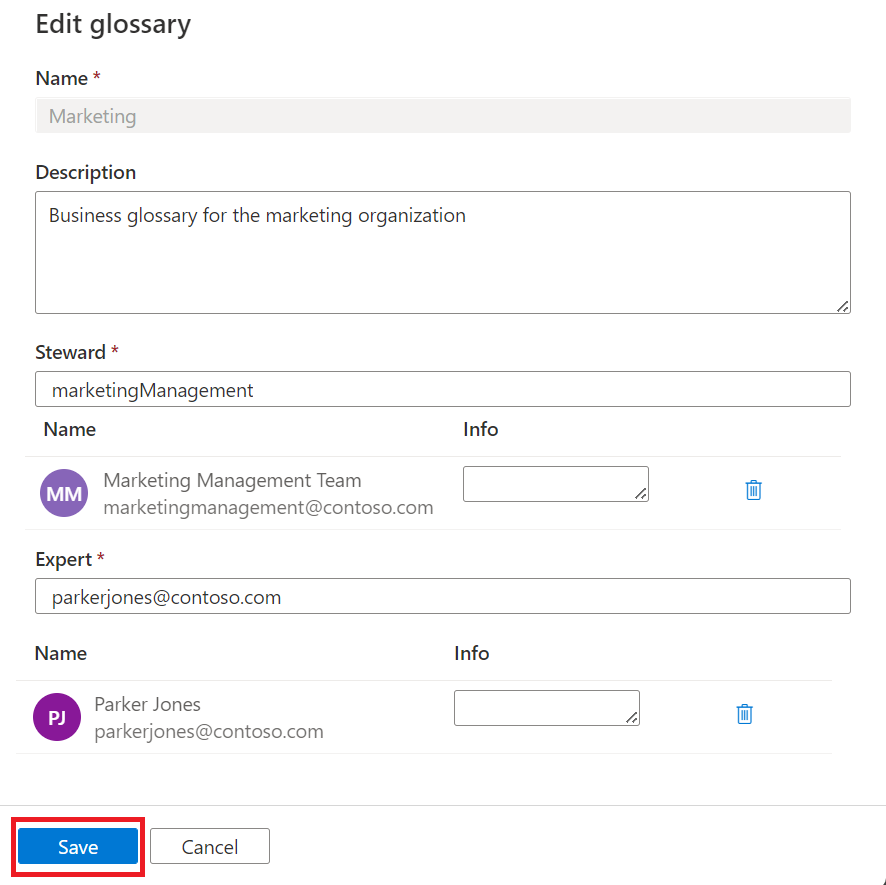
If you select Edit glossary, you can edit the description and the steward or the expert, but at this time you can't change the glossary name. Select Save to save the changes.
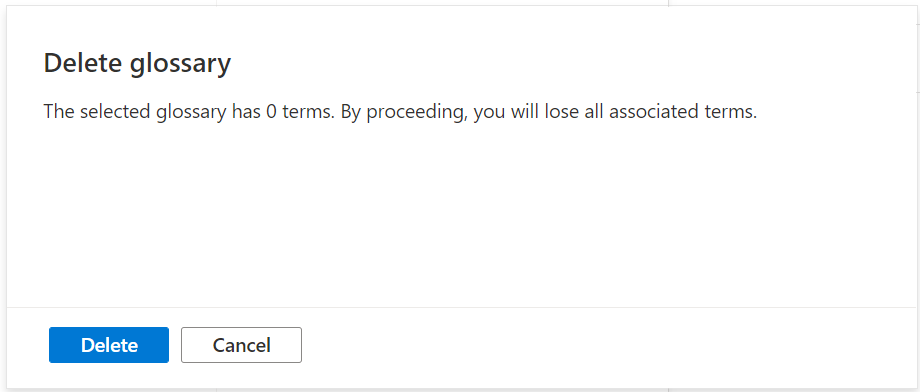
If you select Delete glossary, you'll be asked to confirm the deletion. All terms associated with the glossary will be deleted if you delete the glossary. Select Delete again to delete the glossary.
Next steps
- For more information about creating and managing glossary terms, see the glossary terms article.
Feedback
Coming soon: Throughout 2024 we will be phasing out GitHub Issues as the feedback mechanism for content and replacing it with a new feedback system. For more information see: https://aka.ms/ContentUserFeedback.
Submit and view feedback for