Quickstart: Deploy Unity sample to HoloLens
This quickstart covers how to deploy and run the quickstart sample app for Unity to a HoloLens 2.
In this quickstart, you learn how to:
- Build the quickstart sample app for HoloLens
- Deploy the sample to the device
- Run the sample on the device
Prerequisites
In this quickstart, we deploy the sample project from Quickstart: Render a model with Unity. Make sure your credentials are saved properly with the scene and you can connect to a session from within the Unity editor.
The HoloLens 2 must be in developer mode and paired with the desktop machine. Refer to using the device portal for further instructions.
Build the sample project
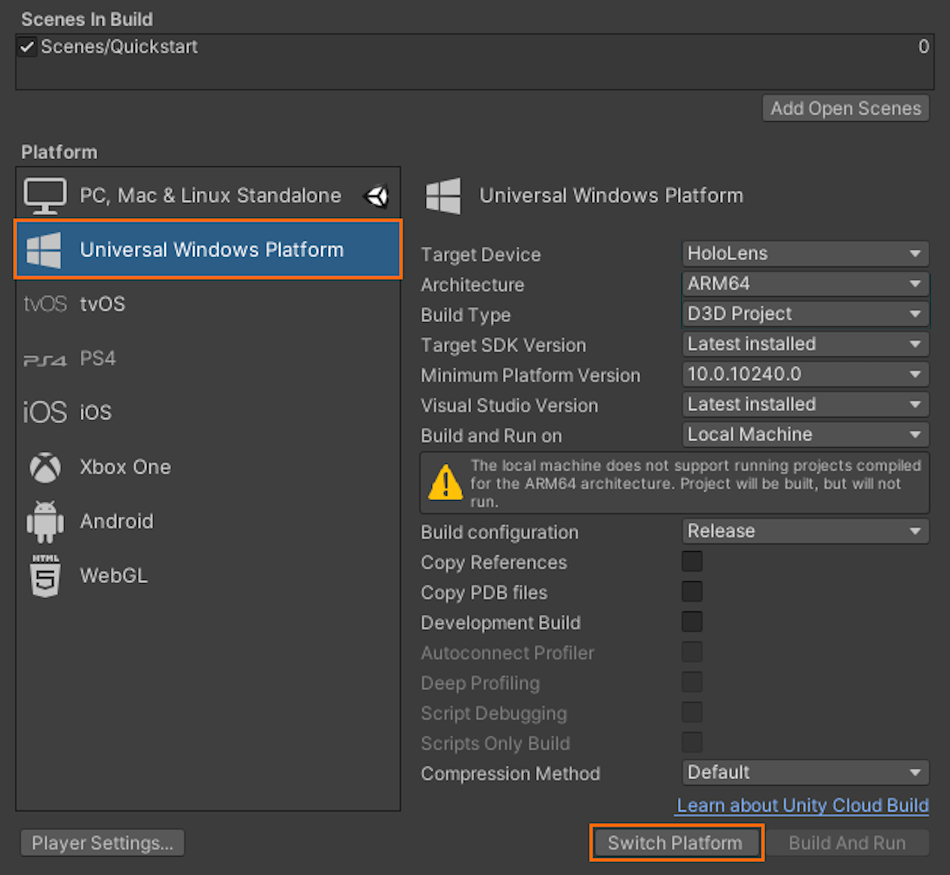
- Open File > Build Settings.
- Change Platform to Universal Windows Platform.
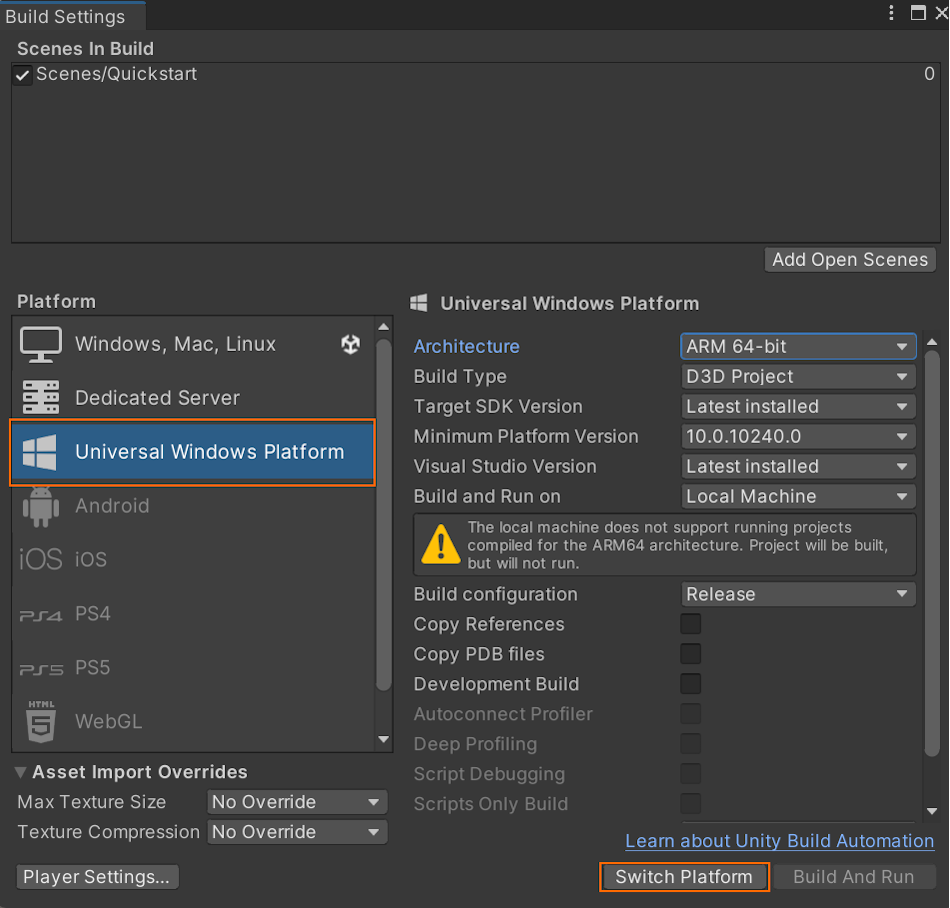
- Select Switch Platform.
- When pressing Build (or 'Build And Run'), you're asked to select some folder where the solution should be stored.
Build the Visual Studio solution
- Open the generated Quickstart.sln with Visual Studio
- Change the configuration to Release and ARM64
- Switch the debugger mode to Remote Machine

- Build the solution
- In the Solution Explorer, select the 'Quickstart' project
- Go to Properties
- Make sure the configuration Release and platform ARM64 are active
- Go to Debugging
- Set Debugger to Launch to Remote Machine
- Change Machine Name to the IP of your HoloLens
Launch the sample project
- Connect the HoloLens with a USB cable to your PC.
- Start the Debugger in Visual Studio (F5). It automatically deploys the app to the device.
The sample app should launch and then start a new session. After a while, the session is ready and the remotely rendered model will appear in front of you. If you want to launch the sample a second time later, you can also find it from the HoloLens start menu now.
Next steps
In the next quickstart, we'll take a look at converting a custom model.
Feedback
Coming soon: Throughout 2024 we will be phasing out GitHub Issues as the feedback mechanism for content and replacing it with a new feedback system. For more information see: https://aka.ms/ContentUserFeedback.
Submit and view feedback for