Quickstart: Create a Service Fabric cluster using ARM template
Article
Azure Service Fabric is a distributed systems platform that makes it easy to package, deploy, and manage scalable and reliable microservices and containers. A Service Fabric cluster is a network-connected set of virtual machines into which your microservices are deployed and managed. This article describes how to deploy a Service Fabric test cluster in Azure using an Azure Resource Manager template (ARM template).
An Azure Resource Manager template is a JavaScript Object Notation (JSON) file that defines the infrastructure and configuration for your project. The template uses declarative syntax. You describe your intended deployment without writing the sequence of programming commands to create the deployment.
This five-node Windows cluster is secured with a self-signed certificate and thus only intended for instructional purposes (rather than production workloads). We'll use Azure PowerShell to deploy the template. In addition to Azure PowerShell, you can also use the Azure portal, Azure CLI, and REST API. To learn other deployment methods, see Deploy templates.
If your environment meets the prerequisites and you're familiar with using ARM templates, select the Deploy to Azure button. The template will open in the Azure portal.
Prerequisites
If you don't have an Azure subscription, create a free account before you begin.
Download the sample template and certificate helper script
Clone or download the Azure Resource Manager quickstart Templates repo. Alternatively, copy down locally the following files we'll be using from the service-fabric-secure-cluster-5-node-1-nodetype folder:
Sign in to Azure and designate the subscription to use for creating your Service Fabric cluster.
PowerShell
# Sign in to your Azure accountLogin-AzAccount -SubscriptionId"<subscription ID>"
Create a self-signed certificate stored in Key Vault
Service Fabric uses X.509 certificates to secure a cluster and provide application security features, and Key Vault to manage those certificates. Successful cluster creation requires a cluster certificate to enable node-to-node communication. For the purpose of creating this quickstart test cluster, we'll create a self-signed certificate for cluster authentication. Production workloads require certificates created using a correctly configured Windows Server certificate service or one from an approved certificate authority (CA).
PowerShell
# Designate unique (within cloudapp.azure.com) names for your resources$resourceGroupName = "SFQuickstartRG"$keyVaultName = "SFQuickstartKV"# Create a new resource group for your Key Vault and Service Fabric clusterNew-AzResourceGroup -Name$resourceGroupName -Location SouthCentralUS
# Create a Key Vault enabled for deploymentNew-AzKeyVault -VaultName$keyVaultName -ResourceGroupName$resourceGroupName -Location SouthCentralUS -EnabledForDeployment# Generate a certificate and upload it to Key Vault
.\scripts\New-ServiceFabricClusterCertificate.ps1
The script will prompt you for the following (be sure to modify CertDNSName and KeyVaultName from the example values below):
Upon completion, the script will provide the parameter values needed for template deployment. Be sure to store these in the following variables, as they will be needed to deploy your cluster template:
The template used in this quickstart is from Azure Quickstart Templates. The template for this article is too long to show here. To view the template, see the azuredeploy.json file.
Multiple Azure resources have been defined in the template:
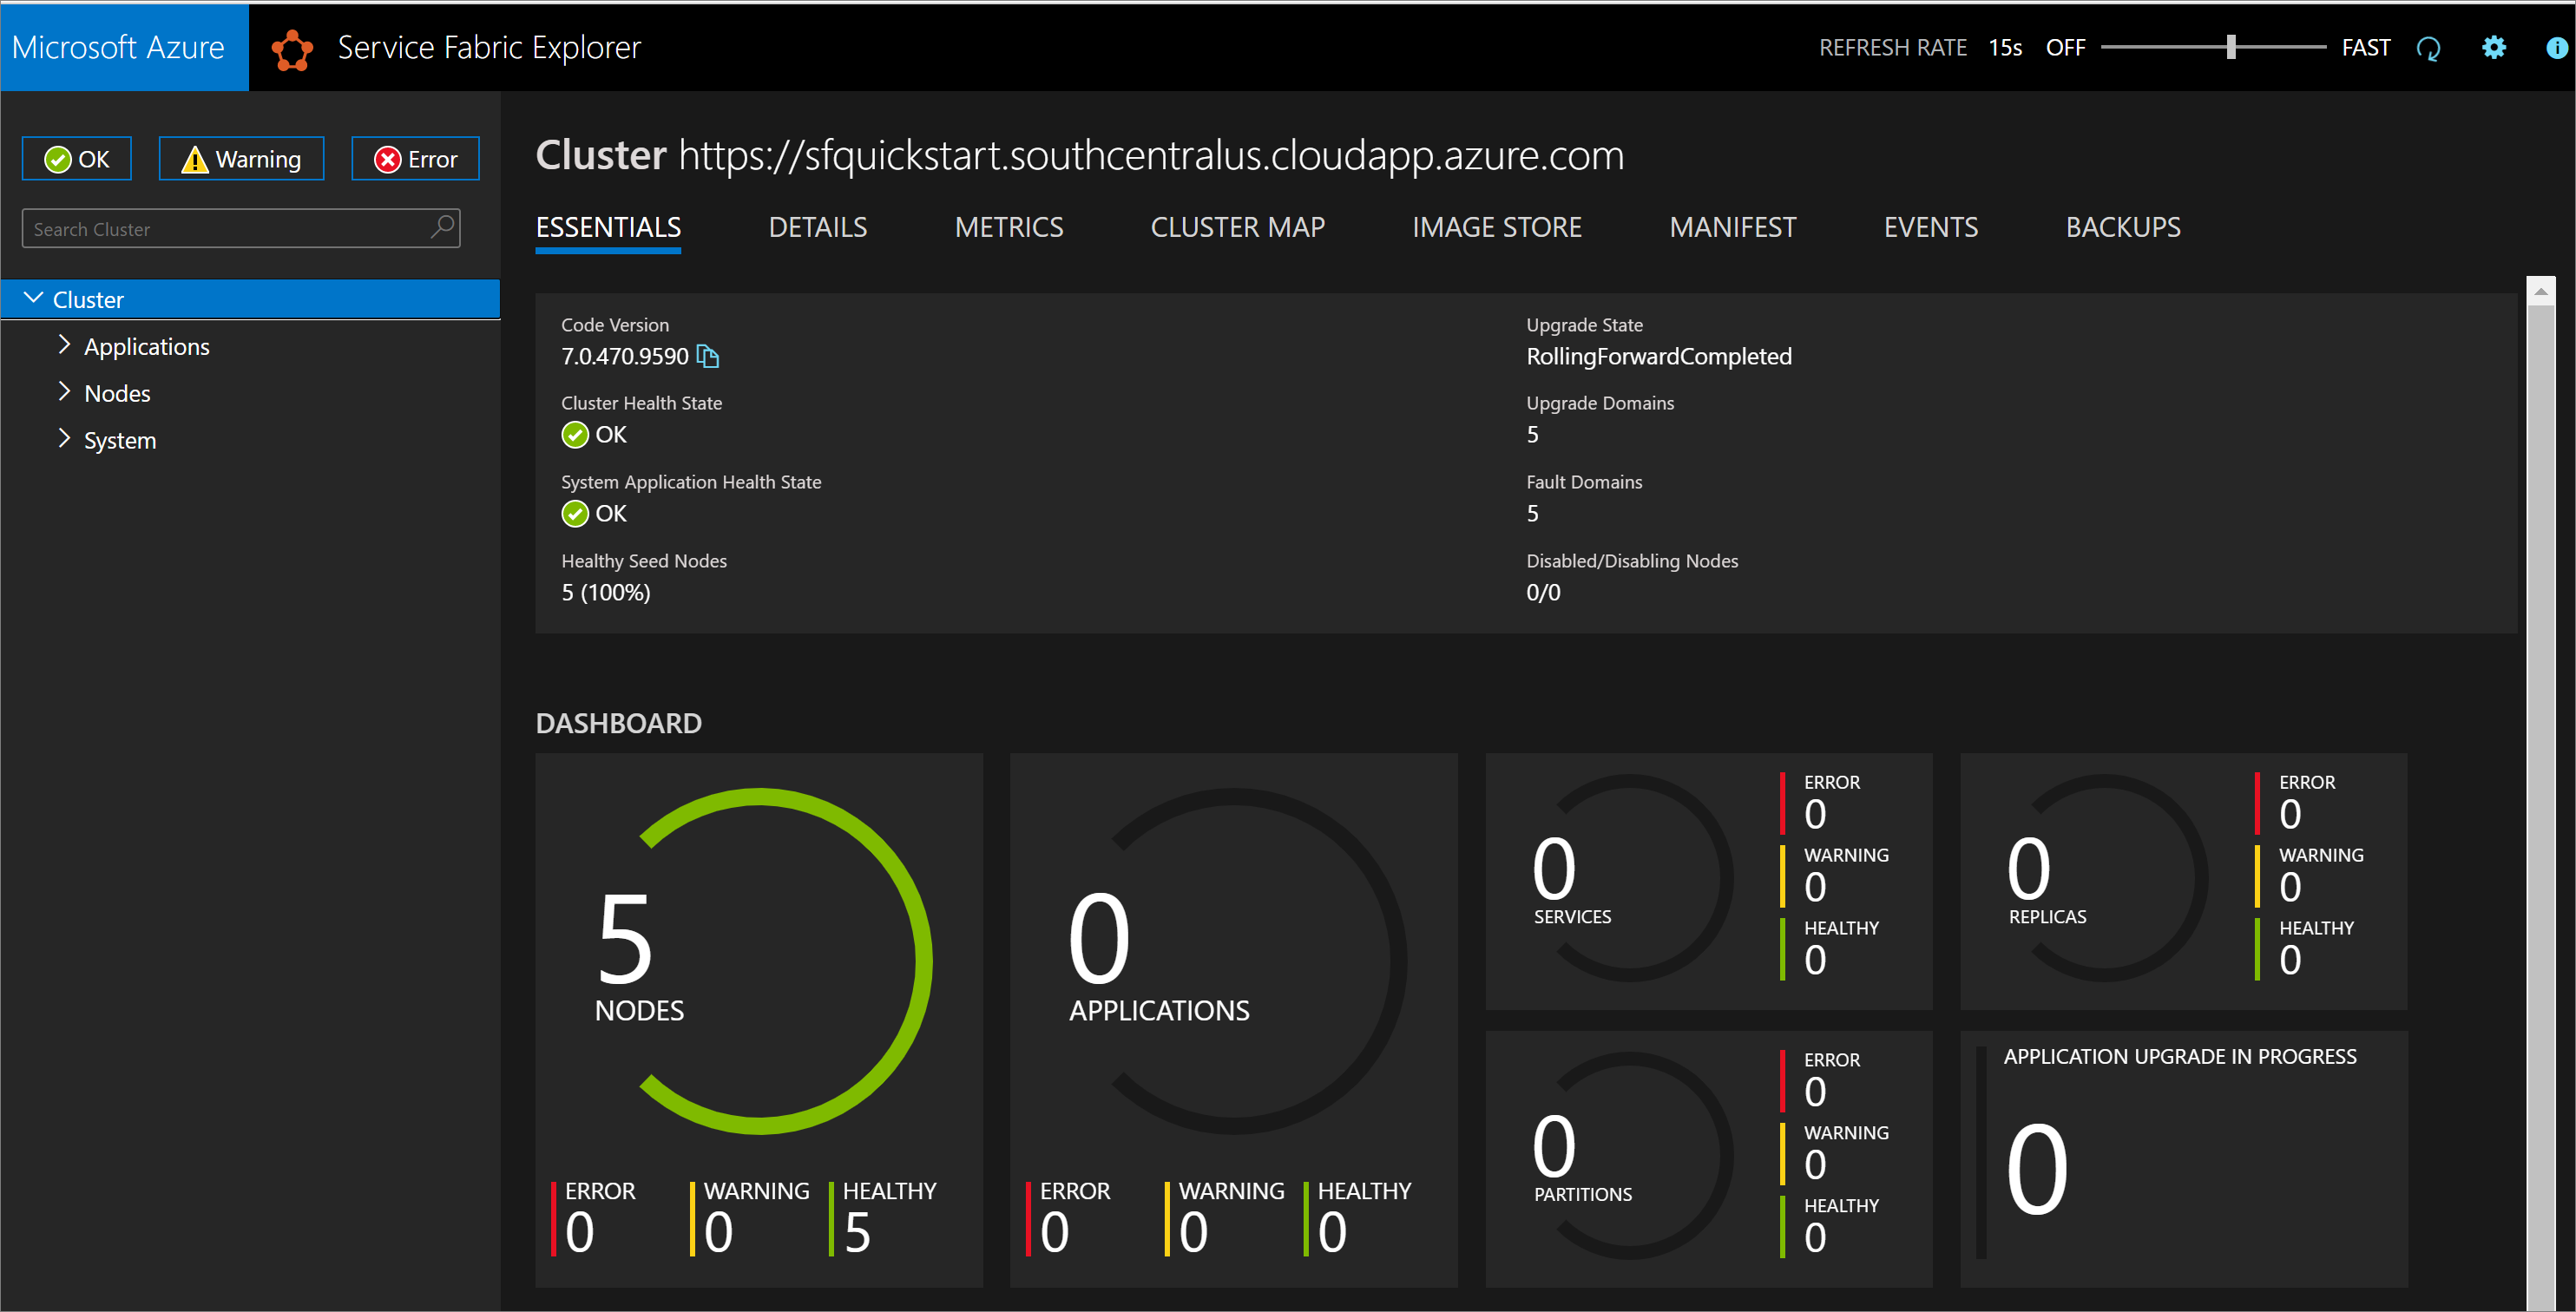
Once the deployment completes, find the managementEndpoint value in the output and open the address in a web browser to view your cluster in Service Fabric Explorer.
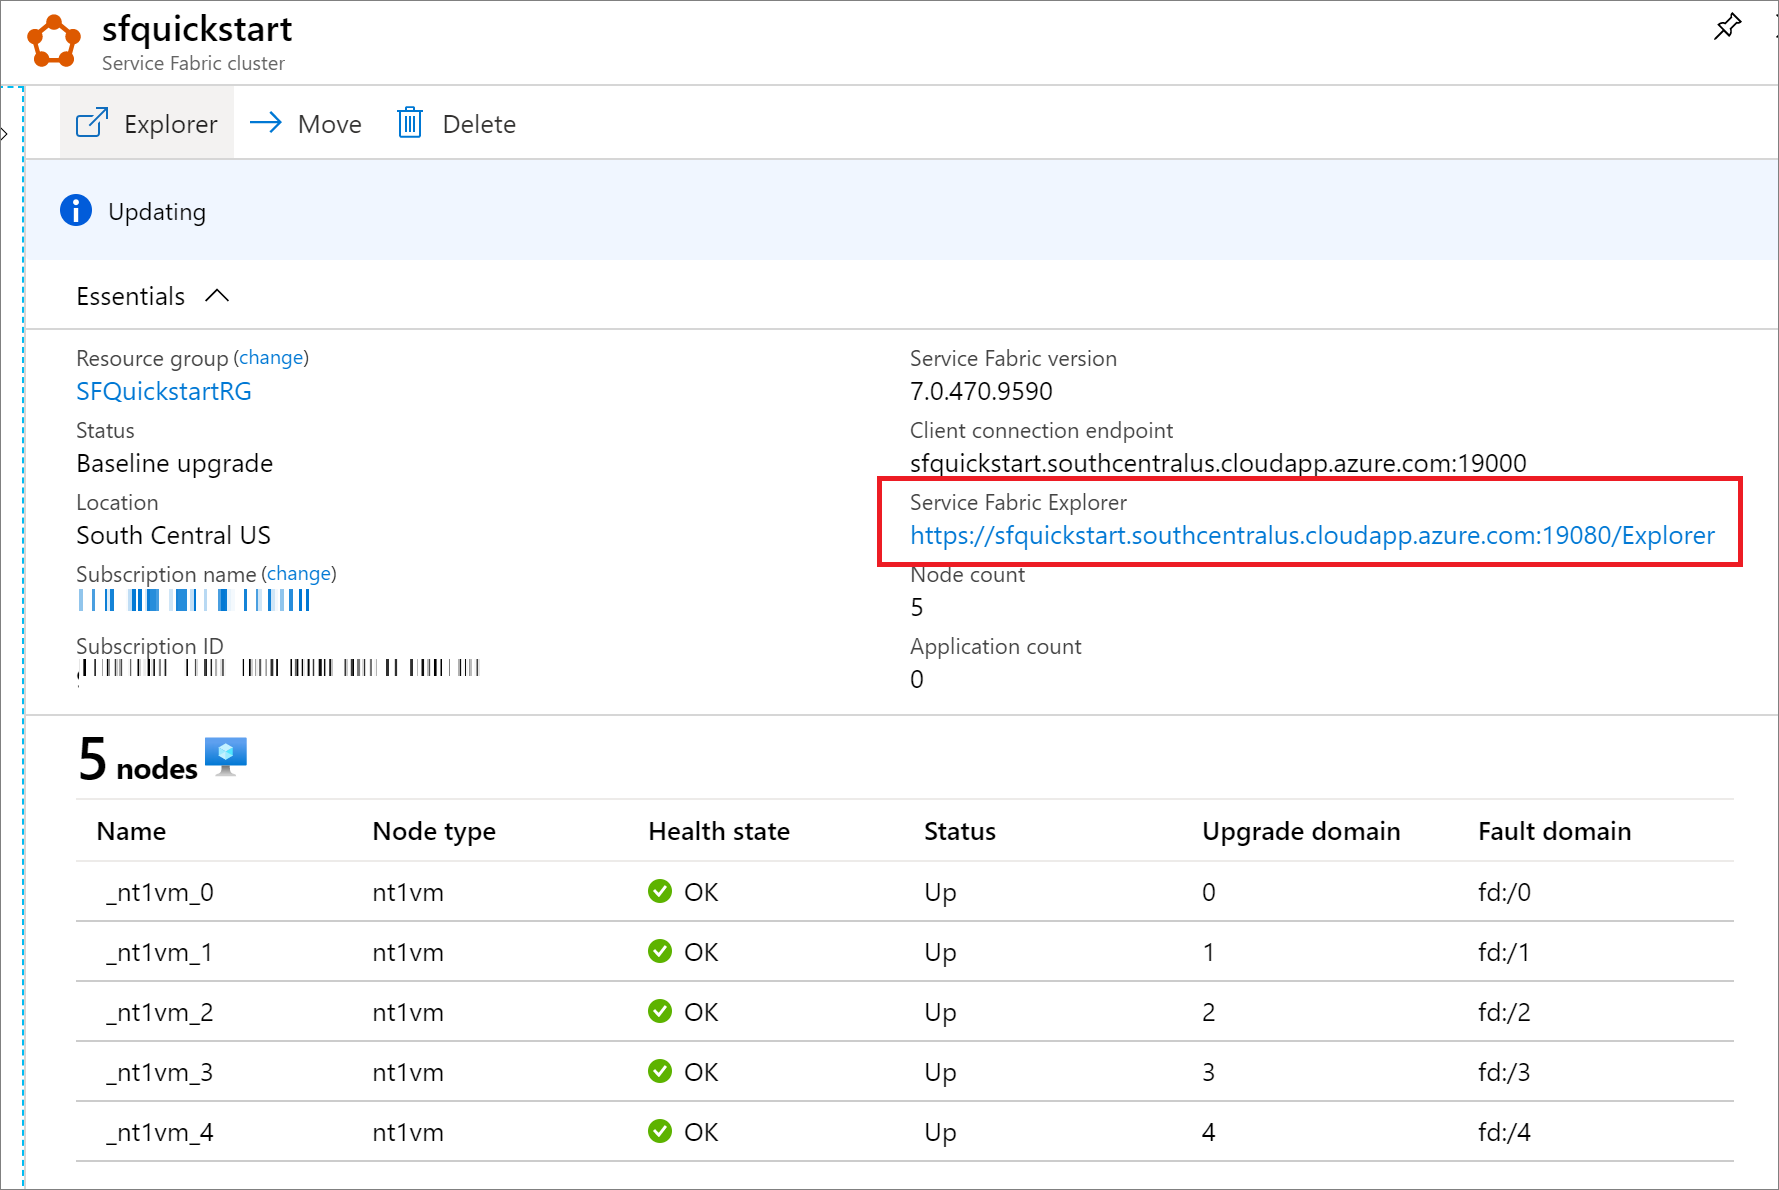
You can also find the Service Fabric Explorer endpoint from your Service Explorer resource blade in Azure portal.
Clean up resources
When no longer needed, delete the resource group, which deletes the resources in the resource group.
PowerShell
$resourceGroupName = Read-Host -Prompt"Enter the Resource Group name"Remove-AzResourceGroup -Name$resourceGroupNameWrite-Host"Press [ENTER] to continue..."
Next, remove the cluster certificate from your local store. List installed certificates to find the thumbprint for your cluster: