Move an Azure Spring Apps service instance to another region
Note
Azure Spring Apps is the new name for the Azure Spring Cloud service. Although the service has a new name, you'll see the old name in some places for a while as we work to update assets such as screenshots, videos, and diagrams.
This article applies to: ✔️ Basic/Standard ✔️ Enterprise
This article shows you how to move your Azure Spring Apps service instance to another region. Moving your instance is useful, for example, as part of a disaster recovery plan or to create a duplicate testing environment.
You can't move an Azure Spring Apps instance from one region to another directly, but you can use an Azure Resource Manager template (ARM template) to deploy your instance to a new region. For more information about using Azure Resource Manager and templates, see Quickstart: Create and deploy ARM templates by using the Azure portal.
Before you move your service instance, consider the following limitations:
- Different feature sets are supported by different pricing plans (SKUs). If you change the SKU, you may need to change the template to include only features supported by the target SKU.
- You might not be able to move all subresources in Azure Spring Apps using the template. Your move may require extra setup after the template is deployed. For more information, see the Configure the new Azure Spring Apps service instance section of this article.
- When you move a virtual network (VNet) instance, you must create new network resources. For more information, see Deploy Azure Spring Apps in a virtual network.
Prerequisites
- An existing Azure Spring Apps service instance. To create a new service instance, see Quickstart: Deploy your first application in Azure Spring Apps.
- (Optional) Azure CLI version 2.11.2 or later.
Export the template
Use the following steps to export the template:
- Sign in to the Azure portal.
- Select All resources in the left menu, and then select your Azure Spring Apps instance.
- Under Automation, select Export template.
- Select Download on the Export template pane.
- Locate the .zip file, unzip it, and get the template.json file. This file contains the resource template.
Modify the template
Use the following steps to modify the template.json file. In the following examples, the new Azure Spring Apps instance name is new-service-name. The previous instance name is old-service-name.
The following example shows how to change all
nameinstances in the template from old-service-name to new-service-name:{ "type": "Microsoft.AppPlatform/Spring", "apiVersion": "{api-version}", "_comment": "the following line was changed from 'old-service-name'", "name": "[parameters('new-service-name')]", …. }The following example shows how to change the
locationinstances in the template to the new target location:{ "type": "Microsoft.AppPlatform/Spring", "apiVersion": "{api-version}", "name": "[parameters('new_service_name')]", "_comment": "the following line was changed from 'old-region'", "location": "{new-region}", ….. }If the instance you're moving is a virtual network instance, the following example shows how to update the target virtual network resource
parametersinstances in the template:"parameters": { … "virtualNetworks_service_vnet_externalid": { "_comment": "the following line was changed from 'old-vnet-resource-id'", "defaultValue": "{new-vnet-resource-id}", "type": "String" } },The following example shows how to make sure the
serviceRuntimeSubnetIdandappSubnetIdsubnets exist. The subnets are defined in thenetworkProfileservice:{ "type": "Microsoft.AppPlatform/Spring", "apiVersion": "{api-version}", "name": "[parameters('Spring_new_service_name')]", … "properties": { "networkProfile": { "serviceRuntimeSubnetId": "[concat(parameters('virtualNetworks_service_vnet_externalid'), '/subnets/apps-subnet')]", "appSubnetId": "[concat(parameters('virtualNetworks_service_vnet_externalid'), '/subnets/service-runtime-subnet')]", } } }If any custom domain resources are configured, create the CNAME records as described in Tutorial: Map an existing custom domain to Azure Spring Apps. Make sure the record name is expected for the new service name.
The following example shows how to change all
relativePathinstances in the templatepropertiesfor all app resources to<default>:{ "type": "Microsoft.AppPlatform/Spring/apps/deployments", "apiVersion": "{api-version}", "name": "[concat(parameters('Spring_new_service_name'), '/api-gateway/default')]", … "properties": { "active": true, "source": { "type": "Jar", "_comment": "the following line was changed to 'default'", "relativePath": "<default>" }, … } }After the app is created, it uses a default banner application. Deploy the JAR files again using the Azure CLI. For more information, see the Configure the new Azure Spring Apps service instance section of this article.
If service binding was used and you want to import it to the new service instance, add the
keyproperty for the target bound resource. In the following example, a bound MySQL database is included:{ "type": "Microsoft.AppPlatform/Spring/apps/bindings", "apiVersion": "{api-version}", "name": "[concat(parameters('Spring_new_service_name'), '/api-gateway/mysql')]", … "_comment": "the following line imports a mysql binding", "properties": { "resourceId": "[parameters('servers_test_mysql_name_externalid')]", "key": "{mysql-password}", "bindingParameters": { "databaseName": "mysql", "username": "{mysql-user-name}" } } }
Deploy the template
After you modify the template, use the following steps to deploy the template and create the new resource.
Sign in to the Azure portal.
In the top search box, search for Deploy a custom template.
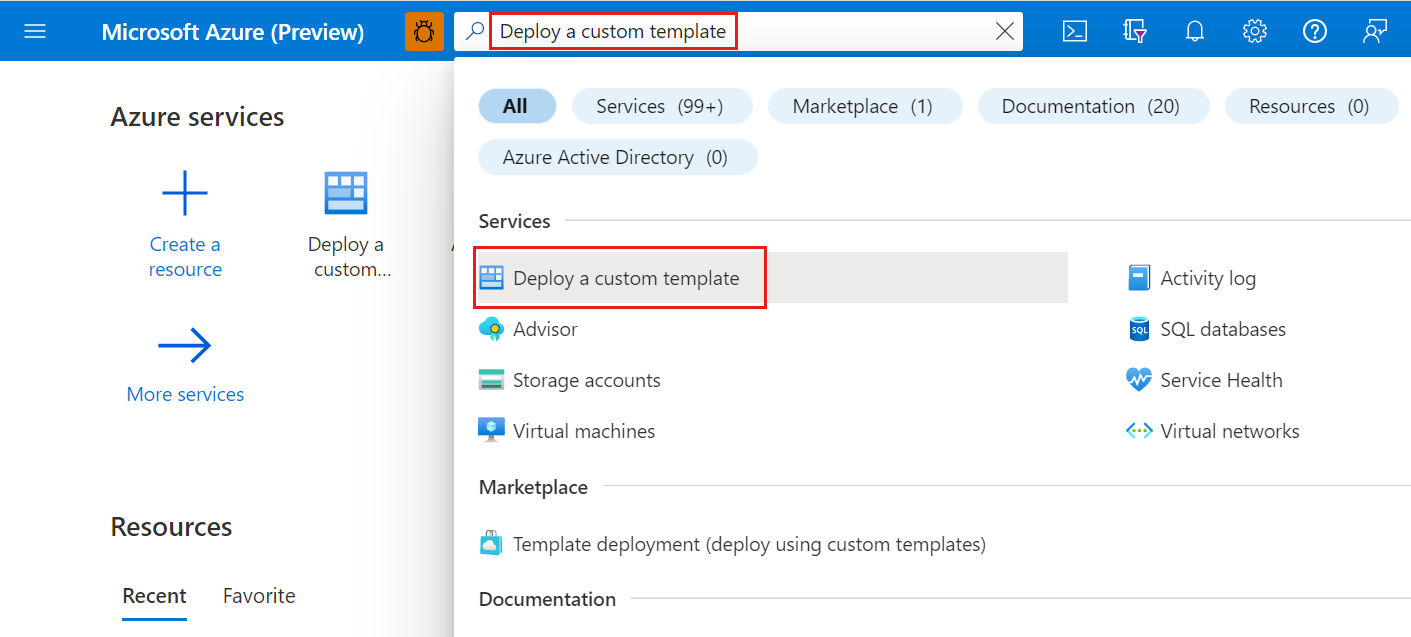
Under Services, select Deploy a custom template.
Go to the Select a template tab, and then select Build your own template in the editor.
In the template editor, paste in the template.json file you modified earlier, and then select Save.
In the Basics tab, fill in the following information:
- The target subscription.
- The target resource group.
- The target region.
- Any other parameters required for the template.
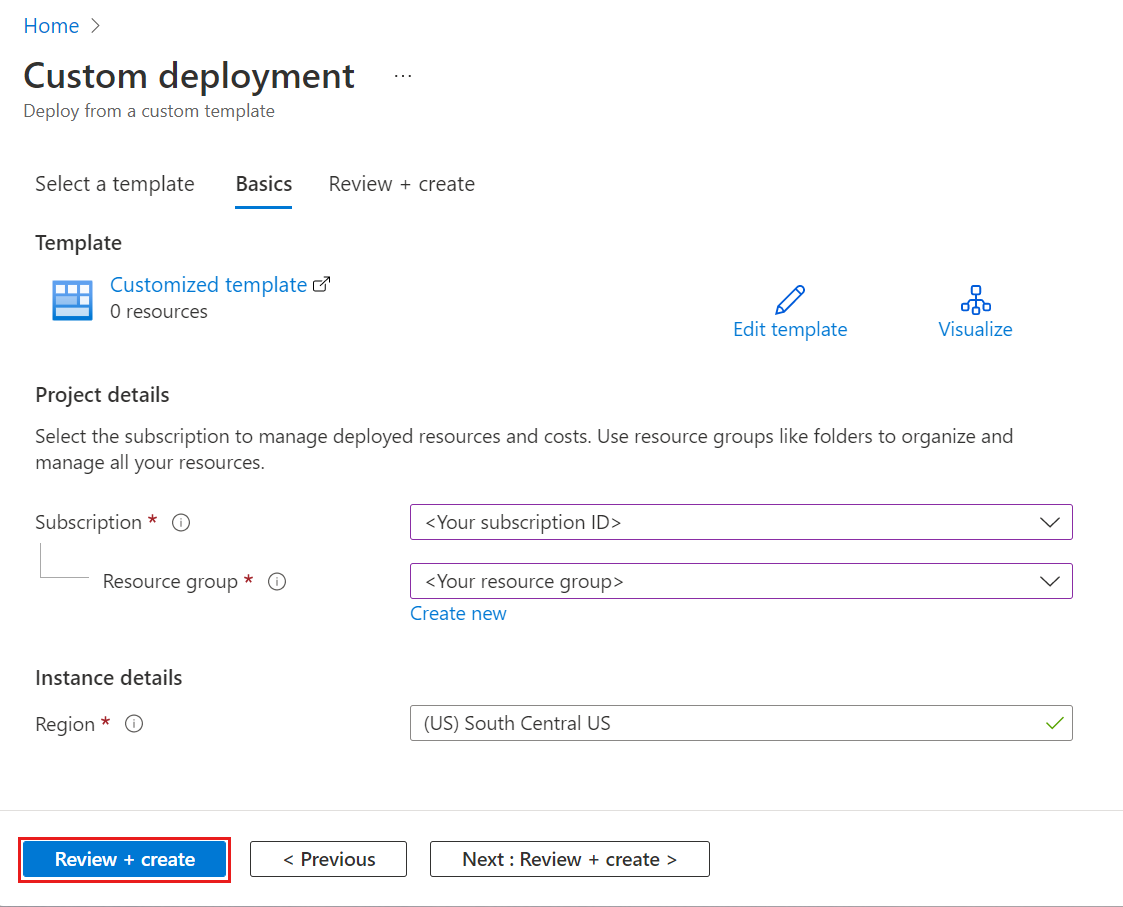
Select Review + create to create the target service instance.
Wait until the template has deployed successfully. If the deployment fails, select Deployment details to view the reason it failed, and then update the template or configurations accordingly.


Configure the new Azure Spring Apps service instance
Some features aren't exported to the template, or can't be imported with a template. You must manually set up some Azure Spring Apps items on the new instance after the template deployment completes successfully. The following guidelines describe these requirements:
- The JAR files for the previous service aren't deployed directly to the new service instance. To deploy all apps, follow the instructions in Quickstart: Build and deploy apps to Azure Spring Apps. If there's no active deployment configured automatically, you must configure a production deployment. For more information, see Set up a staging environment in Azure Spring Apps.
- Config Server won't be imported automatically. To set up Config Server on your new instance, see Configure a managed Spring Cloud Config Server in Azure Spring Apps.
- Managed identity is created automatically for the new service instance, but the object ID will be different from the previous instance. For managed identity to work in the new service instance, follow the instructions in Enable system-assigned managed identity for an application in Azure Spring Apps.
- For Monitoring -> Metrics, see Metrics for Azure Spring Apps. To avoid mixing the data, create a new Log Analytics instance to collect the new data. You should also create a new instance for other monitoring configurations.
- For Monitoring -> Diagnostic settings and logs, see Analyze logs and metrics with diagnostics settings.
- For Monitoring -> Application Insights, see Use Application Insights Java In-Process Agent in Azure Spring Apps.
Next steps
Feedback
Coming soon: Throughout 2024 we will be phasing out GitHub Issues as the feedback mechanism for content and replacing it with a new feedback system. For more information see: https://aka.ms/ContentUserFeedback.
Submit and view feedback for