Provision an Azure Spring Apps service instance
Note
Azure Spring Apps is the new name for the Azure Spring Cloud service. Although the service has a new name, you'll see the old name in some places for a while as we work to update assets such as screenshots, videos, and diagrams.
This article applies to: ❌ Standard consumption and dedicated (Preview) ✔️ Basic/Standard ❌ Enterprise
This article shows you how to provision a Basic or Standard plan Azure Spring Apps service instance.
Azure Spring Apps supports multiple plans. For more information, see Quotas and service plans for Azure Spring Apps. To learn how to create service instances for other plans, see the following articles:
- Quickstart: Provision an Azure Spring Apps Standard consumption and dedicated plan service instance
- Migrate an Azure Spring Apps Basic or Standard plan instance to the Enterprise plan
Prerequisites
- An Azure subscription. If you don't have a subscription, create a free account before you begin.
- (Optional) Azure CLI version 2.45.0 or higher.
Provision an instance of Azure Spring Apps
Use the following steps to create an instance of Azure Spring Apps:
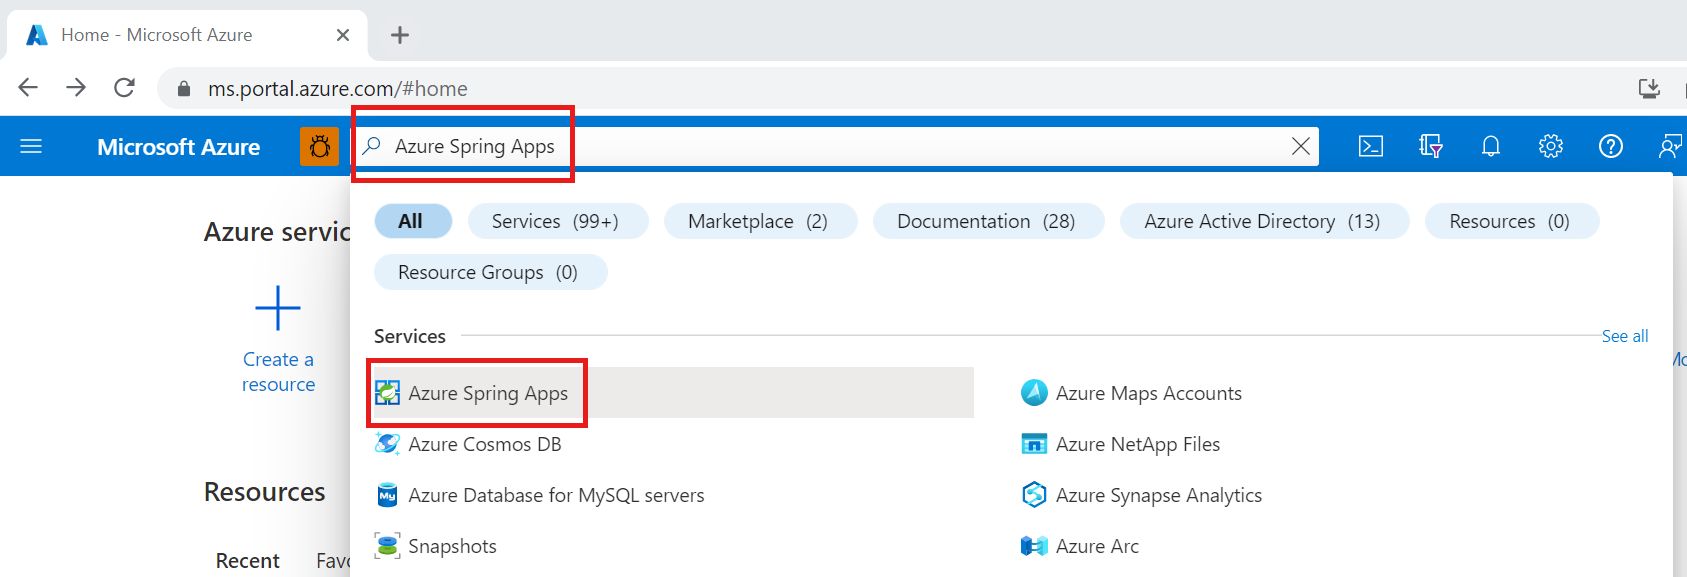
In a new browser tab, open the Azure portal.
Using the search box, search for Azure Spring Apps.
Select Azure Spring Apps from the search results.
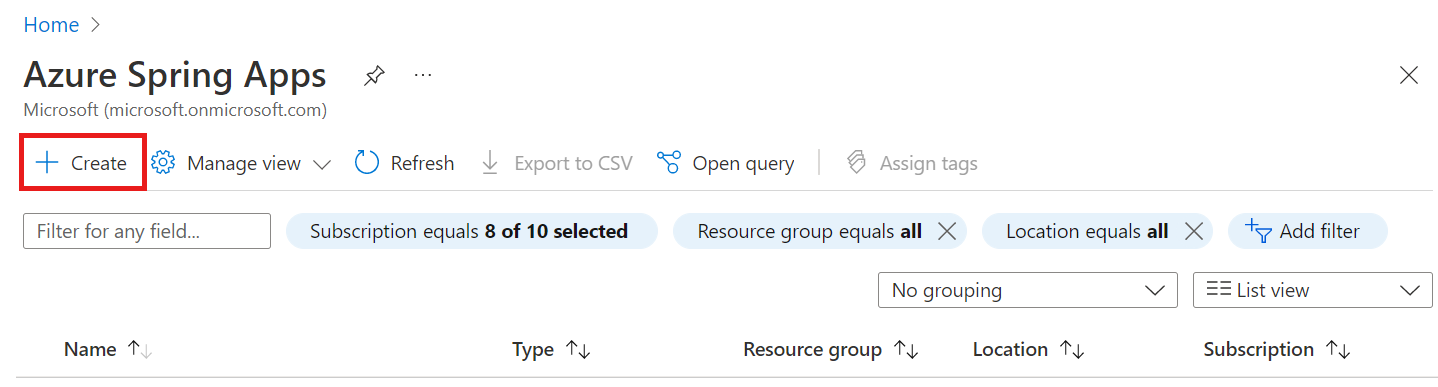
On the Azure Spring Apps page, select Create.
Fill out the form on the Azure Spring Apps Create page. Consider the following guidelines:
- Subscription: Select the subscription you want to be billed for this resource.
- Resource group: Creating new resource groups for new resources is a best practice. You use this value in later steps as
<resource-group-name>. - Service Details/Name: Specify the
<service-instance-name>. The name must be between 4 and 32 characters long and can contain only lowercase letters, numbers, and hyphens. The first character of the service name must be a letter and the last character must be either a letter or a number. - Location: Select the location for your service instance.
- Zone Redundant: Select to create your service instance with an availability zone.
- Select Standard for the Pricing tier option.
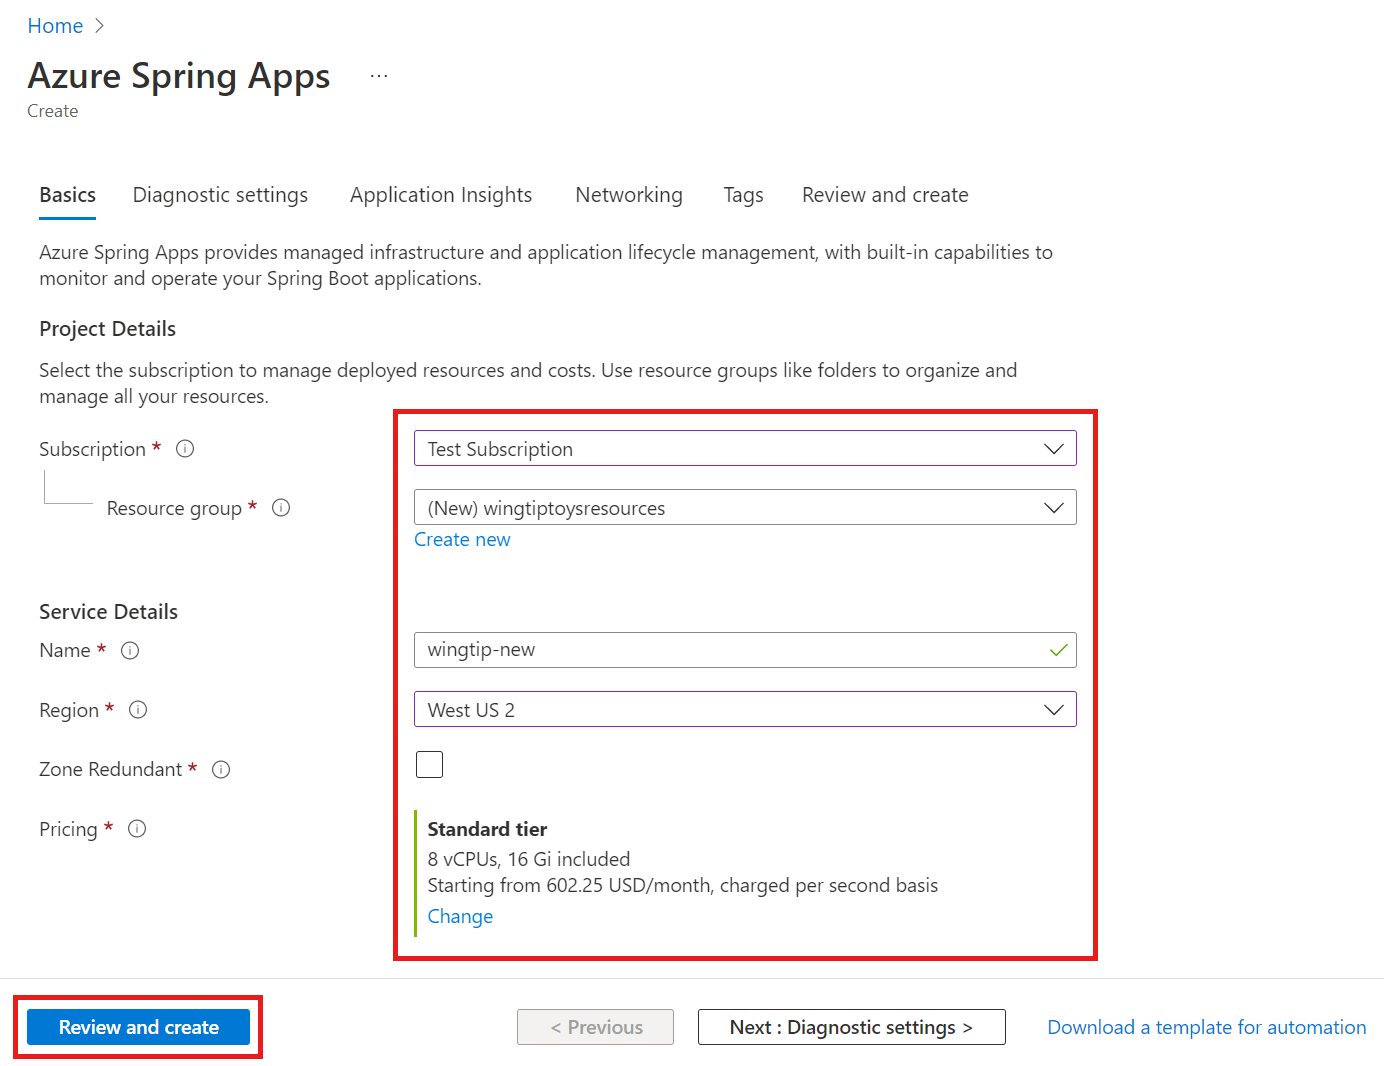
Select Review and create.


Clean up resources
If you plan to continue working with subsequent tutorials, you might want to leave these resources in place. When no longer needed, delete the resource group, which deletes the resources in the resource group. To delete the resource group by using Azure CLI, use the following commands:
az group delete --name <resource-group-name>
Next steps
Feedback
Coming soon: Throughout 2024 we will be phasing out GitHub Issues as the feedback mechanism for content and replacing it with a new feedback system. For more information see: https://aka.ms/ContentUserFeedback.
Submit and view feedback for