Quickstart: Set up a Log Analytics workspace
Note
Azure Spring Apps is the new name for the Azure Spring Cloud service. Although the service has a new name, you'll see the old name in some places for a while as we work to update assets such as screenshots, videos, and diagrams.
This article applies to: ✔️ Basic/Standard ❌ Enterprise
This quickstart explains how to set up a Log Analytics workspace in Azure Spring Apps for application development.
Log Analytics is a tool in the Azure portal that's used to edit and run log queries with data in Azure Monitor Logs. You can write a query that returns a set of records and then use features of Log Analytics to sort, filter, and analyze those records. You can also write a more advanced query to do statistical analysis and visualize the results in a chart to identify particular trends. Whether you work with the results of your queries interactively or use them with other Azure Monitor features, Log Analytics is the tool that you use to write and test queries.
You can set up Azure Monitor Logs for your application in Azure Spring Apps to collect logs and run log queries via Log Analytics.
Prerequisites
Complete the previous quickstart in this series: Provision an Azure Spring Apps service.
Create a Log Analytics workspace
To create a workspace, follow the steps in Create a Log Analytics workspace in the Azure portal.
Set up Log Analytics for a new service
In the wizard for creating an Azure Spring Apps service instance, you can configure the Log Analytics workspace field with an existing workspace or create one.

Set up Log Analytics for an existing service
In the Azure portal, go to the Diagnostic settings section under Monitoring.
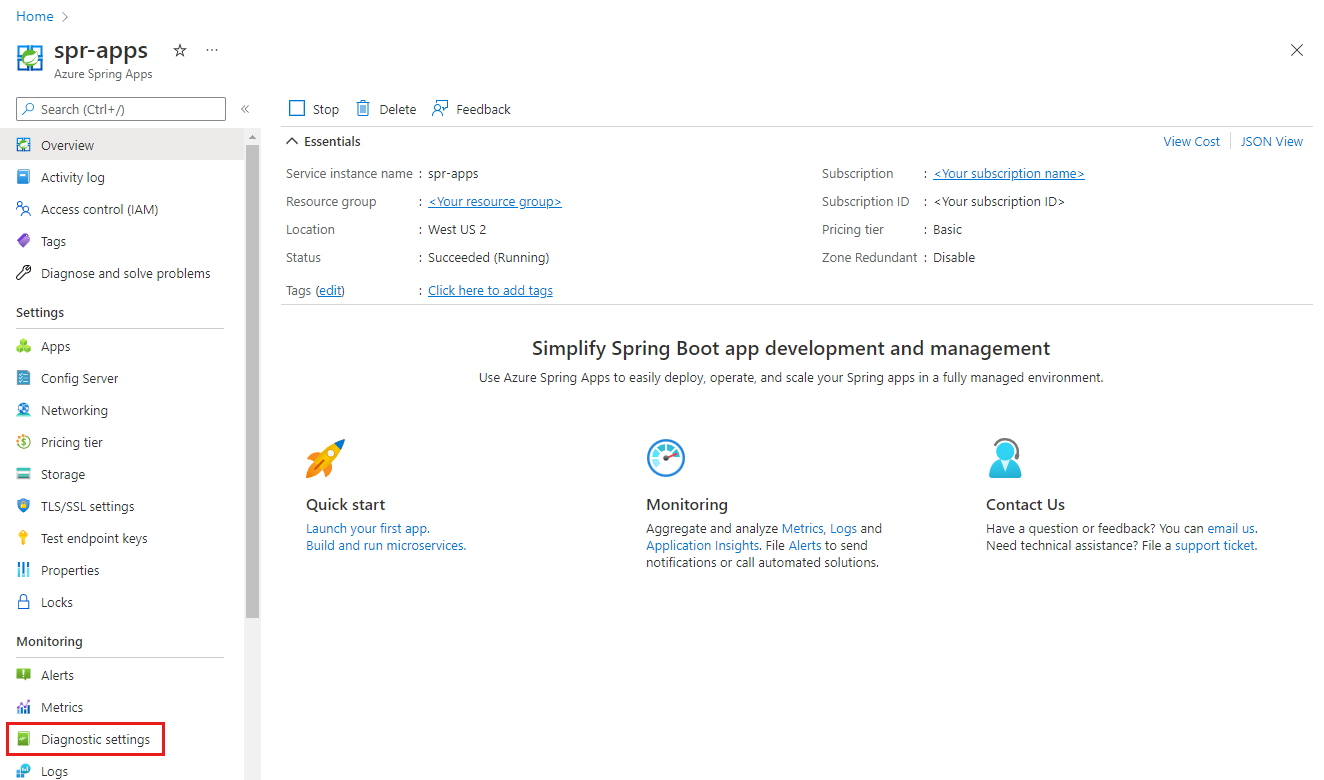
If no settings exist, select Add diagnostic setting. You can also select Edit setting to update existing settings.
Fill out the form on the Diagnostic setting page:
- Diagnostic setting name: Set a unique name for the configuration.
- Logs > Categories: Select ApplicationConsole and SystemLogs. For more information on log categories and contents, see Create diagnostic settings to send Azure Monitor platform logs and metrics to different destinations.
- Destination details: Select Send to Log Analytics workspace and specify the Log Analytics workspace that you created previously.
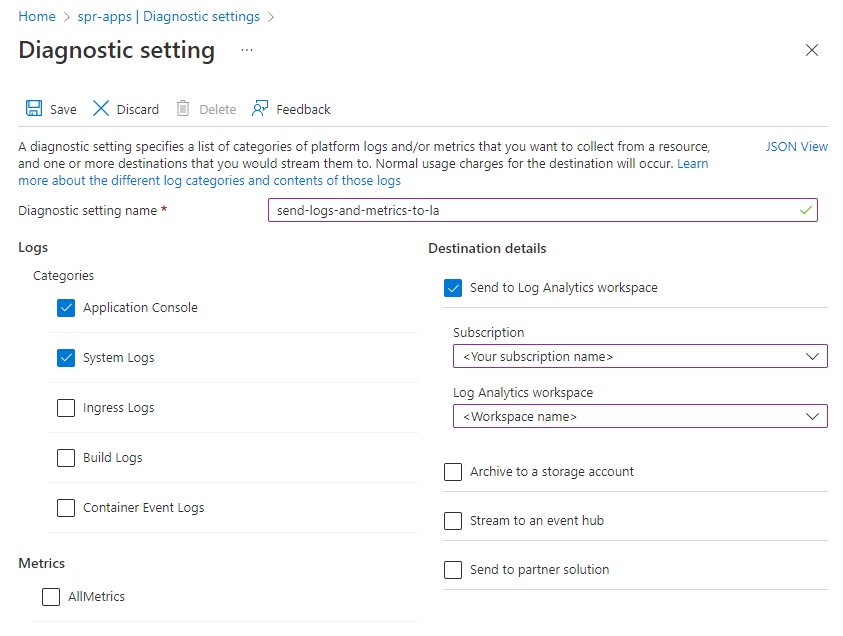
Select Save.


Clean up resources
If you plan to continue working with subsequent quickstarts and tutorials, you might want to leave these resources in place. When no longer needed, delete the resource group, which deletes the resources in the resource group. To delete the resource group by using Azure CLI, use the following commands:
echo "Enter the Resource Group name:" &&
read resourceGroupName &&
az group delete --name $resourceGroupName &&
echo "Press [ENTER] to continue ..."
Next steps
Feedback
Coming soon: Throughout 2024 we will be phasing out GitHub Issues as the feedback mechanism for content and replacing it with a new feedback system. For more information see: https://aka.ms/ContentUserFeedback.
Submit and view feedback for