Tutorial: Monitor Spring app resources using alerts and action groups
Note
Azure Spring Apps is the new name for the Azure Spring Cloud service. Although the service has a new name, you'll see the old name in some places for a while as we work to update assets such as screenshots, videos, and diagrams.
This article applies to: ✔️ Java ✔️ C#
This article applies to: ✔️ Basic/Standard ✔️ Enterprise
This article describes how to monitor Spring app resources using alerts and action groups in Azure Spring Apps.
Azure Spring Apps alerts support monitoring resources based on conditions such as available storage, rate of requests, and data usage. An alert sends a notification when rates or conditions meet the defined specifications.
There are two steps to set up an alert pipeline:
Set up an action group.
Action groups define actions to be taken when an alert is triggered, such as with an email, SMS, Runbook, or Webhook. You can use and reuse action groups among different alerts.
Set up alert rules.
Rules bind metrics with action groups based on the target resource, condition, time aggregation, and other factors.
Prerequisites
- An Azure subscription. If you don't have a subscription, create a free account before you begin.
- A deployed Azure Spring Apps instance. For more information, see Quickstart: Deploy your first application to Azure Spring Apps to get started.
Set up an action group
In the Azure portal, use the following steps:
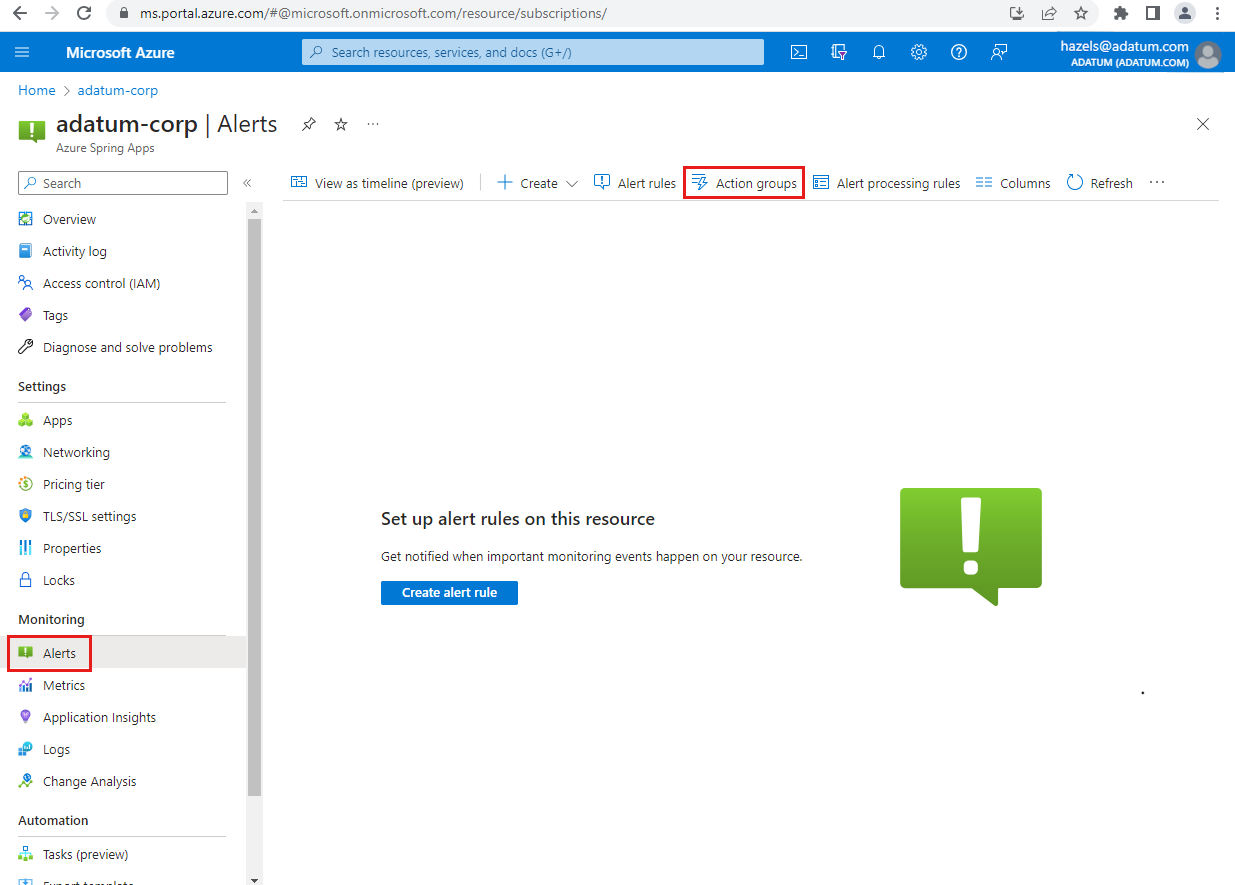
Go to your Azure Spring Apps instance.
Select Alerts in the navigation pane, and then select Action groups.
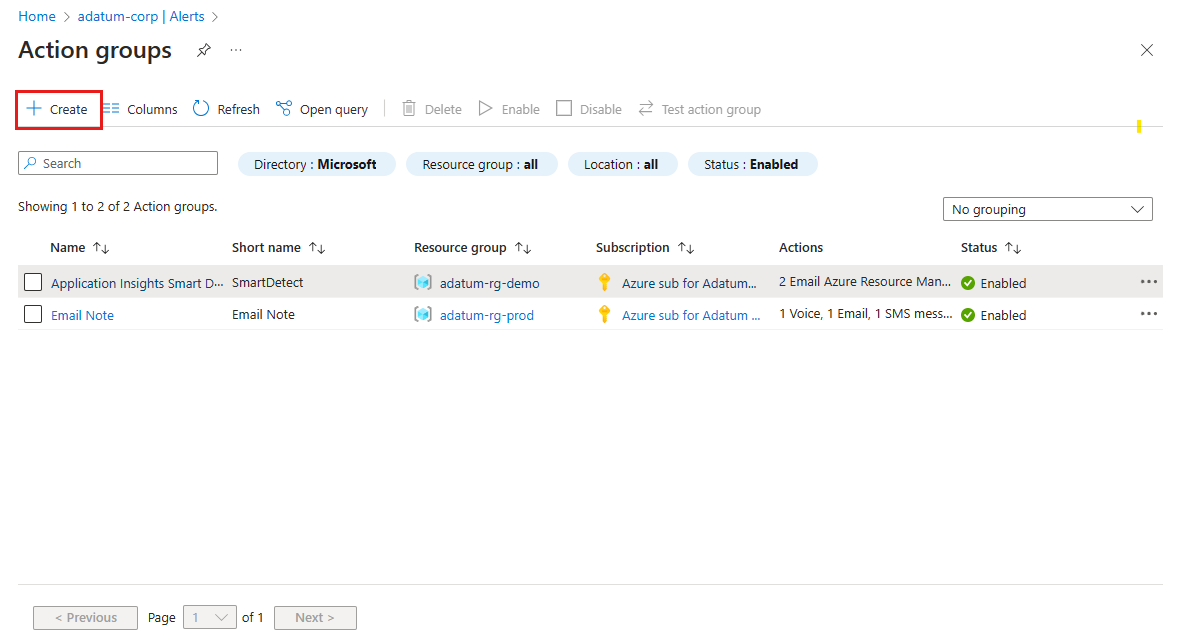
On the Action groups page, select Create.
On the Create action group page on the Basics tab, make any needed changes in Project details. In Instance details, specify settings for Action group name and Display name.

Select the Notifications tab and then select a Notification type from the dropdown menu. This action opens a pane to define the action that is taken upon activation. This example shows an email and messaging type. Complete the form and select OK.
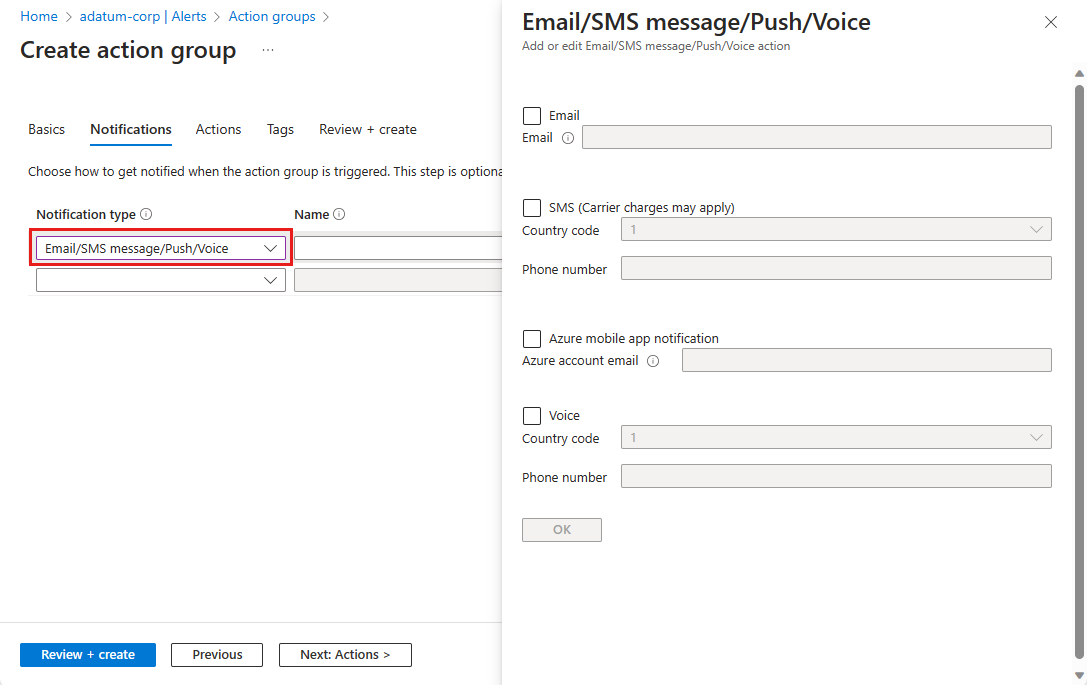
Set Name to name the action group.
Select Review + create to finish creating the action group.


Set up an alert
Use the following steps configure an alert:
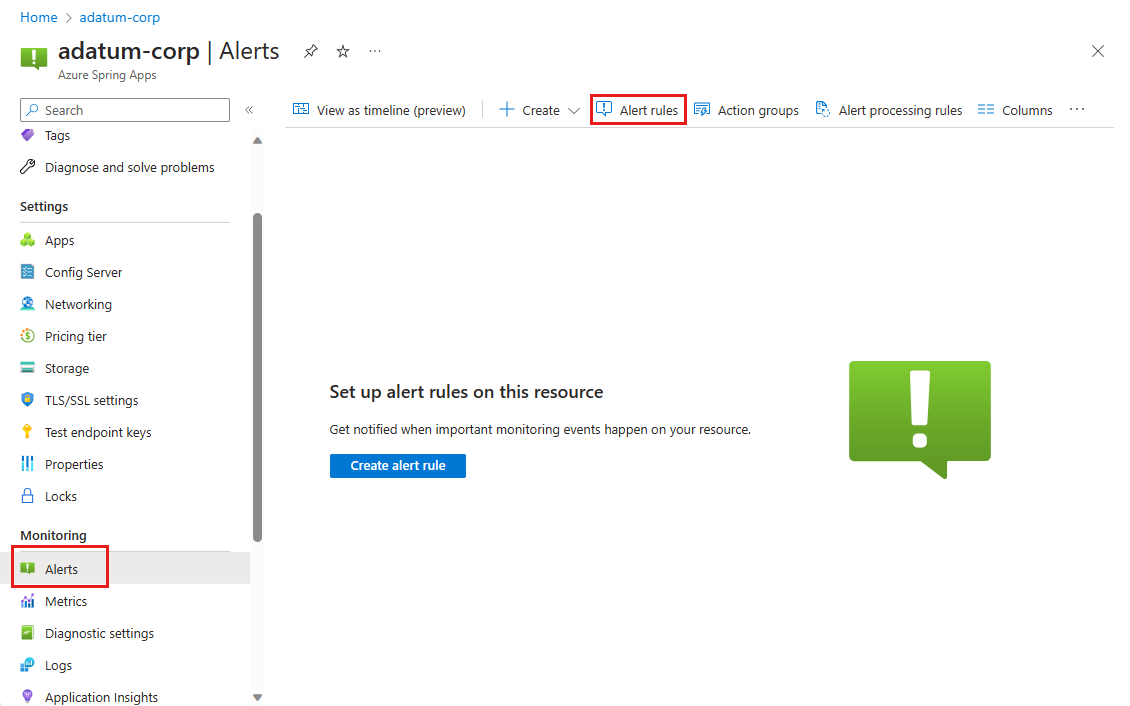
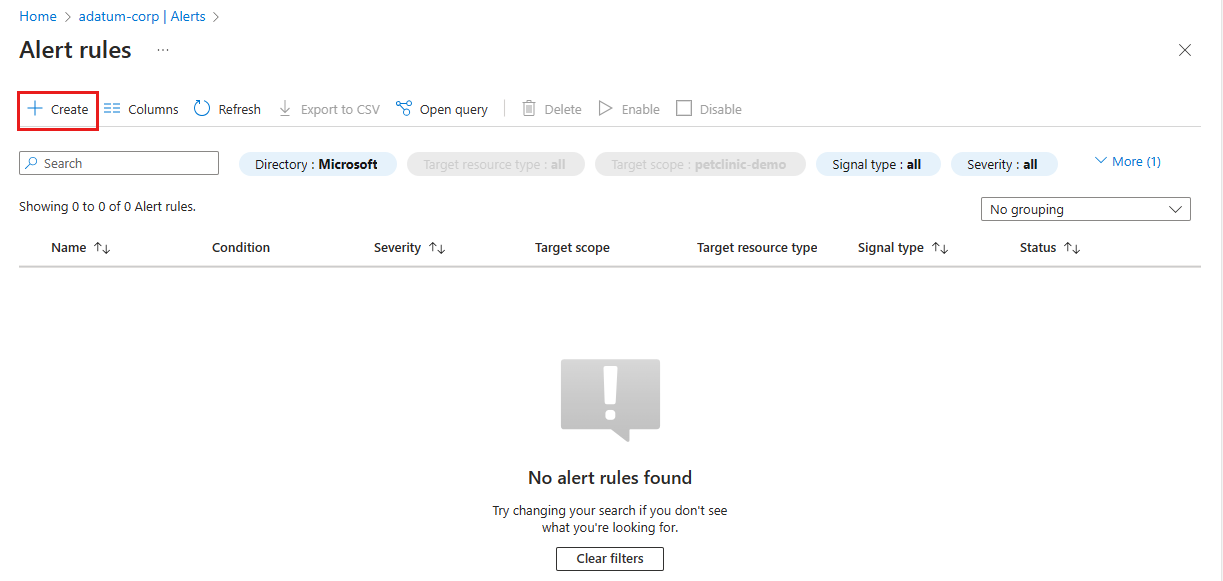
Select Alerts in the navigation pane, and then select Alert rules.
Select Create.
On the Create an alert rule page on the Condition tab, you must select a signal to trigger the alert rule. Select See all signals. On the Select a signal pane, select CPU Usage and then select Apply.

The signal selection determines the alert logic settings to configure. Set Threshold value to 75.
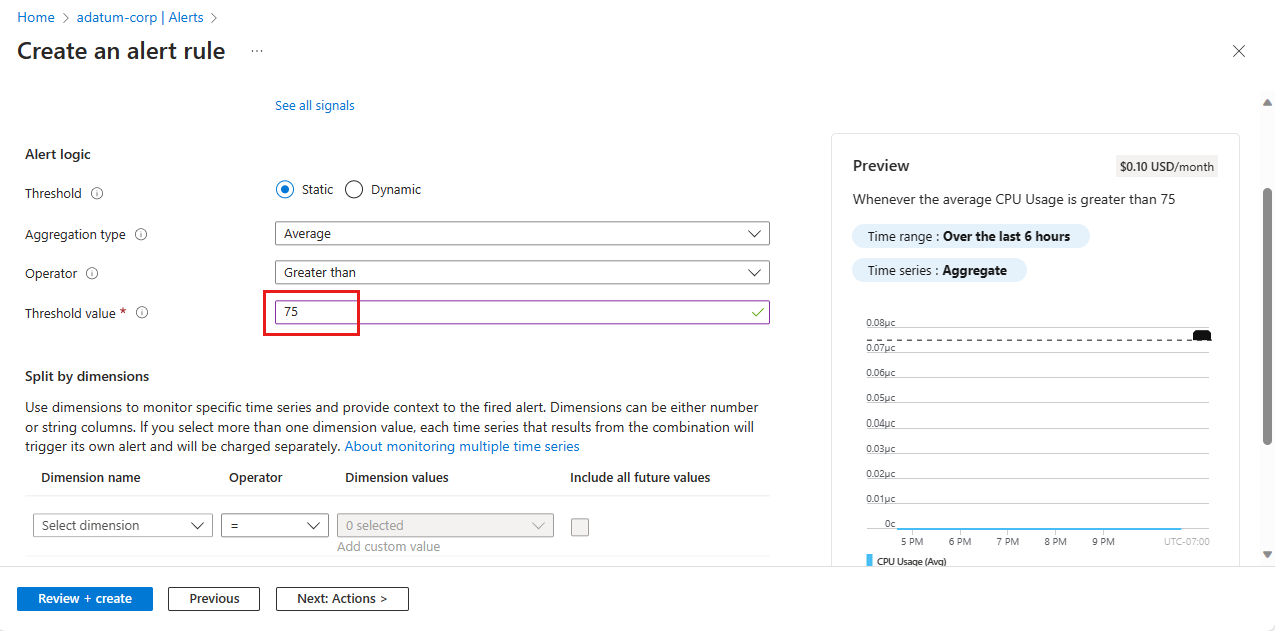
For details of the conditions available to monitor, see the User metrics options section of Metrics for Azure Spring Apps.
Select the Actions tab and then select Select action group. On the Select action groups pane, select the action group that should be triggered by the rule such as the action group you defined previously.
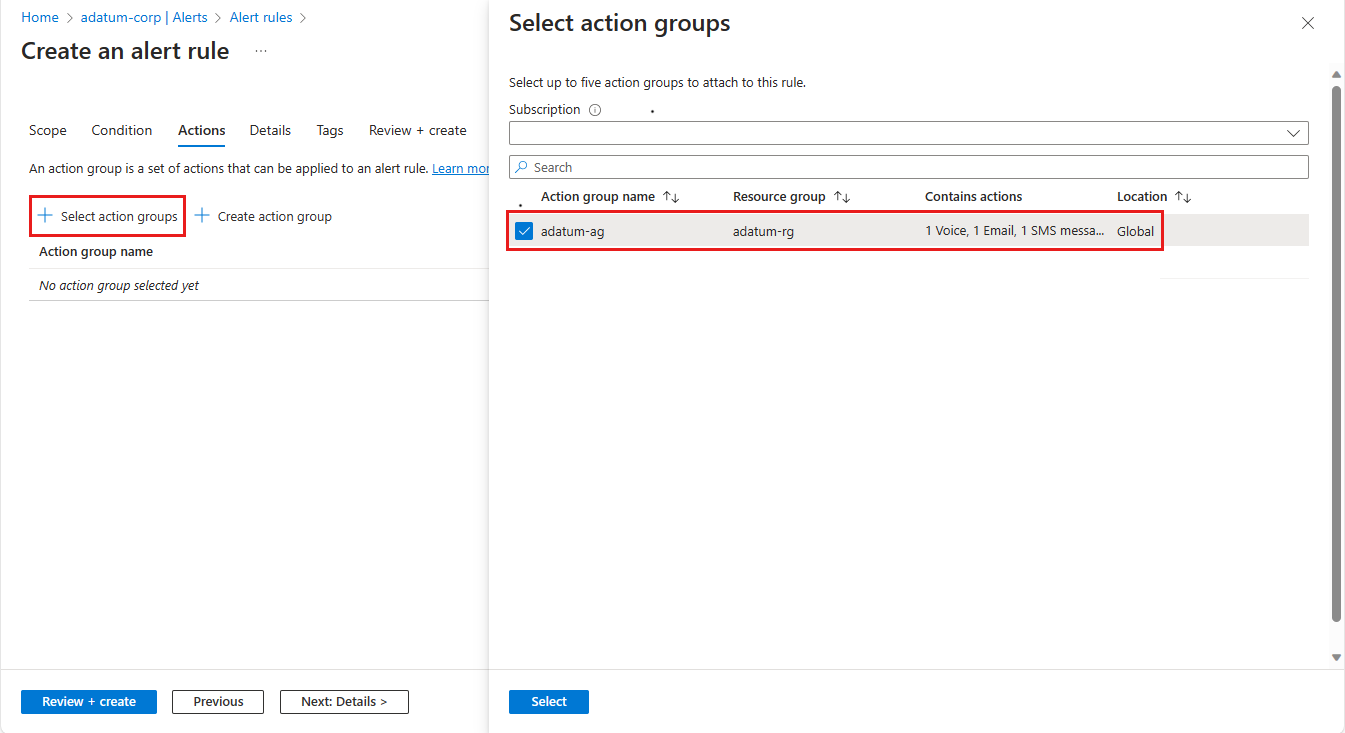
Select Select.
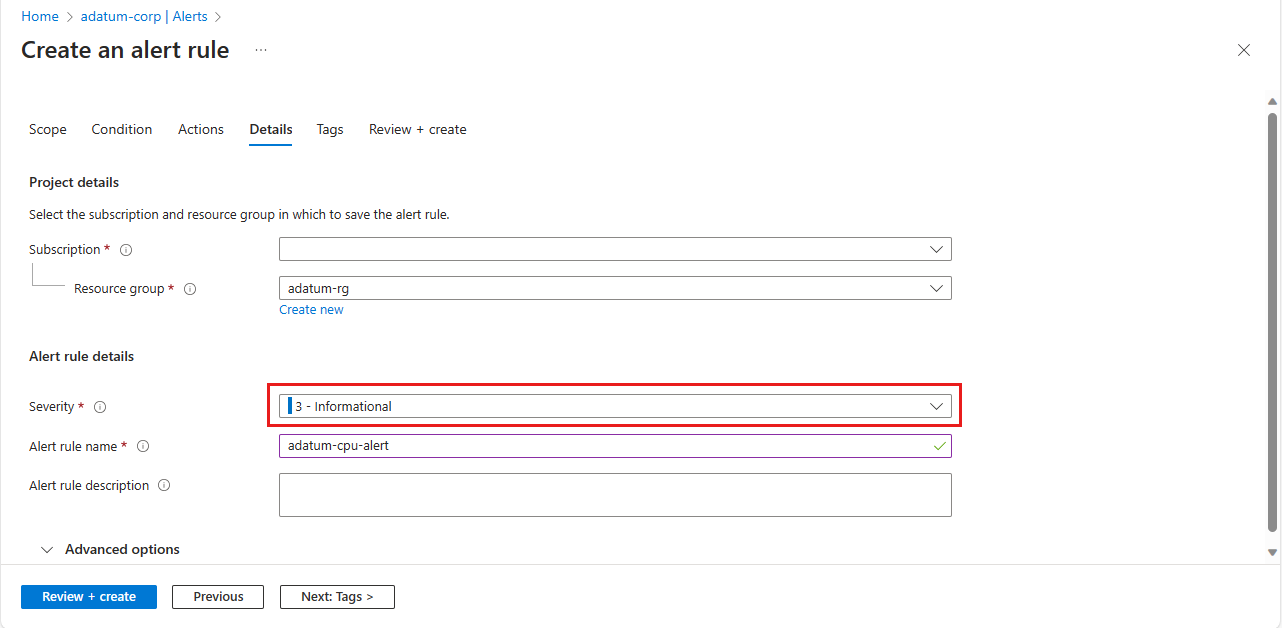
Select the Details tab and set Severity and make any other needed changes.
Tip
Select the Scope tab to change the resource for the scope of the rule. By default the scope is current Azure Spring Apps instance.
Select Review + create to finish creating the alert rule.
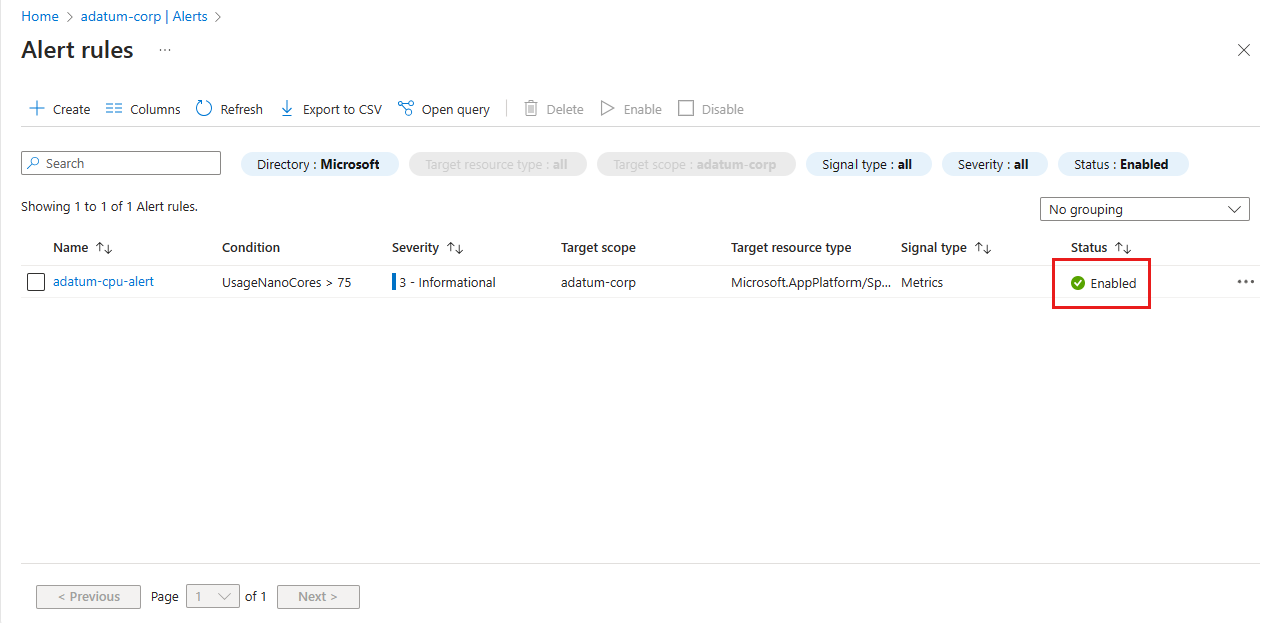
On the Alert rules page, verify that the new alert rule is enabled.


Next steps
In this article, you learned how to set up alerts and action groups for an application in Azure Spring Apps. To learn more about action groups, see:
Feedback
Coming soon: Throughout 2024 we will be phasing out GitHub Issues as the feedback mechanism for content and replacing it with a new feedback system. For more information see: https://aka.ms/ContentUserFeedback.
Submit and view feedback for