Tutorial: Query Azure Data Lake Storage Gen2 using SQL language in Synapse Analytics
This tutorial shows you how to connect your Azure Synapse serverless SQL pool to data stored in an Azure Storage account that has Azure Data Lake Storage Gen2 enabled. This connection enables you to natively run SQL queries and analytics using SQL language on your data in Azure Storage.
In this tutorial, you will:
- Ingest data into a storage account
- Create a Synapse Analytics workspace (if you don't have one).
- Run analytics on your data in Blob storage
If you don't have an Azure subscription, create a free account before you begin.
Prerequisites
Create a storage account that has a hierarchical namespace (Azure Data Lake Storage Gen2)
See Create a storage account to use with Azure Data Lake Storage Gen2.
Make sure that your user account has the Storage Blob Data Contributor role assigned to it.
Important
Make sure to assign the role in the scope of the storage account. You can assign a role to the parent resource group or subscription, but you'll receive permissions-related errors until those role assignments propagate to the storage account.
Download the flight data
This tutorial uses flight data from the Bureau of Transportation Statistics. You must download this data to complete the tutorial.
Download the On_Time_Reporting_Carrier_On_Time_Performance_1987_present_2016_1.zip file. This file contains the flight data.
Unzip the contents of the zipped file and make a note of the file name and the path of the file. You need this information in a later step.
Copy source data into the storage account
Navigate to your new storage account in the Azure portal.
Select Storage browser->Blob containers->Add container and create a new container named data.
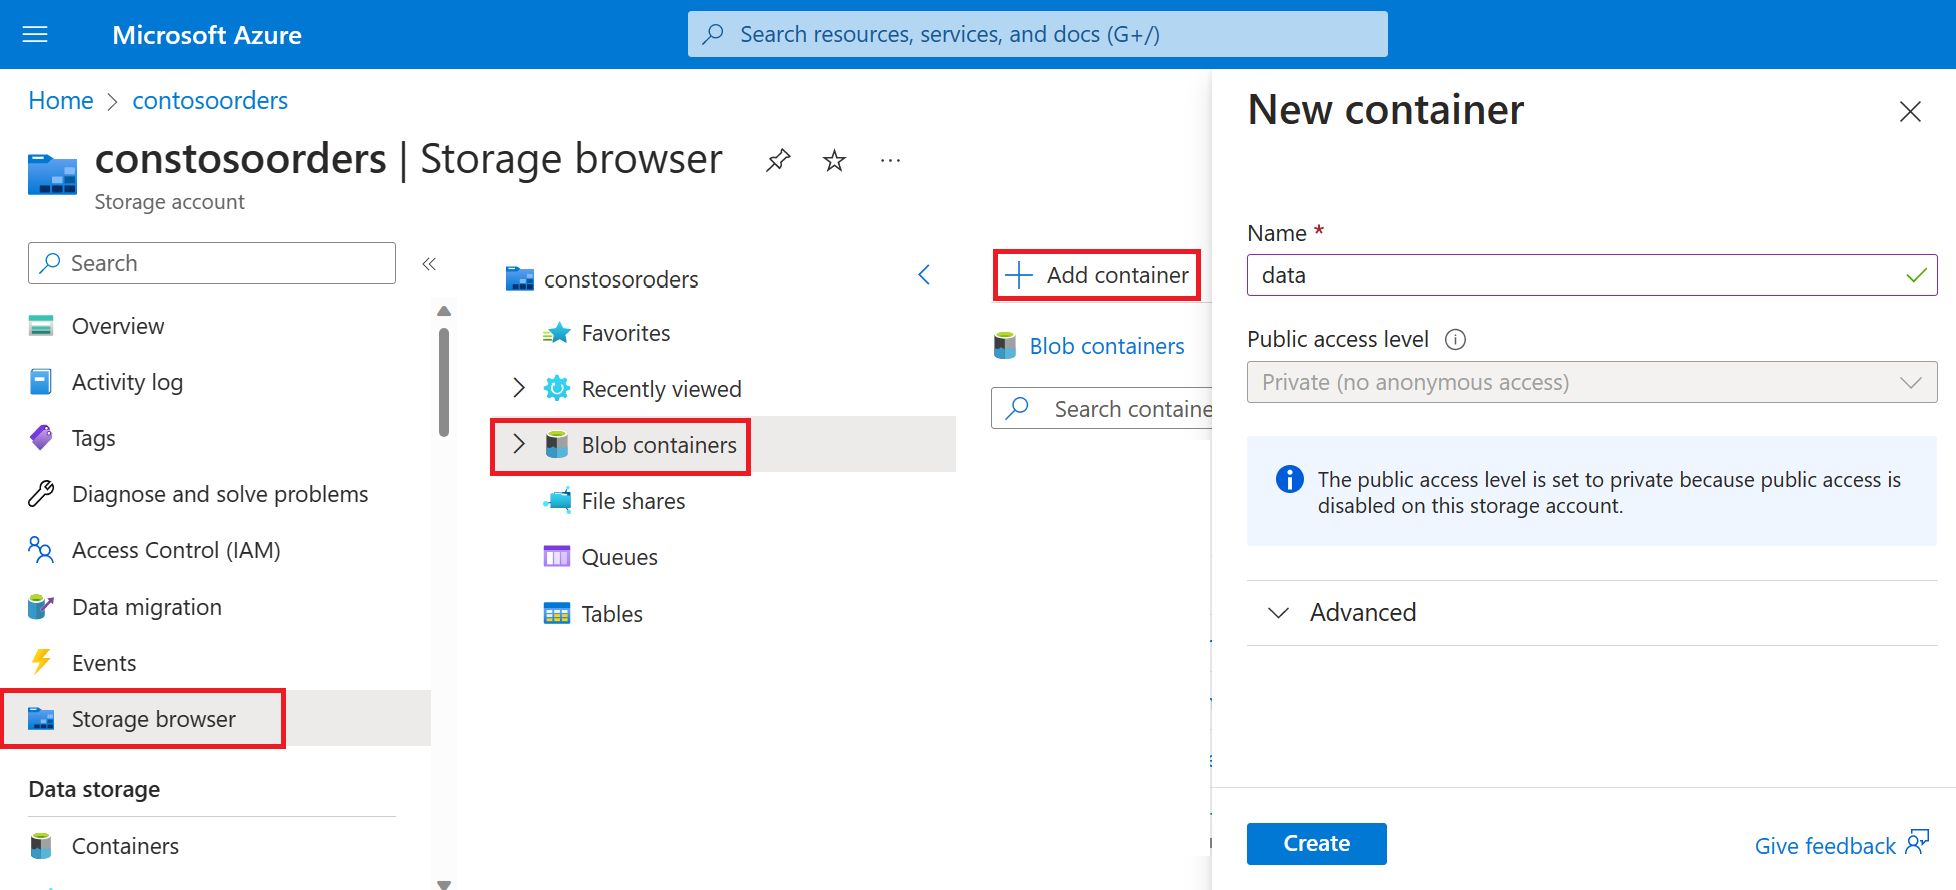
In storage browser, upload the
On_Time_Reporting_Carrier_On_Time_Performance_1987_present_2016_1.csvfile to the data folder.
Create an Azure Synapse workspace
Create a Synapse workspace in the Azure portal. As you create the workspace, use these values:
- Subscription: Select the Azure subscription associated with your storage account.
- Resource group: Select the resource group where you placed your storage account.
- Region: Select the region of the storage account (for example,
Central US). - Name: Enter a name for your Synapse workspace.
- SQL Administrator login: Enter the administrator username for the SQL Server.
- SQL Administrator password: Enter the administrator password for the SQL Server.
- Tag Values: Accept the default.
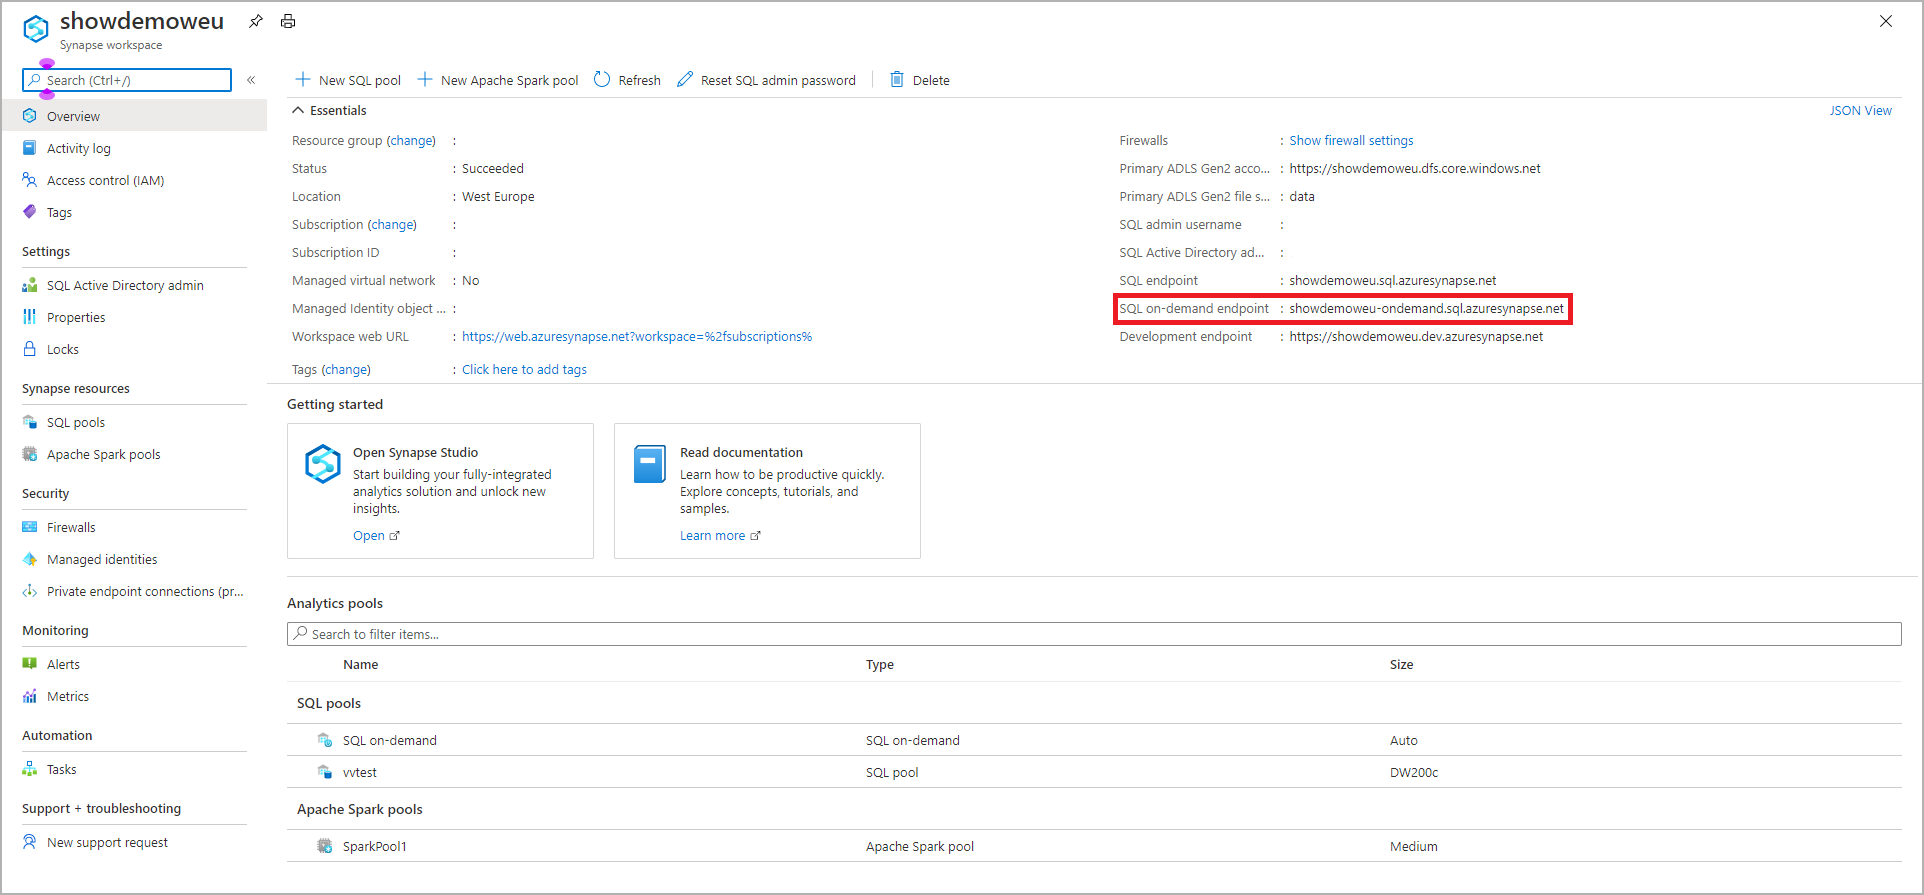
Find your Synapse SQL endpoint name (optional)
The serverless SQL endpoint name server name enables you to connect with any tool that can run T-SQL queries on SQL server or Azure SQL database (For example: SQL Server Management Studio, Azure Data Studio, or Power BI).
To find the fully qualified server name:
Select on the workspace you want to connect to.
Go to overview.
Locate the full server name.
In this tutorial, you use Synapse Studio to query data from the CSV file that you uploaded to the storage account.
Use Synapse Studio to explore data
Open Synapse Studio. See Open Synapse Studio
Create a SQL script and run this query to view the contents of the file:
SELECT
   TOP 100 *
FROM
   OPENROWSET(
      BULK 'https://<storage-account-name>.dfs.core.windows.net/<container-name>/folder1/On_Time.csv',
      FORMAT='CSV',
      PARSER_VERSION='2.0'
   ) AS [result]
For information about how to create a SQL script in Synapse Studio, see Synapse Studio SQL scripts in Azure Synapse Analytics
Clean up resources
When they're no longer needed, delete the resource group and all related resources. To do so, select the resource group for the storage account and workspace, and then and select Delete.
Next steps
Feedback
Coming soon: Throughout 2024 we will be phasing out GitHub Issues as the feedback mechanism for content and replacing it with a new feedback system. For more information see: https://aka.ms/ContentUserFeedback.
Submit and view feedback for