Events
Mar 31, 11 PM - Apr 2, 11 PM
The biggest Fabric, Power BI, and SQL learning event. March 31 – April 2. Use code FABINSIDER to save $400.
Register todayThis browser is no longer supported.
Upgrade to Microsoft Edge to take advantage of the latest features, security updates, and technical support.
AzCopy is a command-line tool for copying data to or from Azure Blob storage, Azure Files, and Azure Table storage, by using simple commands. The commands are designed for optimal performance. Using AzCopy, you can either copy data between a file system and a storage account, or between storage accounts. AzCopy may be used to copy data from local (on-premises) data to a storage account.
In this tutorial, you learn how to:
If you don't have an Azure subscription, create a free account before you begin.
To complete this tutorial, download the latest version of AzCopy. See Get started with AzCopy.
If you're on Windows, you will require Schtasks as this tutorial makes use of it in order to schedule a task. Linux users will make use of the crontab command, instead.
To create a general-purpose v2 storage account in the Azure portal, follow these steps:
The following image shows the settings on the Basics blade for a new storage account:

The first step is to create a container, because blobs must always be uploaded into a container. Containers are used as a method of organizing groups of blobs like you would files on your computer, in folders.
Follow these steps to create a container:
Select the Storage accounts button from the main page, and select the storage account that you created.
Select Blobs under Services, and then select Container.
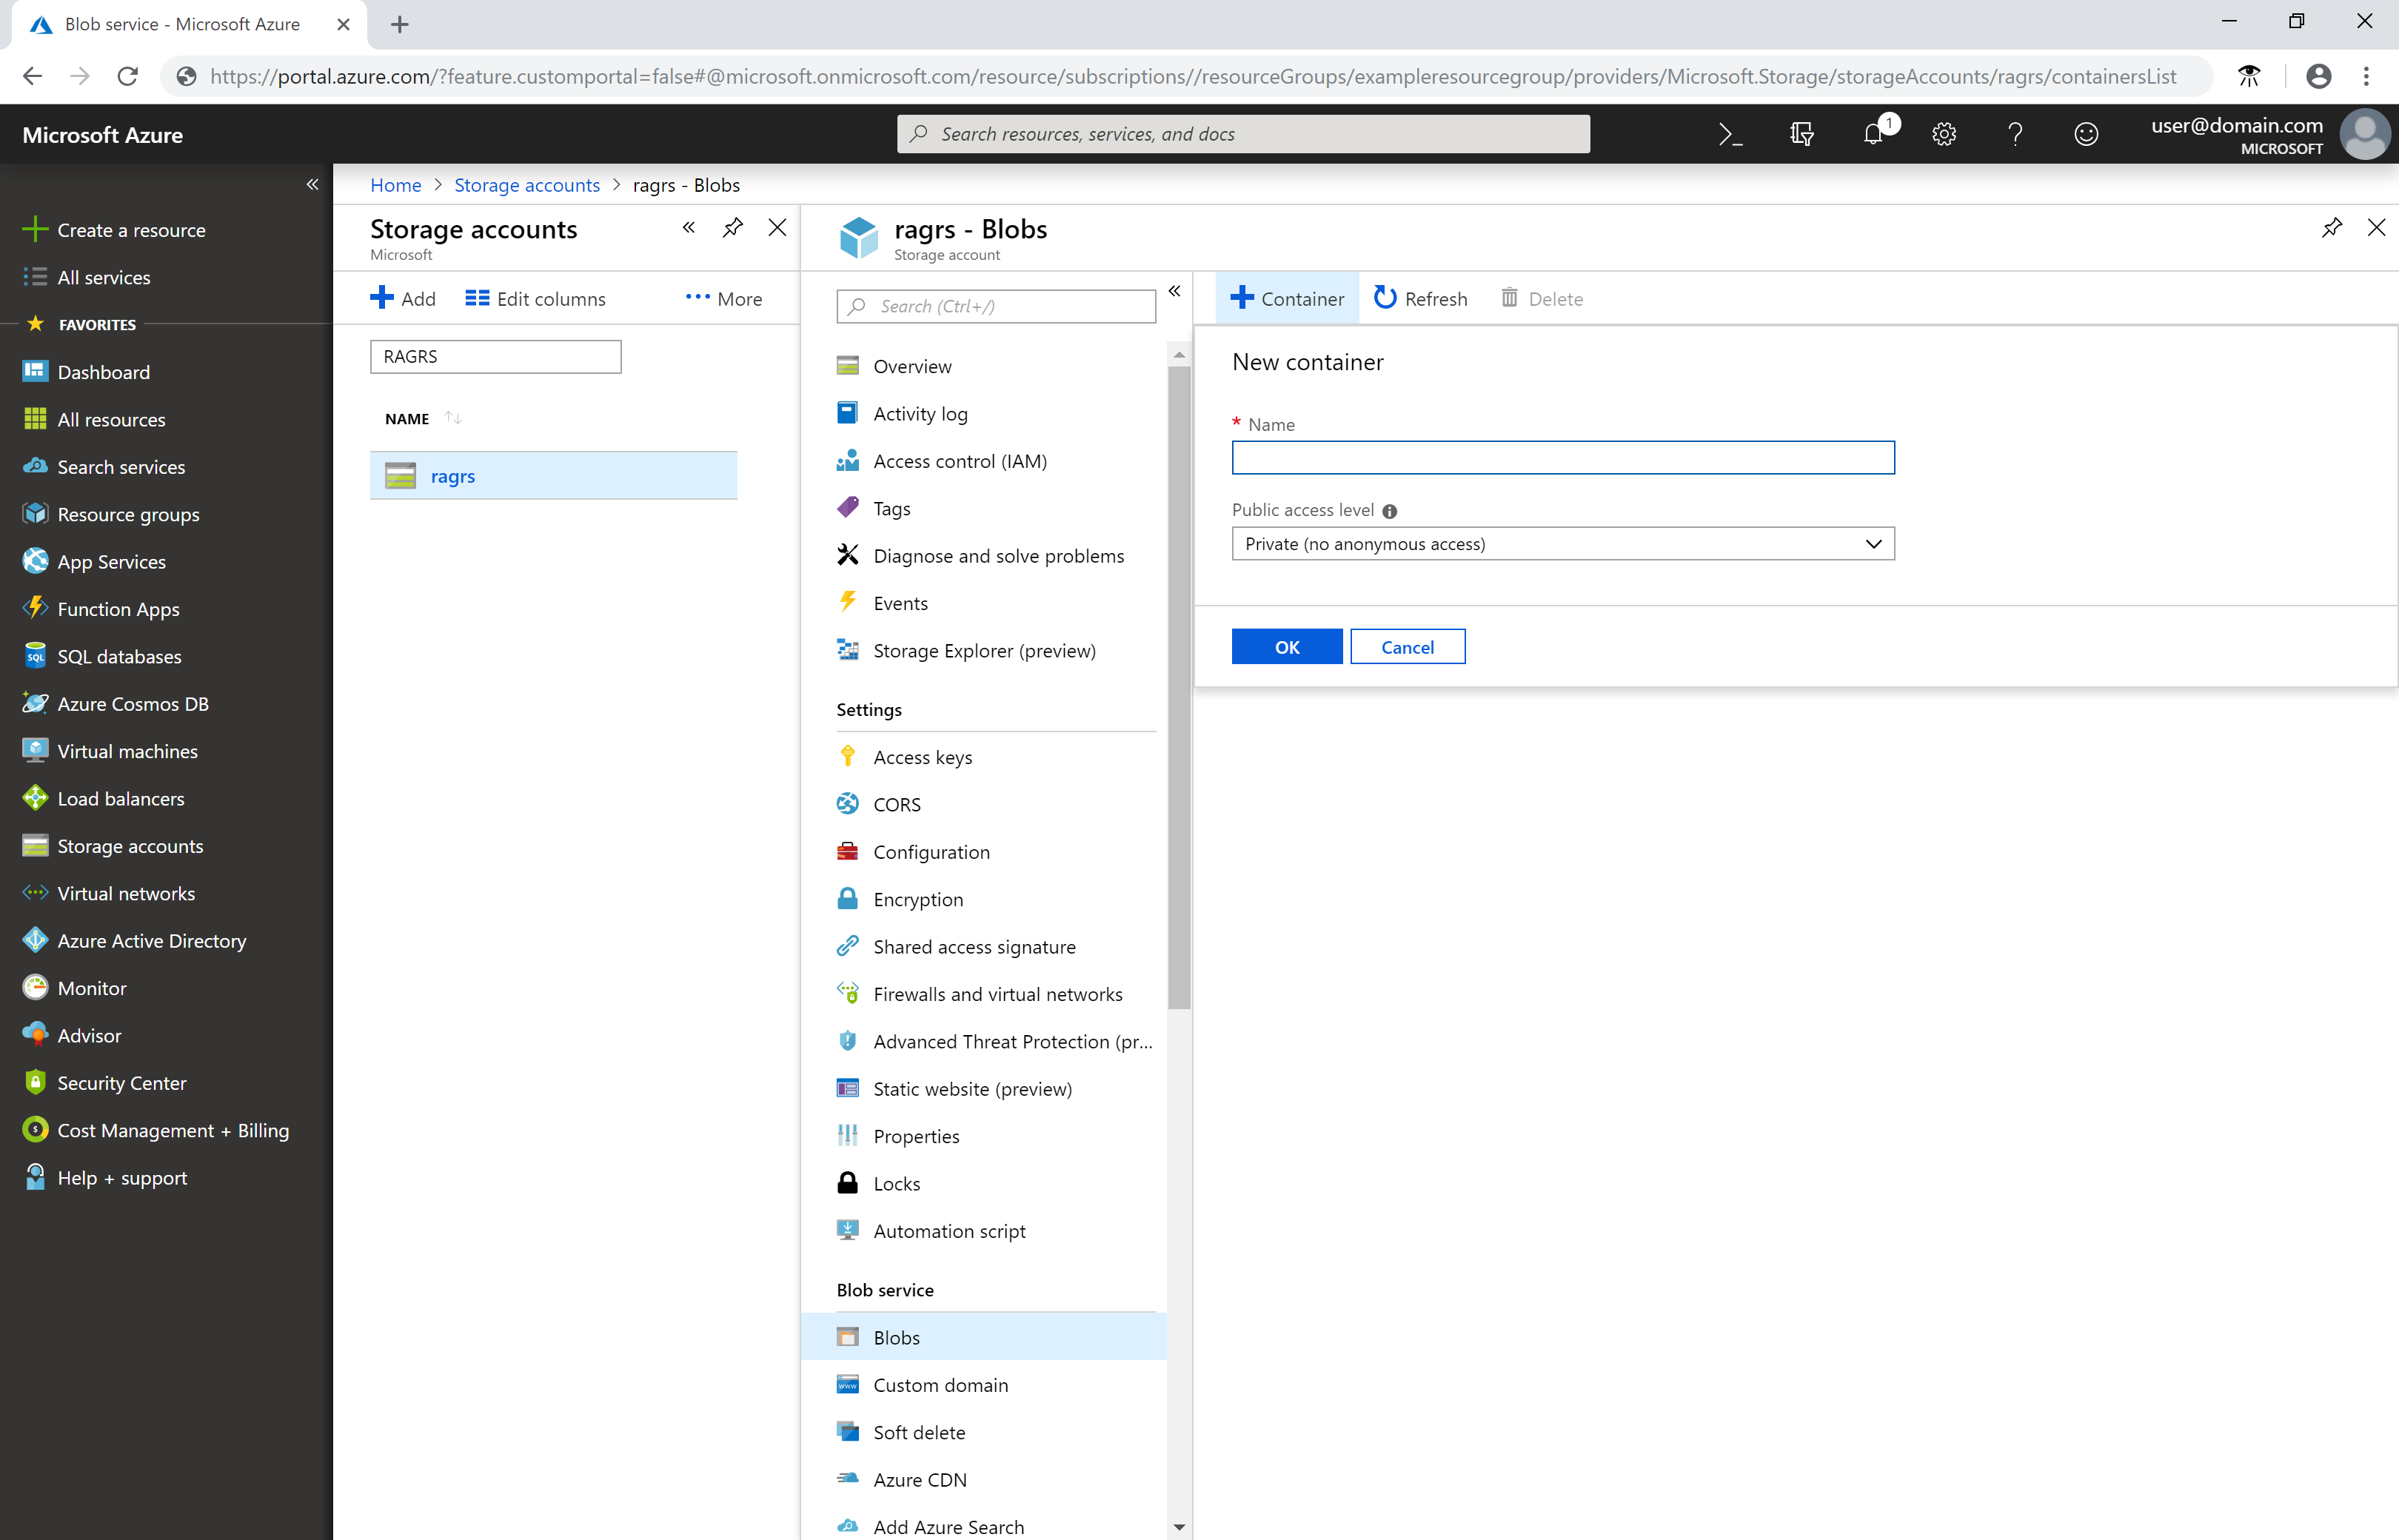
Container names must start with a letter or number. They can contain only letters, numbers, and the hyphen character (-). For more rules about naming blobs and containers, see Naming and referencing containers, blobs, and metadata.
Download the AzCopy V10 executable file.
Place the AzCopy file anywhere on your computer. Add the location of the file to your system path variable so that you can refer to this executable file from any folder on your computer.
First, assign the Storage Blob Data Contributor role to your identity. See Assign an Azure role for access to blob data.
Then, open a command prompt, type the following command, and press the ENTER key.
azcopy login
This command returns an authentication code and the URL of a website. Open the website, provide the code, and then choose the Next button.
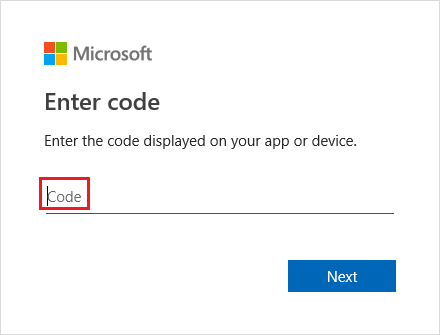
A sign-in window will appear. In that window, sign into your Azure account by using your Azure account credentials. After you've successfully signed in, you can close the browser window and begin using AzCopy.
You can use AzCopy to upload all files in a folder to Blob storage on Windows or Linux. To upload all blobs in a folder, enter the following AzCopy command:
azcopy copy "<local-folder-path>" "https://<storage-account-name>.<blob or dfs>.core.windows.net/<container-name>" --recursive=true
Replace the <local-folder-path> placeholder with the path to a folder that contains files (For example: C:\myFolder or /mnt/myFolder).
Replace the <storage-account-name> placeholder with the name of your storage account.
Replace the <container-name> placeholder with the name of the container that you created.
To upload the contents of the specified directory to Blob storage recursively, specify the --recursive option. When you run AzCopy with this option, all subfolders and their files are uploaded as well.
You can use AzCopy to upload files based on their last-modified time.
To try this, modify or create new files in your source directory for test purposes. Then, use the AzCopy sync command.
azcopy sync "<local-folder-path>" "https://<storage-account-name>.blob.core.windows.net/<container-name>" --recursive=true
Replace the <local-folder-path> placeholder with the path to a folder that contains files (For example: C:\myFolder or /mnt/myFolder.
Replace the <storage-account-name> placeholder with the name of your storage account.
Replace the <container-name> placeholder with the name of the container that you created.
To learn more about the sync command, see Synchronize files.
You can create a scheduled task or cron job that runs an AzCopy command script. The script identifies and uploads new on-premises data to cloud storage at a specific time interval.
Copy the AzCopy command to a text editor. Update the parameter values of the AzCopy command to the appropriate values. Save the file as script.sh (Linux) or script.bat (Windows) for AzCopy.
These examples assume that your folder is named myFolder, your storage account name is mystorageaccount and your container name is mycontainer.
Note
The Linux example appends a SAS token. You'll need to provide one in your command. To utilize Microsoft Entra authentication in cron jobs, ensure you configure the AZCOPY_AUTO_LOGIN_TYPE environment variable appropriately.
azcopy sync "/mnt/myfiles" "https://mystorageaccount.blob.core.windows.net/mycontainer?sv=2018-03-28&ss=bfqt&srt=sco&sp=rwdlacup&se=2019-05-30T06:57:40Z&st=2019-05-29T22:57:40Z&spr=https&sig=BXHippZxxx54hQn/4tBY%2BE2JHGCTRv52445rtoyqgFBUo%3D" --recursive=true
In this tutorial, Schtasks is used to create a scheduled task on Windows. The Crontab command is used to create a cron job on Linux.
Schtasks enables an administrator to create, delete, query, change, run, and end scheduled tasks on a local or remote computer. Cron enables Linux and Unix users to run commands or scripts at a specified date and time by using cron expressions.
To create a cron job on Linux, enter the following command on a terminal:
crontab -e
*/5 * * * * sh /path/to/script.sh
Specifying the cron expression */5 * * * * in the command indicates that the shell script script.sh should run every five minutes. You can schedule the script to run at a specific time daily, monthly, or yearly. To learn more about setting the date and time for job execution, see cron expressions.
To validate that the scheduled task/cron job runs correctly, create new files in your myFolder directory. Wait five minutes to confirm that the new files have been uploaded to your storage account. Go to your log directory to view output logs of the scheduled task or cron job.
To learn more about ways to move on-premises data to Azure Storage and vice versa, follow this link:
For more information about AzCopy, see any of these articles:
Events
Mar 31, 11 PM - Apr 2, 11 PM
The biggest Fabric, Power BI, and SQL learning event. March 31 – April 2. Use code FABINSIDER to save $400.
Register todayTraining
Learning path
Run high-performance computing (HPC) applications on Azure - Training
Azure HPC is a purpose-built cloud capability for HPC & AI workload, using leading-edge processors and HPC-class InfiniBand interconnect, to deliver the best application performance, scalability, and value. Azure HPC enables users to unlock innovation, productivity, and business agility, through a highly available range of HPC & AI technologies that can be dynamically allocated as your business and technical needs change. This learning path is a series of modules that help you get started on Azure HPC - you
Certification
Microsoft Certified: Azure Administrator Associate - Certifications
Demonstrate key skills to configure, manage, secure, and administer key professional functions in Microsoft Azure.