Create virtual machine restore points using Azure portal
You can create virtual machine restore points through the Azure portal. You can protect your data and guard against extended downtime by creating VM restore points at regular intervals. This article shows you how to create VM restore points using the Azure portal. Alternatively, you can create VM restore points using the Azure CLI or using PowerShell.
In this tutorial, you learn how to:
Prerequisites
- Learn more about the support requirements and limitations before creating a restore point.
Step 1: Create a VM restore point collection
Use the following steps to create a VM restore points collection:
Sign in to the Azure portal.
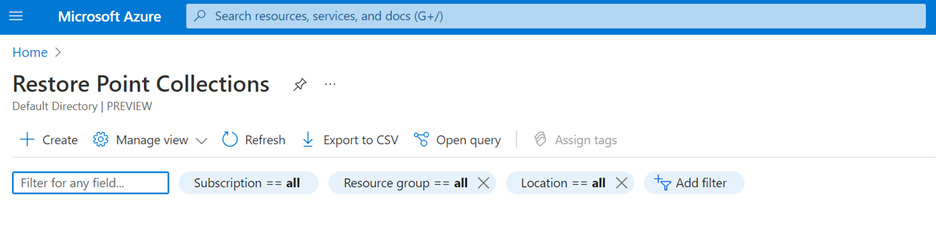
In the Search box, enter Restore Point Collections.

Select + Create to create a new Restore Point Collection.
Enter the details and select the VM for which you want to create a restore point collection.
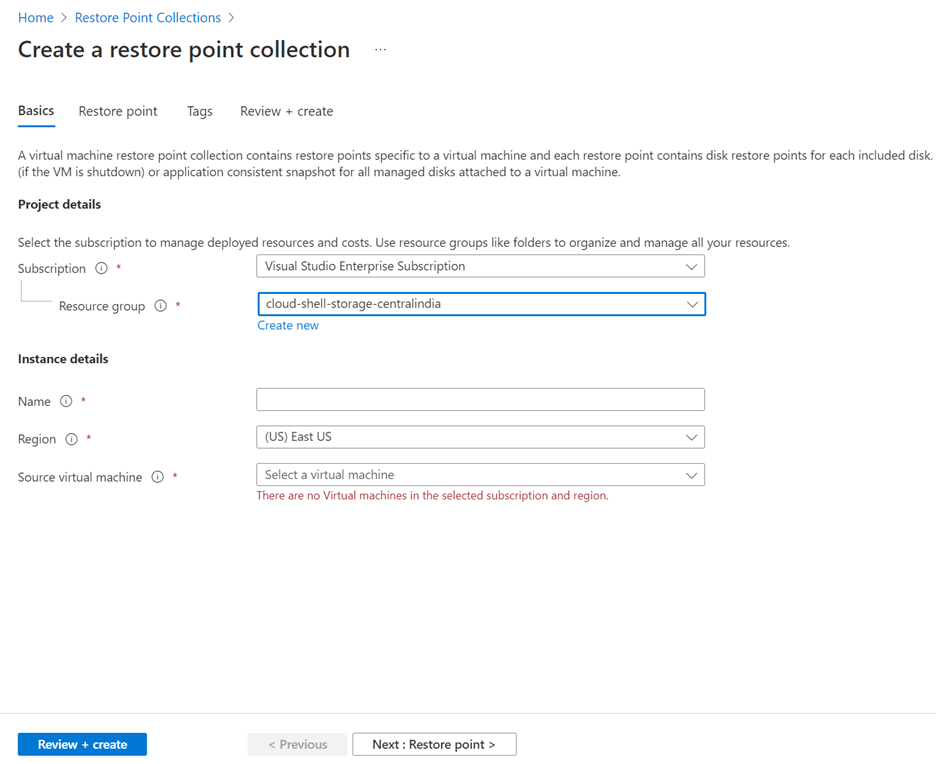
Select Next: Restore Point to create your first restore point or select Review + Create to create an empty restore point collection.
Step 2: Create a VM restore point
Use the following steps to create a VM restore point:
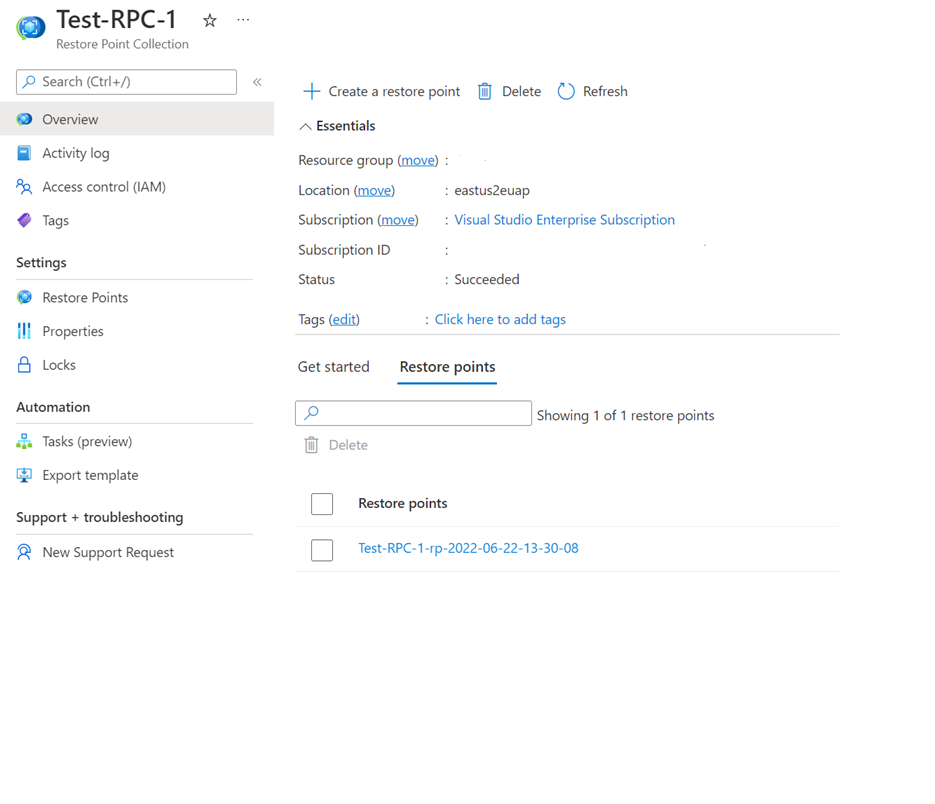
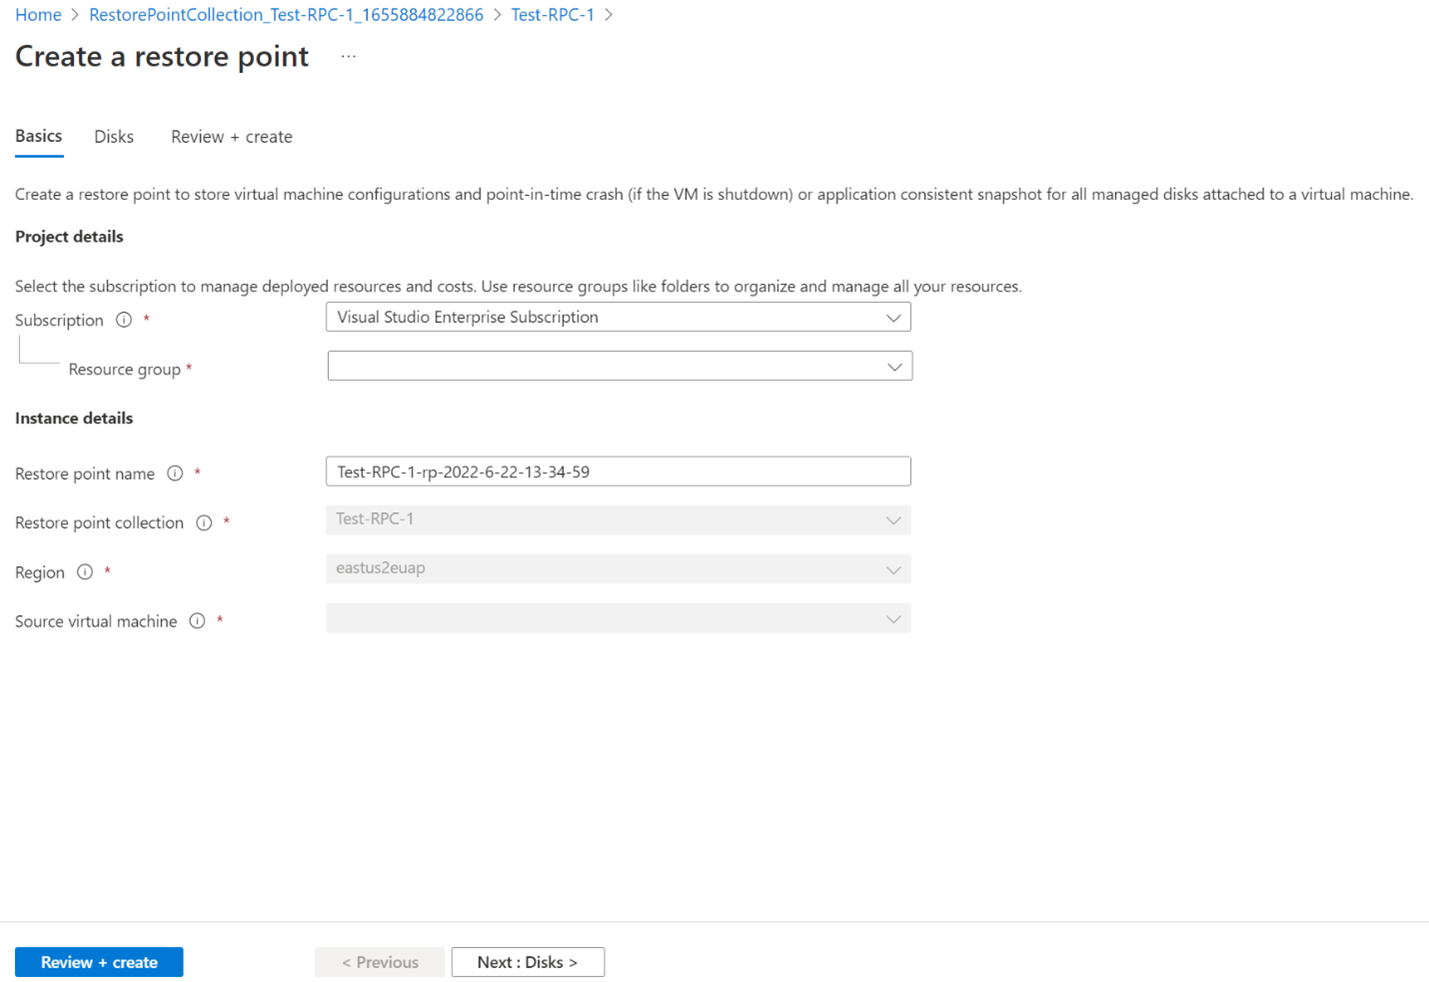
Navigate to the restore point collection where you want to create restore points and select + Create a restore point to create new restore point for the VM.
Enter a name for the restore point and other required details and select Next: Disks >.
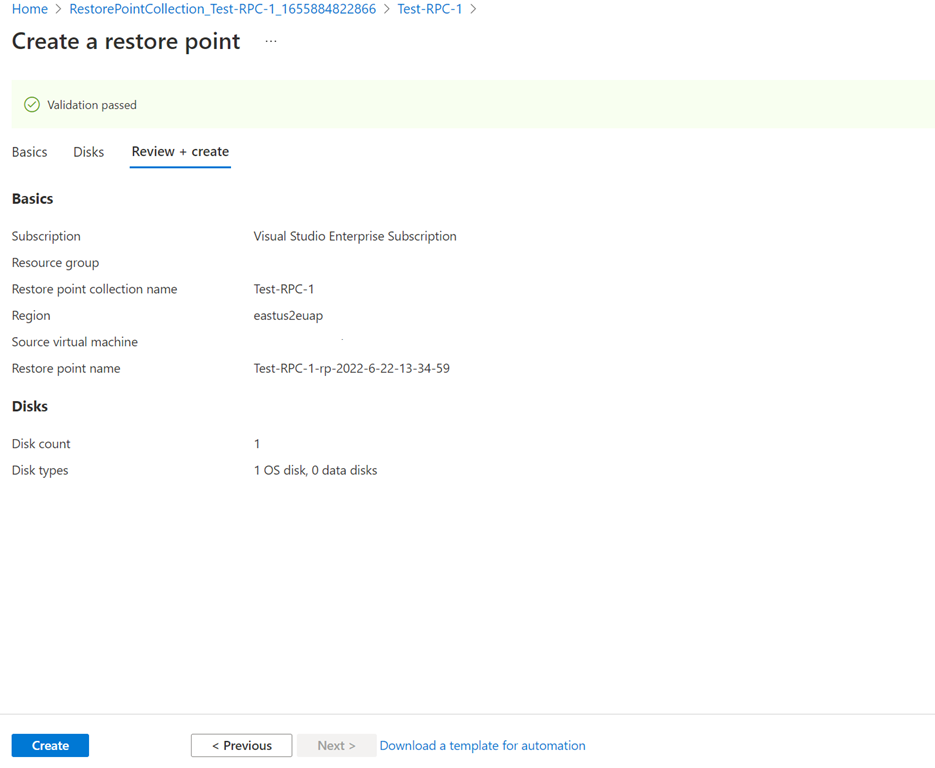
Select the disks to be included in the restore point.

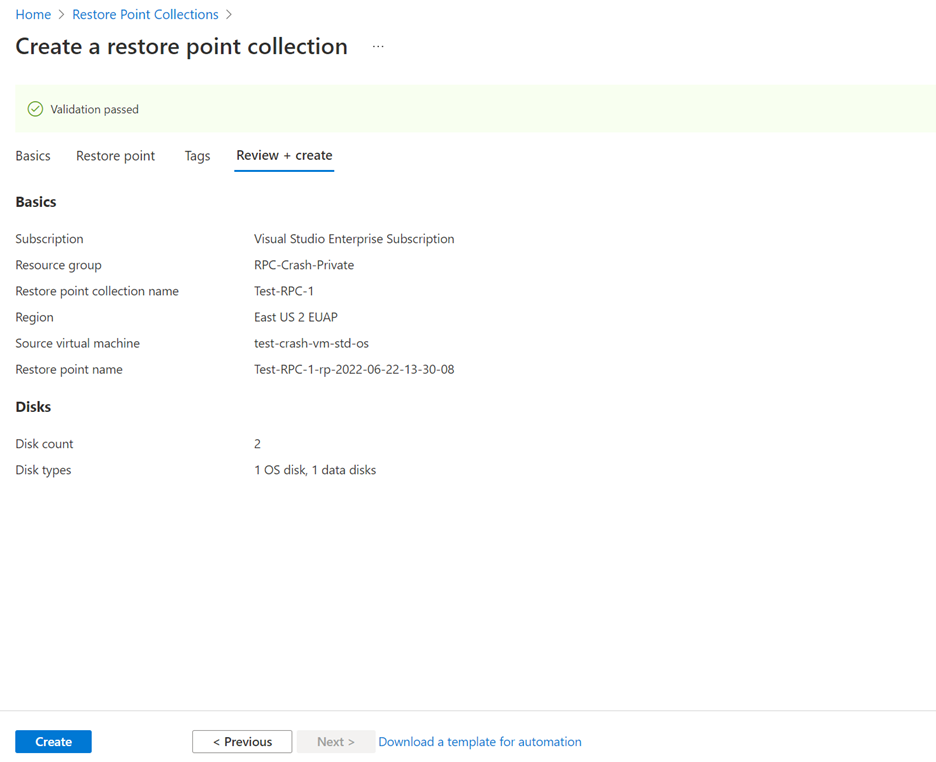
Select Review + create to validate the settings. Once validation is completed, select Create to create the restore point.
Step 3: Track the status of the VM restore point creation
Select the notification to track the progress of the restore point creation.

Restore a VM from a restore point
To restore a VM from a VM restore point, first restore individual disks from each disk restore point. You can also use the ARM template to restore a VM along with all the disks.
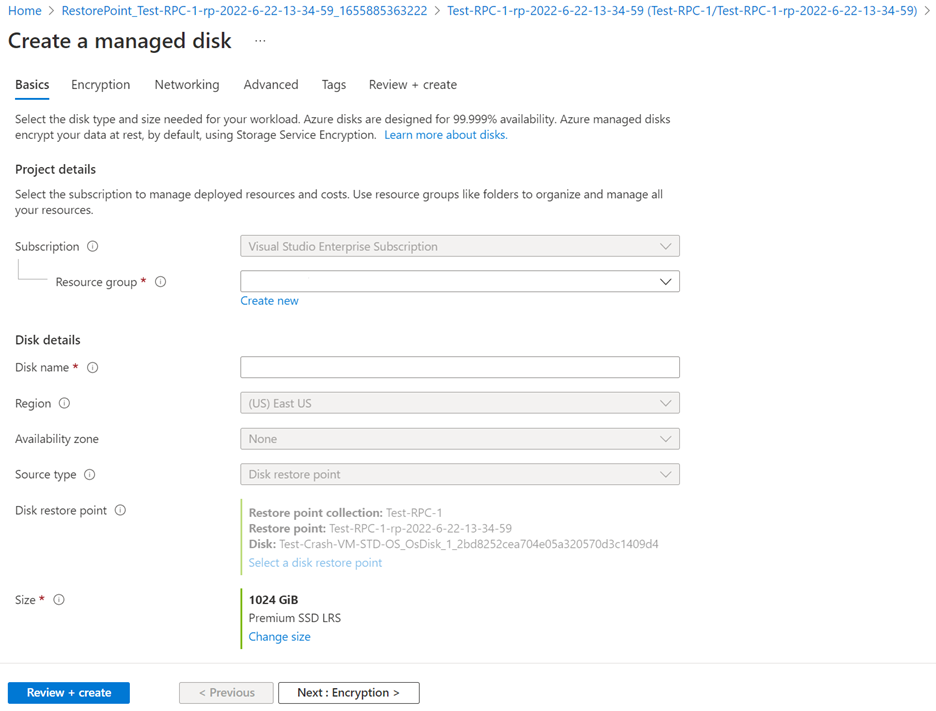
Select Create a disk from a restore point to restore a disk from a disk restore point. Do this for all the disks that you want to restore.

Enter the details in the Create a managed disk dialog to create disks from the restore points. Once the disks are created, create a new VM and attach these restored disks to the newly created VM.
Next steps
Learn more about Backup and restore options for virtual machines in Azure.
Feedback
Coming soon: Throughout 2024 we will be phasing out GitHub Issues as the feedback mechanism for content and replacing it with a new feedback system. For more information see: https://aka.ms/ContentUserFeedback.
Submit and view feedback for