Configure virtual hub routing preference - Azure portal
The following steps help you configure virtual hub routing preference settings. For information about this feature, see Virtual hub routing preference. You can also configure these settings using the Azure PowerShell.
New virtual hub
You can configure a new virtual hub to include the virtual hub routing preference setting by using the Azure portal. Follow the steps in the Tutorial: Create a site-to-site connection article.
Existing virtual hub
To configure virtual hub routing preference for an existing virtual hub, use the following steps.
Sign in to the Azure portal.
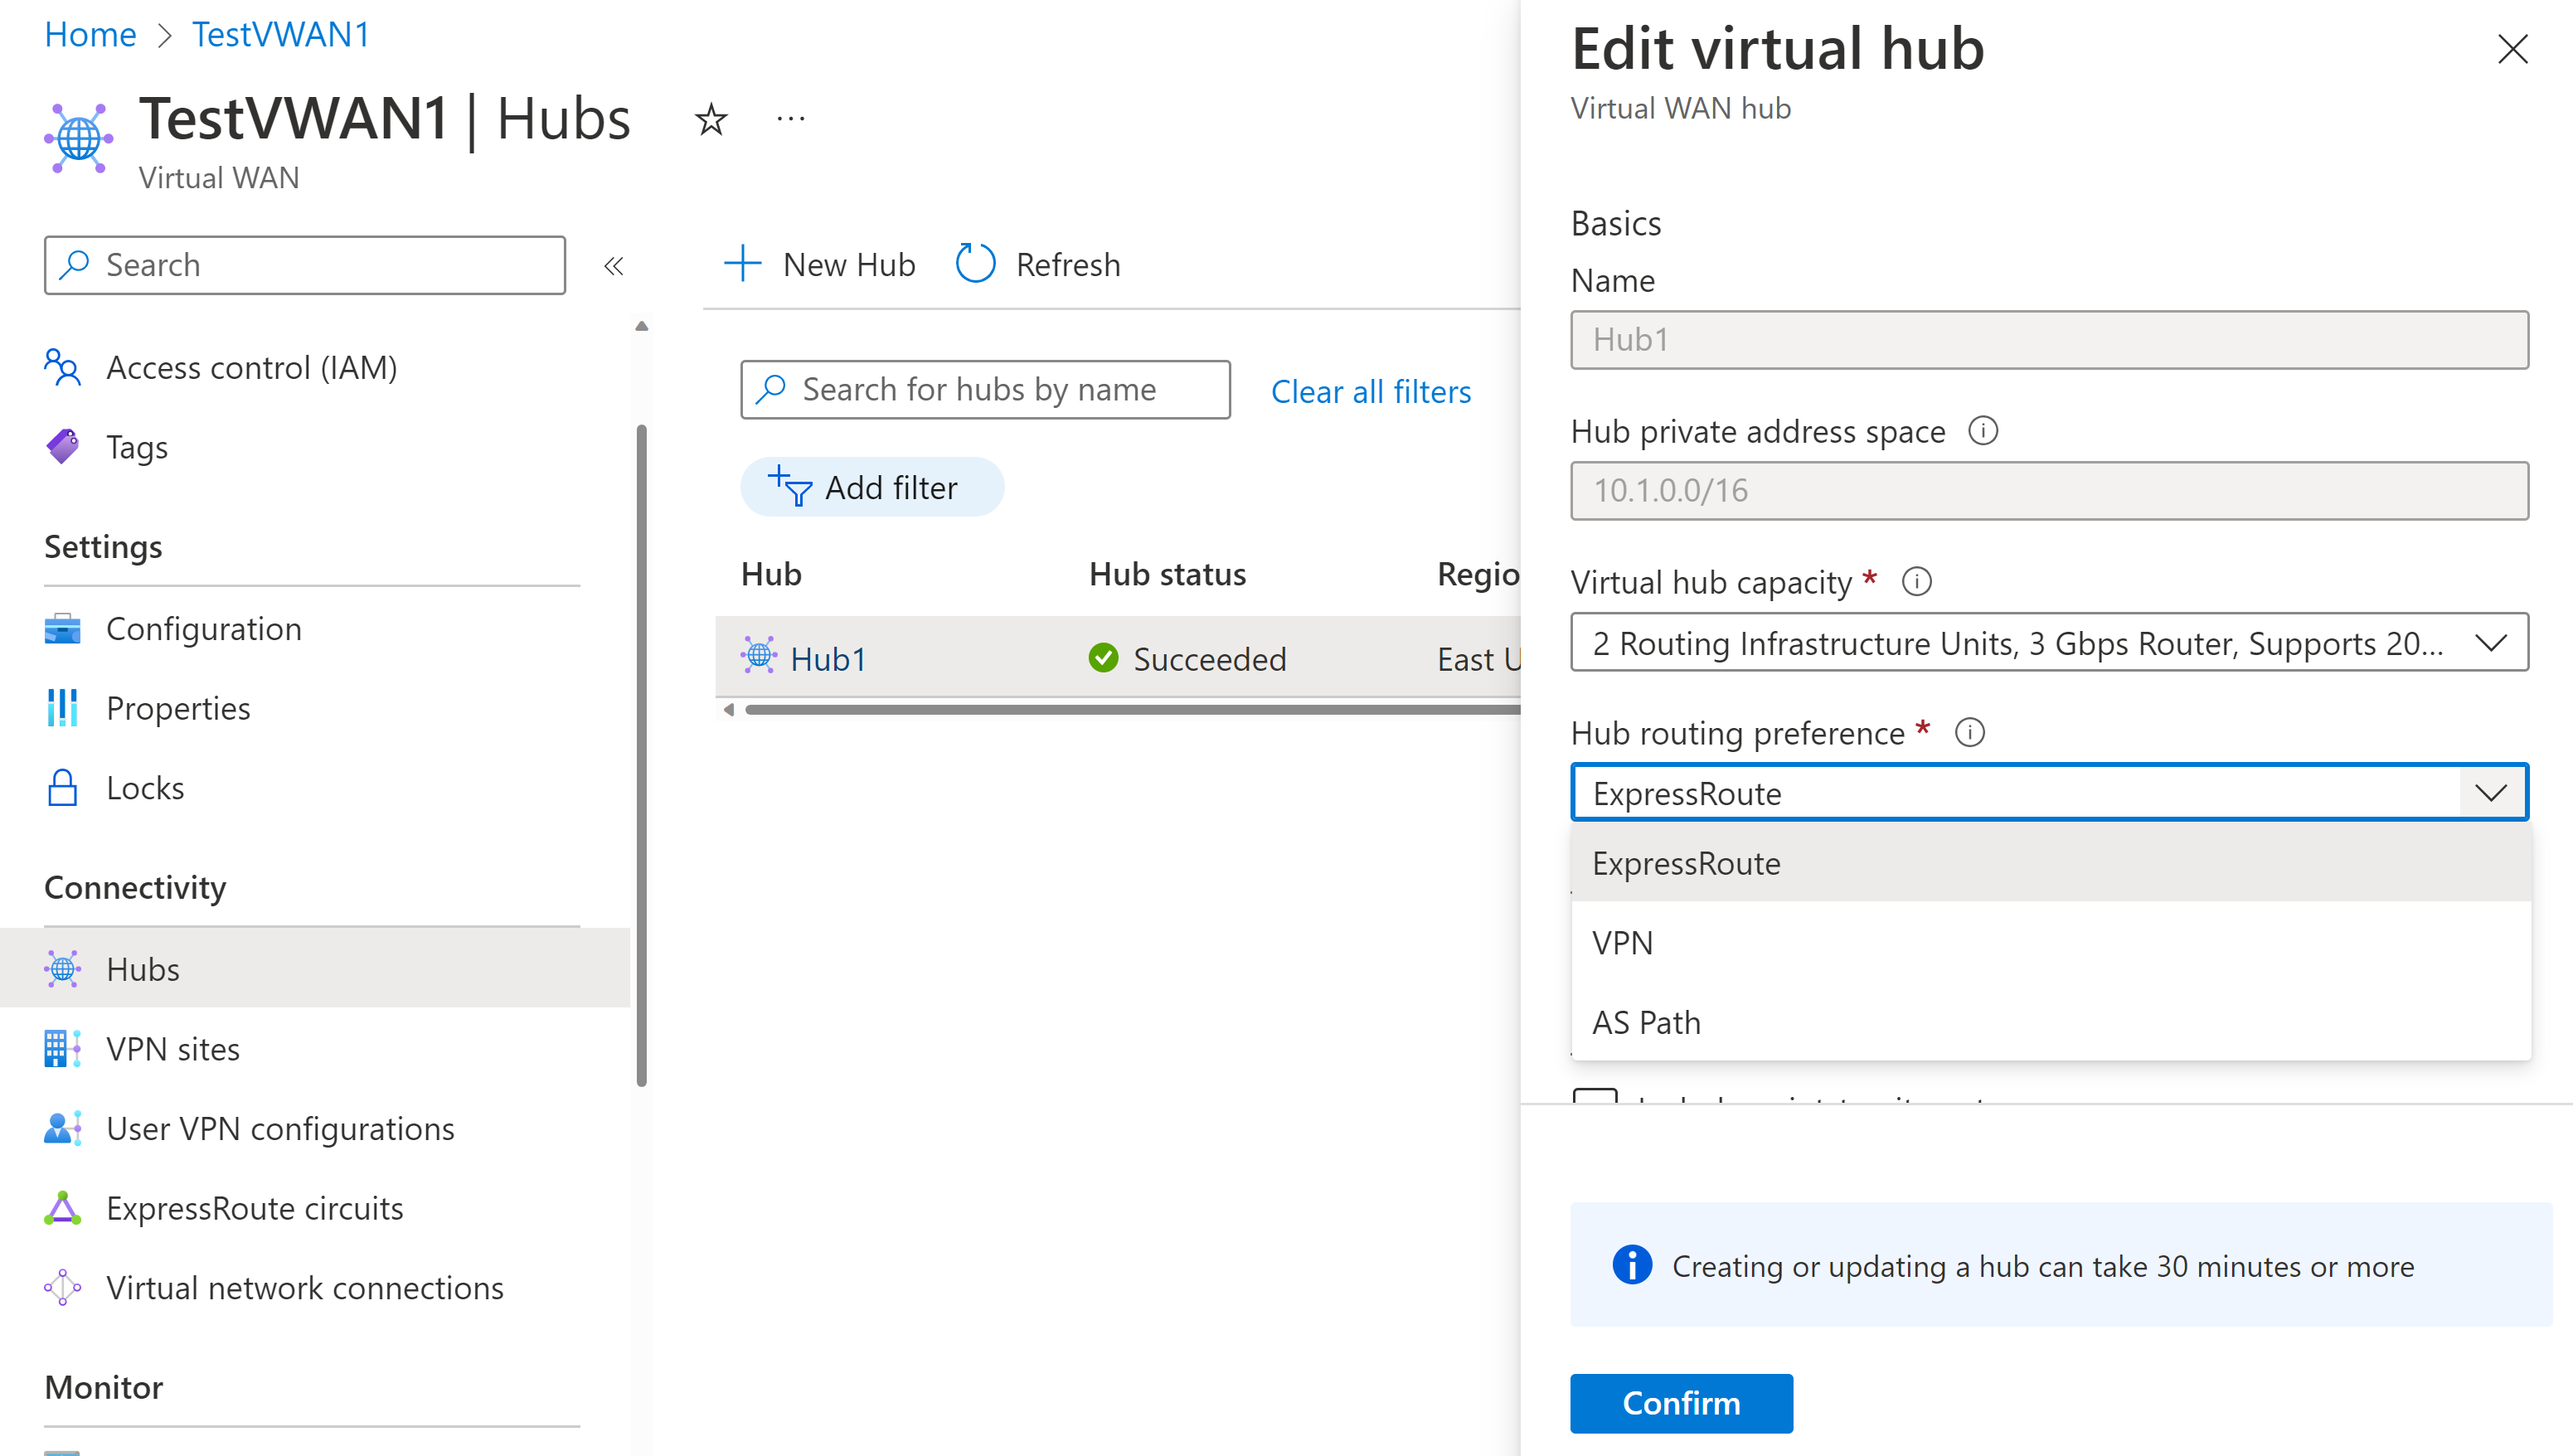
Go to your virtual WAN. In the left pane, click Hubs to view the list of hubs.
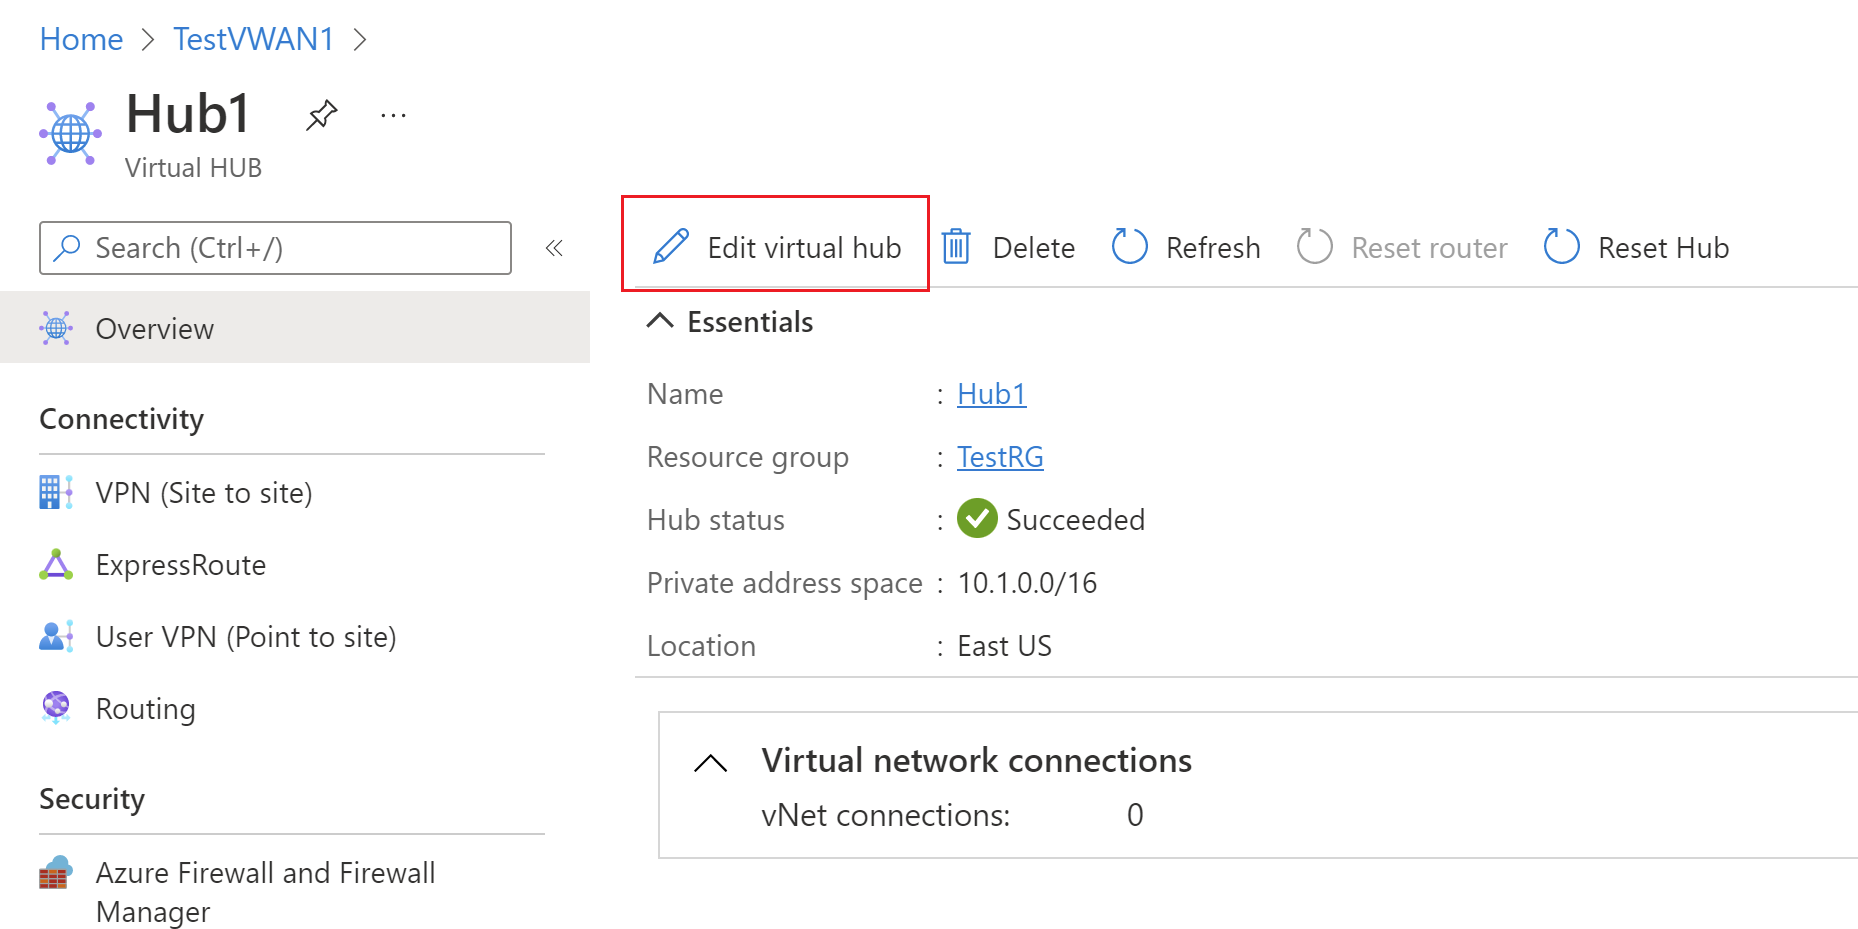
Click the hub that you want to configure. On the Virtual HUB page, click Edit virtual hub.
On the Edit virtual hub page, select from the dropdown to configure Hub routing preference. To determine the setting to use, see About virtual hub routing preference.
Click Confirm to save the settings.
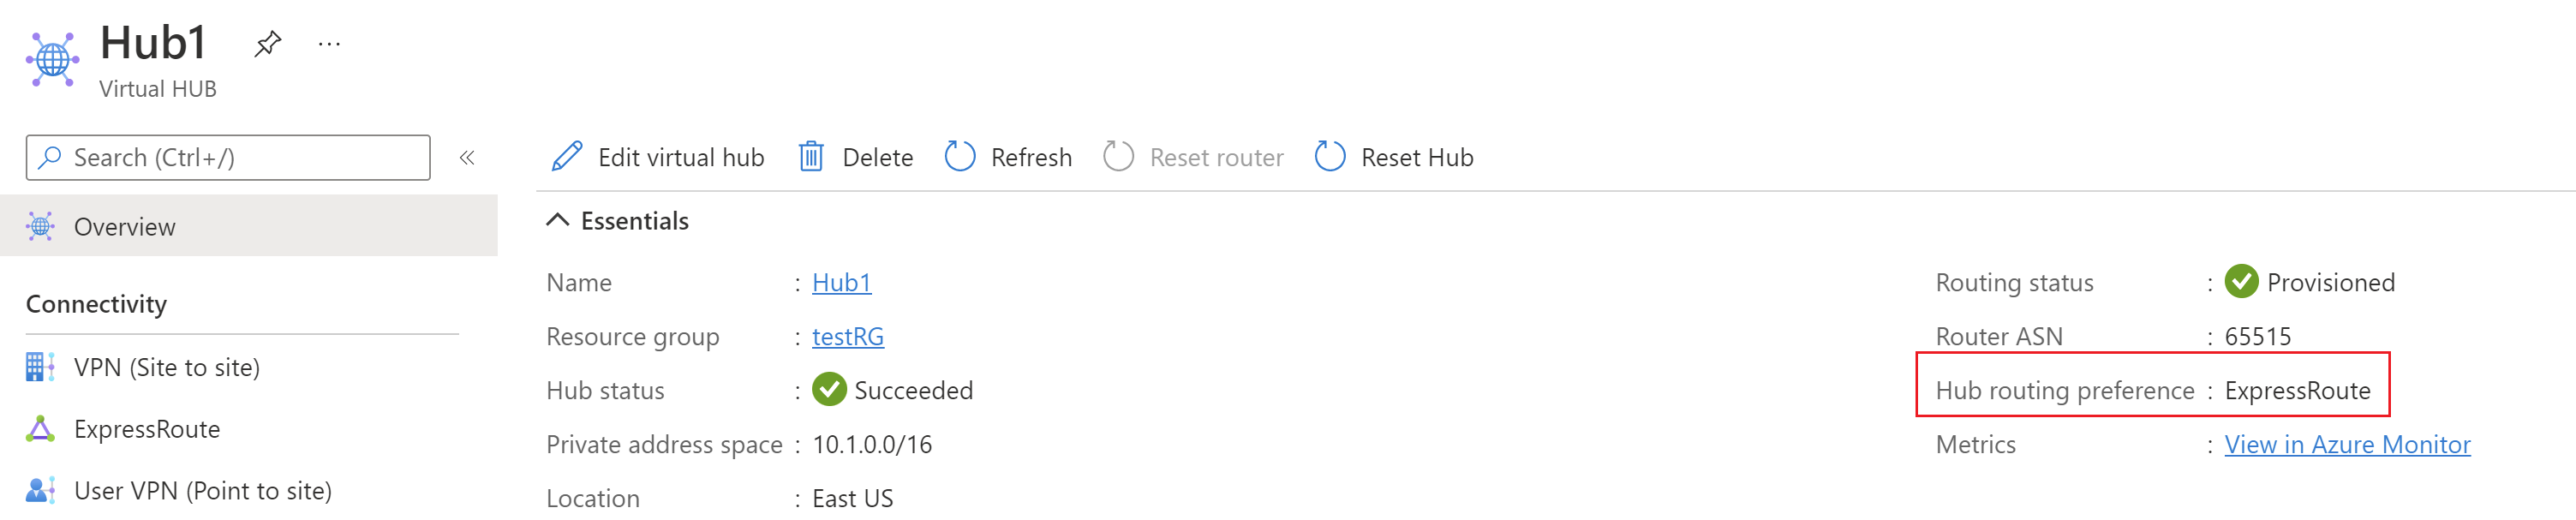
After the settings have saved, you can verify the configuration on the Overview page for the virtual hub.


Next steps
To learn more about virtual hub routing preference, see About virtual hub routing preference.
Feedback
Coming soon: Throughout 2024 we will be phasing out GitHub Issues as the feedback mechanism for content and replacing it with a new feedback system. For more information see: https://aka.ms/ContentUserFeedback.
Submit and view feedback for