How to configure NAT for Azure VPN Gateway
This article helps you configure NAT (Network Address Translation) for Azure VPN Gateway using the Azure portal.
About NAT
NAT defines the mechanisms to translate one IP address to another in an IP packet. It's commonly used to connect networks with overlapping IP address ranges. NAT rules or policies on the gateway devices connecting the networks specify the address mappings for the address translation on the networks.
For more information about NAT support for Azure VPN Gateway, see About NAT and Azure VPN Gateway.
Important
- NAT is supported on the following SKUs: VpnGw2~5, VpnGw2AZ~5AZ.
Getting started
Each part of this article helps you form a basic building block for configuring NAT in your network connectivity. If you complete all three parts, you build the topology as shown in Diagram 1.
Diagram 1

Prerequisites
Verify that you have an Azure subscription. If you don't already have an Azure subscription, you can activate your MSDN subscriber benefits or sign up for a free account.
Part 1: Create VNet and gateways
In this section, you create a virtual network, a VPN gateway, and the local network gateway resources to correspond to the resources shown in Diagram 1. To create these resources, you can use the steps in the Site-to-Site Tutorial article. Complete the following sections of the article, but don't create any connections.
Important
Don't create any connections. If you try to create connection resources, the operation fails because the IP address spaces are the same between the VNet, Branch1, and Branch2. You'll create connection resources later in this article.
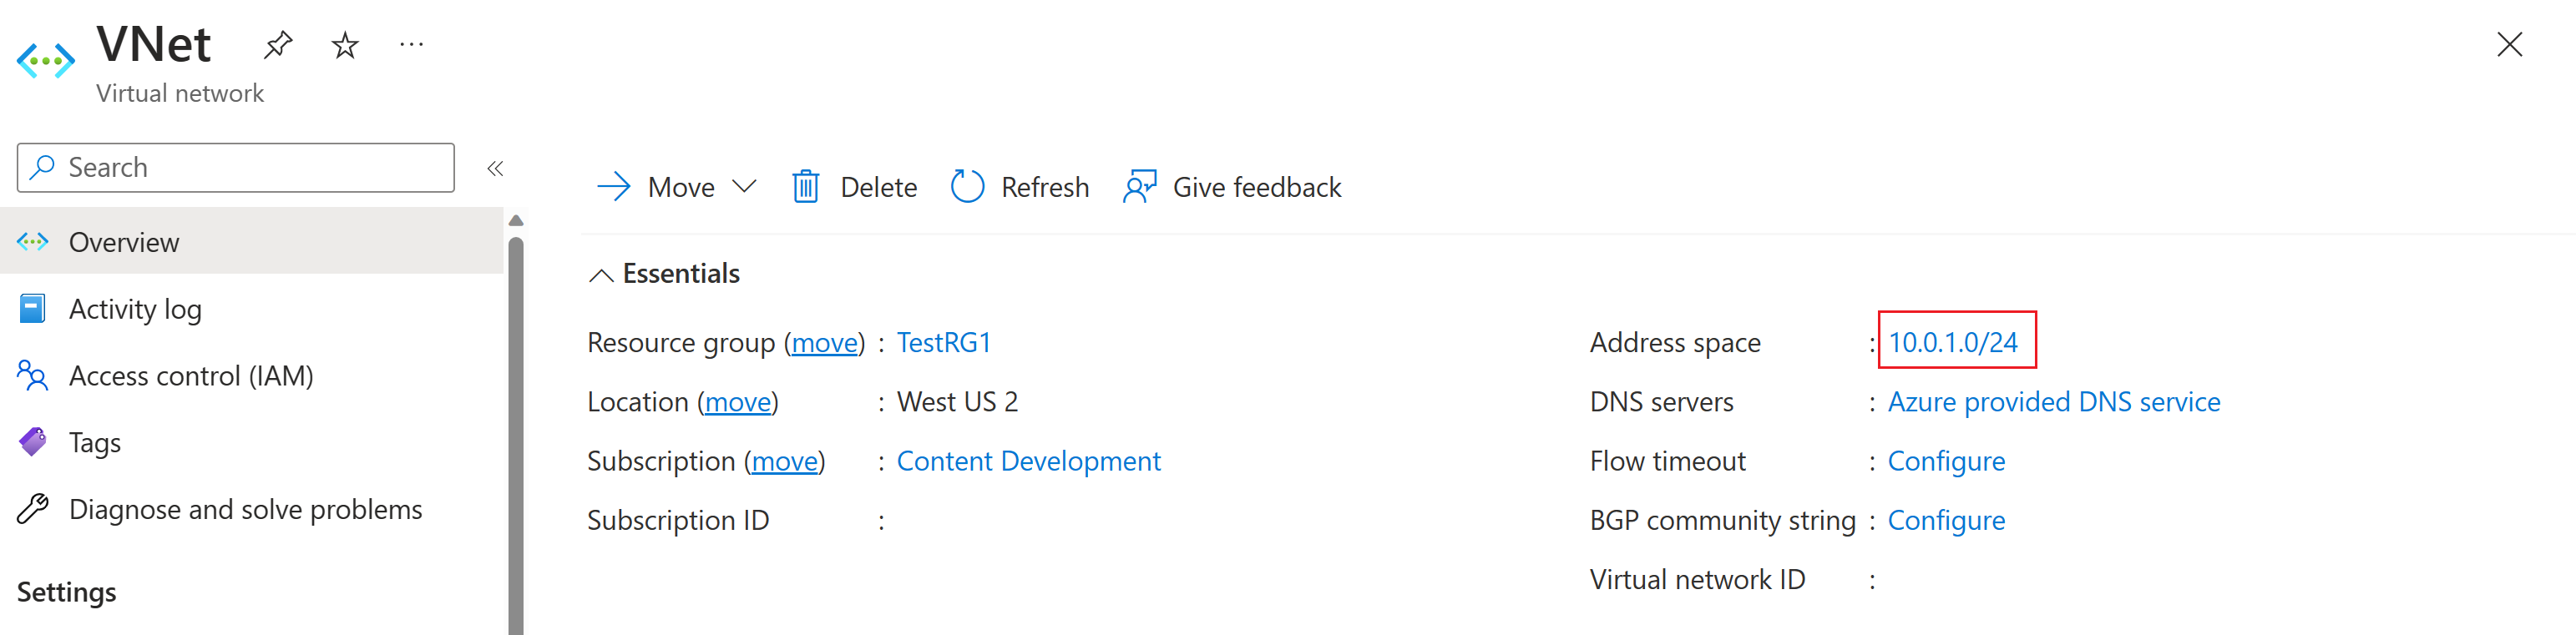
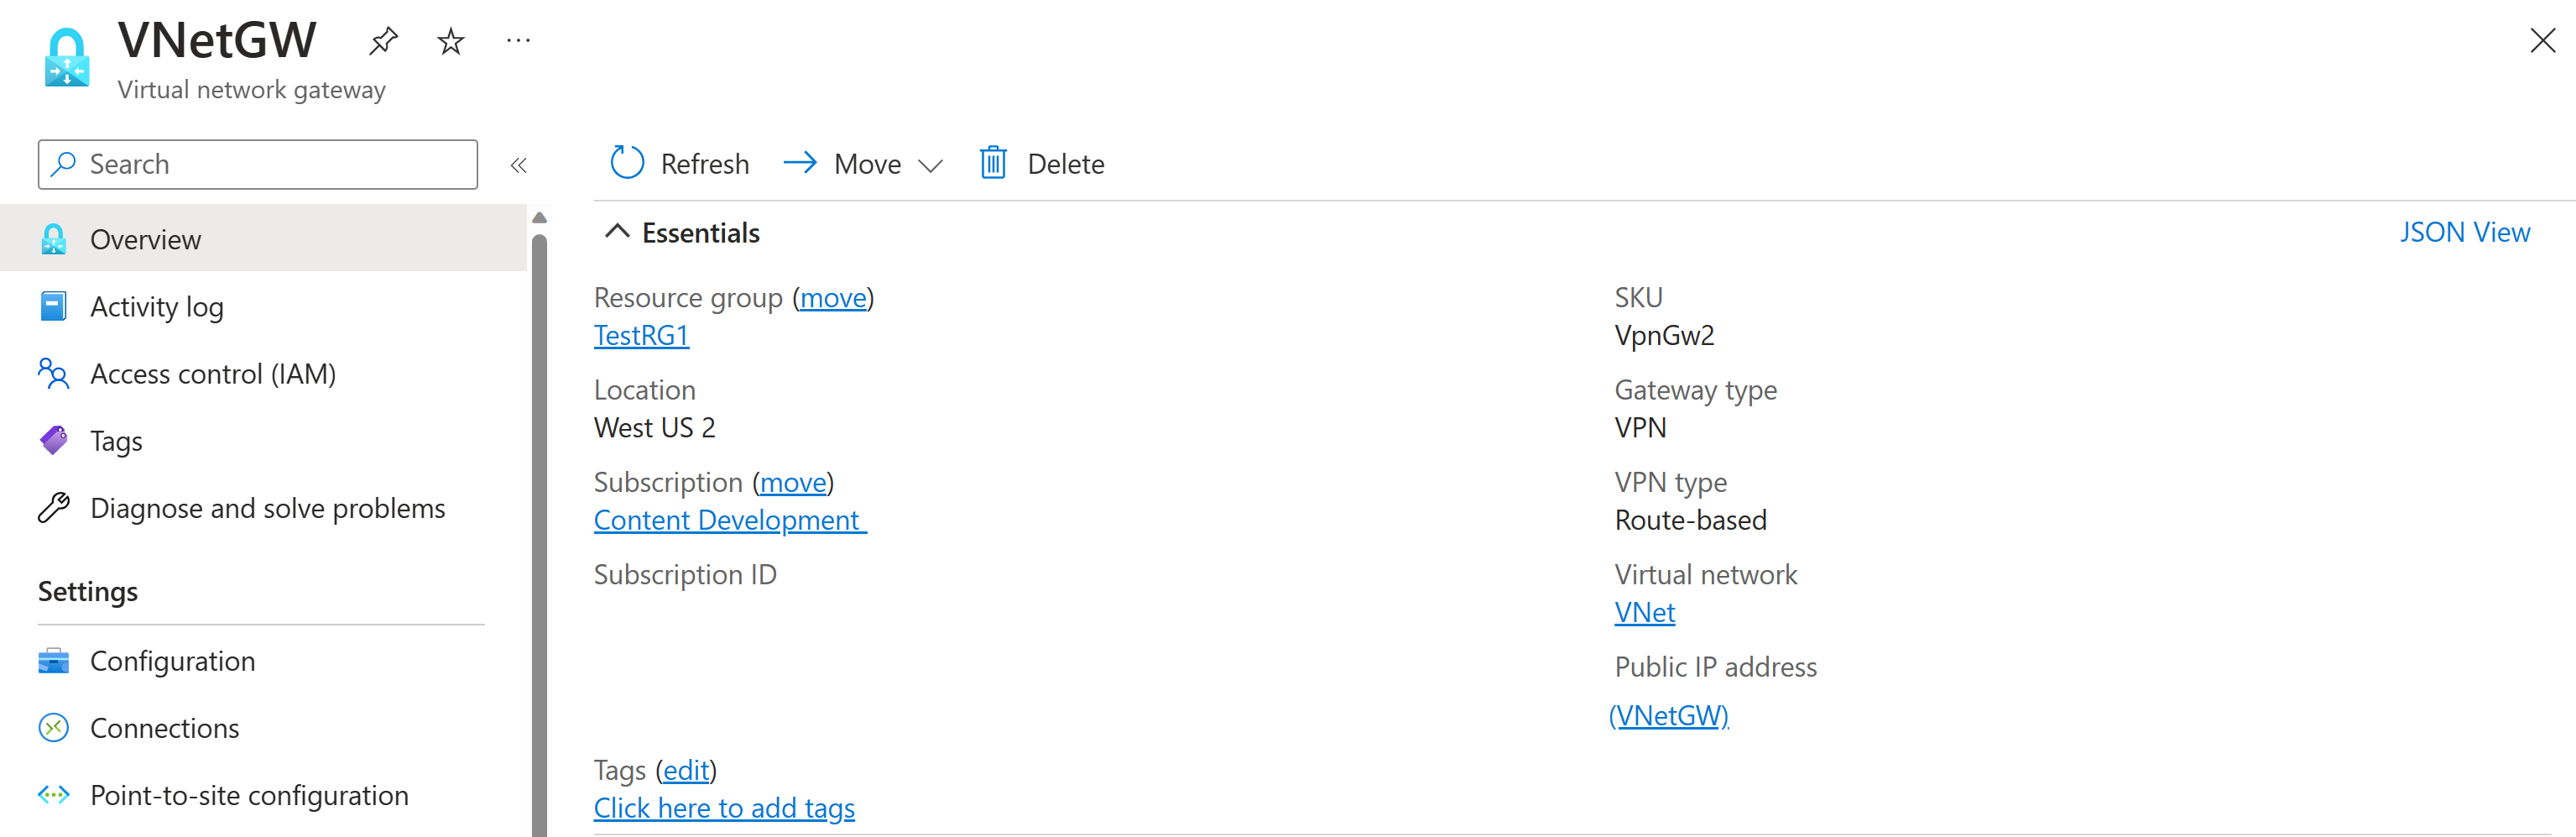
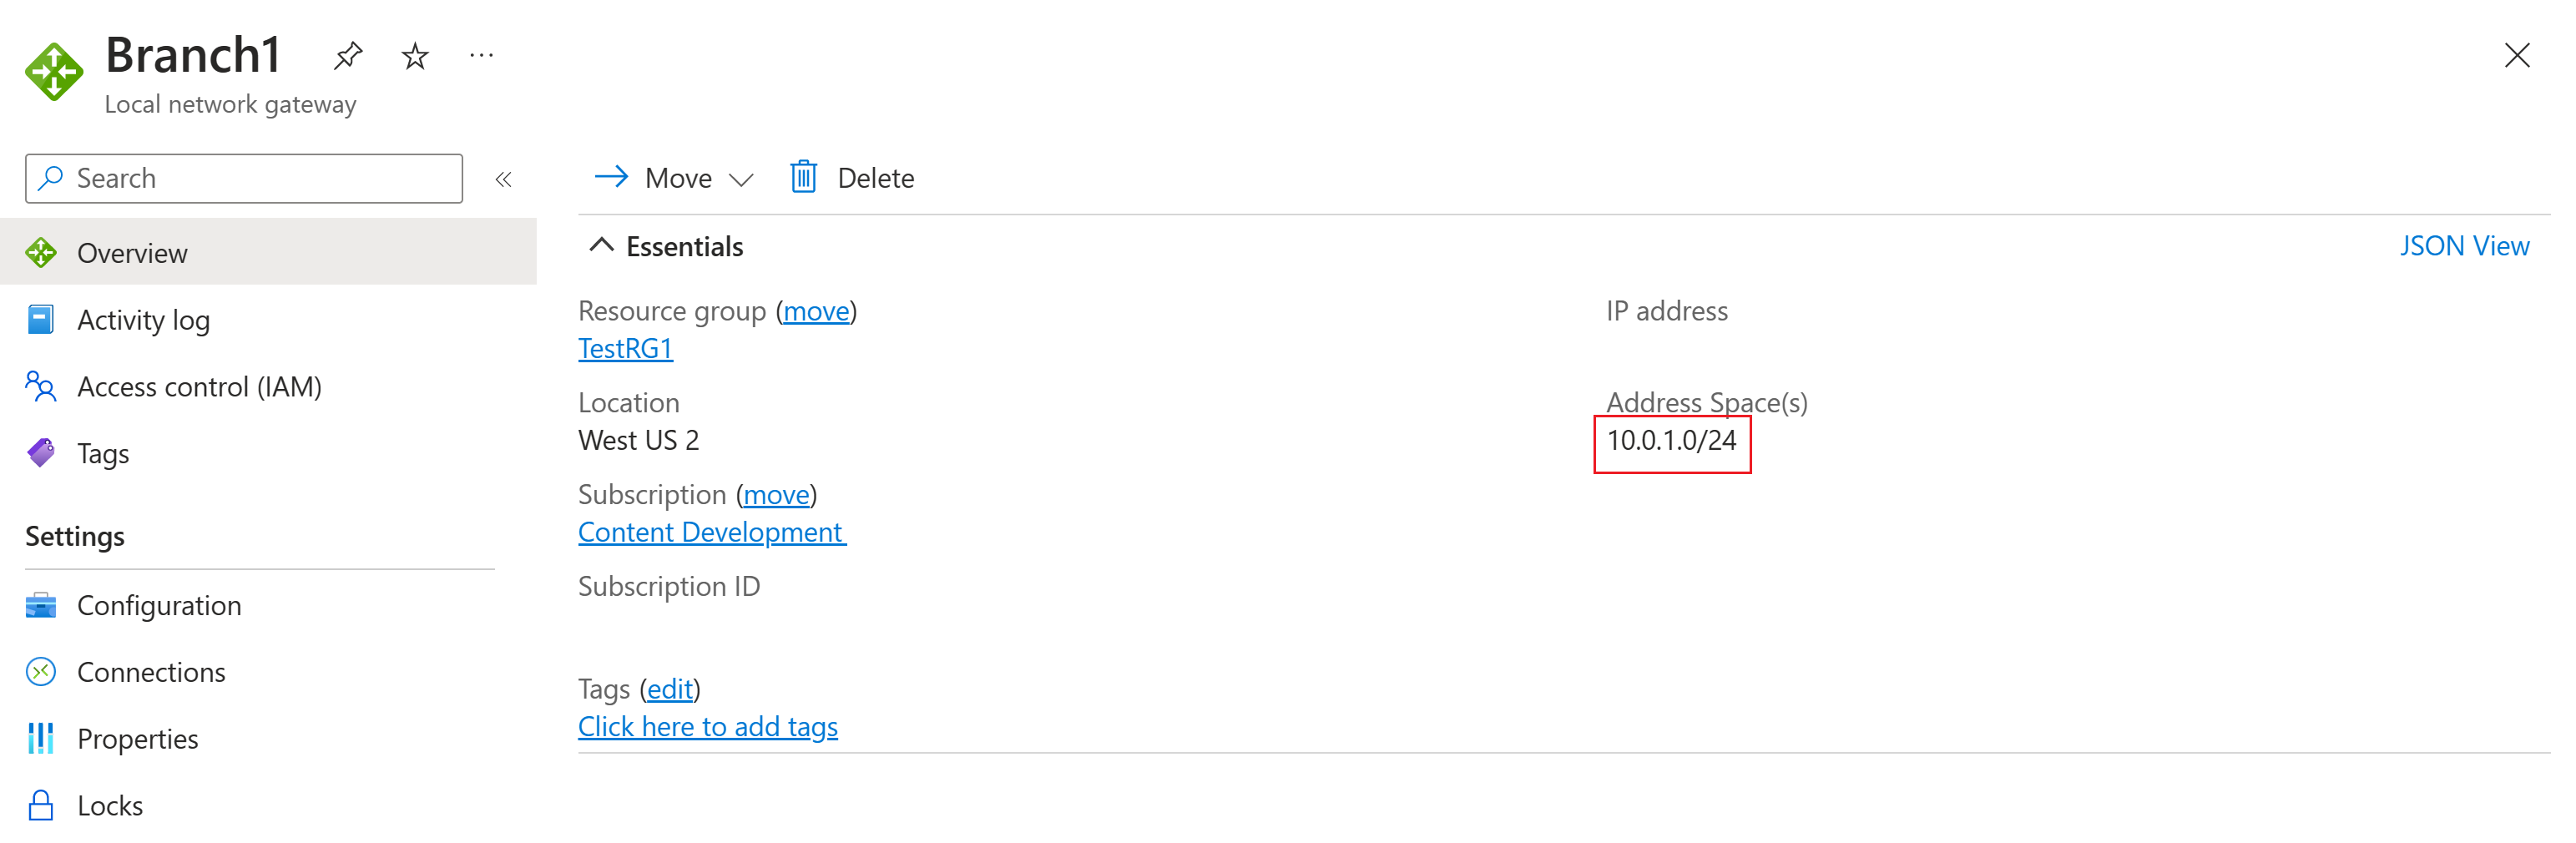
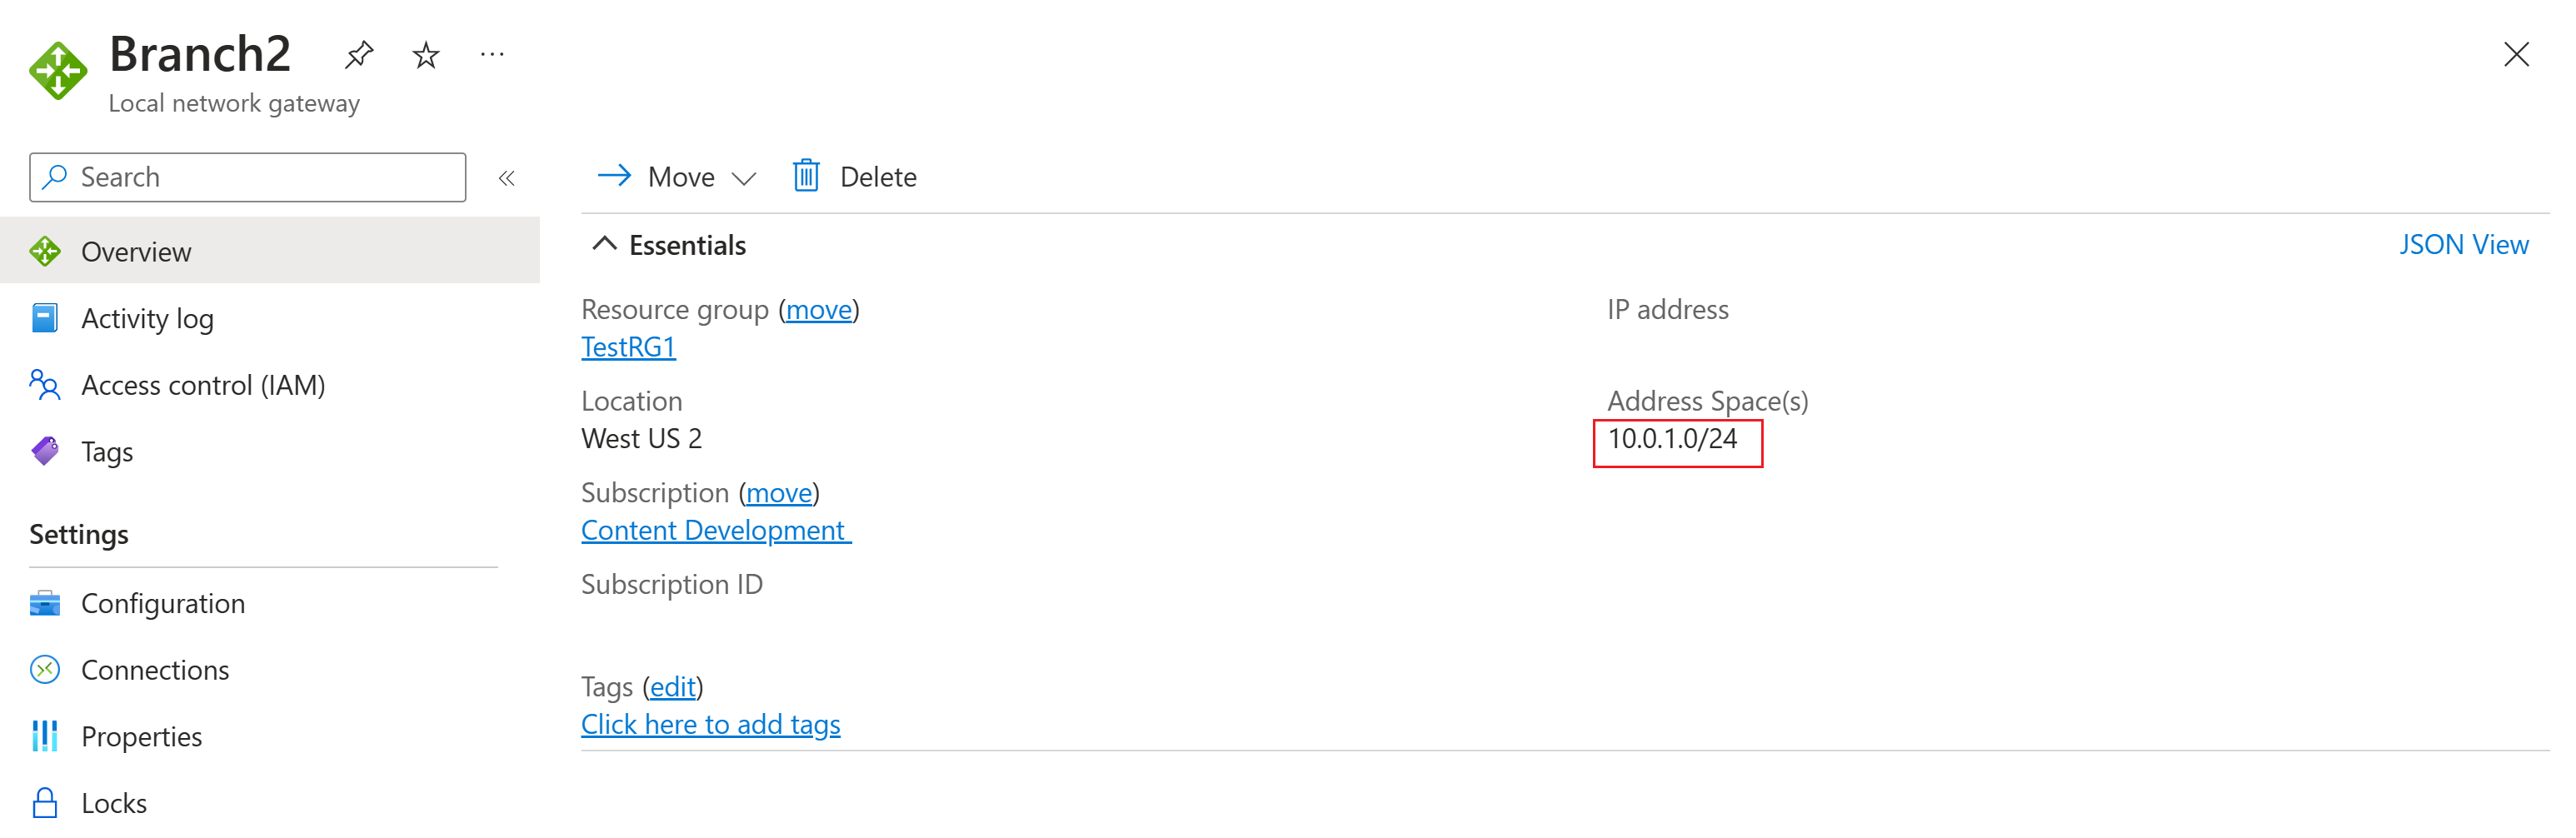
The following screenshots show examples of the resources to create.
VNet
VPN gateway
Branch1 local network gateway
Branch2 local network gateway


Part 2: Create NAT rules
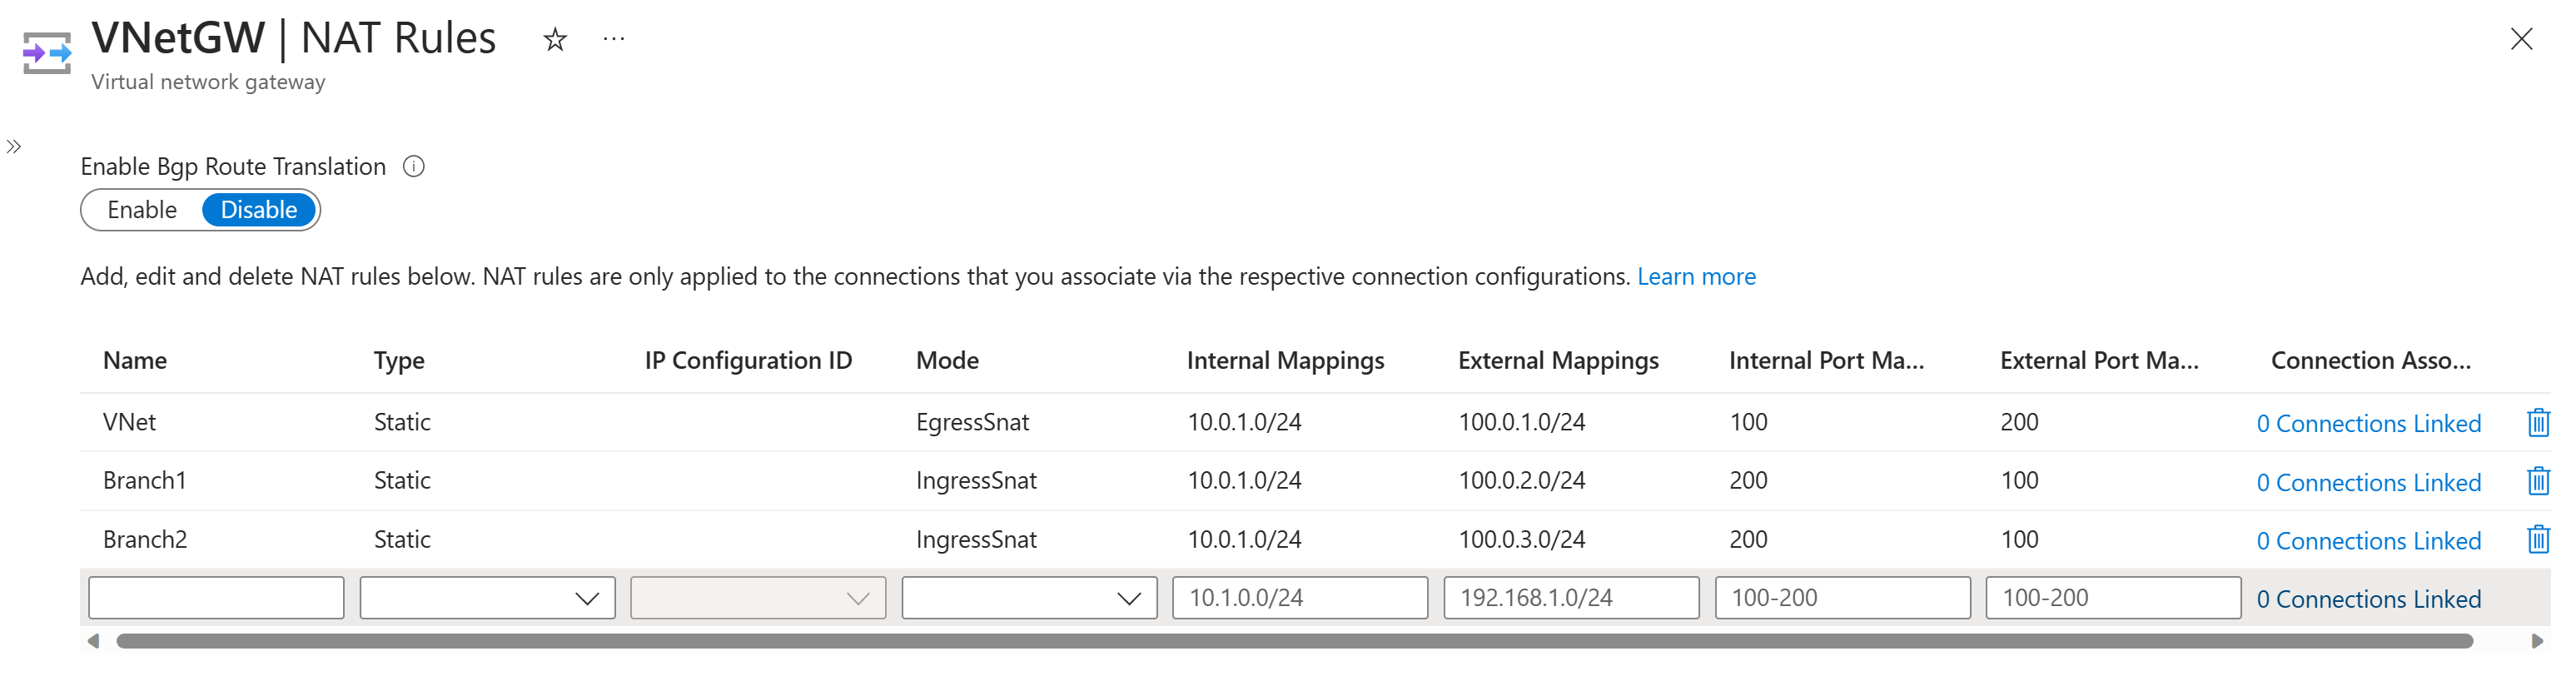
Before you create connections, you must create and save NAT rules on the VPN gateway. The following table shows the required NAT rules. Refer to Diagram 1 for the topology.
NAT rules table
| Name | Type | Mode | Internal | External | Connection |
|---|---|---|---|---|---|
| VNet | Static | EgressSNAT | 10.0.1.0/24 | 100.0.1.0/24 | Both connections |
| Branch1 | Static | IngressSNAT | 10.0.1.0/24 | 100.0.2.0/24 | Branch1 connection |
| Branch2 | Static | IngressSNAT | 10.0.1.0/24 | 100.0.3.0/24 | Branch2 connection |
Use the following steps to create all the NAT rules on the VPN gateway. If you're using BGP, select Enable for the Enable Bgp Route Translation setting.
In the Azure portal, navigate to the Virtual Network Gateway resource page and select NAT Rules from the left pane.
Using the NAT rules table, fill in the values. If you're using BGP, select Enable for the Enable Bgp Route Translation setting.
Click Save to save the NAT rules to the VPN gateway resource. This operation can take up to 10 minutes to complete.

Part 3: Create connections and link NAT rules
In this section, you create the connections and associate the NAT rules in the same step. Note that if you create the connection objects first, without linking the NAT rules at the same time, the operation fails because the IP address spaces are the same between the VNet, Branch1, and Branch2.
The connections and the NAT rules are specified in the sample topology shown in Diagram 1.
Go to the VPN gateway.
On the Connections page, select +Add to open the Add connection page.
On the Add connection page, fill in the values for the VNet-Branch1 connection, specifying the associated NAT rules, as shown in the following screenshot. For Ingress NAT rules, select Branch1. For Egress NAT rules, select VNet. If you are using BGP, you can select Enable BGP.

Click OK to create the connection.
Repeat the steps to create the VNet-Branch2 connection. For Ingress NAT rules, select Branch2. For Egress NAT rules, select VNet.
After configuring both connections, your configuration should look similar to the following screenshot. The status changes to Connected when the connection is established.

When you have completed the configuration, the NAT rules look similar to the following screenshot, and you'll have a topology that matches the topology shown in Diagram 1. Notice that the table now shows the connections that are linked with each NAT rule.
If you want to enable BGP Route Translation for your connections, select Enable then click Save.


NAT limitations
Important
There are a few constraints for the NAT feature.
- NAT is supported on the following SKUs: VpnGw2~5, VpnGw2AZ~5AZ.
- NAT is supported for IPsec/IKE cross-premises connections only. VNet-to-VNet connections or P2S connections aren't supported.
- NAT rules aren't supported on connections that have Use Policy Based Traffic Selectors enabled.
- The maximum supported external mapping subnet size for Dynamic NAT is /26.
- Port mappings can be configured with Static NAT types only. Dynamic NAT scenarios aren't applicable for port mappings.
- Port mappings can't take ranges at this time. Individual port needs to be entered.
- Port mappings can be used for both TCP and UDP protocols.
Next steps
Once your connection is complete, you can add virtual machines to your virtual networks. See Create a Virtual Machine for steps.
Feedback
Coming soon: Throughout 2024 we will be phasing out GitHub Issues as the feedback mechanism for content and replacing it with a new feedback system. For more information see: https://aka.ms/ContentUserFeedback.
Submit and view feedback for