Build your own image classifier using Transfer Learning
Table of Contents
- Summary
- Setup
- Run the example - train a flower classifier
- Build your own custom image classifier
- Using a different base model
Summary
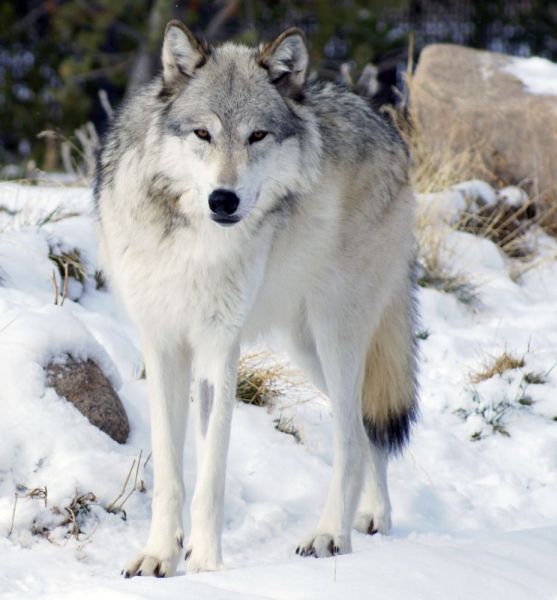

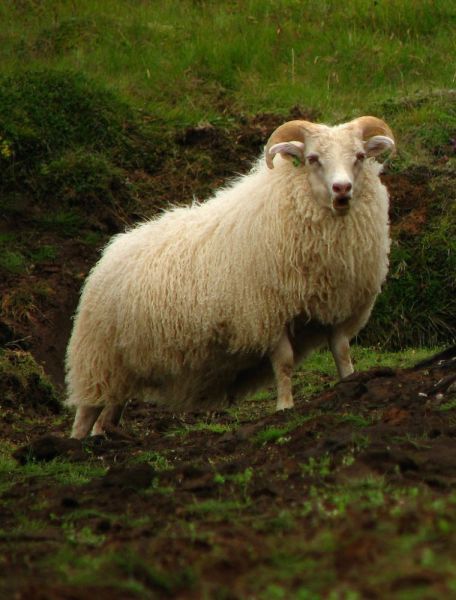
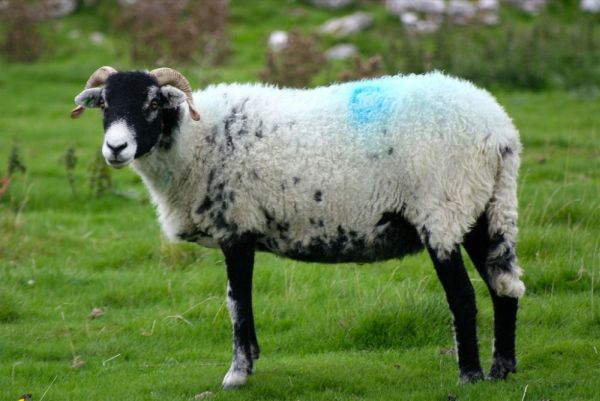
The above images are test images used in the second part of this tutorial. The task is to train a classifier that can distinguish different categories of images (in our example sheep and wolf) by modifying an existing classifier model, the base model. Here we use a ResNet_18 model that was trained on the ImageNet corpus. We train on only 15 images per class in a few seconds and predict all 10 test images correctly (note the few grains of salt).
The following are the main resources for the transfer learning tutorial:
| Recipe | TransferLearning.py and TransferLearning_Extended.py (see Examples/Image/TransferLearning). |
| pre-trained models | As base model for transfer learning we use a pretrained ResNet_18 model. |
| Data | The Flowers data set with 102 categories and example images of sheep and wolfs (see Setup). |
| How to run | Follow the description below. |
Setup
To run the code in this example, you need a CNTK Python environment (see here for setup help).
To download the required data and the pretrained model run the following command form the Examples/Image/TransferLearning folder:
python install_data_and_model.py
Run the example
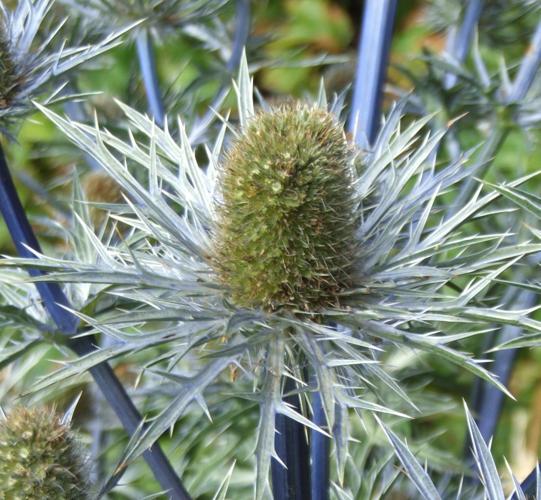
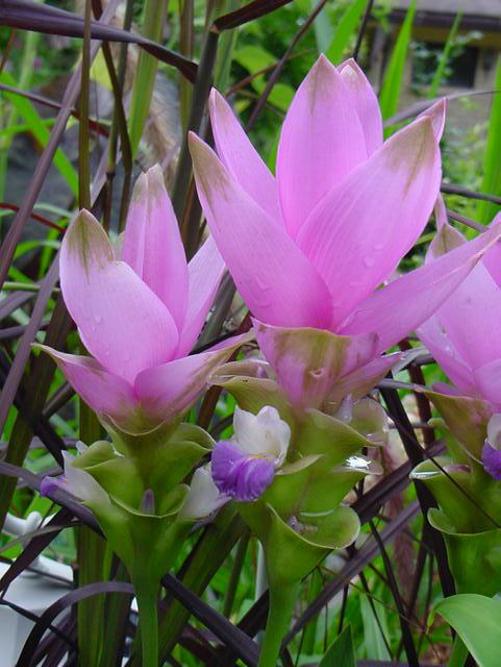
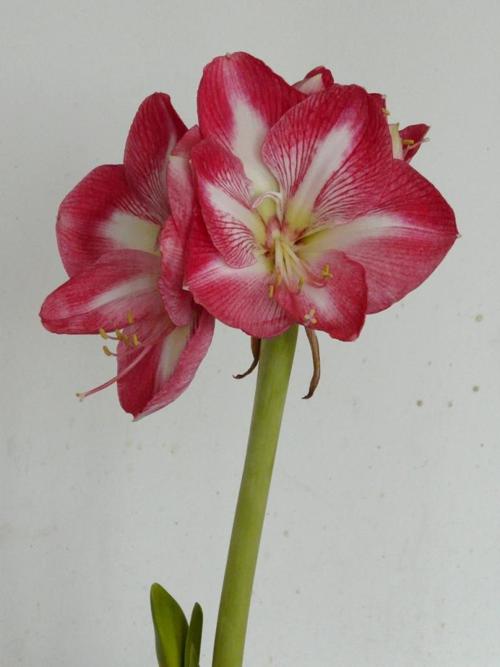
In this section we will build a classifier for the Flowers data set. The data set was created by the Visual Geometry Group at the University of Oxford for image classification tasks. It consists of 102 different categories of flowers common to the UK and contains roughly 8000 images that are split into three sets of once 6000 and twice 1000 images. For more details see the VGG homepage.
To train and evaluate a transfer learning model on the Flowers data set run
python TransferLearning.py
The model achieves 93% accuracy on the Flowers data set after training for 20 epochs.
The basic concept of transfer learning
When we use a base model for transfer learning we essentially build upon the features and concept that were learned during the training of the base model. For a convolutional DNN, ResNet_18 in our case, this means for example that we cut off the final dense layer that is responsible for predicting the class labels of the original base model and replace it by a new dense layer that will predict the class labels of our new task at hand. The input to the old and the new prediction layer is the same, we simply reuse the trained features. Then we train this modified network, either only the new weights of the new prediction layer or all weights of the entire network.
The following code is the part of TransferLearning.py that creates the new model from the base model:
    # Load the pretrained classification net and find nodes
    base_model   = load_model(base_model_file)
    feature_node = find_by_name(base_model, feature_node_name)
    last_node    = find_by_name(base_model, last_hidden_node_name)

    # Clone the desired layers with fixed weights
    cloned_layers = combine([last_node.owner]).clone(
        CloneMethod.freeze if freeze else CloneMethod.clone,
        {feature_node: Placeholder(name='features')})

    # Add new dense layer for class prediction
    feat_norm  = input_features - Constant(114)
    cloned_out = cloned_layers(feat_norm)
    z          = Dense(num_classes, activation=None, name=new_output_node_name) (cloned_out)
Build your own custom image classifier
In the previous section we trained a classifier that distinguishes 102 different categories of flowers using roughly 6000 images for training. In this section we will only use 15 images per category to build a classifier that can tell a wolf from a sheep. We use the same ResNet_18 base model for transfer learning. To train and evaluate the model run
python TransferLearning_Extended.py
The model is tested on five images of sheep and wolf each and predicts all labels correctly. The output file contains per line a JSON representation of the prediction results:
[{"class": "Sheep", "predictions": {"Sheep":1.000, "Wolf":0.000}, "image": "..."}]
[{"class": "Sheep", "predictions": {"Sheep":1.000, "Wolf":0.000}, "image": "..."}]
[{"class": "Sheep", "predictions": {"Sheep":1.000, "Wolf":0.000}, "image": "..."}]
[{"class": "Sheep", "predictions": {"Sheep":0.997, "Wolf":0.003}, "image": "..."}]
[{"class": "Sheep", "predictions": {"Sheep":1.000, "Wolf":0.000}, "image": "..."}]
[{"class": "Wolf", "predictions": {"Wolf":1.000, "Sheep":0.000}, "image": "..."}]
[{"class": "Wolf", "predictions": {"Wolf":1.000, "Sheep":0.000}, "image": "..."}]
[{"class": "Wolf", "predictions": {"Wolf":1.000, "Sheep":0.000}, "image": "..."}]
[{"class": "Wolf", "predictions": {"Wolf":1.000, "Sheep":0.000}, "image": "..."}]
[{"class": "Wolf", "predictions": {"Wolf":1.000, "Sheep":0.000}, "image": "..."}]
[{"class": "unknown", "predictions": {"Sheep":0.994, "Wolf":0.006}, "image": "..."}]
[{"class": "unknown", "predictions": {"Sheep":0.614, "Wolf":0.386}, "image": "..."}]
[{"class": "unknown", "predictions": {"Wolf":0.980, "Sheep":0.020}, "image": "..."}]
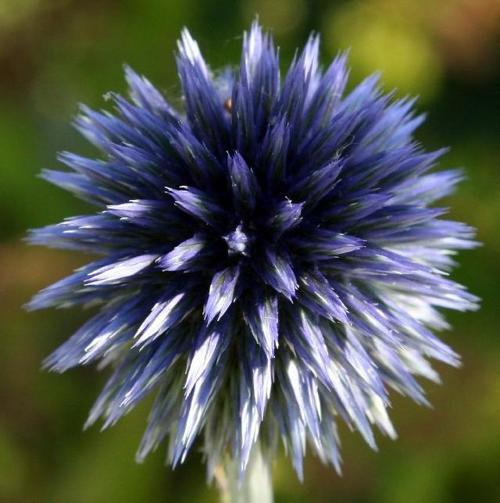
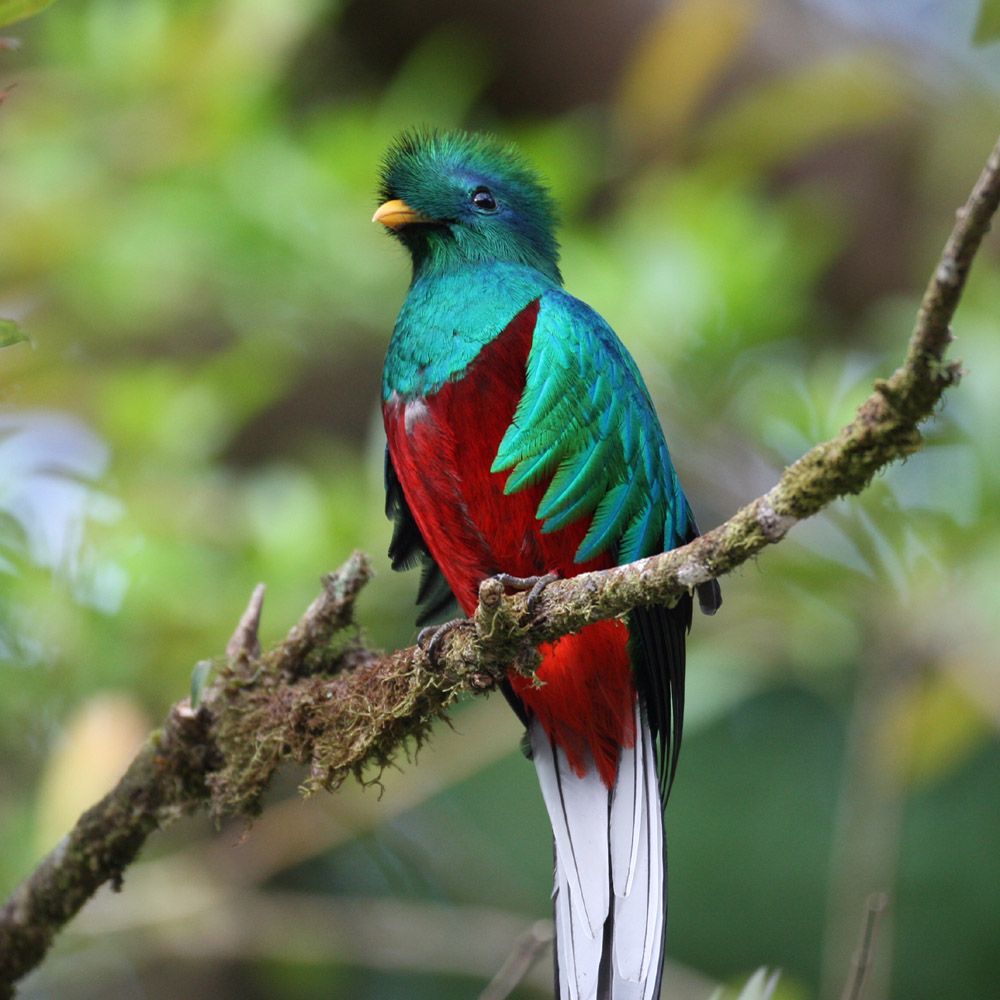
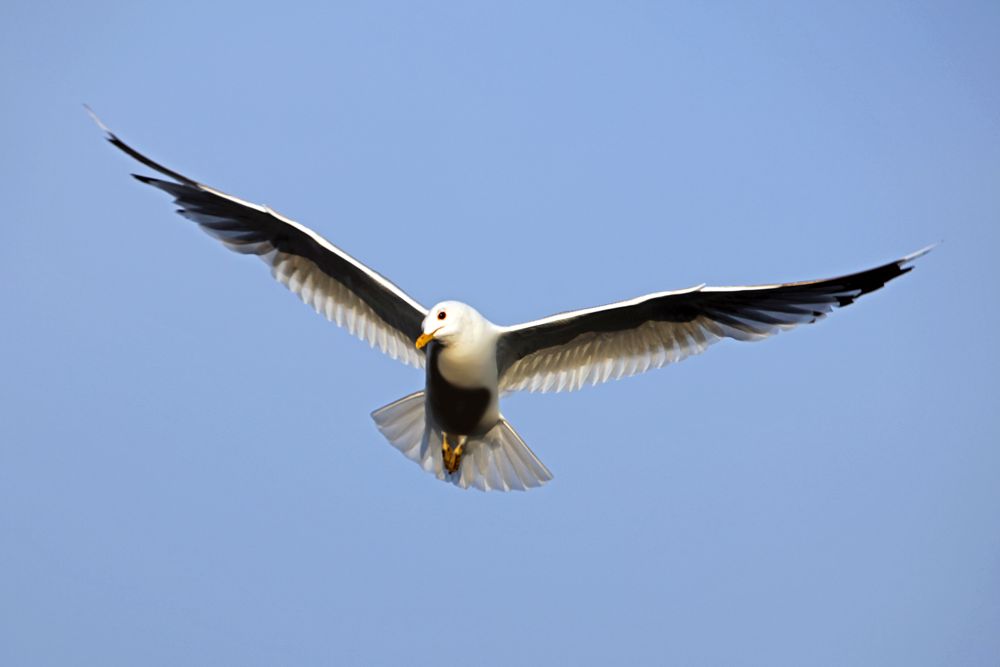
Note that the last three images do not have a ground truth class assigned, which is of course a valid scenario, e.g. for scoring unseen images in a webservice. The actual images are the three bird images shown below. The ground truth class for these in the JSON output is set to unknown. Note that the predictions for the concepts that the classifier was trained on are pretty good despite the few training images. This is in large parts due to the pretrained base model. The predictions for unseen concepts, e.g. images of birds, are of course not very meaningful, since the classifier knows only sheep and wolf. More on this later.

Folder structure for custom image sets
You can use the TransferLearning_Extended.py script with your own images. Here is what you need:
class_mapping- An array containing the names of your categories, e.g.['wolf', 'sheep']train_map_file- A text file that contains per line first an image URL and tab separated the corresponding category index, e.g.0for wolf or1for sheep:test_map_file- A text file the maps test images to their corresponding category. For unknown categories in test images use-1as category index.
The script can generate all three items above for you if you structure your images in the following way:
<image root folder>
    Train
        Sheep
        Wolf
    Test
        Sheep
        Wolf
        <optional: image files with unknown label directly here>
See <cntk root>/Examples/Image/DataSets/Animals/ as an example. Each subfolder in the Train folder will be considered as one category (single level only, no recursion). For training individual images in the Train root folder are ignored since they do not have an assigned category. Additional subfolders in the Test folder that do not occur in the Train folder are ignored. For testing individual uncategorized images are used for scoring as well, i.e. images that are stored directly in the Test folder like the three bird images in our example.
To use your custom image folders you need to set train_image_folder and test_image_folder at the top of the TransferLearning_Extended.py script:
# define data location and characteristics
train_image_folder = "<your_image_root_folder>/Train"
test_image_folder = "<your_image_root_folder>/Test"
Then simply run python TransferLearning_Extended.py. How to use a different base model is described below.
For scoring you do not have to use a test_map_file, e.g. if you want to score single images one by one. Simply load the trained transfer learning model once and then call eval_single_image whenever you want to get predictions for a new image:
    # once:
    # load the trained transfer learning model
    trained_model = load_model(new_model_file)

    # for every new image:
    # get predictions for a single image
    probs = eval_single_image(trained_model, img_file, image_width, image_height)
A few grains of salt
Your training images should cover sufficiently the scenarios that you want to score later on. If the classifier sees fully new concepts or contexts it is likely to perform badly. Just a few examples:
- You train only on images from a constraint environment (say, indoor) and try to score images from a different environment (outdoor).
- You train only on images of a certain make and try to score others.
- Your test images have largely different characteristics, e.g. with respect to illumination, background, color, size, position, etc.
- Your test images contain entirely new concepts.
Adding a catch-all category can be a good idea, but only if the training data for that category contains images that are again sufficiently similar to the images you expect at scoring time. As in the above example, if we train a classifier with images of sheep and wolf and use it to score an image of a bird, the classifier can still only assign a sheep or wolf label, since it doesn't know any other categories. If we were to add a catch-all category and add training images of birds to it then the classifier might predict the class correctly for the bird image. However, if we present it, e.g., an image of a car, it faces the same problem as before as it knows only sheep, wolf and bird (which we just happened to call called catch-all). Hence, your training data, also for catch-all, needs to cover sufficiently those concepts and images that you expect later on at scoring time.
Another aspect to keep in mind is that a particular base model might work very well for some transfer learning tasks and not as good for others. For example, the above ResNet_18 model was pretrained on the ImageNet corpus, which contains many images of animals, people, cars and many other every day objects. Using this base model in transfer learning to build a classifier for similar every day objects can work out well. Using the same model as a base model to build a classifier for images of microorganisms or pencil drawings may yield only mediocre results.
Using a different base model
To use a different model as base model you need to adapt the following parameters in TransferLearning.py (same for TransferLearning_Extended.py):
# define base model location and characteristics
_base_model_file = os.path.join(base_folder, "..", "..", "..", "PretrainedModels", "ResNet_18.model")
_feature_node_name = "features"
_last_hidden_node_name = "z.x"
_image_height = 224
_image_width = 224
_num_channels = 3
To investigate what the node names are in your model and which one to pick as last_hidden_node you can print all node names and node shapes using the following lines (see __main__ method in TransferLearning.py):
    # You can use the following to inspect the base model and determine the desired node names
    node_outputs = get_node_outputs(load_model(_base_model_file))
    for out in node_outputs: print("{0} {1}".format(out.name, out.shape))