Use a custom connector from a logic app
Note
This topic is part of a tutorial series on creating and using custom connectors in Azure Logic Apps, Power Automate, and Power Apps. Make sure you read the Custom connector overview to understand the process.
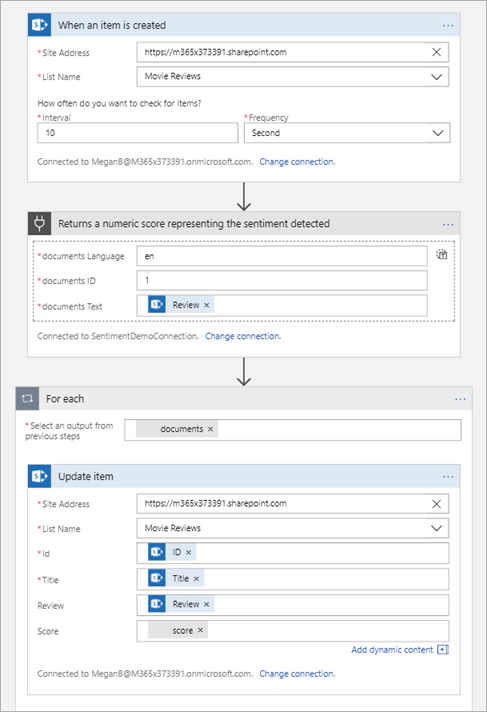
In this topic, you build a basic logic app that uses the custom connector you created in a previous topic. The logic app is triggered when an item is added to a SharePoint list, then the logic app uses the custom connector to call the Cognitive Services Text Analytics API. The connector returns the sentiment score (0 to 1) for the text in the list item, and the logic app writes the score back to the list. The following image shows the finished logic app:
Prerequisites
An Office 365 Business Premium subscription, or sign up for a free trial
Basic experience building logic apps. For more information, see Build your first logic app workflow.
The custom connector that you created in one of these topics:
If your custom connector accesses on-premises resources by using the on-premises data gateway, you need to set up the gateway installation to allow access for the corresponding prebuilt connectors outbound IP addresses. All logic apps in the same region use the same IP address ranges. For more information, see Install on-premises data gateway for Azure Logic Apps - Check or adjust communication settings.
Create the SharePoint list
You first create a simple three-column list in SharePoint Online; this list stores movie review data that the logic app analyzes for sentiment. For more information about SharePoint lists, see Introduction to lists in the SharePoint documentation.
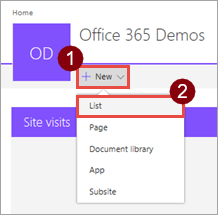
In your SharePoint Online site, choose New, then List.
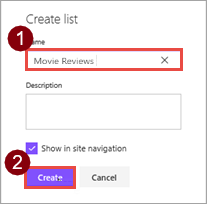
Enter the name "Movie Reviews", then choose Create.
The list is created, with the default Title field.
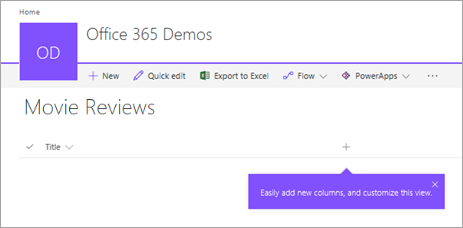
Choose
 , then Single line of text.
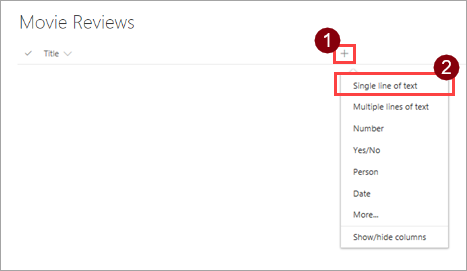
Enter the name "Review", then choose Save.
Repeat steps 3. and 4. to add another column to the list: use a data type of Number, and the name "Score".
Create a logic app
Now that you have a list to work with, you create a logic app in the Azure portal.
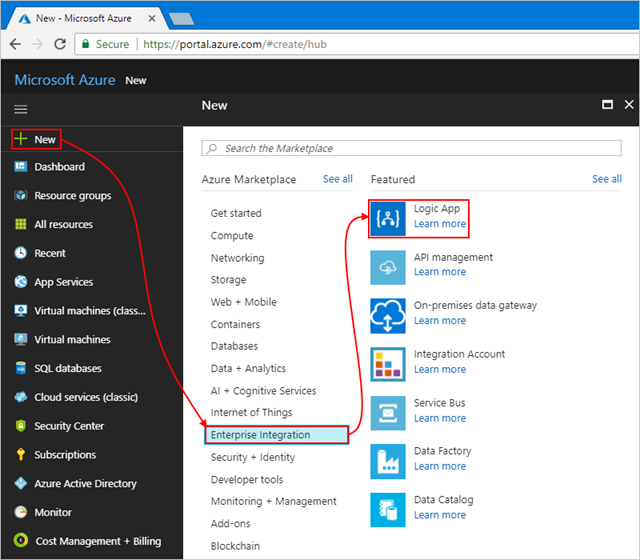
Sign in to the Azure portal with your Azure account credentials.
From the main Azure menu, choose New > Enterprise Integration > Logic App.
Under Create logic app, provide details about your logic app as shown here. After you're done, choose Pin to dashboard > Create.
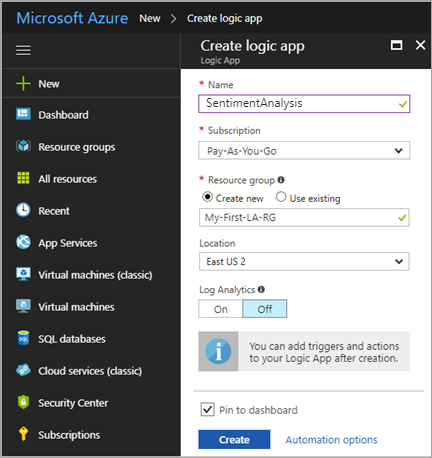
Setting Value Description Name SentimentAnalysis The name for your logic app Subscription <your-Azure-subscription-name> The name for your Azure subscription Resource group My-First-LA-RG The name for the Azure resource group used to organize related resources Location East US 2 The region where to store your logic app information Note: Your logic app and custom connector must exist in the same region.
Log Analytics Off Keep the Off setting for diagnostic logging. After Azure deploys your app, the Logic Apps Designer opens and shows a page with an introduction video and commonly used triggers. Under Templates, choose Blank Logic App.

Add the trigger and custom connector
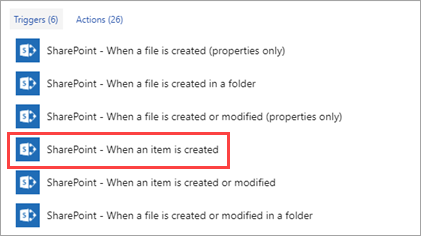
With the logic app created, you add a trigger that fires when an item is added to the SharePoint list. Then you add an action to take based on the added item.
In Logic Apps Designer, search for or select SharePoint, then the trigger SharePoint - when an item is created.
If prompted, sign in with your credentials for SharePoint.
Enter values for the SharePoint trigger.
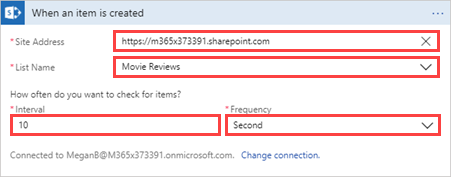
Parameter Value Site Address <your-SharePoint-site-address> List Name Movie Reviews Interval 10 Frequency Second Choose New step, then Add an action.
Search for the SentimentDemo custom connector you created, then choose the action associated with that connector.
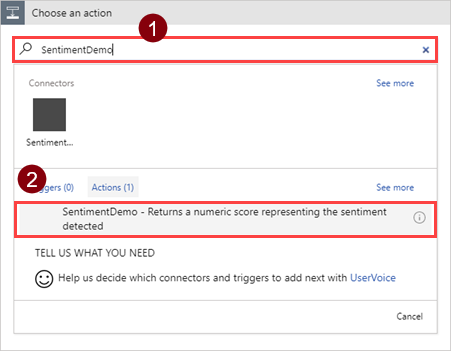
The name and description for the action come from information you provided when you created the connector.
Enter a name for the connection and the API key.
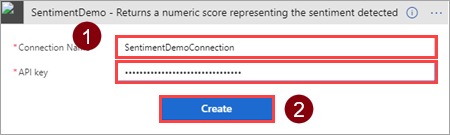
Parameter Value Connection Name A name such as SentimentDemoConnection. API Key The API key for the Text Analytics API. For more information, see Get an API key. Enter values for all the fields.
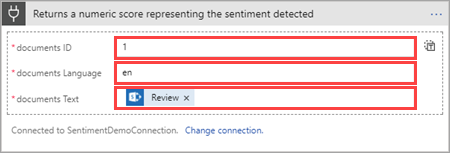
Parameter Value Language en ID 1 Text The SharePoint Review field (from the Dynamic content dialog box) ID is required because the connector can handle multiple documents; in our examples, we send one document at a time. In a production logic app, Language and ID values might come from a list or another data source.
Choose New step then Add an action.
Add the action SharePoint - Update item and enter values for all the fields.
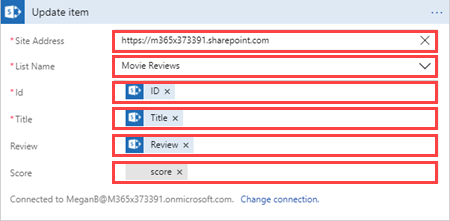
Parameter Value Site Address <your-SharePoint-site-address> List name Movie Reviews Id The SharePoint ID field Title The SharePoint Title field Review The SharePoint Review field Score The custom connector score field When you add the dynamic content for the score field, notice that Logic Apps adds a For each container because it recognizes that the custom connector accepts multiple documents. Your connector only sends one at a time, but it's cool that the logic app matches the capabilities of the connector.
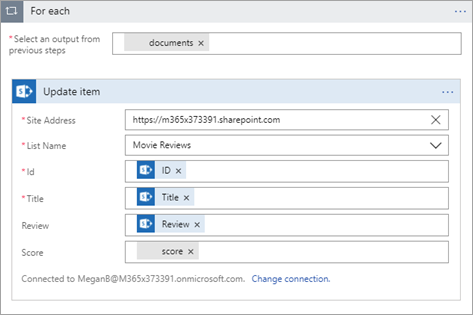
The finished logic app should now look like the following image:
In the top of the Logic Apps Designer, choose Run.
Test the logic app
Now the logic app is complete, it's time to test it by adding reviews to the SharePoint list, and seeing how the logic app responds.
In your SharePoint Online list, choose Quick Edit.

Add two reviews to the list (one negative and one positive), then choose Done.
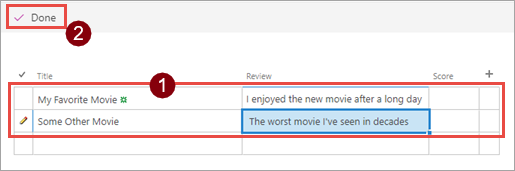
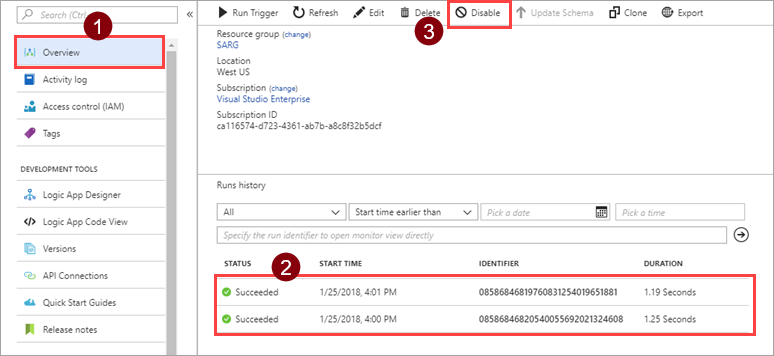
Parameter Suggested value Title (positive) My Favorite Movie Review (positive) I enjoyed the new movie after a long day Title (negative) Some Other Movie Review (negative) The worst movie I've seen in decades Back in the Azure portal, choose Overview to look at the run history for this logic app. You should see two runs—one for each review you added to the list. To save Azure resources after you're done with this logic app, choose Disable.
Back on the SharePoint list page, refresh the browser to see the scores that the logic app added.
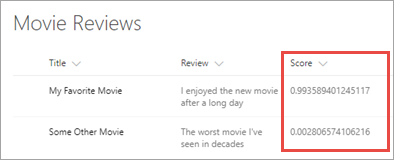
You're all done! This is a simple logic app, but it gains powerful functionality by being able to call Cognitive Services through a custom connector.
Next steps
Share the connector within your organization and/or get the connector certified so that people outside your organization can use it:
Provide feedback
We greatly appreciate feedback on issues with our connector platform, or new feature ideas. To provide feedback, go to Submit issues or get help with connectors and select your feedback type.