How to dock and anchor controls (Windows Forms .NET)
If you're designing a form that the user can resize at run time, the controls on your form should resize and reposition properly. Controls have two properties that help with automatic placement and sizing, when the form changes size.
-
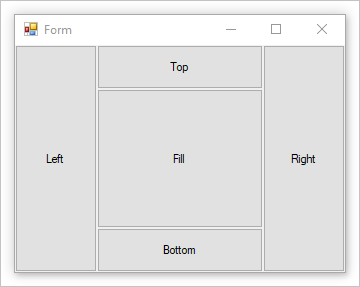
Controls that are docked fill the edges of the control's container, either the form or a container control. For example, Windows Explorer docks its TreeView control to the left side of the window and its ListView control to the right side of the window. The docking mode can be any side of the control's container, or set to fill the remaining space of the container.
Controls are docked in reverse z-order and the Dock property interacts with the AutoSize property. For more information, see Automatic sizing.
-
When an anchored control's form is resized, the control maintains the distance between the control and the anchor positions. For example, if you have a TextBox control that is anchored to the left, right, and bottom edges of the form, as the form is resized, the TextBox control resizes horizontally so that it maintains the same distance from the right and left sides of the form. The control also positions itself vertically so that its location is always the same distance from the bottom edge of the form. If a control isn't anchored and the form is resized, the position of the control relative to the edges of the form is changed.
For more information, see Position and layout of controls.
Dock a control
A control is docked by setting its Dock property.
Note
Inherited controls must be Protected to be able to be docked. To change the access level of a control, set its Modifier property in the Properties window.
Use the designer
Use the Visual Studio designer Properties window to set the docking mode of a control.
Select the control in the designer.
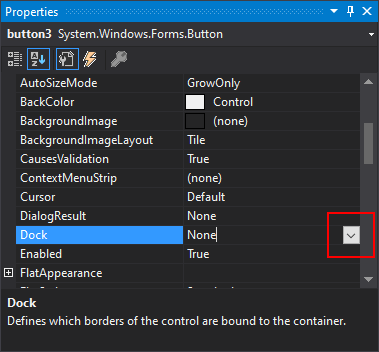
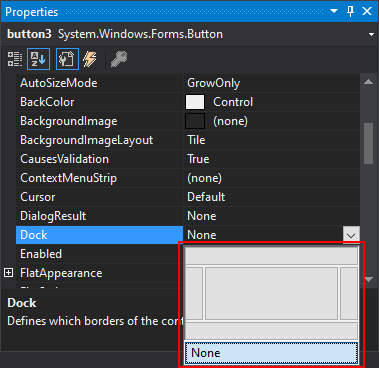
In the Properties window, select the arrow to the right of the Dock property.
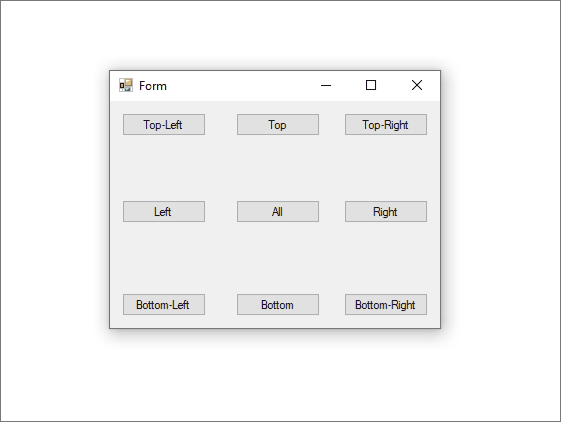
Select the button that represents the edge of the container where you want to dock the control. To fill the contents of the control's form or container control, press the center box. Press (none) to disable docking.
The control is automatically resized to fit the boundaries of the docked edge.
Set Dock programmatically
Set the
Dockproperty on a control. In this example, a button is docked to the right side of its container:button1.Dock = DockStyle.Right;button1.Dock = DockStyle.Right
Anchor a control
A control is anchored to an edge by setting its Anchor property to one or more values.
Note
Certain controls, such as the ComboBox control, have a limit to their height. Anchoring the control to the bottom of its form or container cannot force the control to exceed its height limit.
Inherited controls must be Protected to be able to be anchored. To change the access level of a control, set its Modifiers property in the Properties window.
Use the designer
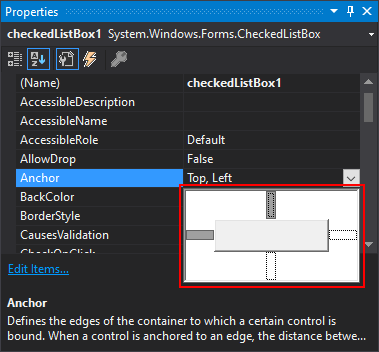
Use the Visual Studio designer Properties window to set the anchored edges of a control.
Select the control in the designer.
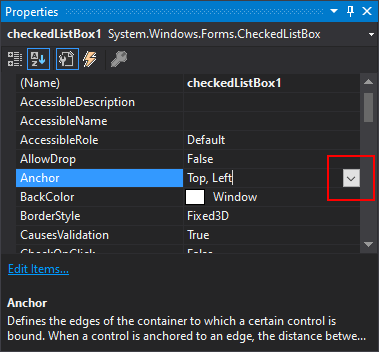
In the Properties window, select the arrow to the right of the Anchor property.
To set or unset an anchor, select the top, left, right, or bottom arm of the cross.
Set Anchor programmatically
Set the
Anchorproperty on a control. In this example, a button is anchored to the right and bottom sides of its container:button1.Anchor = AnchorStyles.Bottom | AnchorStyles.Right;button1.Anchor = AnchorStyles.Bottom Or AnchorStyles.Right
See also
.NET Desktop feedback
Feedback
Coming soon: Throughout 2024 we will be phasing out GitHub Issues as the feedback mechanism for content and replacing it with a new feedback system. For more information see: https://aka.ms/ContentUserFeedback.
Submit and view feedback for