How to migrate Unified Service Desk configurations from the legacy web client to Unified Interface
The migration of the Unified Service Desk configurations from the legacy web client to Unified Interface is a three-step process.
Step 1: Fetch and migrate the configuration elements to a USD_UI_Configurations folder using the Web Client - Unified Interface Migration Assistant.
Step 2: Import the USDWebResources folder, which is in the USD_UI_Configurations folder, using the Solutions option in Microsoft Dataverse.
Step 3: Import the Data zip folder from the USD_UI_Configurations folder to the Unified Interface app using the Configuration Migration Tool (DataMigrationUtility.exe).
This diagram illustrates the flow of the migration:
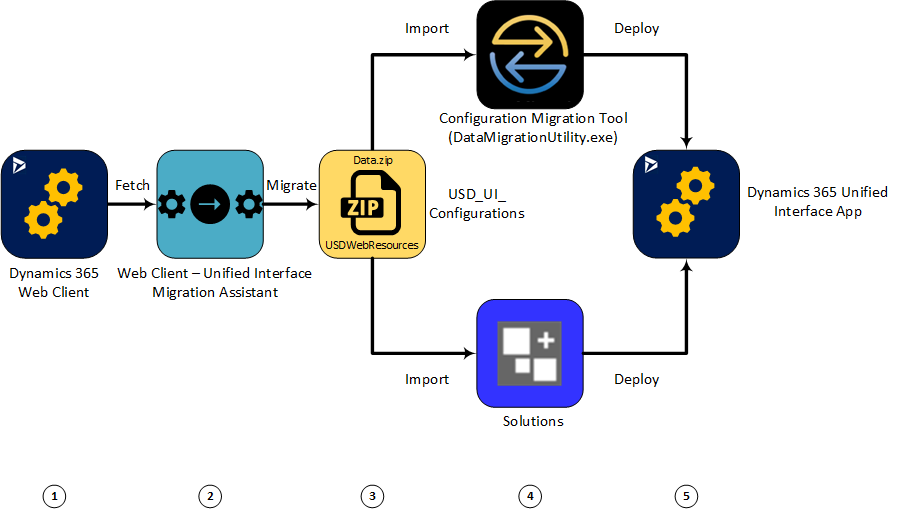
Web Client
The legacy web client is the instance from where you want to migrate your Unified Service Desk configurations.Web Client - Unified Interface Migration Assistant
The tool to fetch and migrate the legacy web client configurations to USD_UI_Configurations folder, which contains the Data and WebResources zip folders. If you have RunXrmCommand actions in Web Client configurations, the migration assistant migrates the RunXRMCommand actions as a web resource and you can find them in the USDWebResources folder under the USD_UI_Configurations folder.USD_UI_Configurations
The configurations are migrated to the USD_UI_Configurations zip folder that contains the Data and/or WebResources zip folder.Configuration Migration Tool
The Configuration Migration Tool lets you to import the Data zip folder and deploy it to the target Unified Interface app.Unified Interface apps The target instance to which you want to deploy the configurations.
Step 1: Use migration assistant to fetch and migrate the legacy web client configurations
Run UCMigrationTool.exe.
In the introduction screen, select Continue.
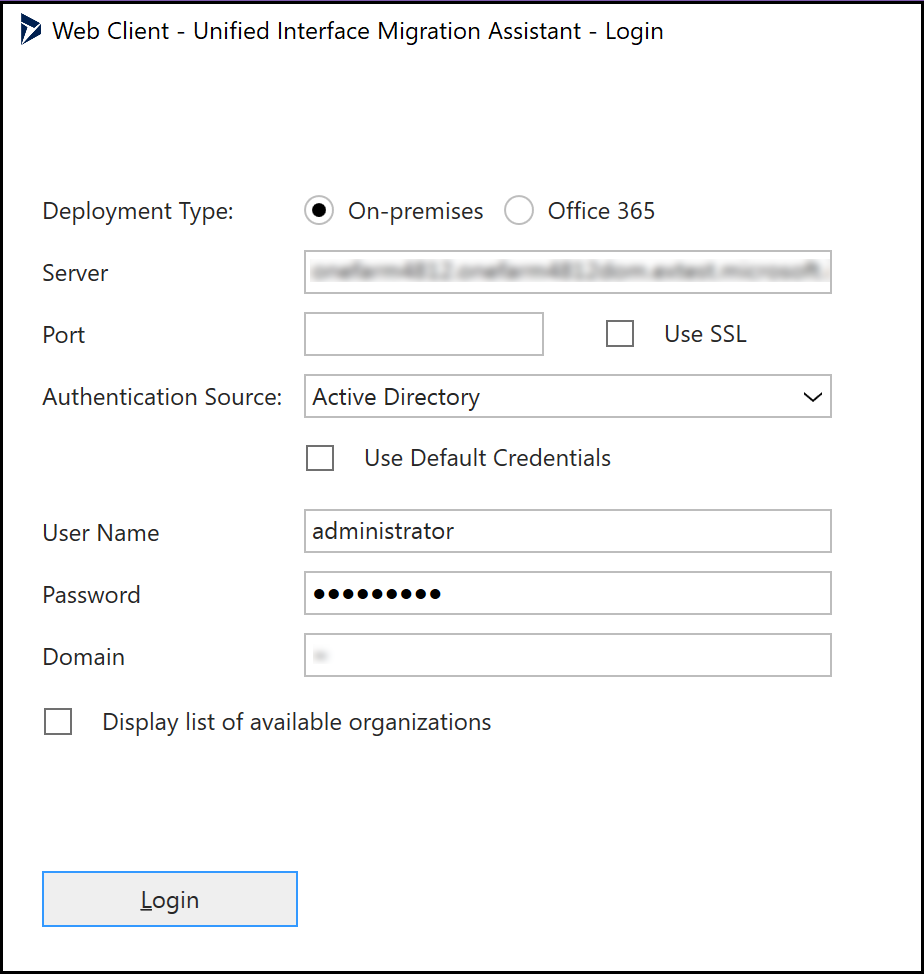
In the Login screen, provide authentication details to connect to the instance from where you want to fetch and migrate the configurations. If you have multiple organizations, and want to select the organization where you want to fetch and migrate the configurations, select the Display list of available organizations checkbox, and select Login.
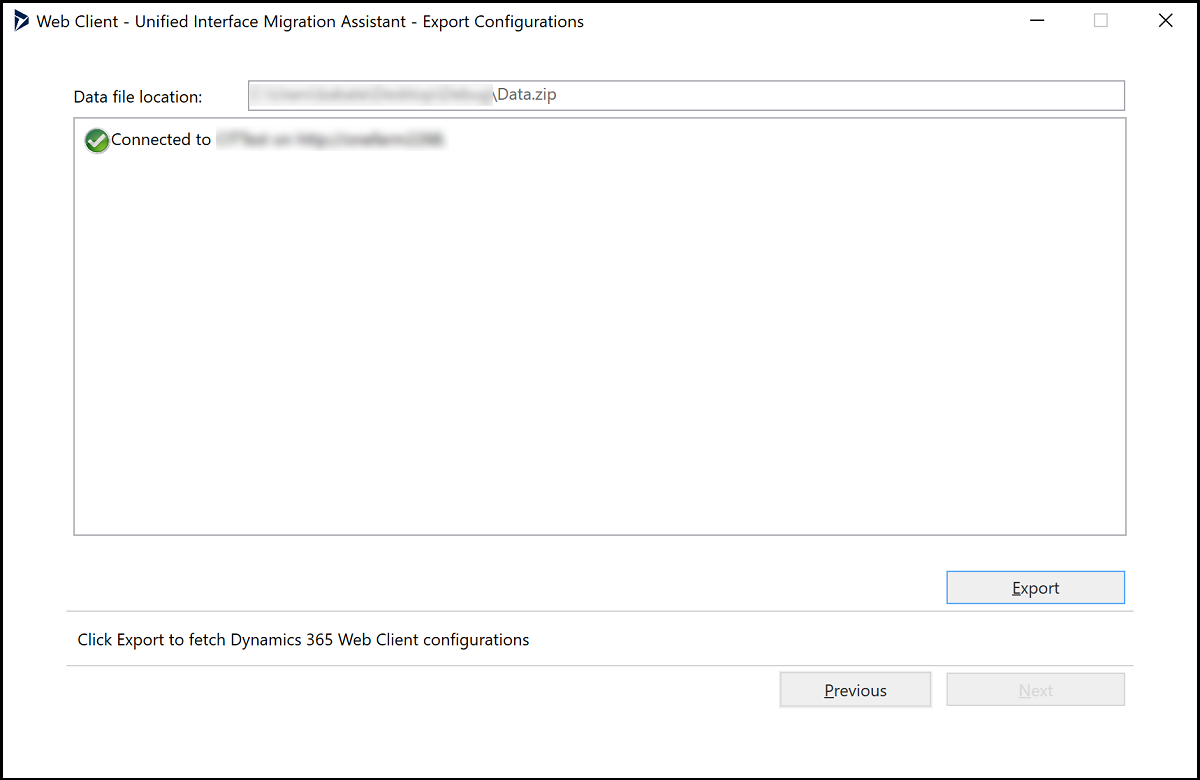
In the Export Configurations screen, select Export.
Data file location is the location where the migration assistant stores the Data.zip folder, which contains the configurations that you export from the Web Client.
When the export is successfully completed, select Next.
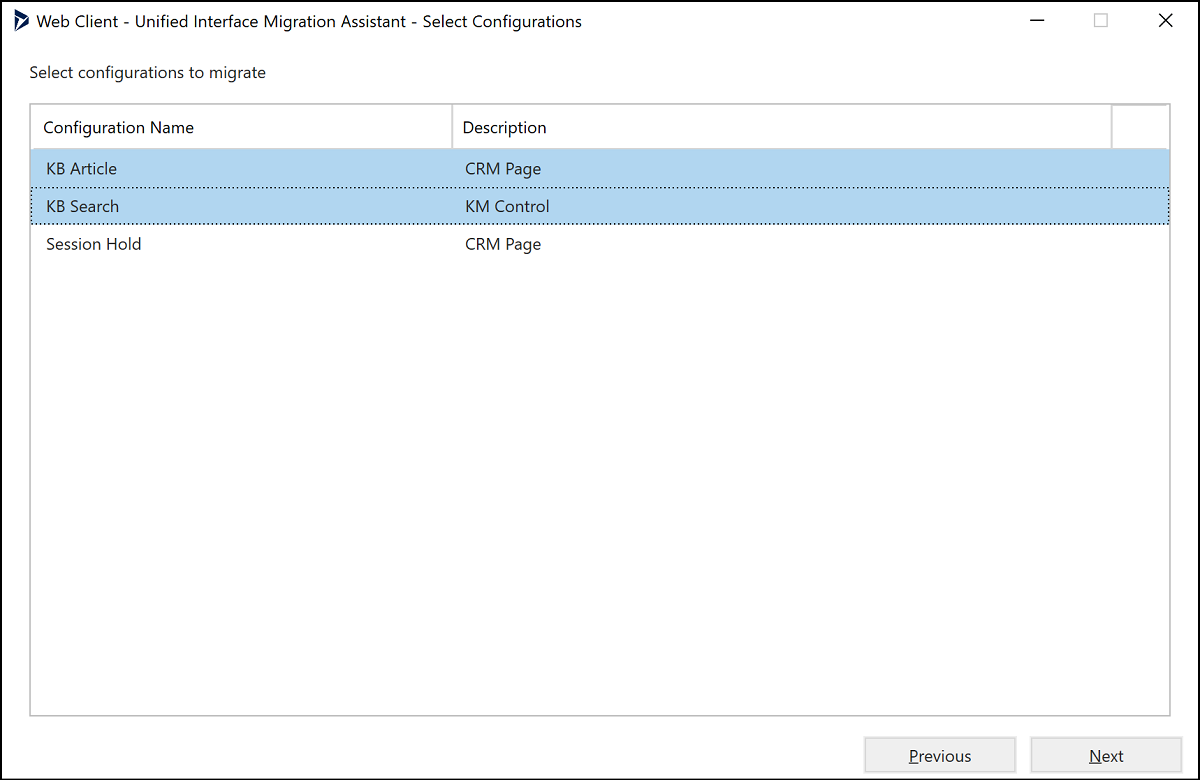
In the Select Configurations screen, select the configuration elements (hosted controls) you want to migrate, and select Next.
This is a multiple selection list, and you can select several configuration elements to migrate.
The migration assistant displays only the hosted controls to select. If you select a hosted control, the migration assistant exports all the actions, action calls, events, and other elements associated with the particular hosted control.
In the Confirm Selection screen, review the configurations you selected for migration, and select Next. If you want to change the selection, select Previous and repeat step 5.
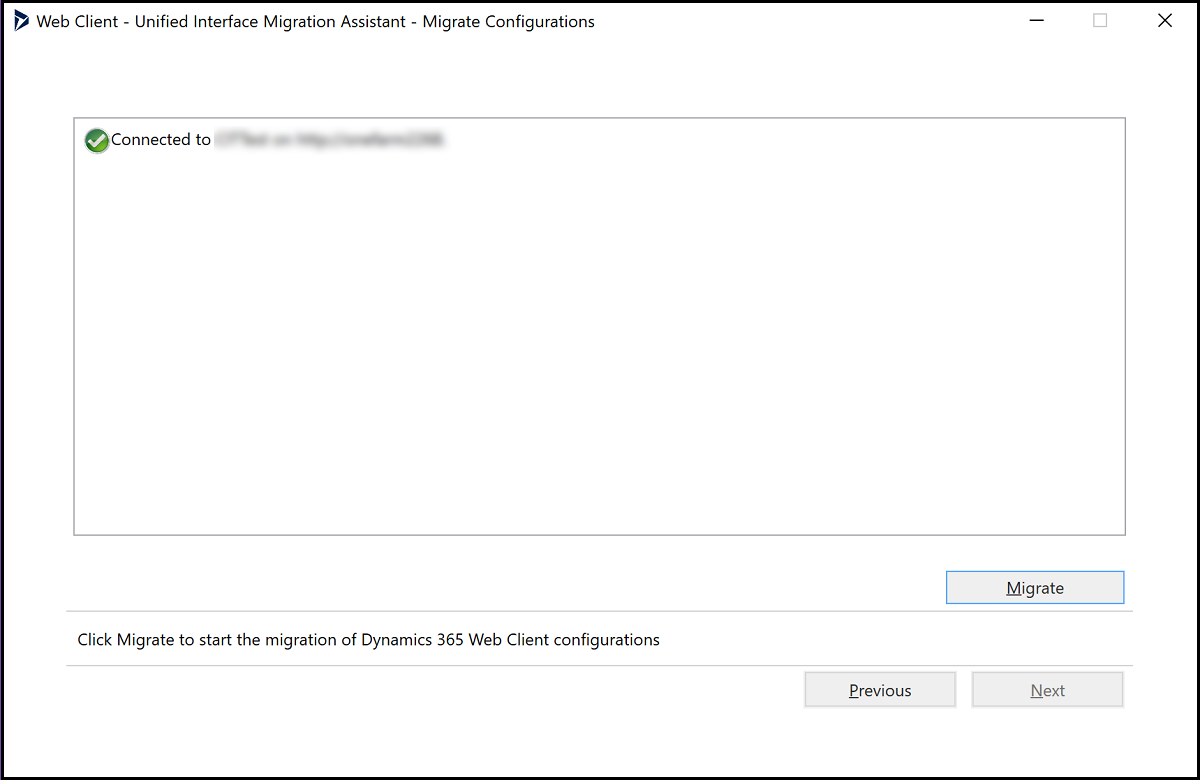
In the Migrate Configurations screen, choose Migrate. After the migration is completed, select Next.
In the File Download screen, the migration assistant provides a default location to download the USD_UI_Configurations.zip folder. To change the default download location, select Browse and choose a location, and select Download File.
The migration assistant displays the Download Completed.
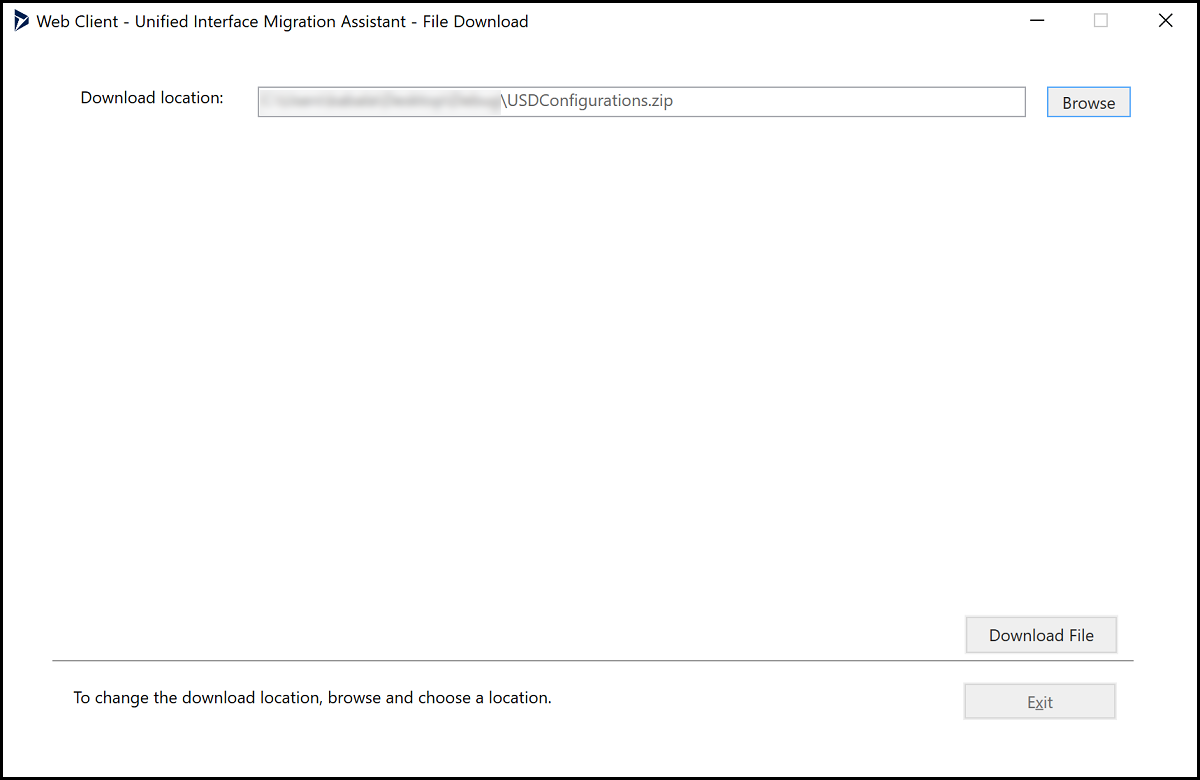
Select Exit to close and exit the tool.
Step 2: Import the USDWebResources folder
The USDWebResources folder contains the migrated RunXrmCommand actions that were present in Web Client. To deploy the USDWebResources on the target Unified Interface app, import the web resources as a solution in Dataverse.
To import the USDWebResources zip folder, follow these steps:
Sign in to the Dynamics 365 instance.
Go to Settings > Solutions.
Select Import to import the web resource.
In the Select Solution Package window, browse and select the USDWebResources zip folder, and select Next.
In the Solution Information screen, review the solution information and select Import.
You can see the success message after the solution is imported successfully.In the Importing Solution screen, select Close.
You can see the USDWebResources in the solutions list.

For more information, see Import, update, and export solutions
Step 3: Use Configuration Migration Tool to import and deploy the configurations on Unified Interface app
Prerequisites: Download the Configuration Migration tool (DataMigrationUtility.exe). To download the tool, see Download the tools from NuGet.
Go to the location where you downloaded the Configuration Migration Tool (DataMigrationUtility.exe).
Open ConfigurationMigration and execute DataMigrationUtility.exe.
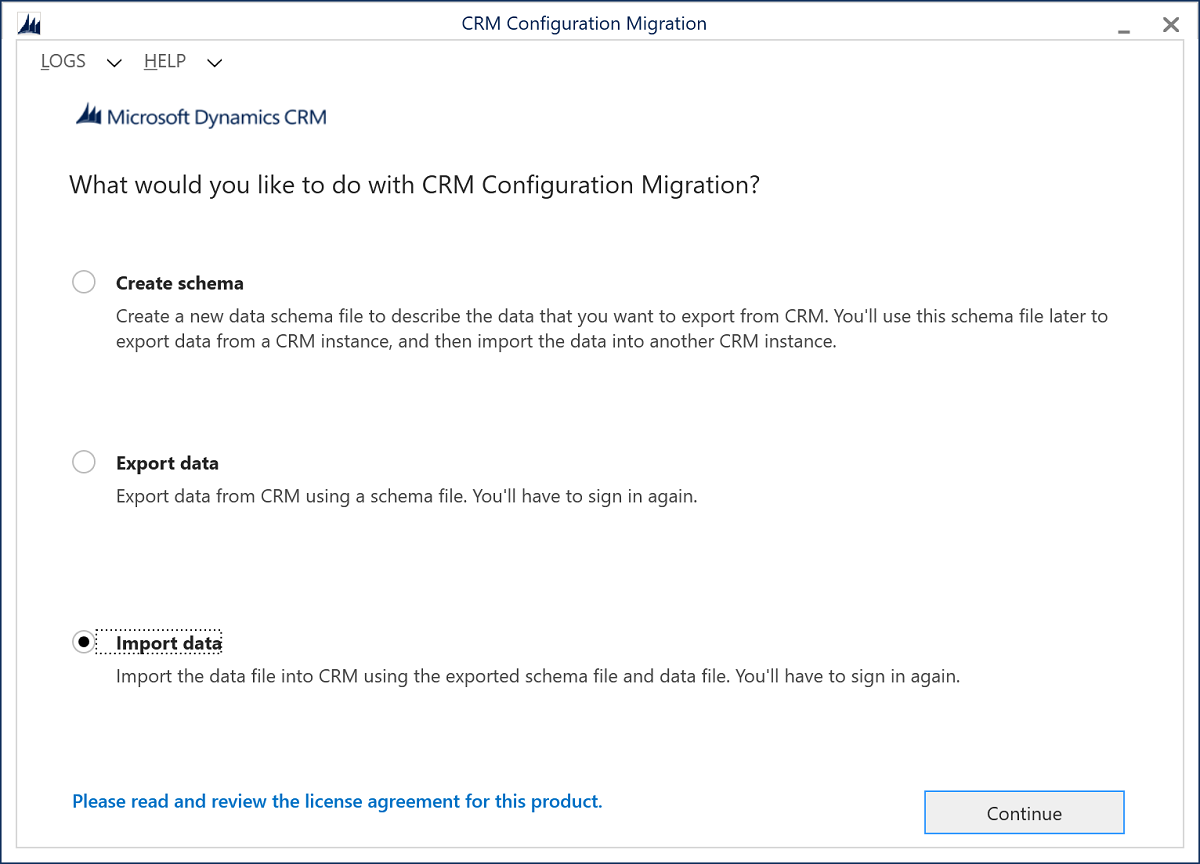
In the next screen, select Import data, and select Continue.
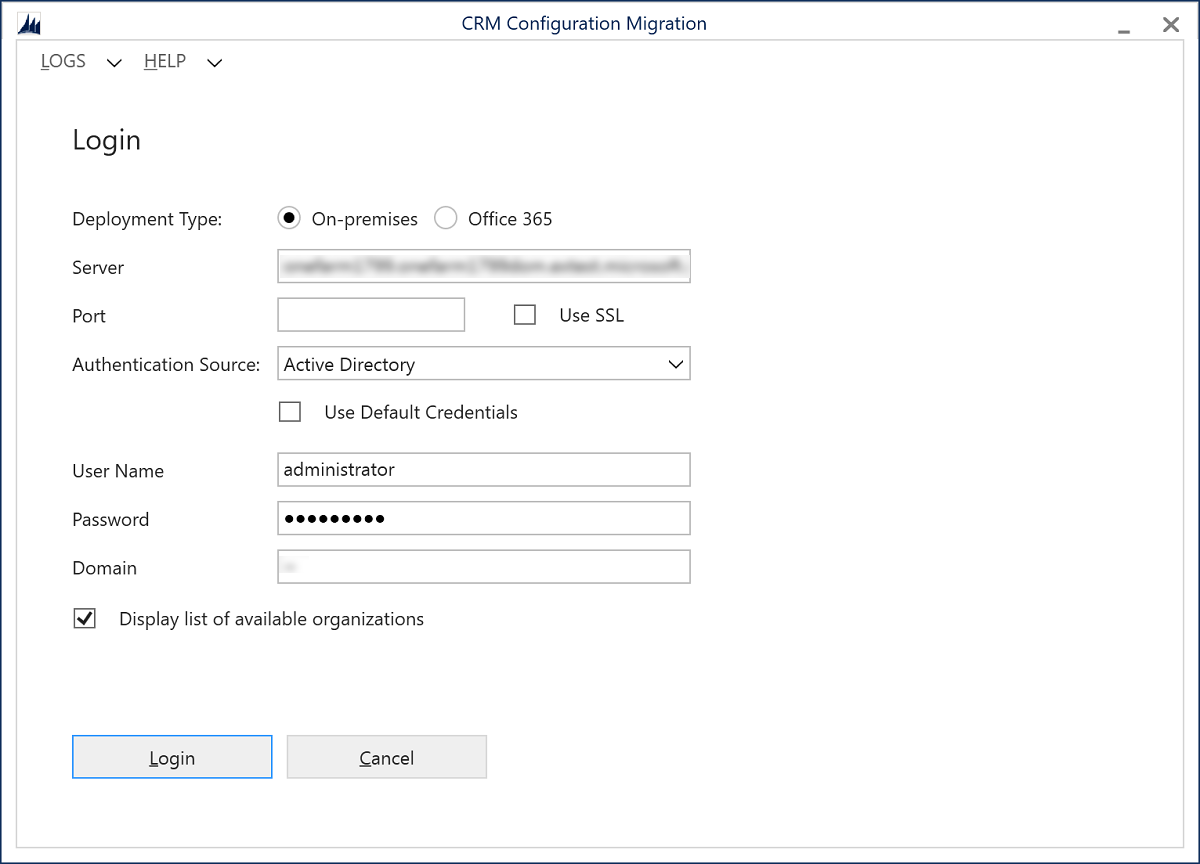
In the Login screen, provide authentication details to connect to the instance to which you want to deploy the migrated configurations. If you have multiple organizations, and want to select the organization to which you want to deploy the migrated configurations, select the Display list of available organizations check box, and select Login.
In the next screen, browse the USD_UI_Configurations folder and select the Data.zip folder, and then select Import Data.
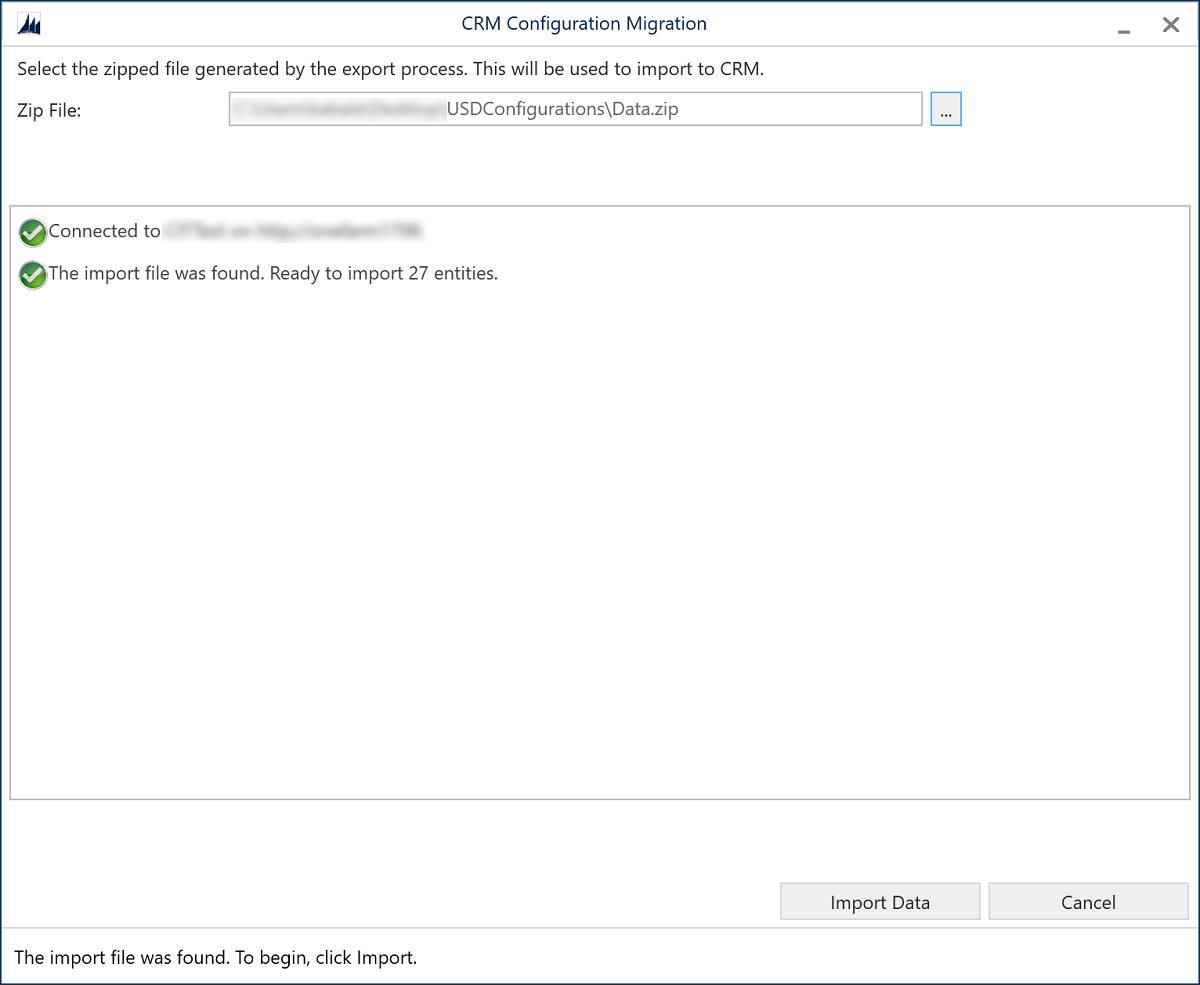
After the import is complete, select Exit.
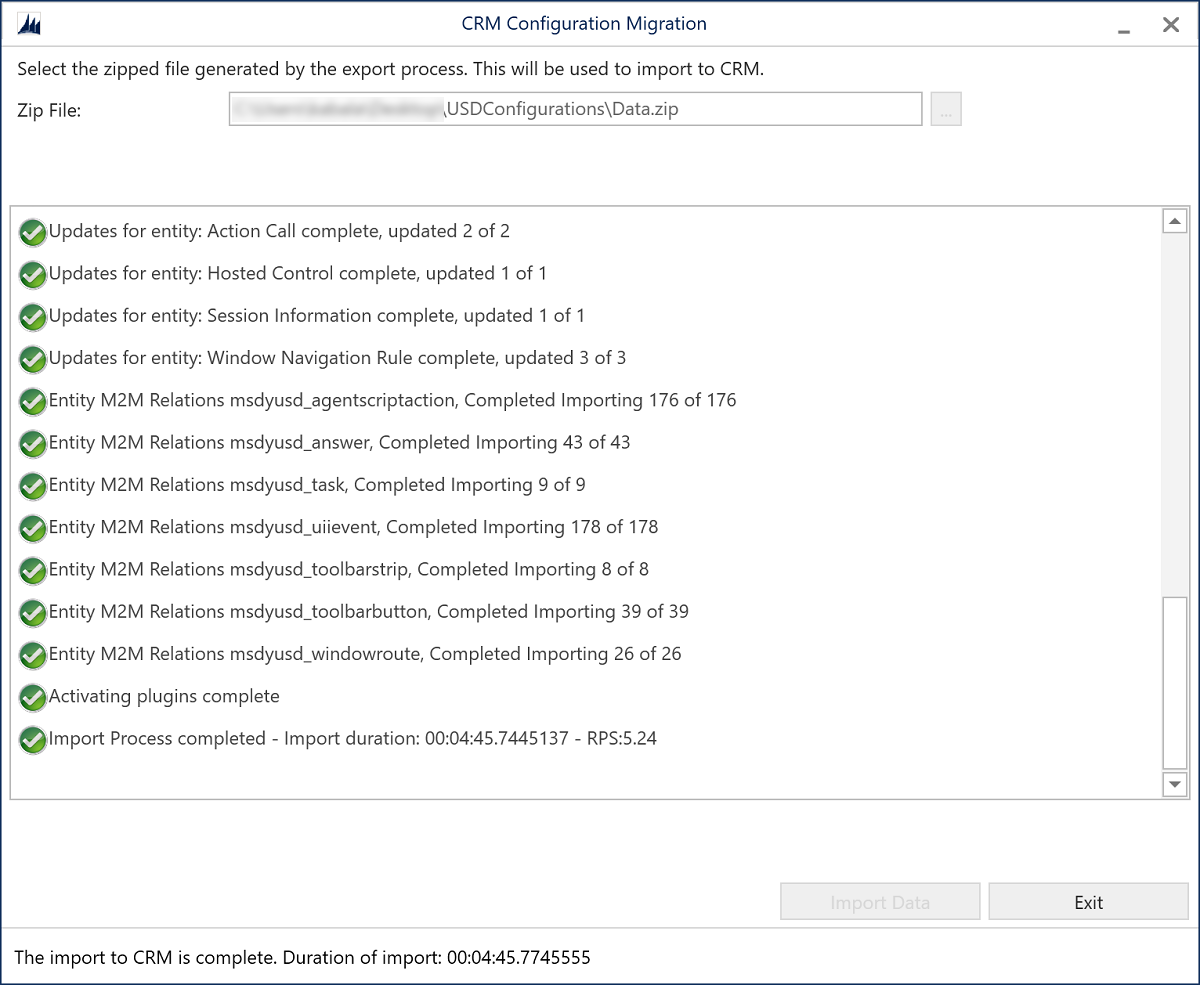
See also
Migration of Unified Service Desk configurations from legacy web client to Unified Interface apps
Download the Web Client - Unified Interface Migration Assistant
Feedback
Coming soon: Throughout 2024 we will be phasing out GitHub Issues as the feedback mechanism for content and replacing it with a new feedback system. For more information see: https://aka.ms/ContentUserFeedback.
Submit and view feedback for