Note
Access to this page requires authorization. You can try signing in or changing directories.
Access to this page requires authorization. You can try changing directories.
Pagination options let you configure layout, context, presentation, and formatting. These capabilities help ensure paginated reports are well-structured, easy to read, and consistently formatted.
Important
This feature is in preview.
The following sections describe how to use pagination options, such as customizing the header and footer, formatting cells, and creating visual hierarchies in your reports.
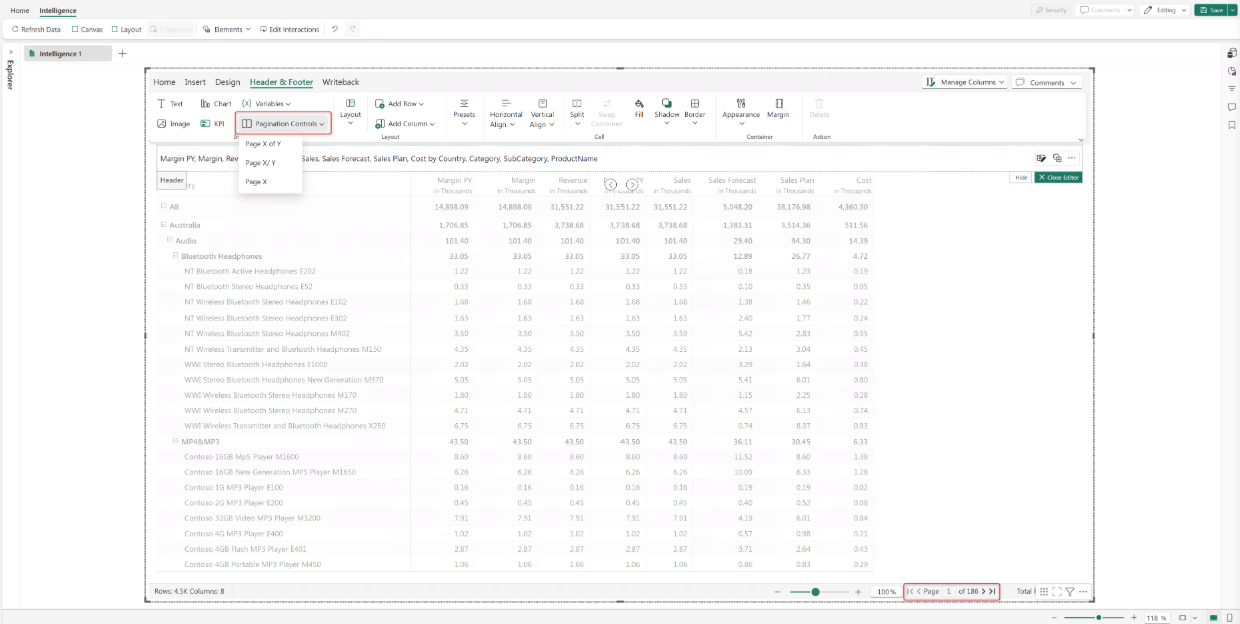
Configure pagination
Go to Design > Header & Footer.
Select Pagination Controls and select the pagination style to apply.
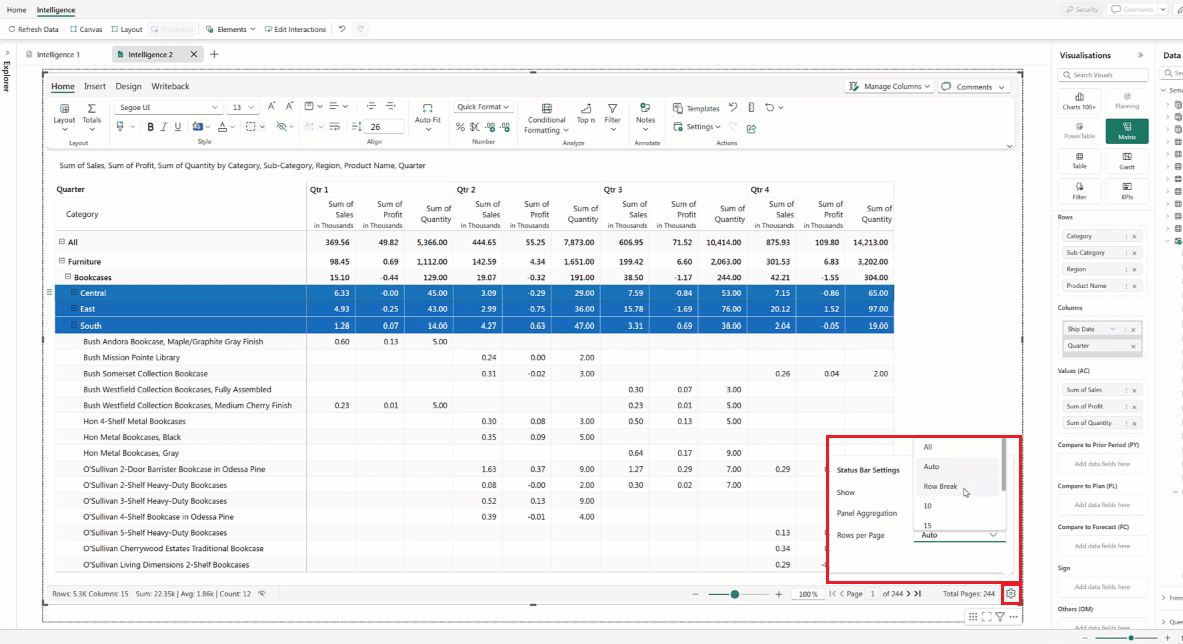
Select the settings icon in the footer to configure the number of rows displayed per page.
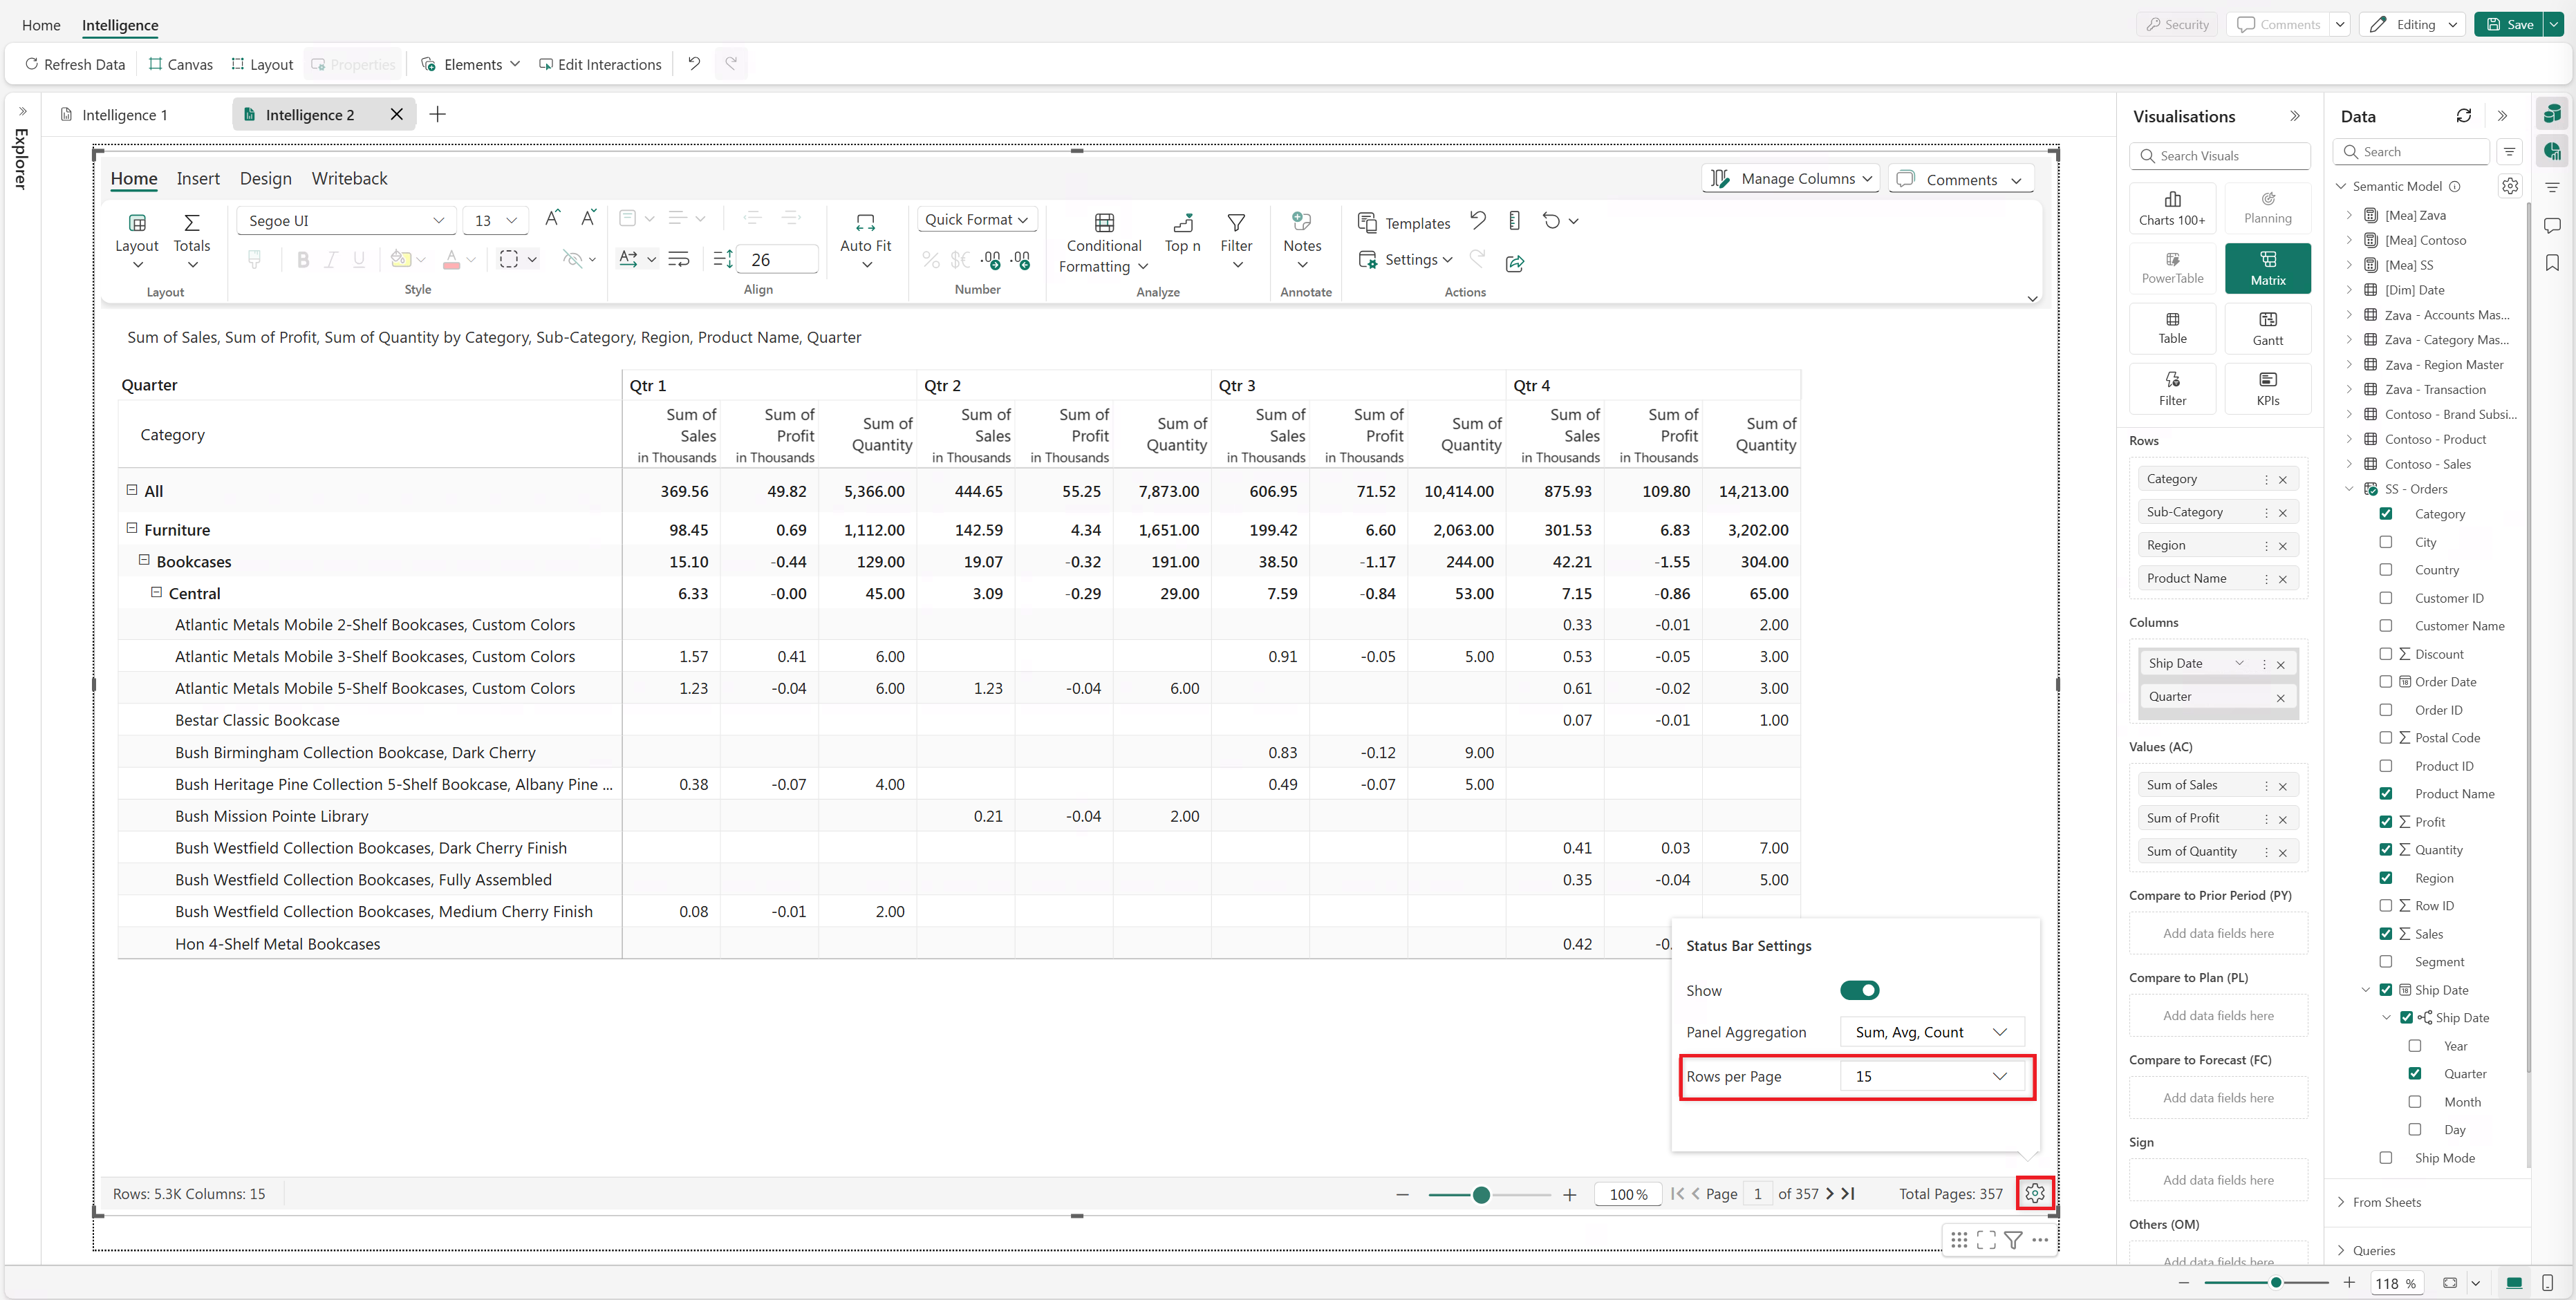
To show data for a specific dimension category on each page: set Rows per page to Row Break. Select the dimension category, such as Region. This displays data grouped by the selected dimension on separate pages.


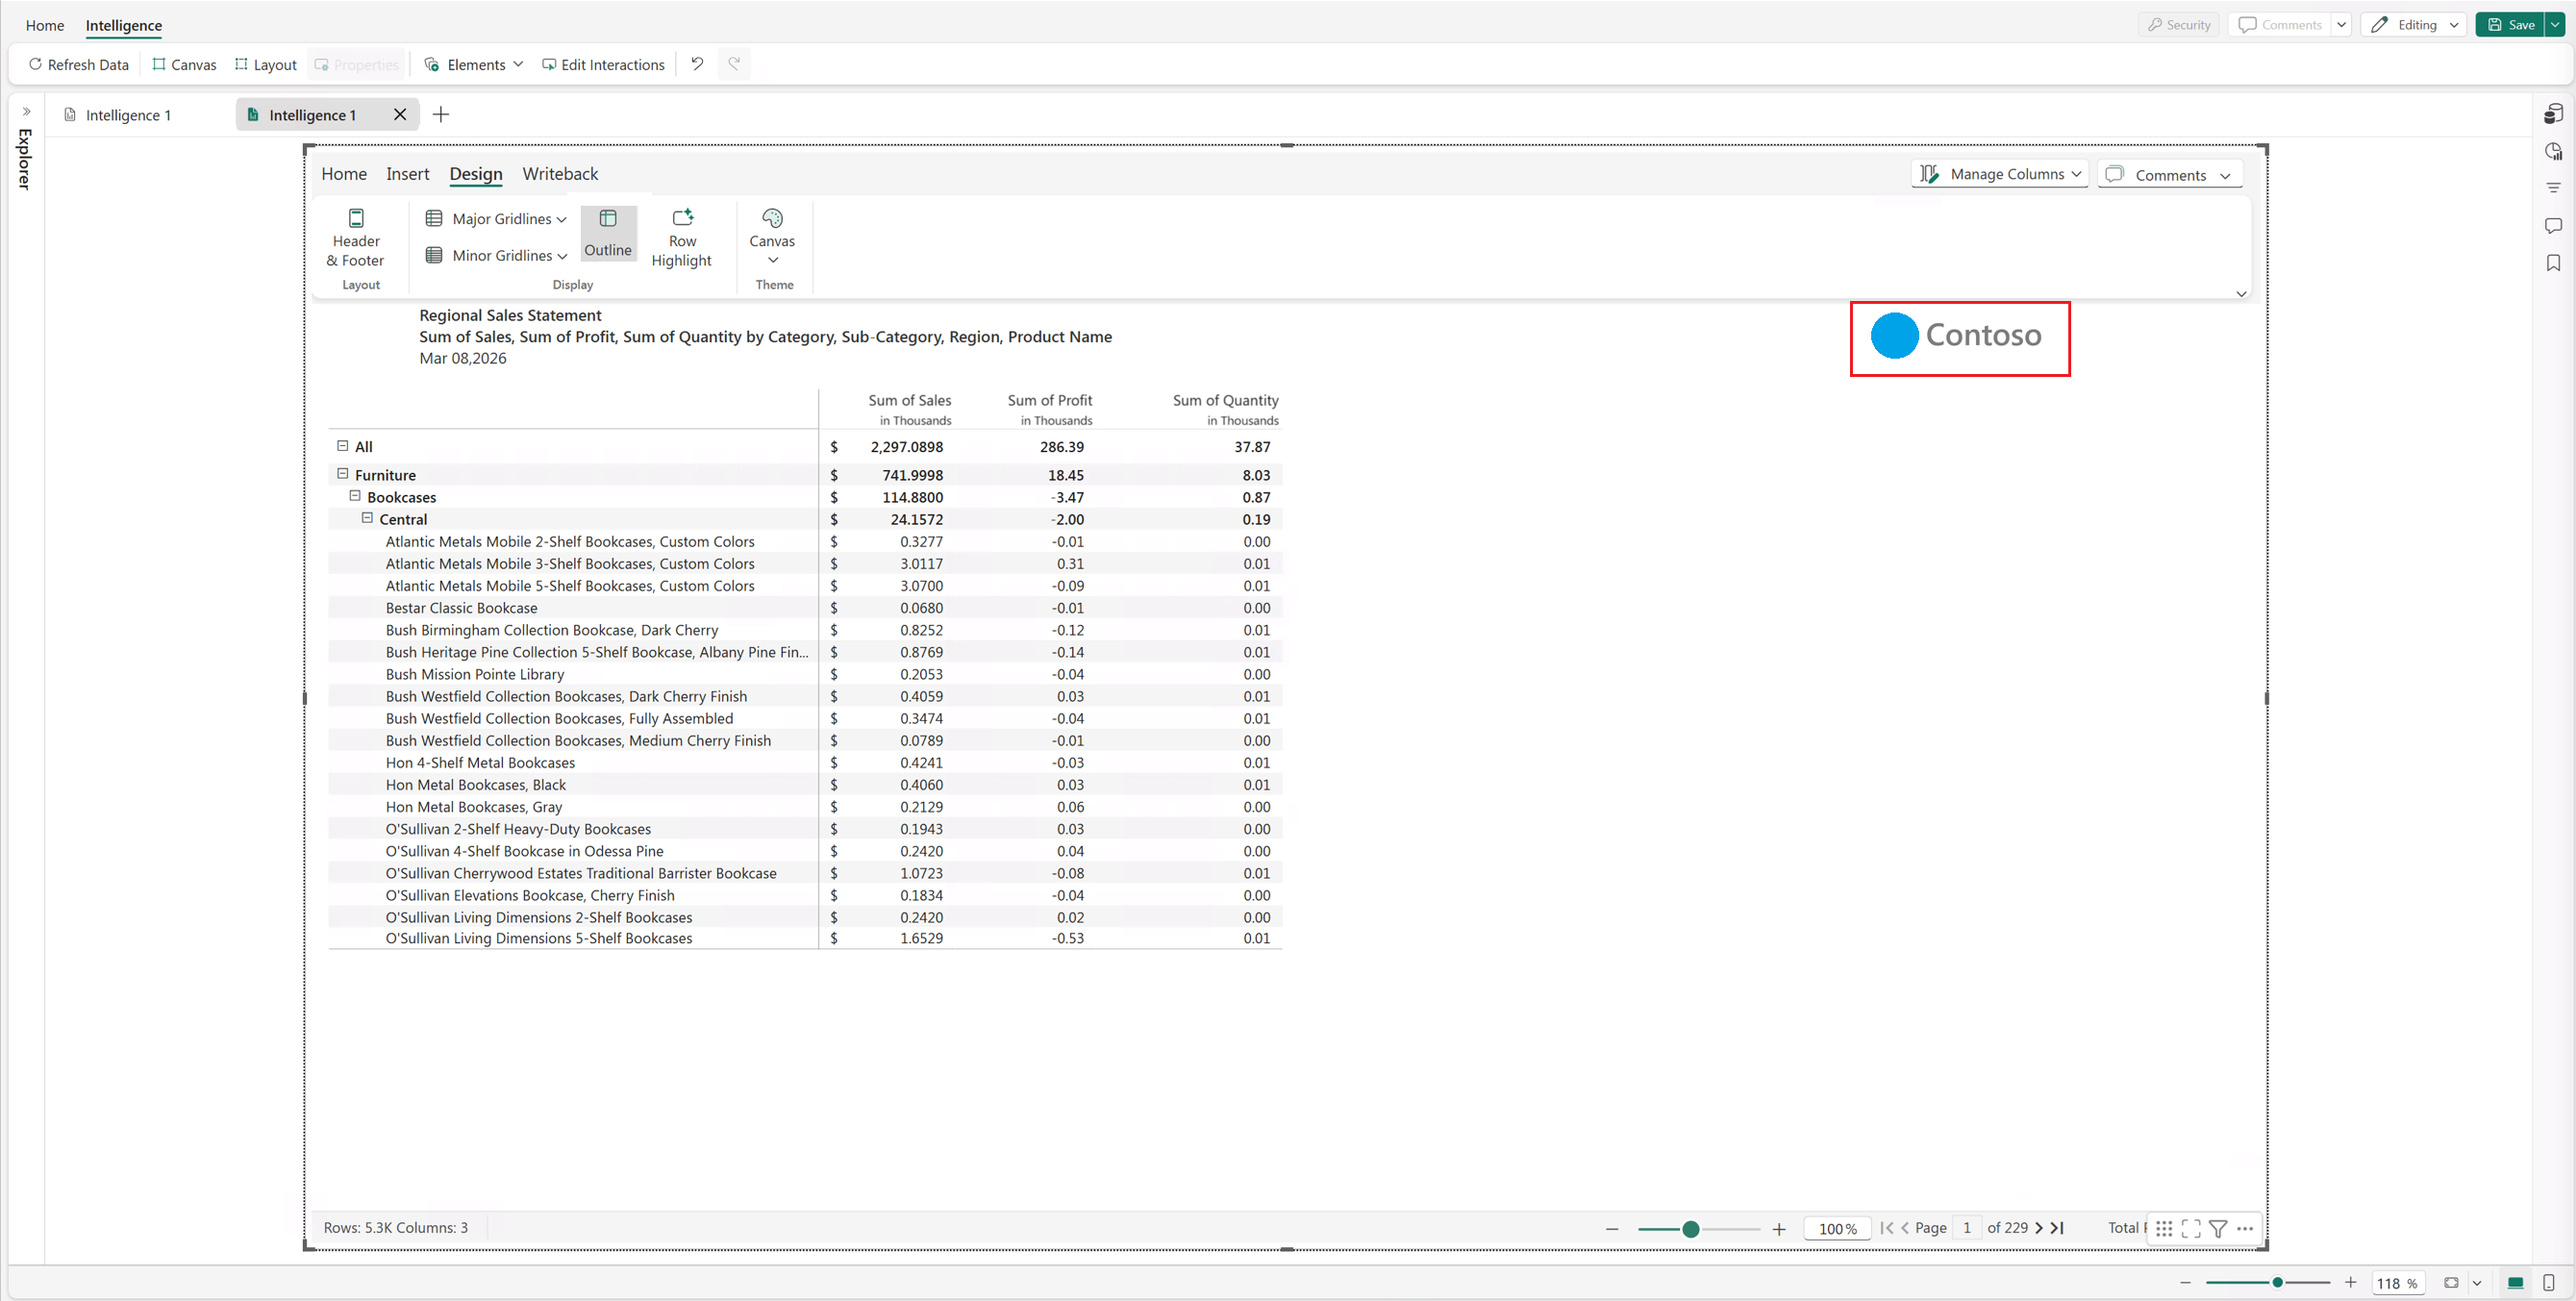
Customize the report header
Select Header & Footer in the Design ribbon.
Choose from built-in header and footer presets.

Select the edit icon to enter custom header text.
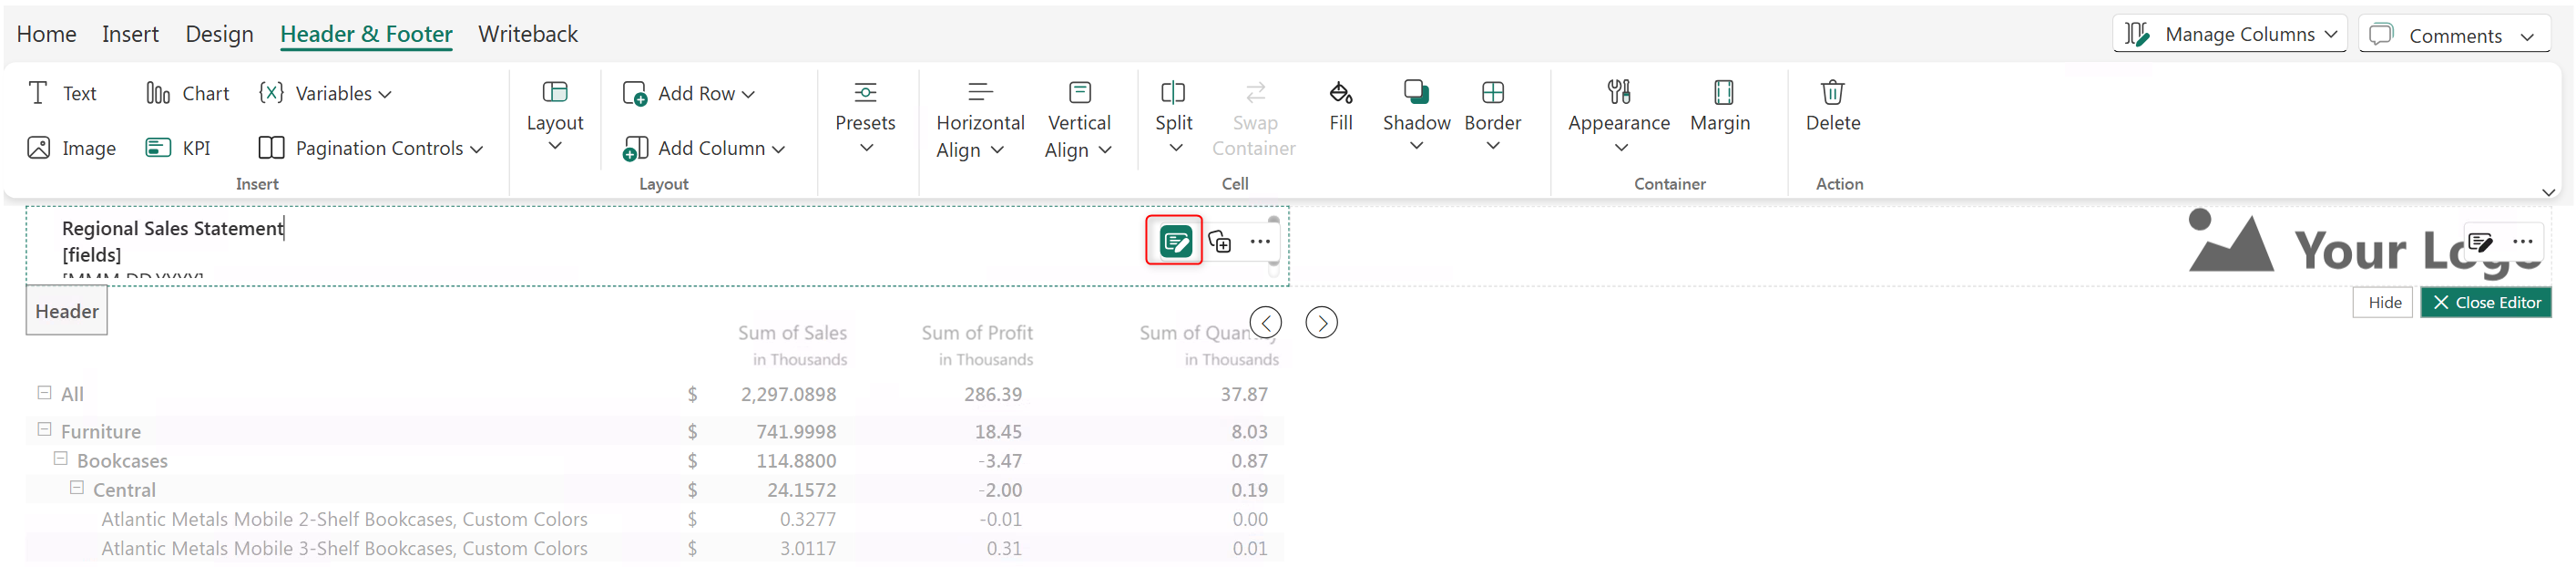
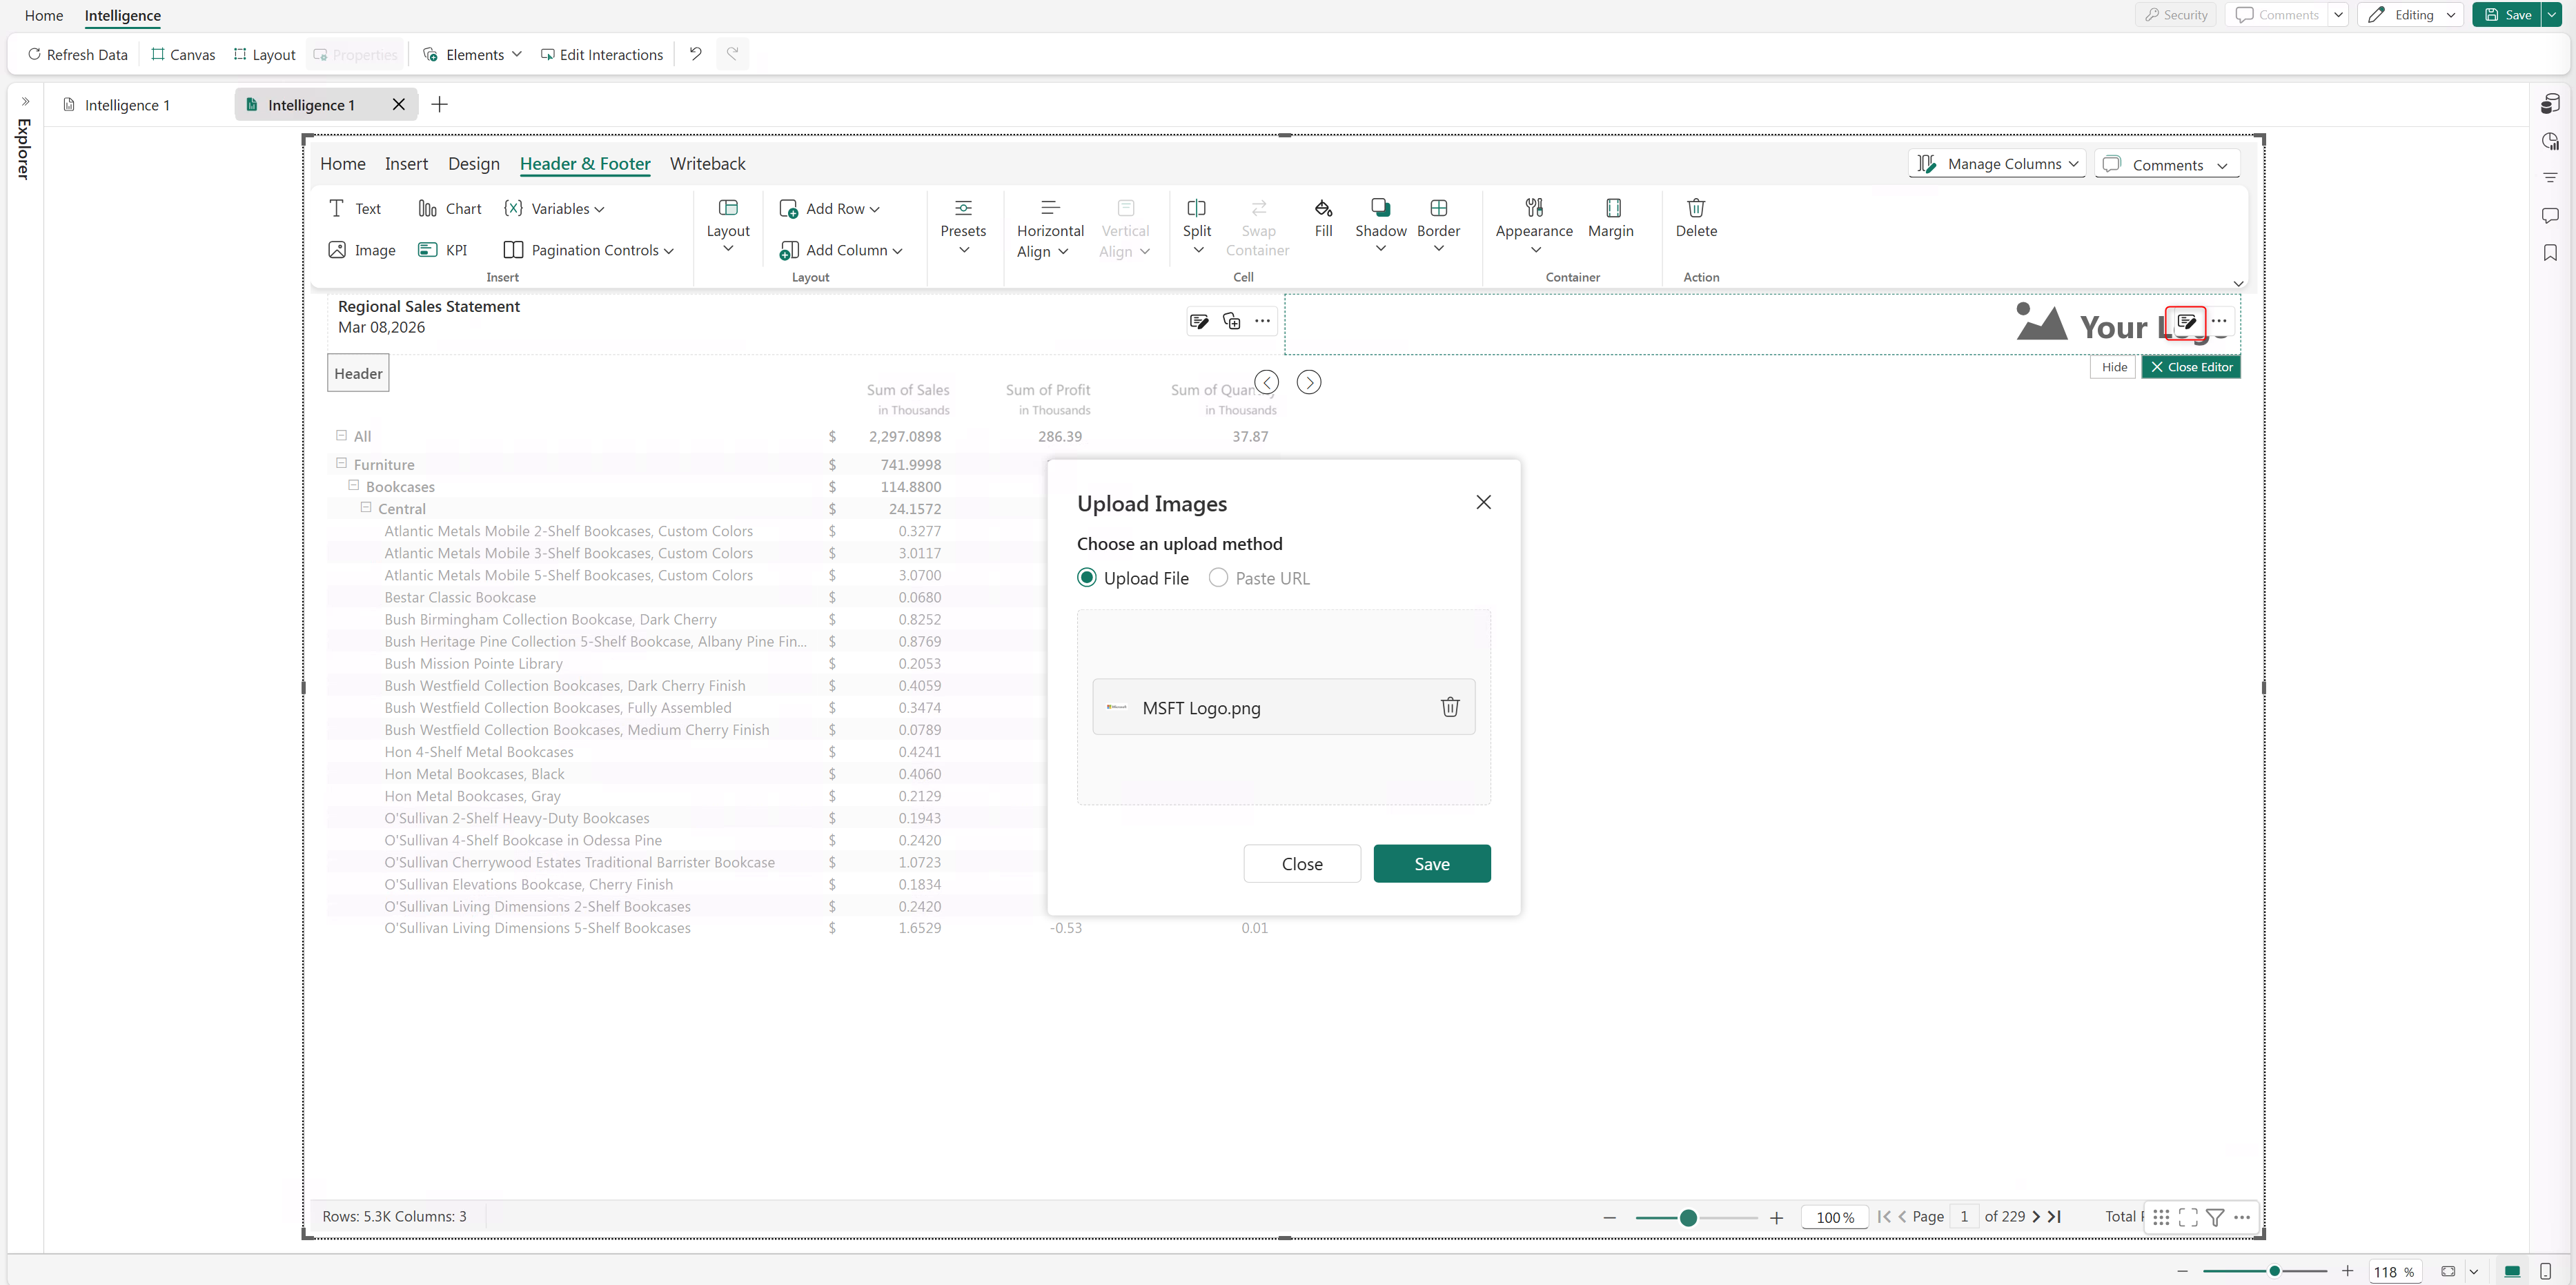
Use the same icon to upload images to the header.


Format cells and column headers
Set the cell background and font color, apply text formatting (bold, italic, underline), and adjust the font type and size. Use Format Painter to copy formatting across multiple cells.
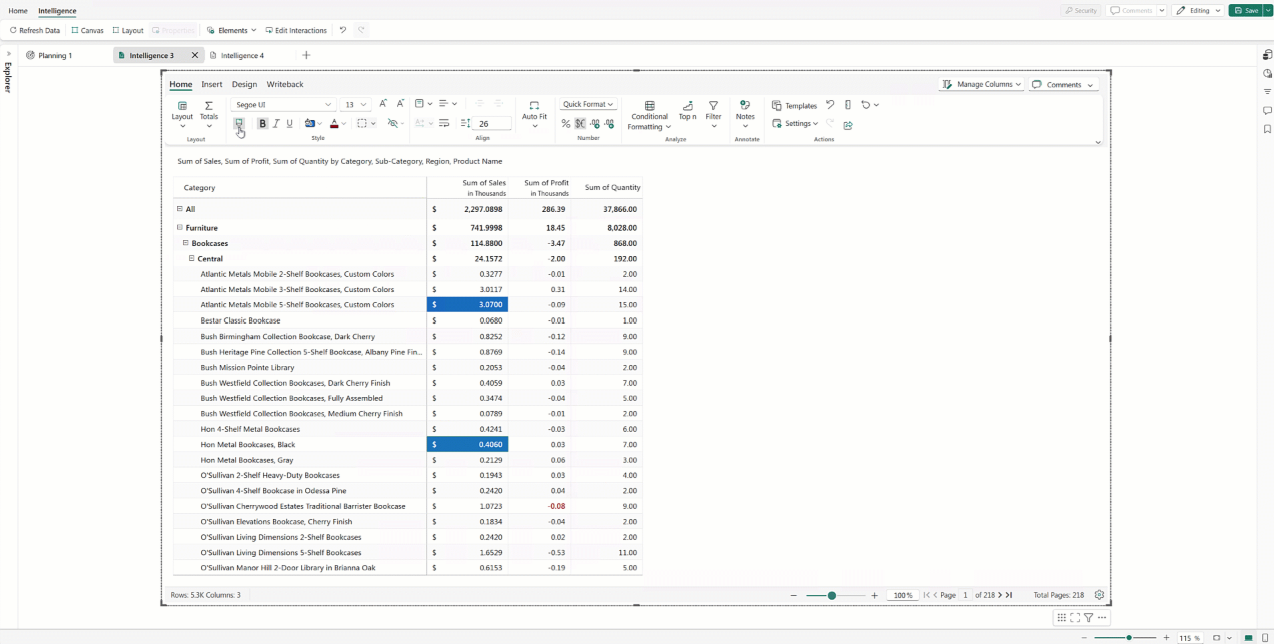
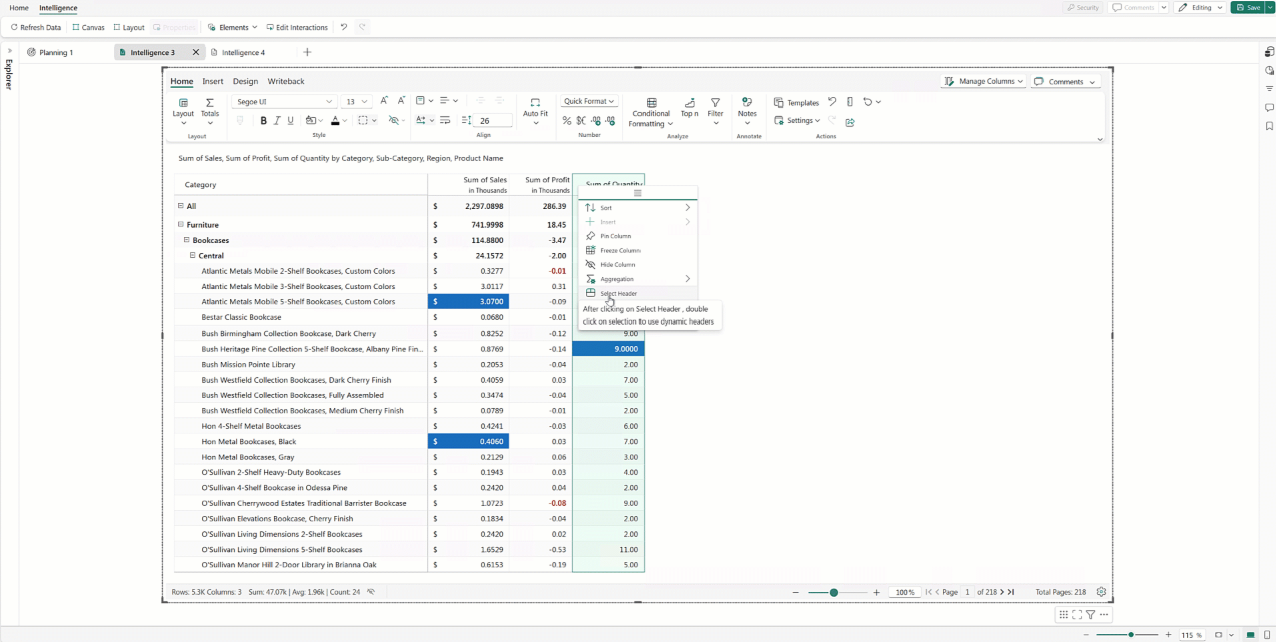
Use the column gripper to select Select Header, then apply the desired formatting.
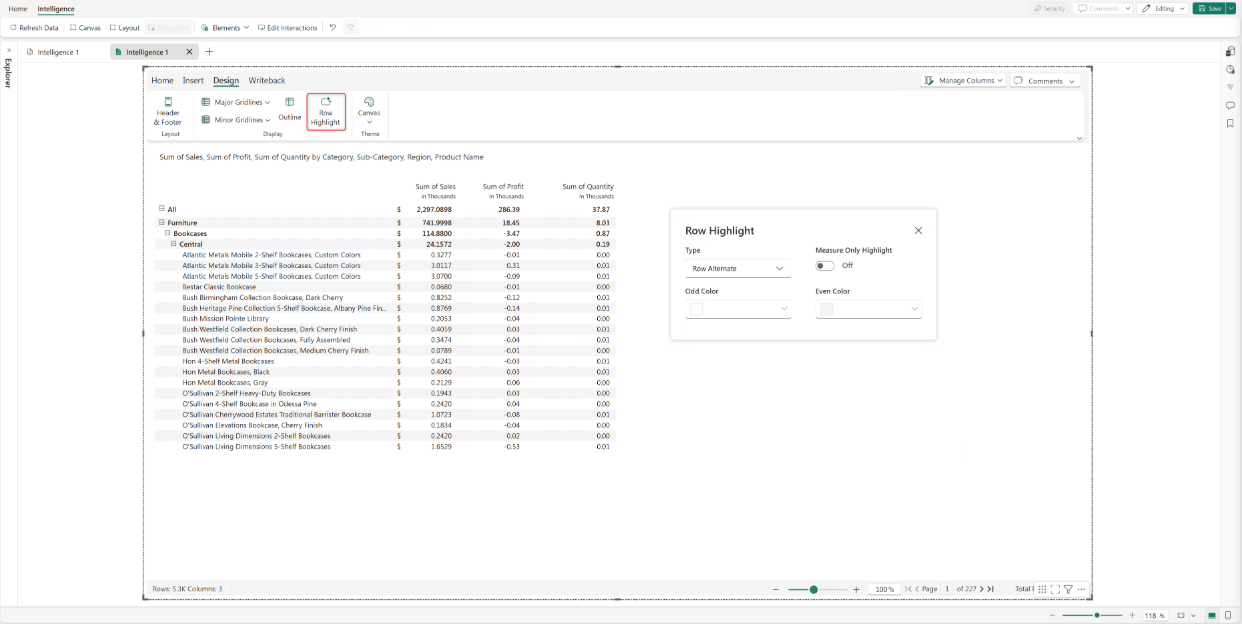
Apply banded rows to improve readability by highlighting even and odd rows with different colors.


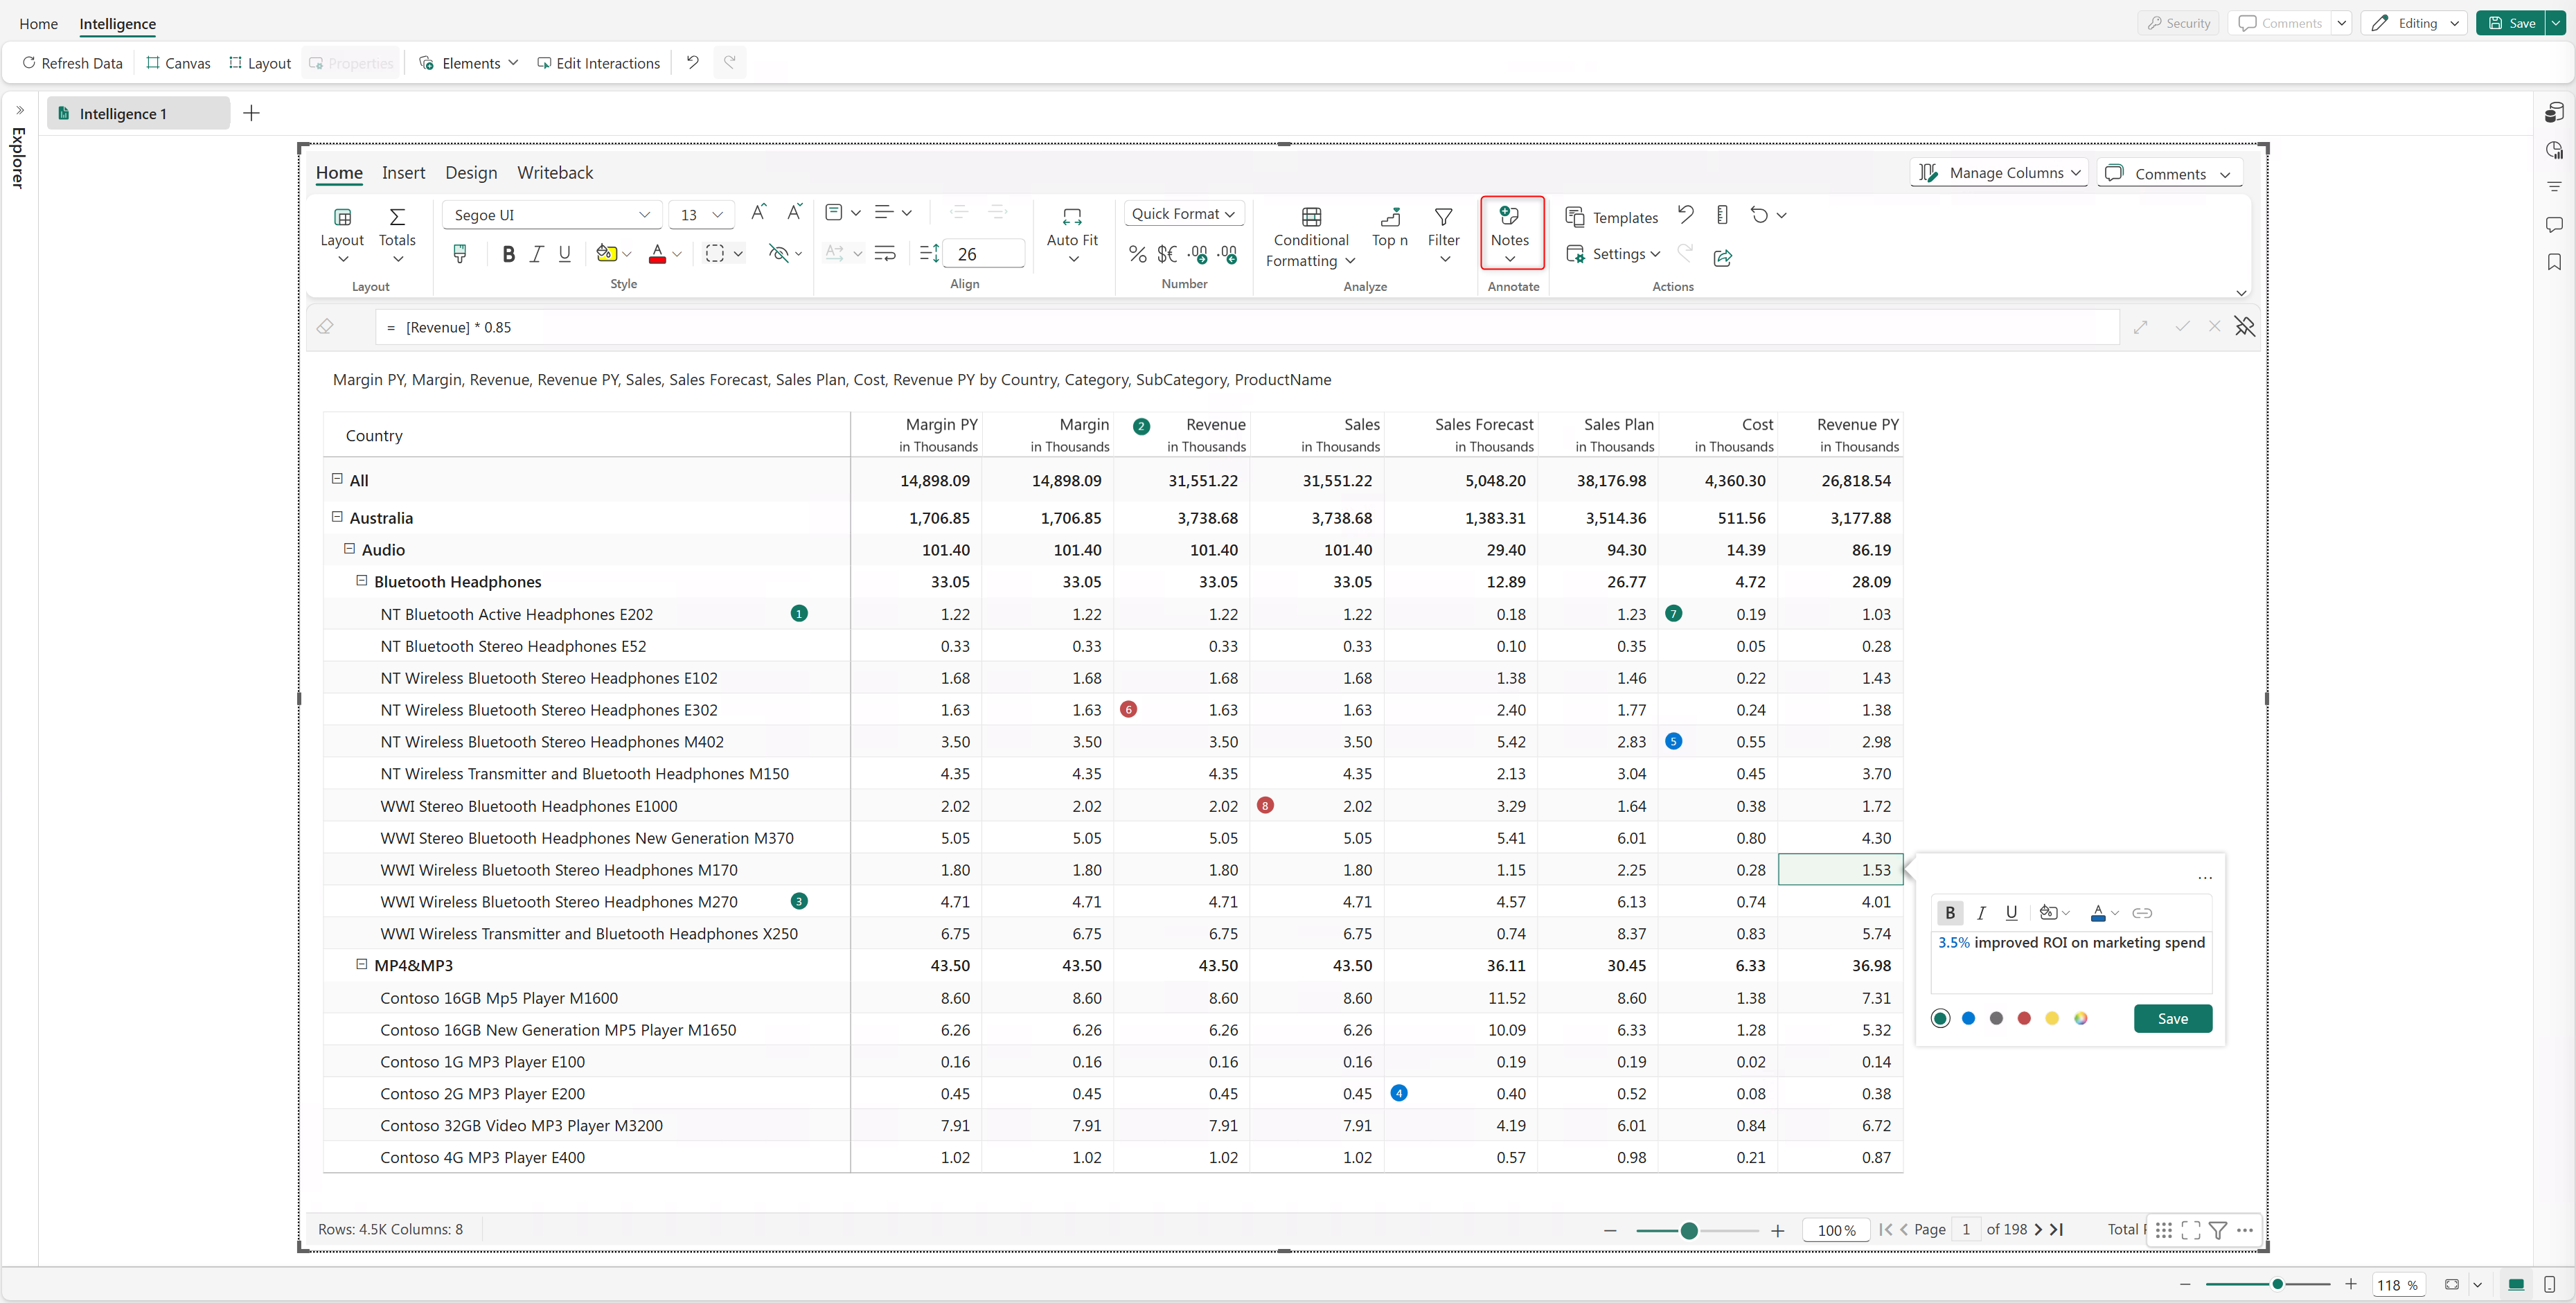
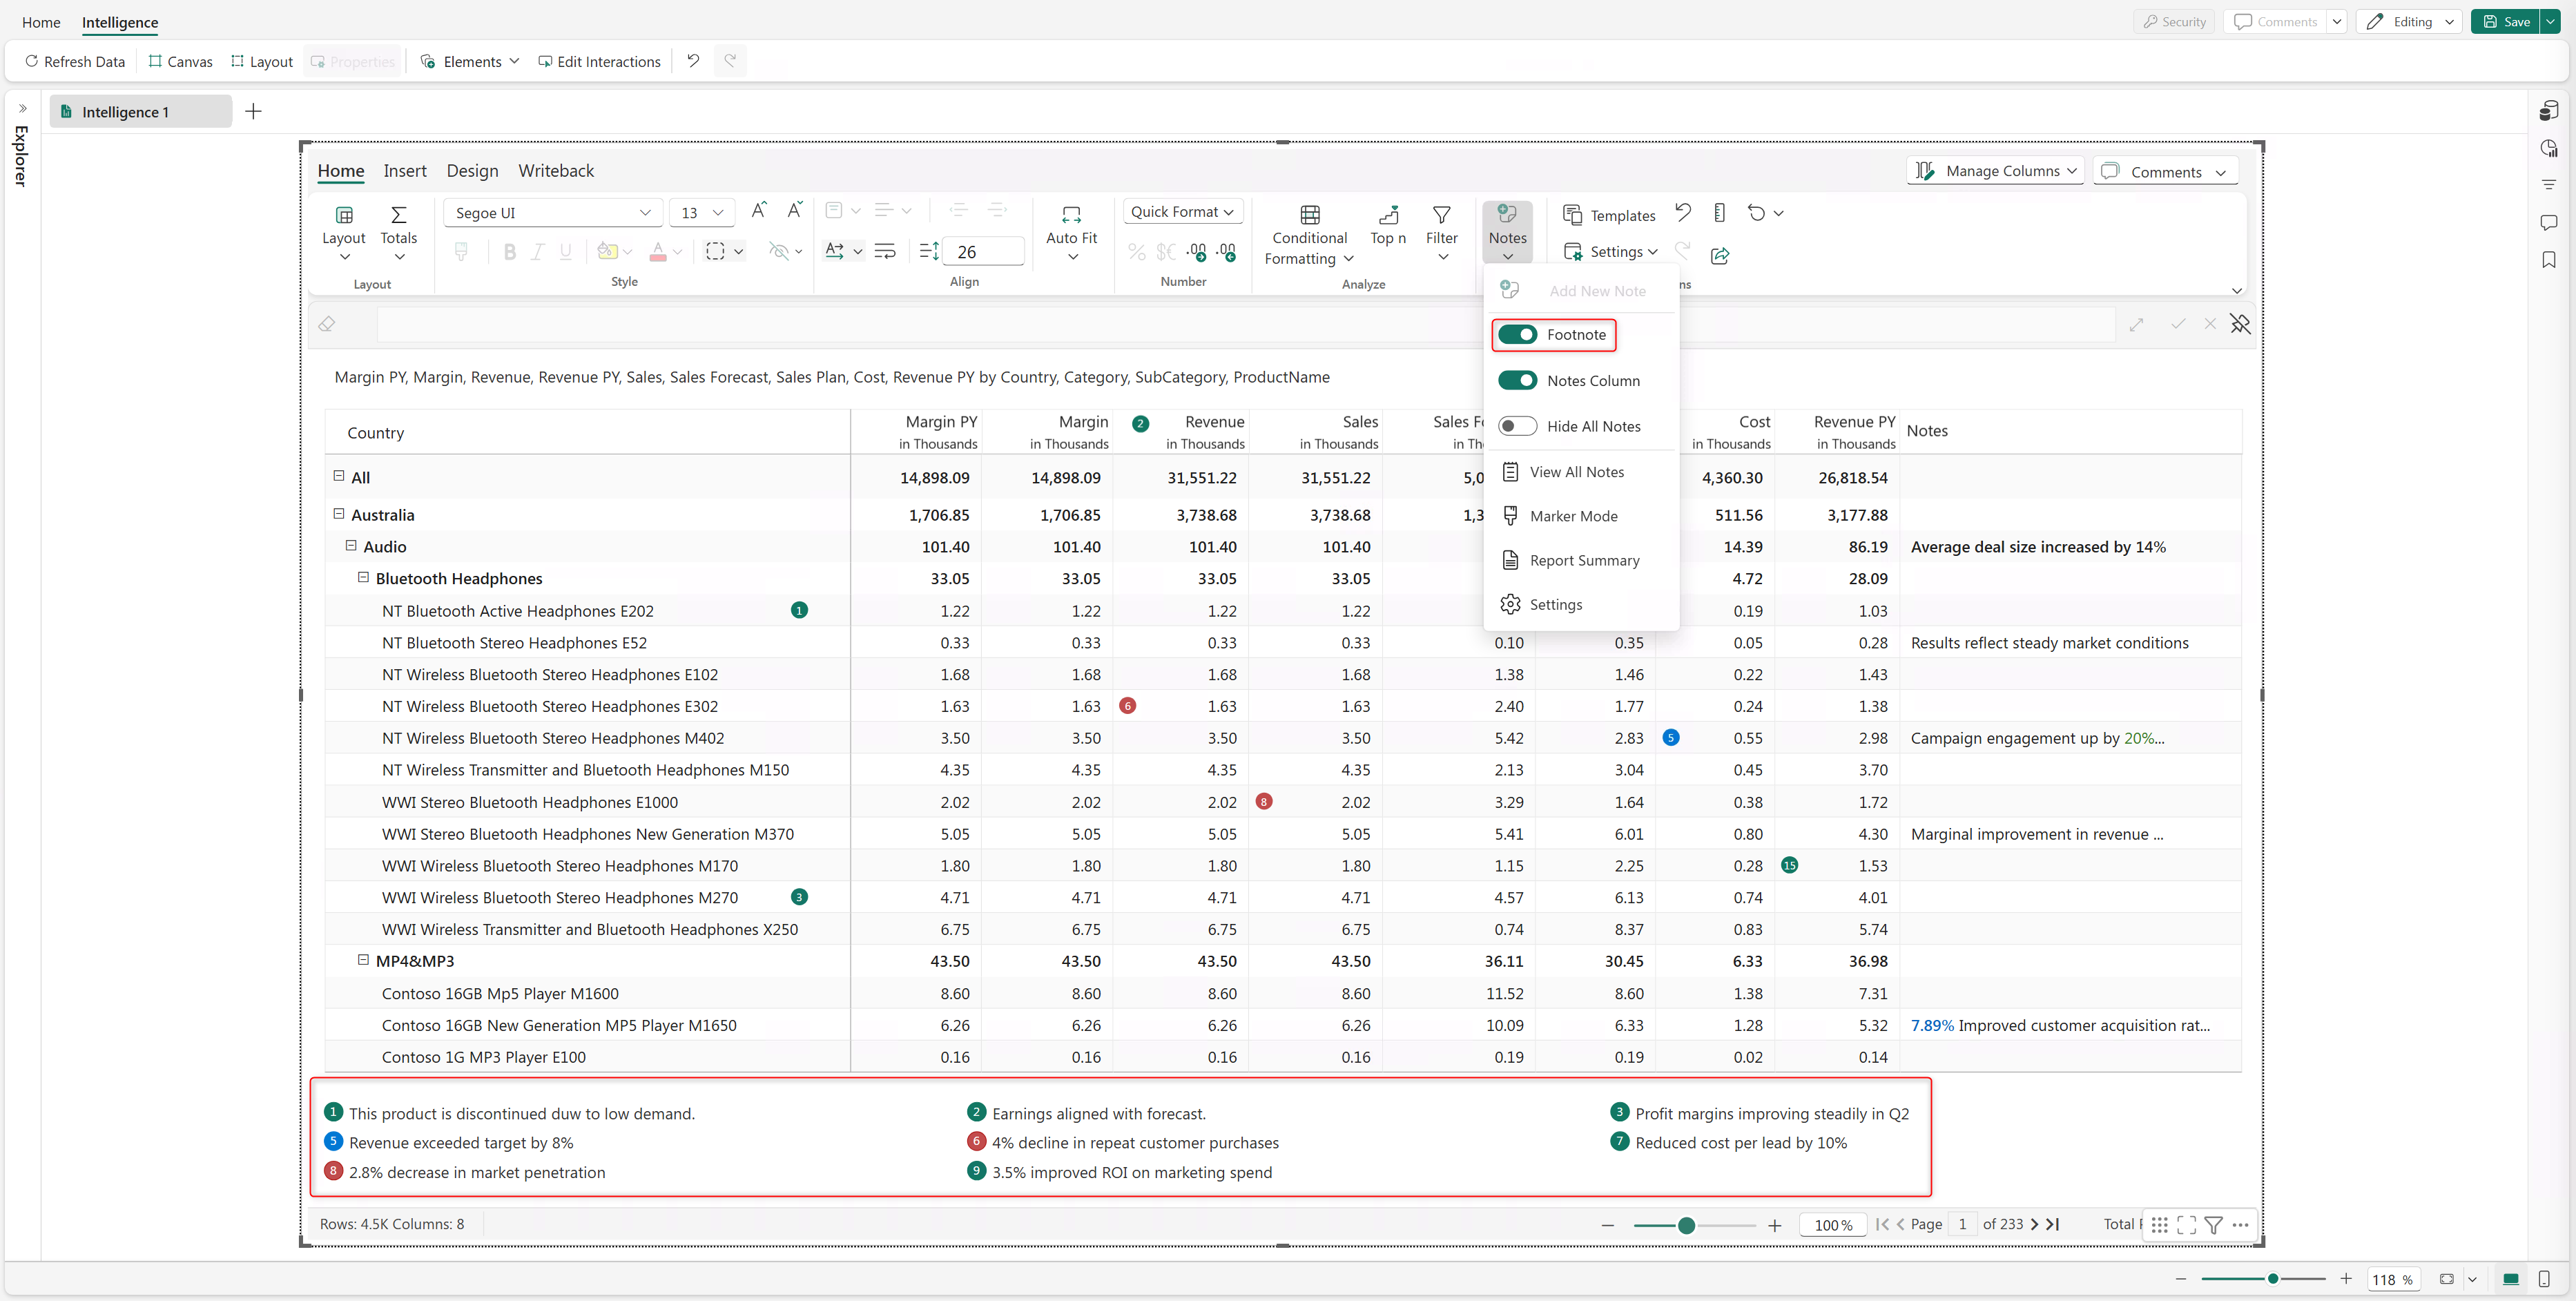
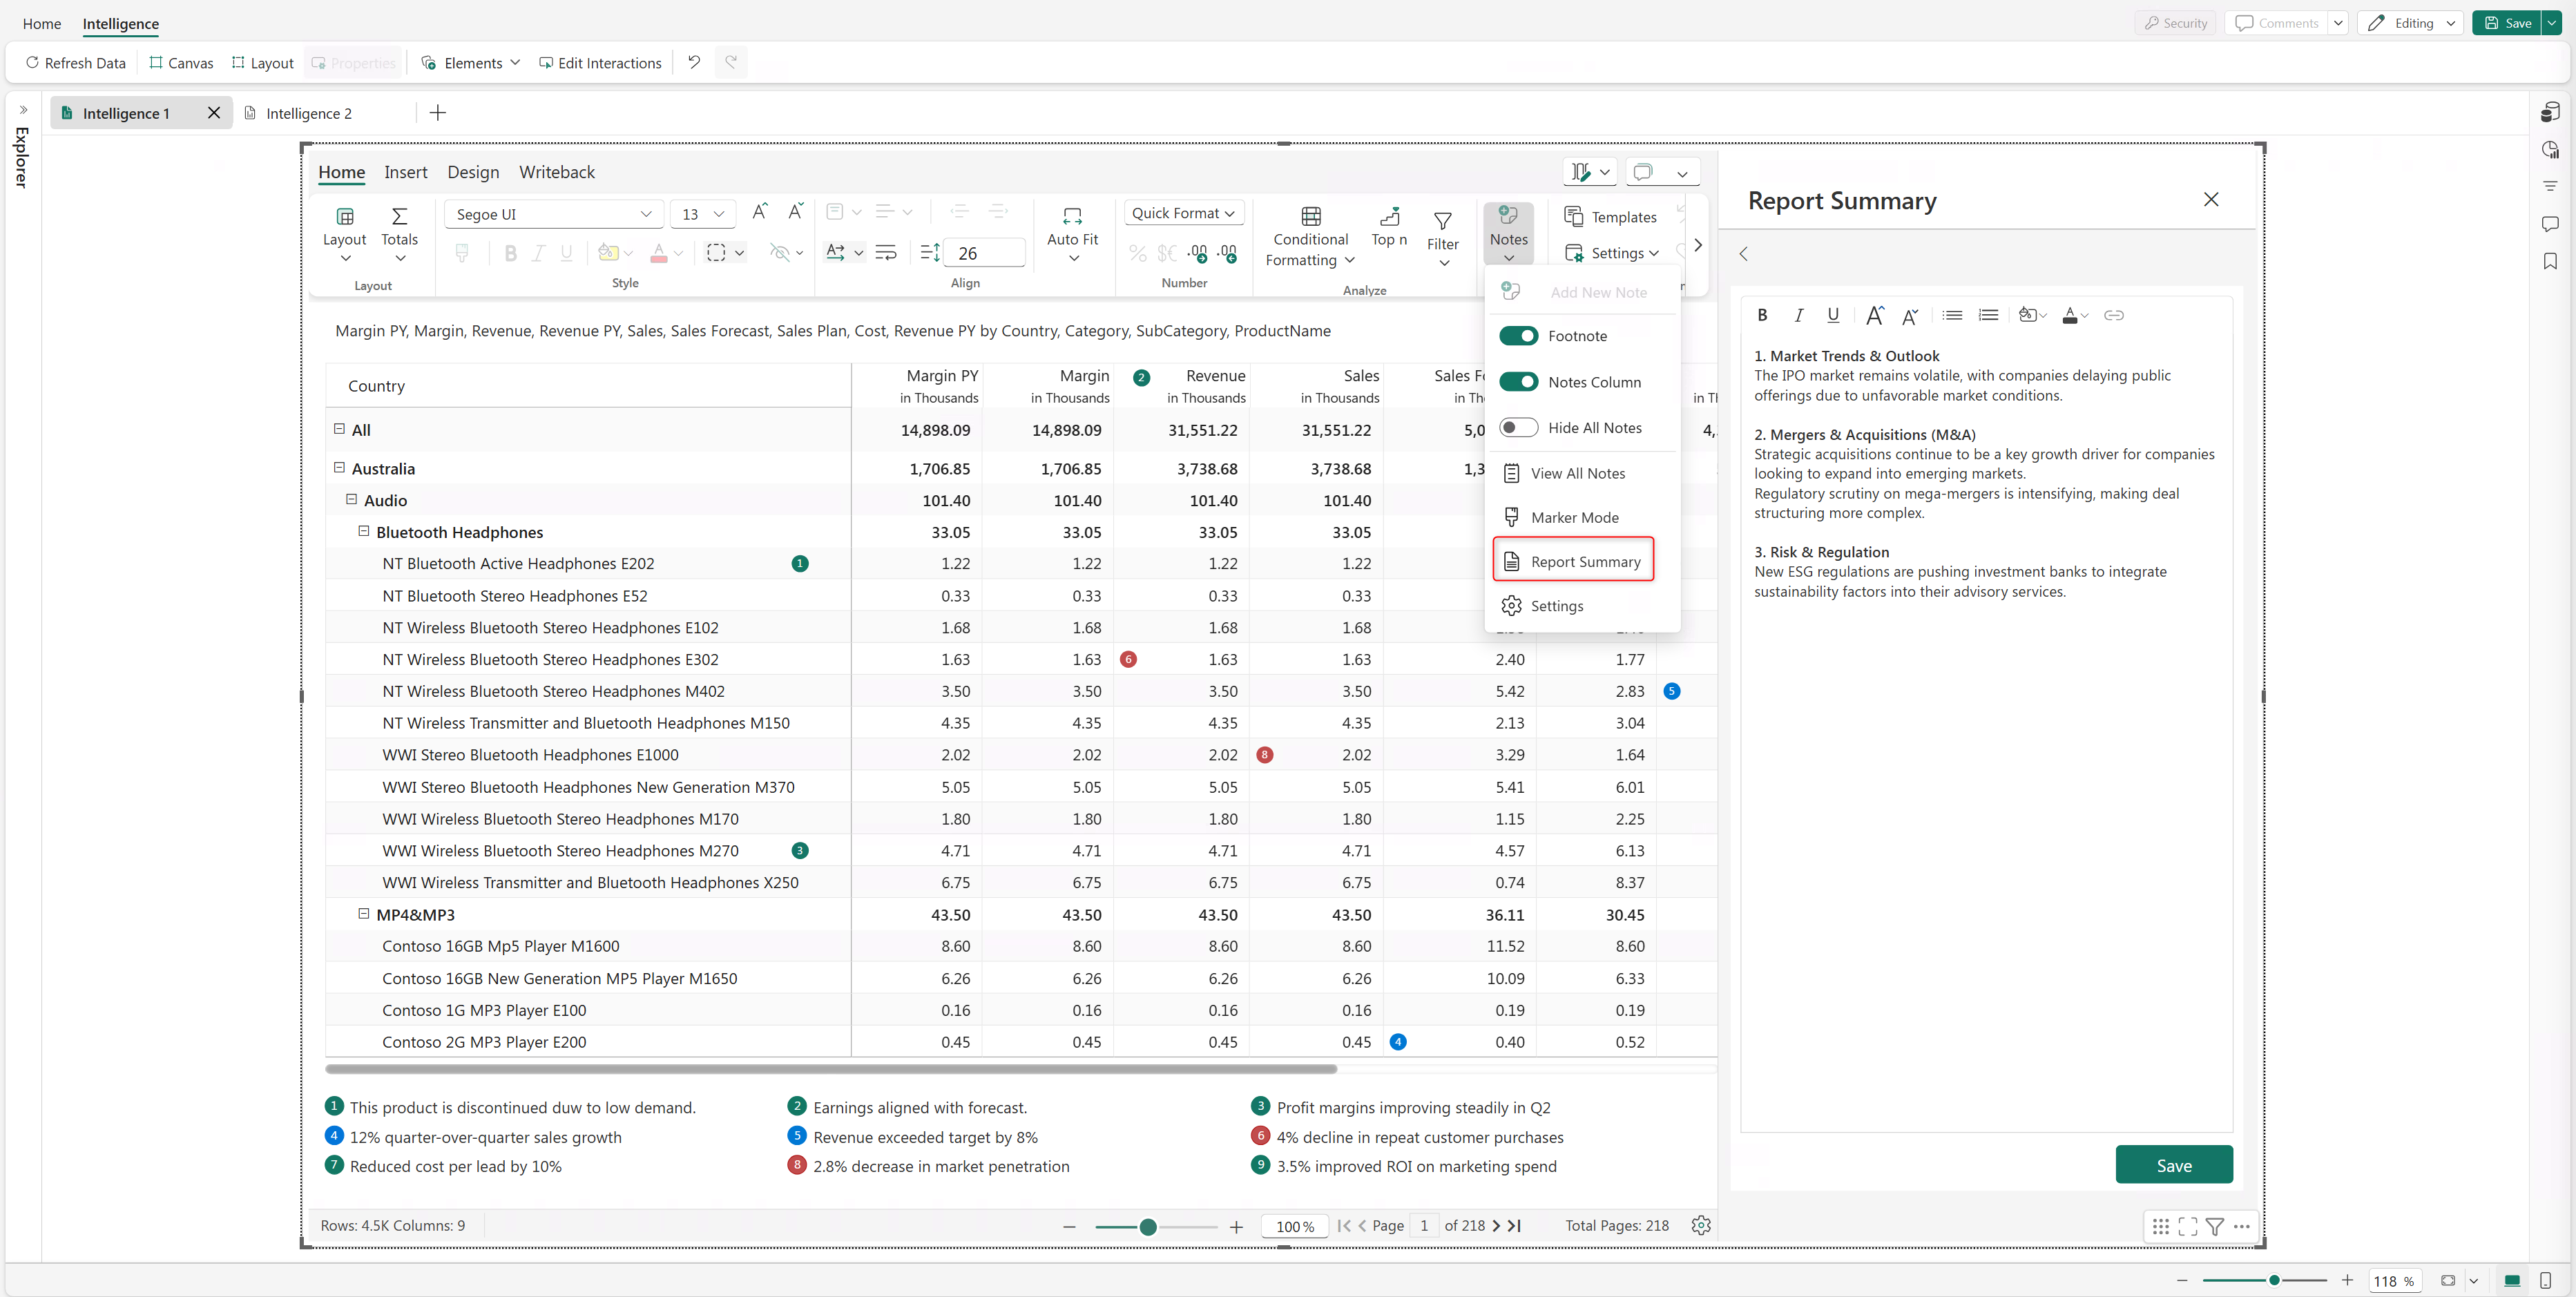
Add notes and annotations
Select a row category, column header, or cell. Select Notes > Add New Note. Use the rich text editor to enter and format notes. Select Save.
Enable Notes Column to enter row-level notes.
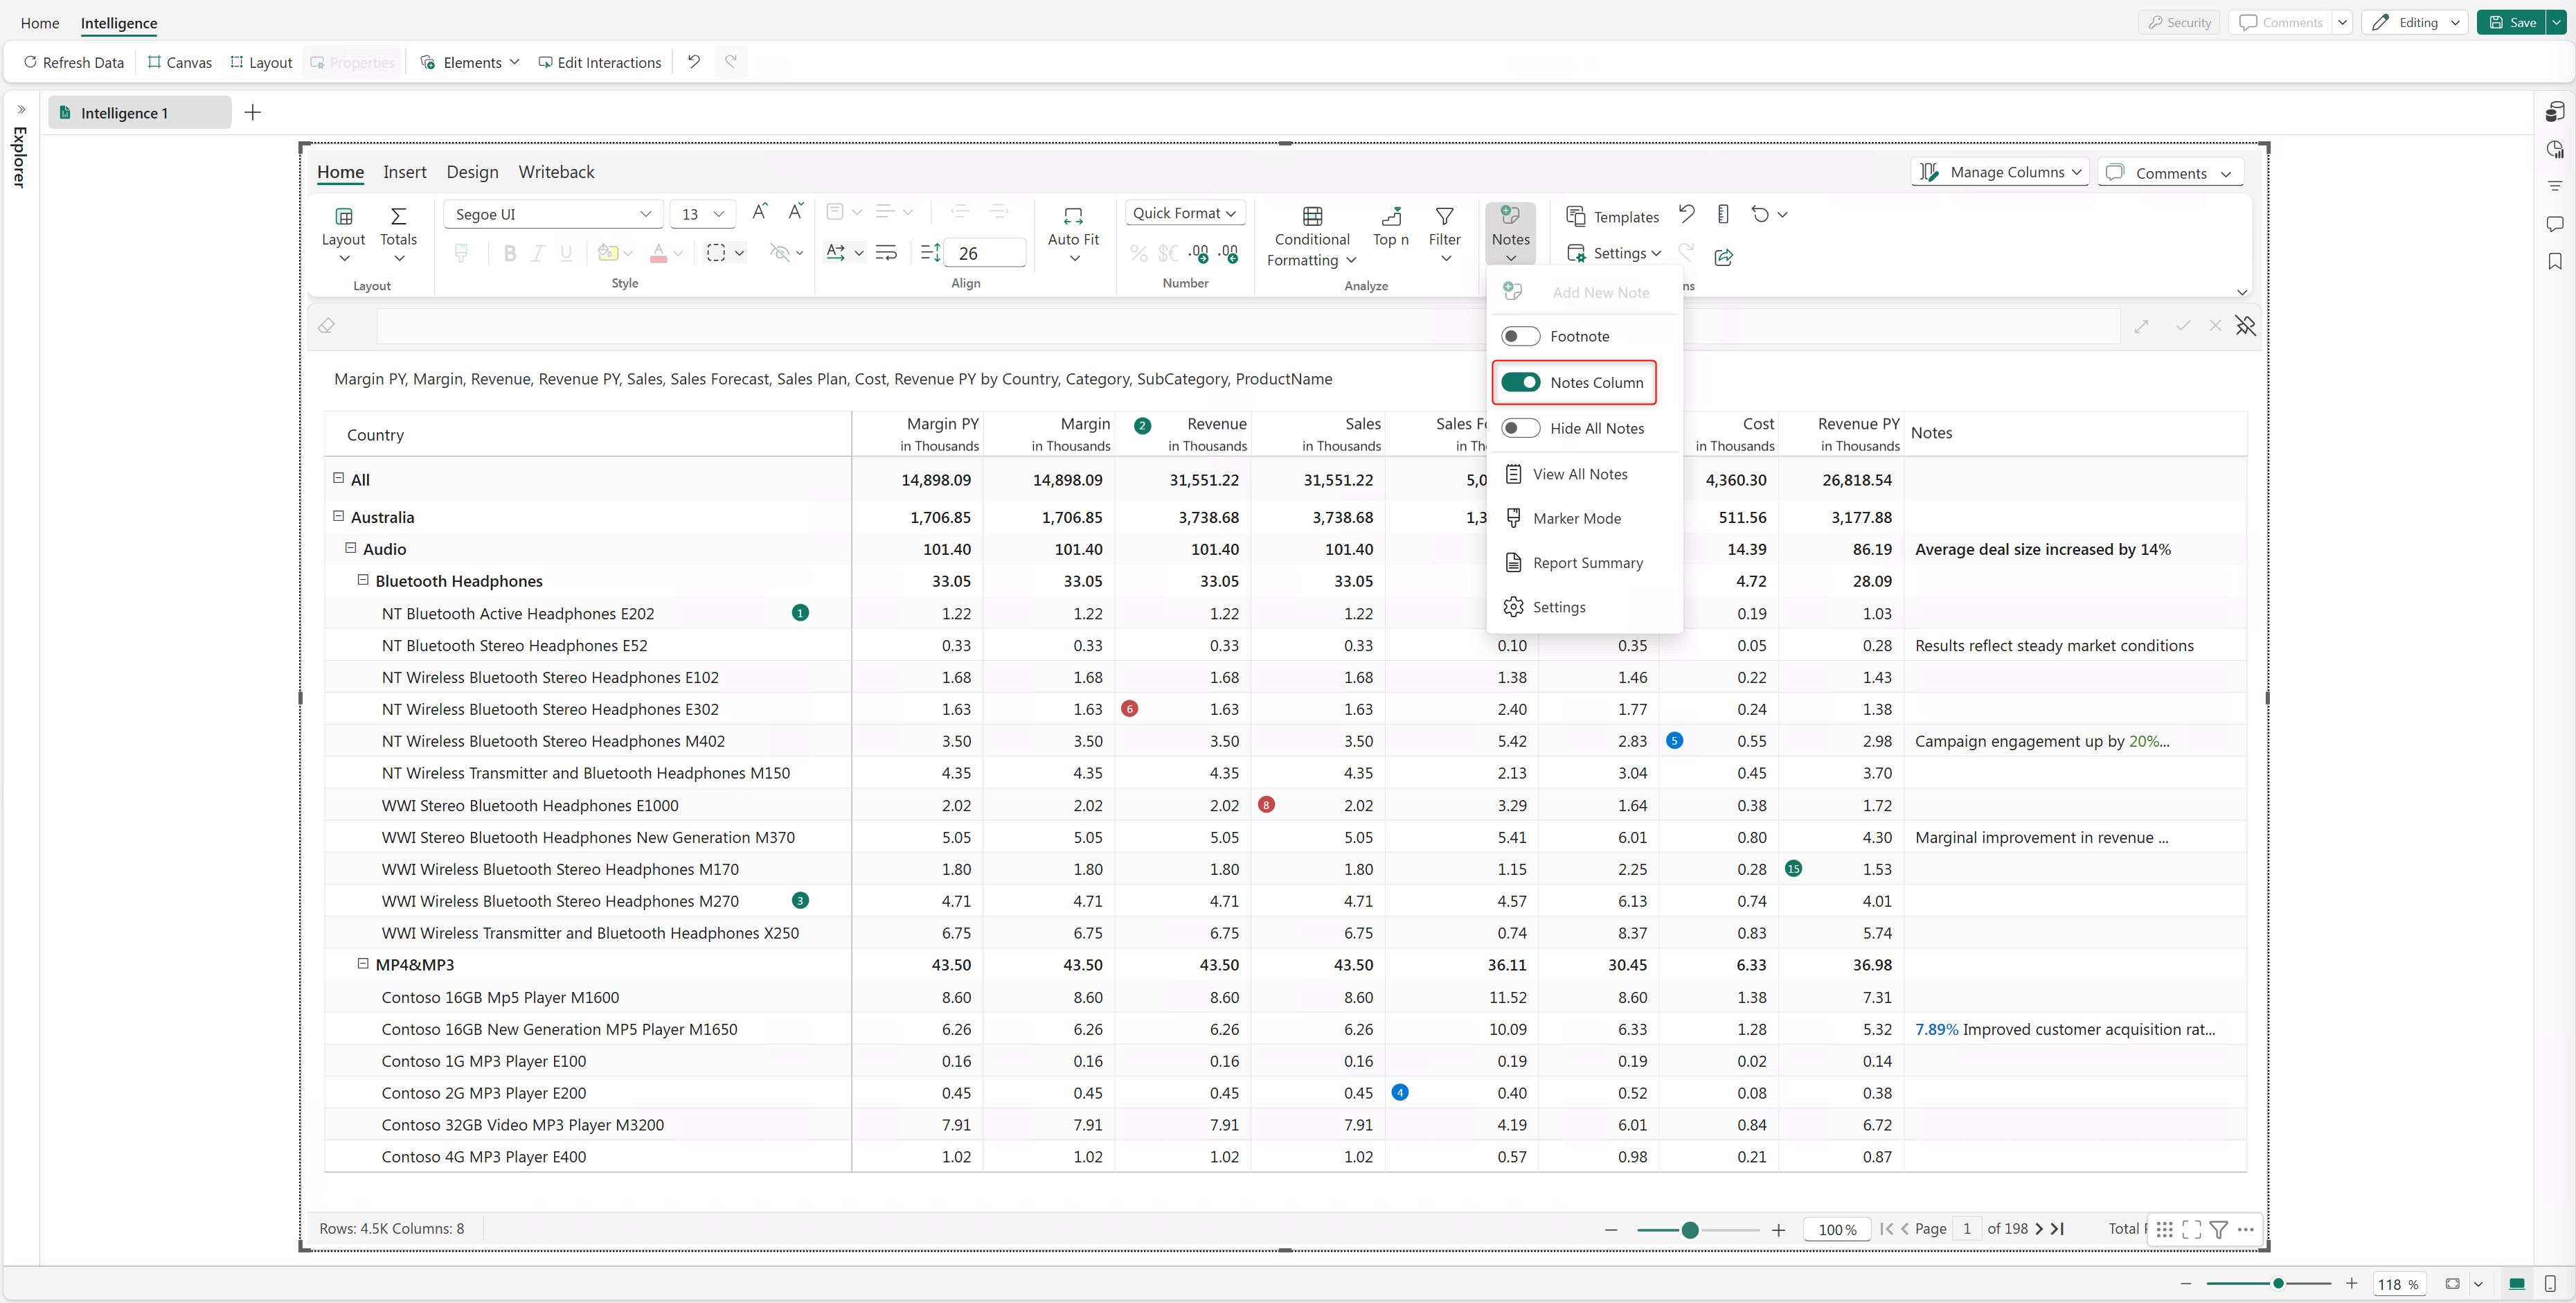
Enable Footnotes to view all cell, row, and column-level notes entered in the report.
Go to Notes > Report Summary to enter annotations at the report level.


Reorder columns
To reorder columns in your report, hover over a column and drag the column gripper to the desired position.
