Deploy Collaboration Manager for Loans
Collaboration Manager for Loans is a model-driven app built for Microsoft Teams to help your team with the loan process from start to finish. After deploying the solution, the app will be available in the Teams app catalog as a Teams app. End users can access the model-driven app through Microsoft Teams. This guide provides a short tutorial to deploy Collaboration Manager for Loans.
Note
Microsoft Office 365 and Microsoft Power Platform each have their own service-specific licensing terms. The service-specific terms that apply depend on which service processes your data. Collaboration Manager for Loans is a Teams app powered by Power Platform and leverages various Office 365 services. View the Application end user notice.
Prerequisites
You'll need the following prerequisites to deploy Collaboration Manager for Loans:
You must have configured and deployed Microsoft Cloud for Financial Services. For more information, see How to get Microsoft Cloud for Financial Services and Set up and configure Microsoft Cloud for Financial Services.
To deploy the Collaboration Manager for Loans solution, you must be a Microsoft Power Platform admin or a tenant admin.
To deploy the Collaboration Manager for Loans solution to your Teams app catalog, you must be a Microsoft Teams admin or a tenant admin.
You must have a Microsoft Dataverse environment with a database. If you don't have a Dataverse environment with a database, you'll need to create one during the deployment process or ahead of time:
- Sign in to Power Platform admin center
- Create a Dataverse environment with a database. More information: Create an environment with a database
Deploy the Collaboration Manager for Loans solution
Important
If you want your users to be able to use the app in different languages, you'll need to enable the languages in Dataverse before deploying the app. Learn more about enabling localization.
You'll deploy the Collaboration Manager for Loans solution from Microsoft Cloud Solution Center. Once you've deployed the solution, you'll need to configure Collaboration Manager for Loans. To begin deployment:
Sign in to Microsoft Cloud Solution Center.
On the Microsoft Cloud Solution Center home page, select the Microsoft Cloud for Financial Services tile to get started with the deployment, or you can select Solutions > Financial Services in the left pane.
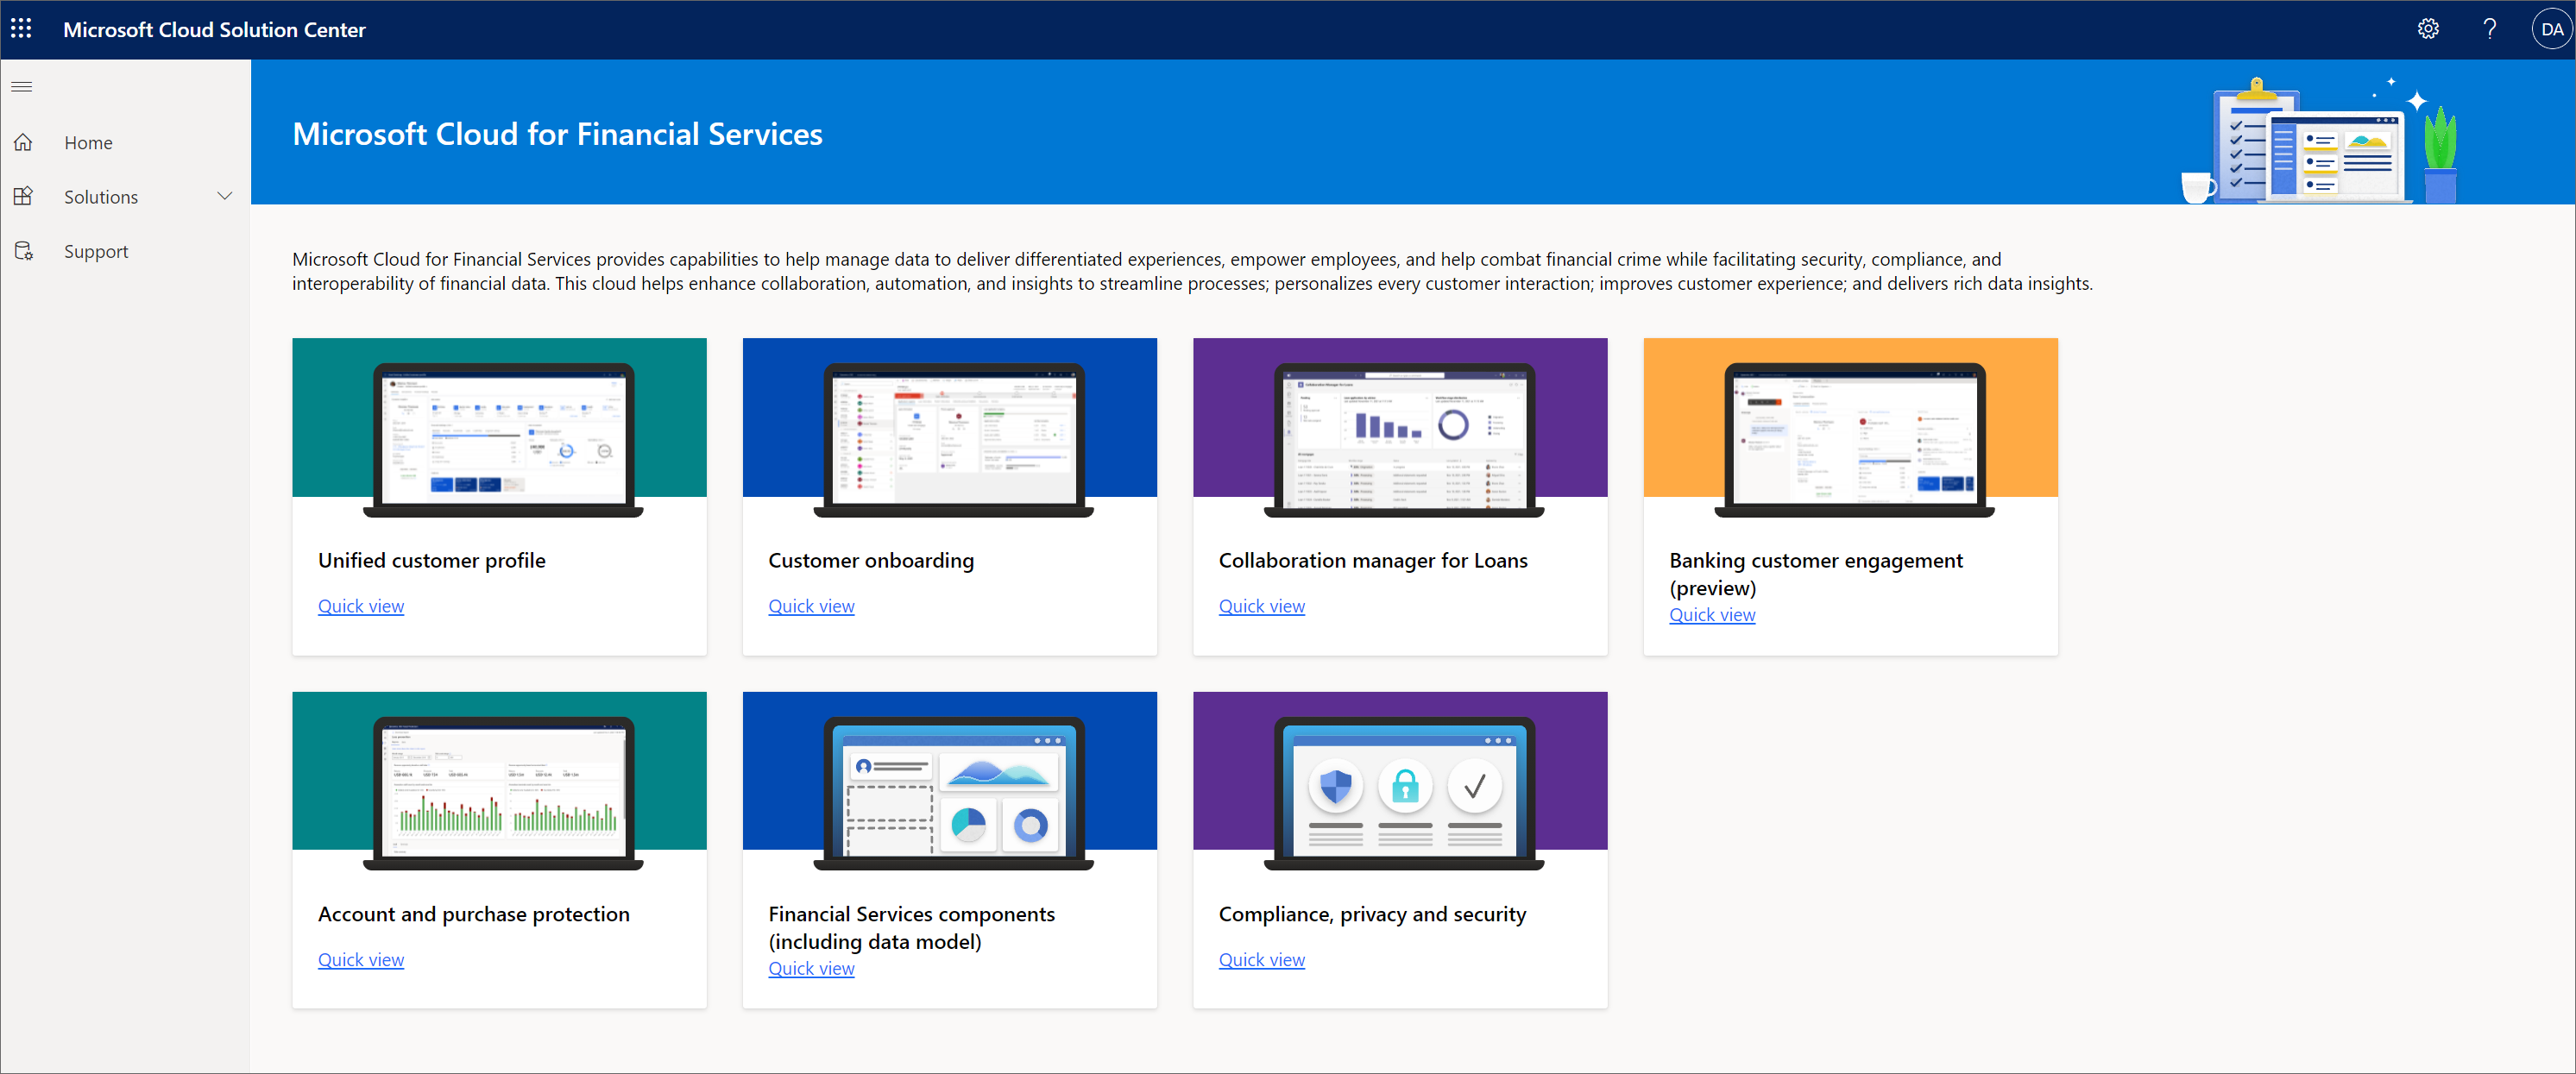
On the Solutions page, you'll see a list of available Microsoft Cloud for Financial Services solutions to deploy.
- You can select Quick view to learn more about each solution and its dependencies.
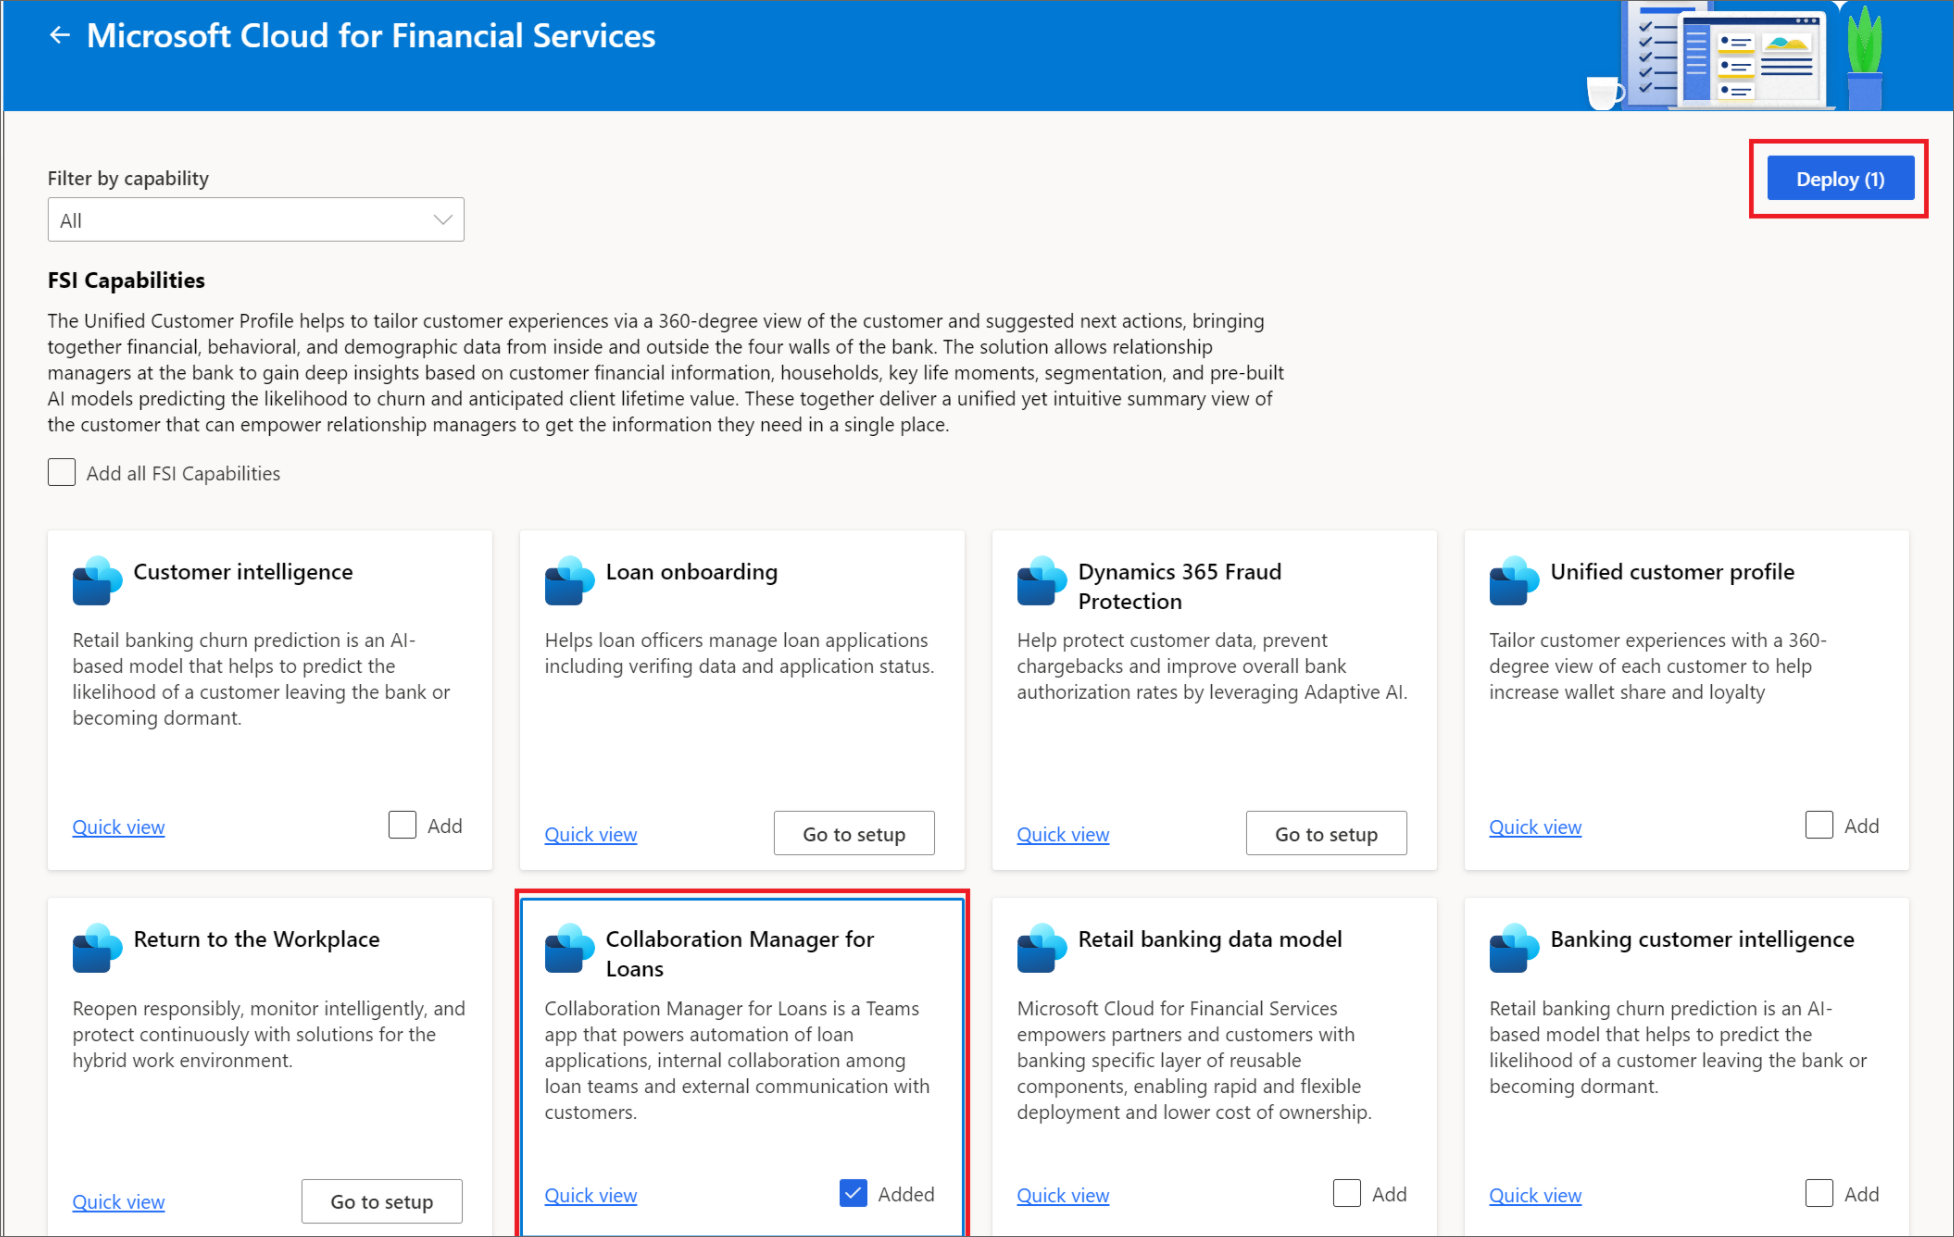
- Select Collaboration for Loans among the list of solutions
- To install Collaboration Manager for Loans, select Add, and then select Get solutions in the top-right corner.
- To deploy multiple solutions, select All in the filter and then Add each solution you want or select Add all FSI capabilities to deploy all solutions at once.
The next page allows you to select the destination environment for deployment and name your deployment.
- If you've already created an environment that you want to deploy into, select it from the list.
- If you don't already have an environment, select Create new, and then come back to Solution Center to continue. For more information, go to Create an environment in the Power Platform admin center.
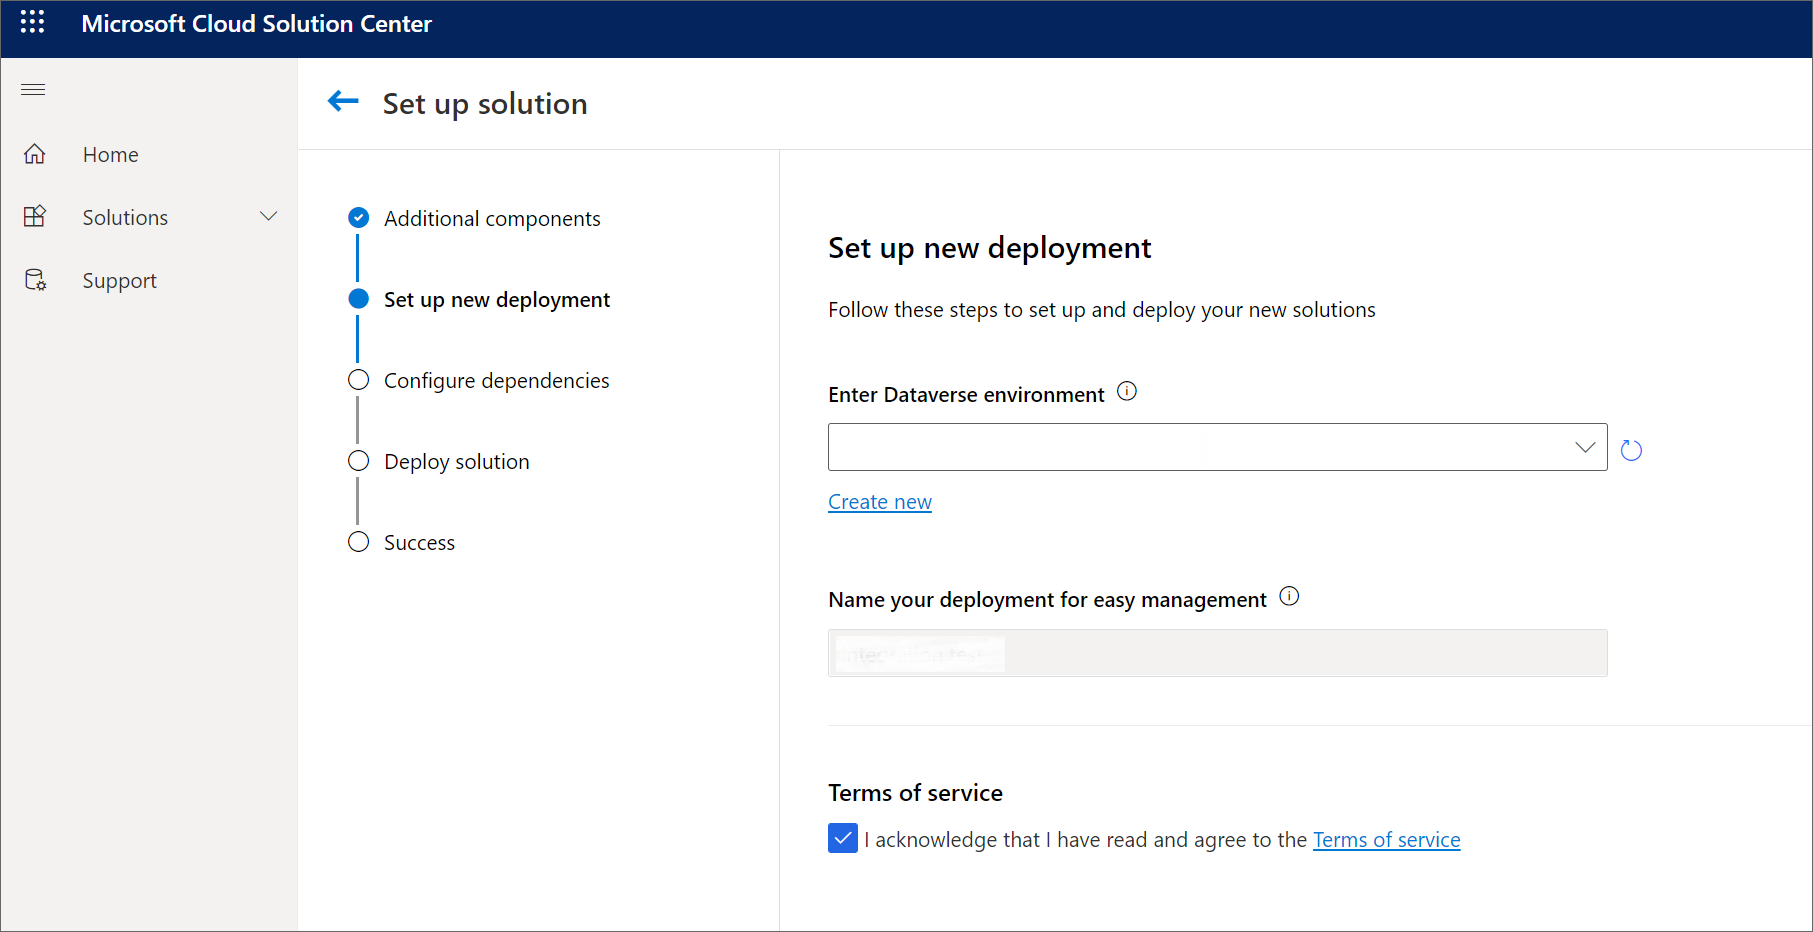
Name your deployment and agree to the terms of service, and then select Next.
The Configure dependencies page guides you to install and configure dependencies. The list of dependencies you see may vary depending on whether you are deploying Collaboration Manager alone or in addition to other solutions. You might see an error message if you selected multiple solutions at the start of installation. This message indicates that at least one dependency is missing for one of the selected solutions. You'll need to select Install before proceeding. If there are no dependencies, select Deploy.
After the deployment is complete, links will be available in Microsoft Cloud Solution Center to launch your solution. You'll also receive an email notification once deployment is complete.
Install Collaboration Manager for Loans app in Teams
- Sign into Power Apps as a system customizer and select the environment.
- Select Apps from the left navigation
- Search for and select the app called Collaboration Manager for Loans in the list of apps.
- From the command bar, select the Add to Teams command.
- The Add to Teams panel opens on the right side of the screen.
- Select Download App and save the downloaded file.
- Now, open Microsoft Teams so you can install the app in your app catalog.
- In Teams, navigate to the App store by selecting Apps in the left app bar.
- Select Submit to app catalog in the lower-left corner.
- Upload the file you downloaded in step 6.
On approval by an admin, the app can now be discovered by users on the tenant and added to Teams channels and also as a personal app.
Before fully deploying the solution, it is also recommended that you set up a Teams permission policy so that only the correct users can see the app. Also, ensure that all of the users in the Teams permission policy have one of the roles required to use the app and access data. To learn more about the roles within the solution and how to assign them, refer to the sharing instructions.