Migrate to Microsoft Defender for Endpoint - Phase 2: Setup
Applies to:
- Microsoft Defender for Endpoint Plan 1
- Microsoft Defender for Endpoint Plan 2
- Microsoft Defender XDR
 Phase 1: Prepare |
 Phase 2: Set up |
 Phase 3: Onboard |
|---|---|---|
| You're here! |
Welcome to the Setup phase of migrating to Defender for Endpoint. This phase includes the following steps:
- Reinstall/enable Microsoft Defender Antivirus on your endpoints.
- Configure Defender for Endpoint Plan 1 or Plan 2
- Add Defender for Endpoint to the exclusion list for your existing solution.
- Add your existing solution to the exclusion list for Microsoft Defender Antivirus.
- Set up your device groups, device collections, and organizational units.
Step 1: Reinstall/enable Microsoft Defender Antivirus on your endpoints
On certain versions of Windows, Microsoft Defender Antivirus was likely uninstalled or disabled when your non-Microsoft antivirus/antimalware solution was installed. When endpoints running Windows are onboarded to Defender for Endpoint, Microsoft Defender Antivirus can run in passive mode alongside a non-Microsoft antivirus solution. To learn more, see Antivirus protection with Defender for Endpoint.
As you're making the switch to Defender for Endpoint, you might need to take certain steps to reinstall or enable Microsoft Defender Antivirus. The following table describes what to do on your Windows clients and servers.
| Endpoint type | What to do |
|---|---|
| Windows clients (such as endpoints running Windows 10 and Windows 11) | In general, you don't need to take any action for Windows clients (unless Microsoft Defender Antivirus has been uninstalled). In general, Microsoft Defender Antivirus should still be installed, but is most likely disabled at this point of the migration process. When a non-Microsoft antivirus/antimalware solution is installed and the clients aren't yet onboarded to Defender for Endpoint, Microsoft Defender Antivirus is disabled automatically. Later, when the client endpoints are onboarded to Defender for Endpoint, if those endpoints are running a non-Microsoft antivirus solution, Microsoft Defender Antivirus goes into passive mode. If the non-Microsoft antivirus solution is uninstalled, Microsoft Defender Antivirus goes into active mode automatically. |
| Windows servers | On Windows Server, you need to reinstall Microsoft Defender Antivirus, and set it to passive mode manually. On Windows servers, when a non-Microsoft antivirus/antimalware is installed, Microsoft Defender Antivirus can't run alongside the non-Microsoft antivirus solution. In those cases, Microsoft Defender Antivirus is disabled or uninstalled manually. To reinstall or enable Microsoft Defender Antivirus on Windows Server, perform the following tasks: - Re-enable Defender Antivirus on Windows Server if it was disabled - Re-enable Defender Antivirus on Windows Server if it was uninstalled - Set Microsoft Defender Antivirus to passive mode on Windows Server If you run into issues reinstalling or re-enabling Microsoft Defender Antivirus on Windows Server, see Troubleshooting: Microsoft Defender Antivirus is getting uninstalled on Windows Server. |
Tip
To learn more about Microsoft Defender Antivirus states with non-Microsoft antivirus protection, see Microsoft Defender Antivirus compatibility.
Set Microsoft Defender Antivirus to passive mode on Windows Server
Tip
You can now run Microsoft Defender Antivirus in passive mode on Windows Server 2012 R2 and 2016. For more information, see Options to install Microsoft Defender for Endpoint.
Open Registry Editor, and then navigate to
Computer\HKEY_LOCAL_MACHINE\SOFTWARE\Policies\Microsoft\Windows Advanced Threat Protection.Edit (or create) a DWORD entry called ForceDefenderPassiveMode, and specify the following settings:
Set the DWORD's value to 1.
Under Base, select Hexadecimal.
If Microsoft Defender Antivirus features and installation files were previously removed from Windows Server 2016, follow the guidance in Configure a Windows Repair Source to restore the feature installation files.
Note
After onboarding to Defender for Endpoint, you might have to set Microsoft Defender Antivirus to passive mode on Windows Server. To validate that passive mode was set as expected, search for Event 5007 in the Microsoft-Windows-Windows Defender Operational log (located at C:\Windows\System32\winevt\Logs), and confirm that either the ForceDefenderPassiveMode or PassiveMode registry keys were set to 0x1.
Are you using Windows Server 2012 R2 or Windows Server 2016?
You can now run Microsoft Defender Antivirus in passive mode on Windows Server 2012 R2 and 2016 using the method described in the previous section. For more information, see Options to install Microsoft Defender for Endpoint.
Step 2: Configure Defender for Endpoint Plan 1 or Plan 2
Important
- This article describes how to configure your Defender for Endpoint capabilities before devices are onboarded.
- If you have Defender for Endpoint Plan 1, complete steps 1-5 in the following procedure.
- If you have Defender for Endpoint Plan 2, complete steps 1-7 in the following procedure.
Make sure Defender for Endpoint is provisioned. As a global admin, go to the Microsoft Defender portal (https://security.microsoft.com) and sign in. Then, in the navigation pane, select Assets > Devices.
The following table shows what your screen might look like and what it means.
Screen What it means 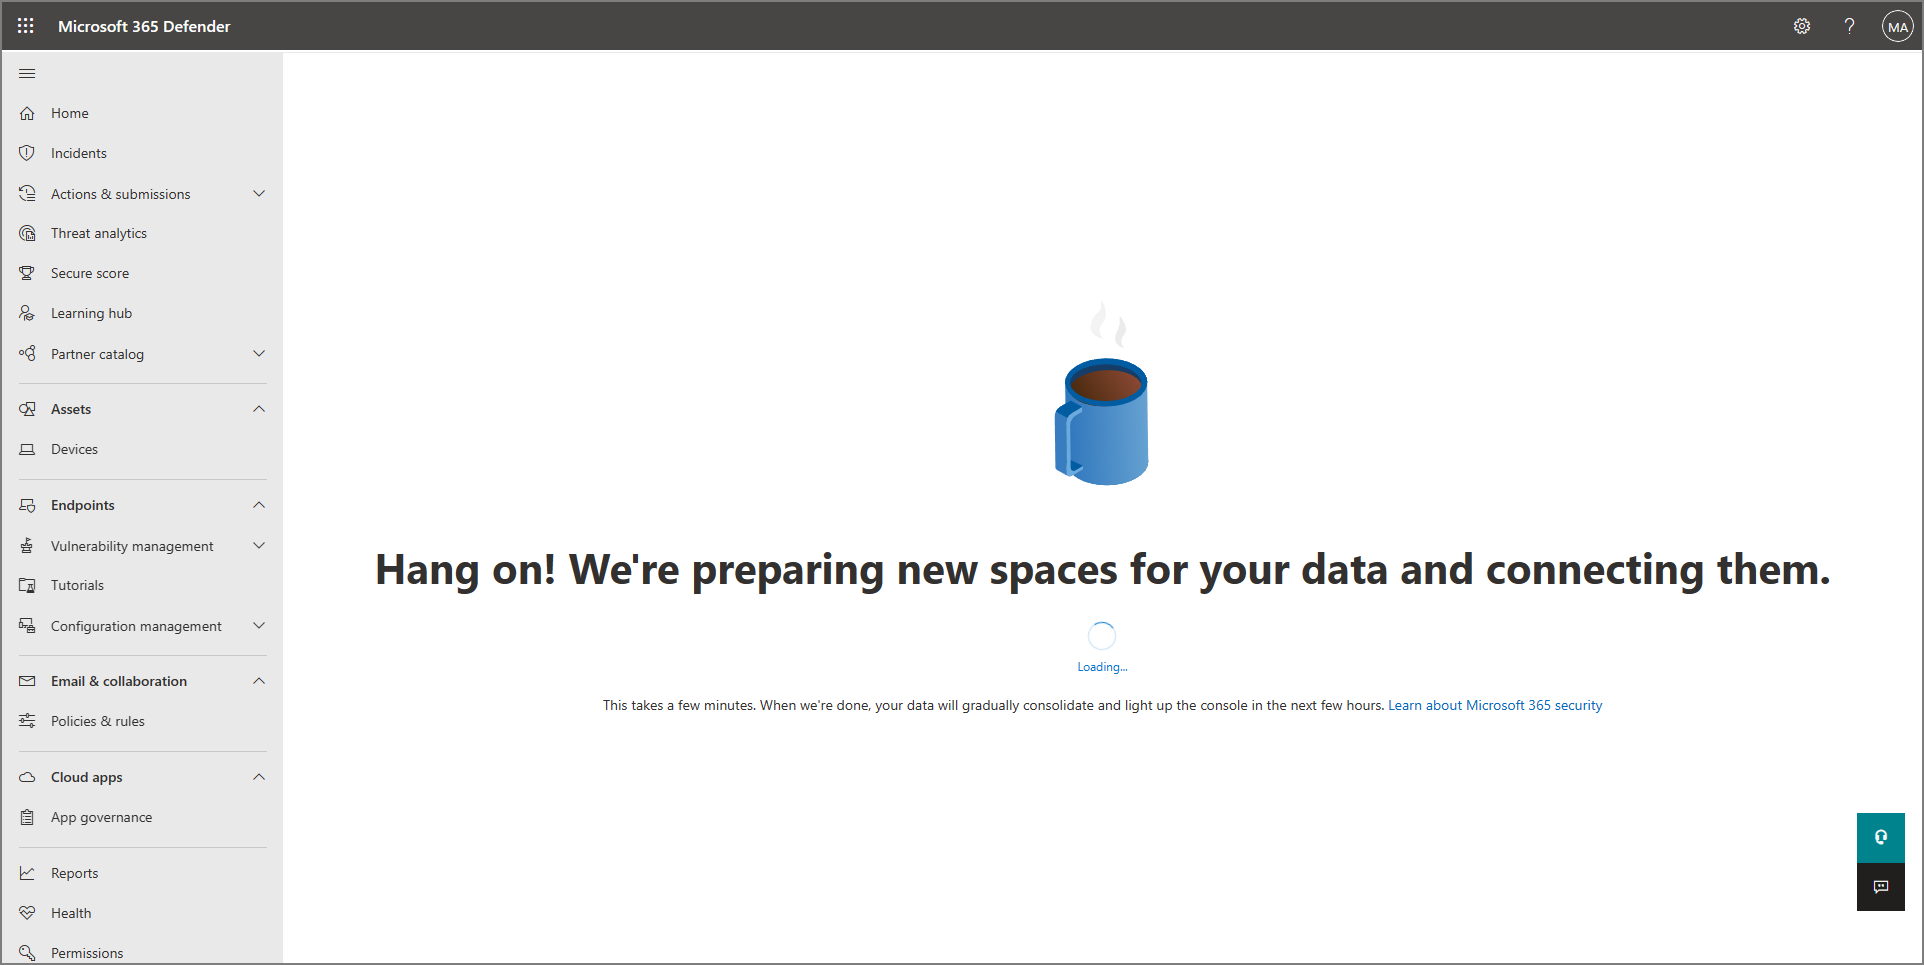
Defender for Endpoint isn't finished provisioning yet. You might have to wait a little while for the process to finish. 
Defender for Endpoint is provisioned. In this case, proceed to the next step. Turn on tamper protection. We recommend turning tamper protection on for your whole organization. You can do this task in the Microsoft Defender portal (https://security.microsoft.com).
In the Microsoft Defender portal, choose Settings > Endpoints.
Go to General > Advanced features, and then set the toggle for tamper protection to On.
Select Save.
If you're going to use either Microsoft Intune or Microsoft Endpoint Configuration Manager to onboard devices and configure device policies, set up integration with Defender for Endpoint by following these steps:
In the Microsoft Intune admin center (https://endpoint.microsoft.com), go to Endpoint security.
Under Setup, choose Microsoft Defender for Endpoint.
Under Endpoint Security Profile Settings, set the toggle for Allow Microsoft Defender for Endpoint to enforce Endpoint Security Configurations to On.
Near the top of the screen, select Save.
In the Microsoft Defender portal (https://security.microsoft.com), choose Settings > Endpoints.
Scroll down to Configuration management, and select Enforcement scope.
Set the toggle for Use MDE to enforce security configuration settings from MEM to On, and then select the options for both Windows client and Windows Server devices.
If you're planning to use Configuration Manager, set the toggle for Manage Security settings using Configuration Manager to On. (If you need help with this step, see Coexistence with Microsoft Endpoint Configuration Manager.)
Scroll down and select Save.
Configure your initial attack surface reduction capabilities. At a minimum, enable the standard protection rules that are listed in the following table right away:
Standard protection rules Configuration methods Block credential stealing from the Windows local security authority subsystem (lsass.exe)
Block abuse of exploited vulnerable signed drivers
Block persistence through Windows Management Instrumentation (WMI) event subscriptionIntune (Device configuration profiles or Endpoint Security policies)
Mobile Device Management (MDM) (Use the ./Vendor/MSFT/Policy/Config/Defender/AttackSurfaceReductionRules configuration service provider (CSP) to individually enable and set the mode for each rule.)
Group Policy or PowerShell (only if you're not using Intune, Configuration Manager, or another enterprise-level management platform)Configure your next-generation protection capabilities.
Capability Configuration methods Intune 1. In the Intune admin center, select Devices > Configuration profiles, and then select the profile type you want to configure. If you haven't yet created a Device restrictions profile type, or if you want to create a new one, see Configure device restriction settings in Microsoft Intune.
2. Select Properties, and then select Configuration settings: Edit
3. Expand Microsoft Defender Antivirus.
4. Enable Cloud-delivered protection.
5. In the Prompt users before sample submission dropdown, select Send all samples automatically.
6. In the Detect potentially unwanted applications dropdown, select Enable or Audit.
7. Select Review + save, and then choose Save.
TIP: For more information about Intune device profiles, including how to create and configure their settings, see What are Microsoft Intune device profiles?.Configuration Manager See Create and deploy antimalware policies for Endpoint Protection in Configuration Manager.
When you create and configure your antimalware policies, make sure to review the real-time protection settings and enable block at first sight.Advanced Group Policy Management
or
Group Policy Management Console1. Go to Computer configuration > Administrative templates > Windows components > Microsoft Defender Antivirus.
2. Look for a policy called Turn off Microsoft Defender Antivirus.
3. Choose Edit policy setting, and make sure that policy is disabled. This action enables Microsoft Defender Antivirus. (You might see Windows Defender Antivirus instead of Microsoft Defender Antivirus in some versions of Windows.)Control Panel in Windows Follow the guidance here: Turn on Microsoft Defender Antivirus. (You might see Windows Defender Antivirus instead of Microsoft Defender Antivirus in some versions of Windows.) If you have Defender for Endpoint Plan 1, your initial setup and configuration is done for now. If you have Defender for Endpoint Plan 2, continue to steps 6-7.
Configure your endpoint detection and response (EDR) policies in the Intune admin center (https://endpoint.microsoft.com). To get help with this task, see Create EDR policies.
Configure your automated investigation and remediation capabilities in the Microsoft Defender portal (https://security.microsoft.com). To get help with this task, see Configure automated investigation and remediation capabilities in Microsoft Defender for Endpoint.
At this point, initial setup and configuration of Defender for Endpoint Plan 2 is complete.


Step 3: Add Microsoft Defender for Endpoint to the exclusion list for your existing solution
This step of the setup process involves adding Defender for Endpoint to the exclusion list for your existing endpoint protection solution and any other security products your organization is using. Make sure to refer to your solution provider's documentation to add exclusions.
The specific exclusions to configure depend on which version of Windows your endpoints or devices are running, and are listed in the following table.
| OS | Exclusions |
|---|---|
| Windows 11 Windows 10, version 1803 or later (See Windows 10 release information) Windows 10, version 1703 or 1709 with KB4493441 installed |
C:\Program Files\Windows Defender Advanced Threat Protection\MsSense.exeC:\Program Files\Windows Defender Advanced Threat Protection\SenseCncProxy.exeC:\Program Files\Windows Defender Advanced Threat Protection\SenseSampleUploader.exeC:\Program Files\Windows Defender Advanced Threat Protection\SenseIR.exeC:\Program Files\Windows Defender Advanced Threat Protection\SenseCM.exeC:\Program Files\Windows Defender Advanced Threat Protection\SenseNdr.exeC:\Program Files\Windows Defender Advanced Threat Protection\SenseSC.exeC:\Program Files\Windows Defender Advanced Threat Protection\Classification\SenseCE.exeC:\ProgramData\Microsoft\Windows Defender Advanced Threat Protection\DataCollectionC:\Program Files\Windows Defender Advanced Threat Protection\SenseTVM.exe |
| Windows Server 2022 Windows Server 2019 Windows Server 2016 Windows Server 2012 R2 Windows Server, version 1803 |
On Windows Server 2012 R2 and Windows Server 2016 running the modern, unified solution, the following exclusions are required after updating the Sense EDR component using KB5005292:C:\ProgramData\Microsoft\Windows Defender Advanced Threat Protection\Platform\*\MsSense.exe C:\ProgramData\Microsoft\Windows Defender Advanced Threat Protection\Platform\*\SenseCnCProxy.exeC:\ProgramData\Microsoft\Windows Defender Advanced Threat Protection\Platform\*\SenseIR.exeC:\ProgramData\Microsoft\Windows Defender Advanced Threat Protection\Platform\*\SenseCE.exeC:\ProgramData\Microsoft\Windows Defender Advanced Threat Protection\Platform\*\SenseSampleUploader.exeC:\ProgramData\Microsoft\Windows Defender Advanced Threat Protection\Platform\*\SenseCM.exe C:\ProgramData\Microsoft\Windows Defender Advanced Threat Protection\DataCollectionC:\ProgramData\Microsoft\Windows Defender Advanced Threat Protection\Platform\*\SenseTVM.exe |
| Windows 8.1 Windows 7 Windows Server 2008 R2 SP1 |
C:\Program Files\Microsoft Monitoring Agent\Agent\Health Service State\Monitoring Host Temporary Files 6\45\MsSenseS.exeNOTE: Monitoring Host Temporary Files 6\45 can be different numbered subfolders. C:\Program Files\Microsoft Monitoring Agent\Agent\AgentControlPanel.exeC:\Program Files\Microsoft Monitoring Agent\Agent\HealthService.exeC:\Program Files\Microsoft Monitoring Agent\Agent\HSLockdown.exeC:\Program Files\Microsoft Monitoring Agent\Agent\MOMPerfSnapshotHelper.exeC:\Program Files\Microsoft Monitoring Agent\Agent\MonitoringHost.exeC:\Program Files\Microsoft Monitoring Agent\Agent\TestCloudConnection.exe |
Important
As a best practice, keep your organization's devices and endpoints up to date. Make sure to get the latest updates for Microsoft Defender for Endpoint and Microsoft Defender Antivirus, and keep your organization's operating systems and productivity apps up to date.
Step 4: Add your existing solution to the exclusion list for Microsoft Defender Antivirus
During this step of the setup process, you add your existing solution to the list of exclusions for Microsoft Defender Antivirus. You can choose from several methods to add your exclusions to Microsoft Defender Antivirus, as listed in the following table:
| Method | What to do |
|---|---|
| Intune | 1. Go to the Microsoft Intune admin center and sign in. 2. Select Devices > Configuration profiles, and then select the profile that you want to configure. 3. Under Manage, select Properties. 4. Select Configuration settings: Edit. 5. Expand Microsoft Defender Antivirus, and then expand Microsoft Defender Antivirus Exclusions. 6. Specify the files and folders, extensions, and processes to exclude from Microsoft Defender Antivirus scans. For reference, see Microsoft Defender Antivirus exclusions. 7. Choose Review + save, and then choose Save. |
| Microsoft Endpoint Configuration Manager | 1. Using the Configuration Manager console, go to Assets and Compliance > Endpoint Protection > Antimalware Policies, and then select the policy that you want to modify. 2. Specify exclusion settings for files and folders, extensions, and processes to exclude from Microsoft Defender Antivirus scans. |
| Group Policy Object | 1. On your Group Policy management computer, open the Group Policy Management Console, right-click the Group Policy Object you want to configure and then select Edit. 2. In the Group Policy Management Editor, go to Computer configuration and select Administrative templates. 3. Expand the tree to Windows components > Microsoft Defender Antivirus > Exclusions. (You might see Windows Defender Antivirus instead of Microsoft Defender Antivirus in some versions of Windows.) 4. Double-click the Path Exclusions setting and add the exclusions. 5. Set the option to Enabled. 6. Under the Options section, select Show.... 7. Specify each folder on its own line under the Value name column. If you specify a file, make sure to enter a fully qualified path to the file, including the drive letter, folder path, filename, and extension. Enter 0 in the Value column. 8. Select OK. 9. Double-click the Extension Exclusions setting and add the exclusions. 10. Set the option to Enabled. 11. Under the Options section, select Show.... 12. Enter each file extension on its own line under the Value name column. Enter 0 in the Value column. 13. Select OK. |
| Local group policy object | 1. On the endpoint or device, open the Local Group Policy Editor. 2. Go to Computer Configuration > Administrative Templates > Windows Components > Microsoft Defender Antivirus > Exclusions. (You might see Windows Defender Antivirus instead of Microsoft Defender Antivirus in some versions of Windows.) 3. Specify your path and process exclusions. |
| Registry key | 1. Export the following registry key: HKEY_LOCAL_MACHINE\SOFTWARE\Policies\Microsoft\Windows Defender\exclusions.2. Import the registry key. Here are two examples: - Local path: regedit.exe /s c:\temp\MDAV_Exclusion.reg- Network share: regedit.exe /s \\FileServer\ShareName\MDAV_Exclusion.reg |
Learn more about exclusions for Microsoft Defender for Endpoint and Microsoft Defender Antivirus.
Keep the following points about exclusions in mind
When you add exclusions to Microsoft Defender Antivirus scans, you should add path and process exclusions.
- Path exclusions exclude specific files and whatever those files access.
- Process exclusions exclude whatever a process touches, but doesn't exclude the process itself.
- List your process exclusions using their full path and not by their name only. (The name-only method is less secure.)
- If you list each executable (.exe) as both a path exclusion and a process exclusion, the process and whatever it touches are excluded.
Step 5: Set up your device groups, device collections, and organizational units
Device groups, device collections, and organizational units enable your security team to manage and assign security policies efficiently and effectively. The following table describes each of these groups and how to configure them. Your organization might not use all three collection types.
Note
Device group creation is supported in Defender for Endpoint Plan 1 and Plan 2.
| Collection type | What to do |
|---|---|
| Device groups (formerly called machine groups) enable your security operations team to configure security capabilities, such as automated investigation and remediation. Device groups are also useful for assigning access to those devices so that your security operations team can take remediation actions if needed. Device groups are created while the attack was detected and stopped, alerts, such as an "initial access alert," were triggered and appeared in the Microsoft Defender portal. |
1. Go to the Microsoft Defender portal (https://security.microsoft.com). 2. In the navigation pane on the left, choose Settings > Endpoints > Permissions > Device groups. 3. Choose + Add device group. 4. Specify a name and description for the device group. 5. In the Automation level list, select an option. (We recommend Full - remediate threats automatically.) To learn more about the various automation levels, see How threats are remediated. 6. Specify conditions for a matching rule to determine which devices belong to the device group. For example, you can choose a domain, OS versions, or even use device tags. 7. On the User access tab, specify roles that should have access to the devices that are included in the device group. 8. Choose Done. |
| Device collections enable your security operations team to manage applications, deploy compliance settings, or install software updates on the devices in your organization. Device collections are created by using Configuration Manager. |
Follow the steps in Create a collection. |
| Organizational units enable you to logically group objects such as user accounts, service accounts, or computer accounts. You can then assign administrators to specific organizational units, and apply group policy to enforce targeted configuration settings. Organizational units are defined in Microsoft Entra Domain Services. |
Follow the steps in Create an Organizational Unit in a Microsoft Entra Domain Services managed domain. |
Next step
Congratulations! You've completed the Setup phase of migrating to Defender for Endpoint!
Tip
Do you want to learn more? Engage with the Microsoft Security community in our Tech Community: Microsoft Defender for Endpoint Tech Community.
Feedback
Coming soon: Throughout 2024 we will be phasing out GitHub Issues as the feedback mechanism for content and replacing it with a new feedback system. For more information see: https://aka.ms/ContentUserFeedback.
Submit and view feedback for